08 Fullscreen and resizing
Difficulty Medium
Introduction
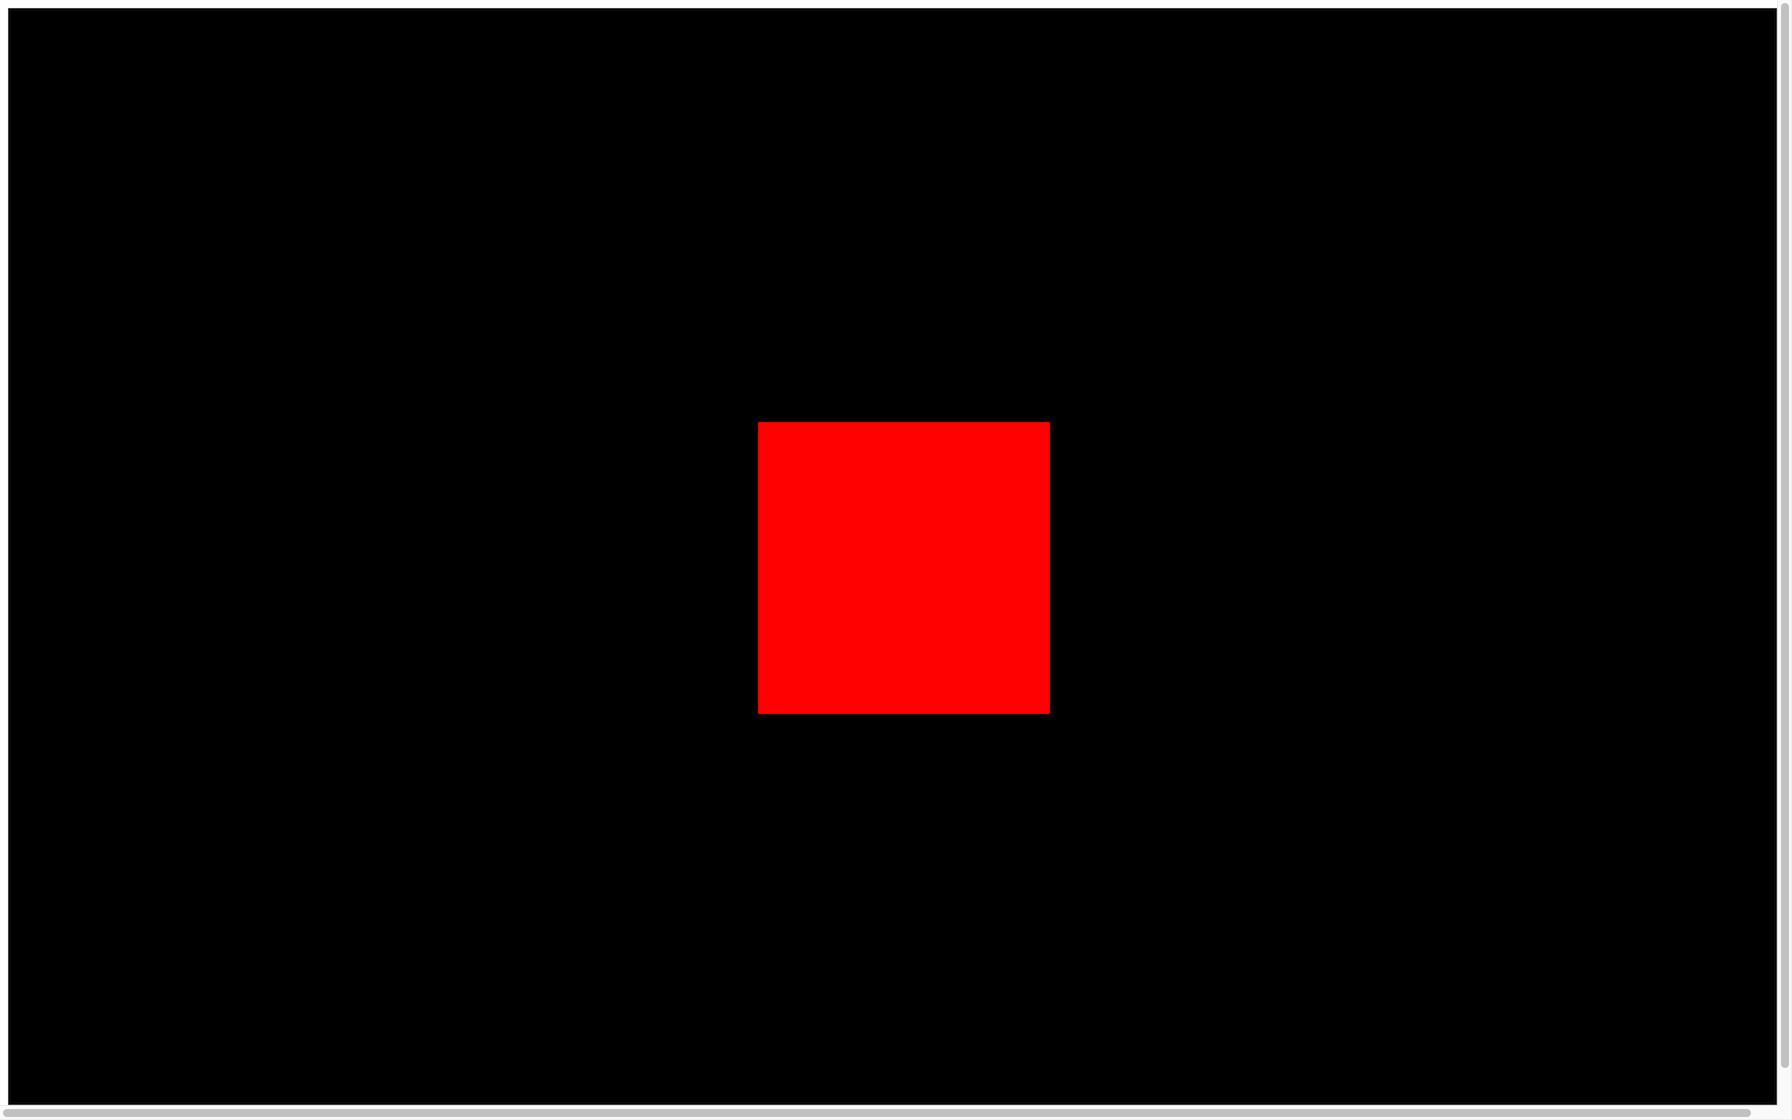
Our canvas currently has a fixed resolution of 800x600 . You don’t necessarily need your WebGL to fit the whole screen, but if you want an immersive experience, it might be better.
First, we would like to have the canvas take all available space. Then, we need to make sure that it still fits if the user resizes their window. Finally, we need to give the user a way to experiment with the experience in fullscreen.
Setup
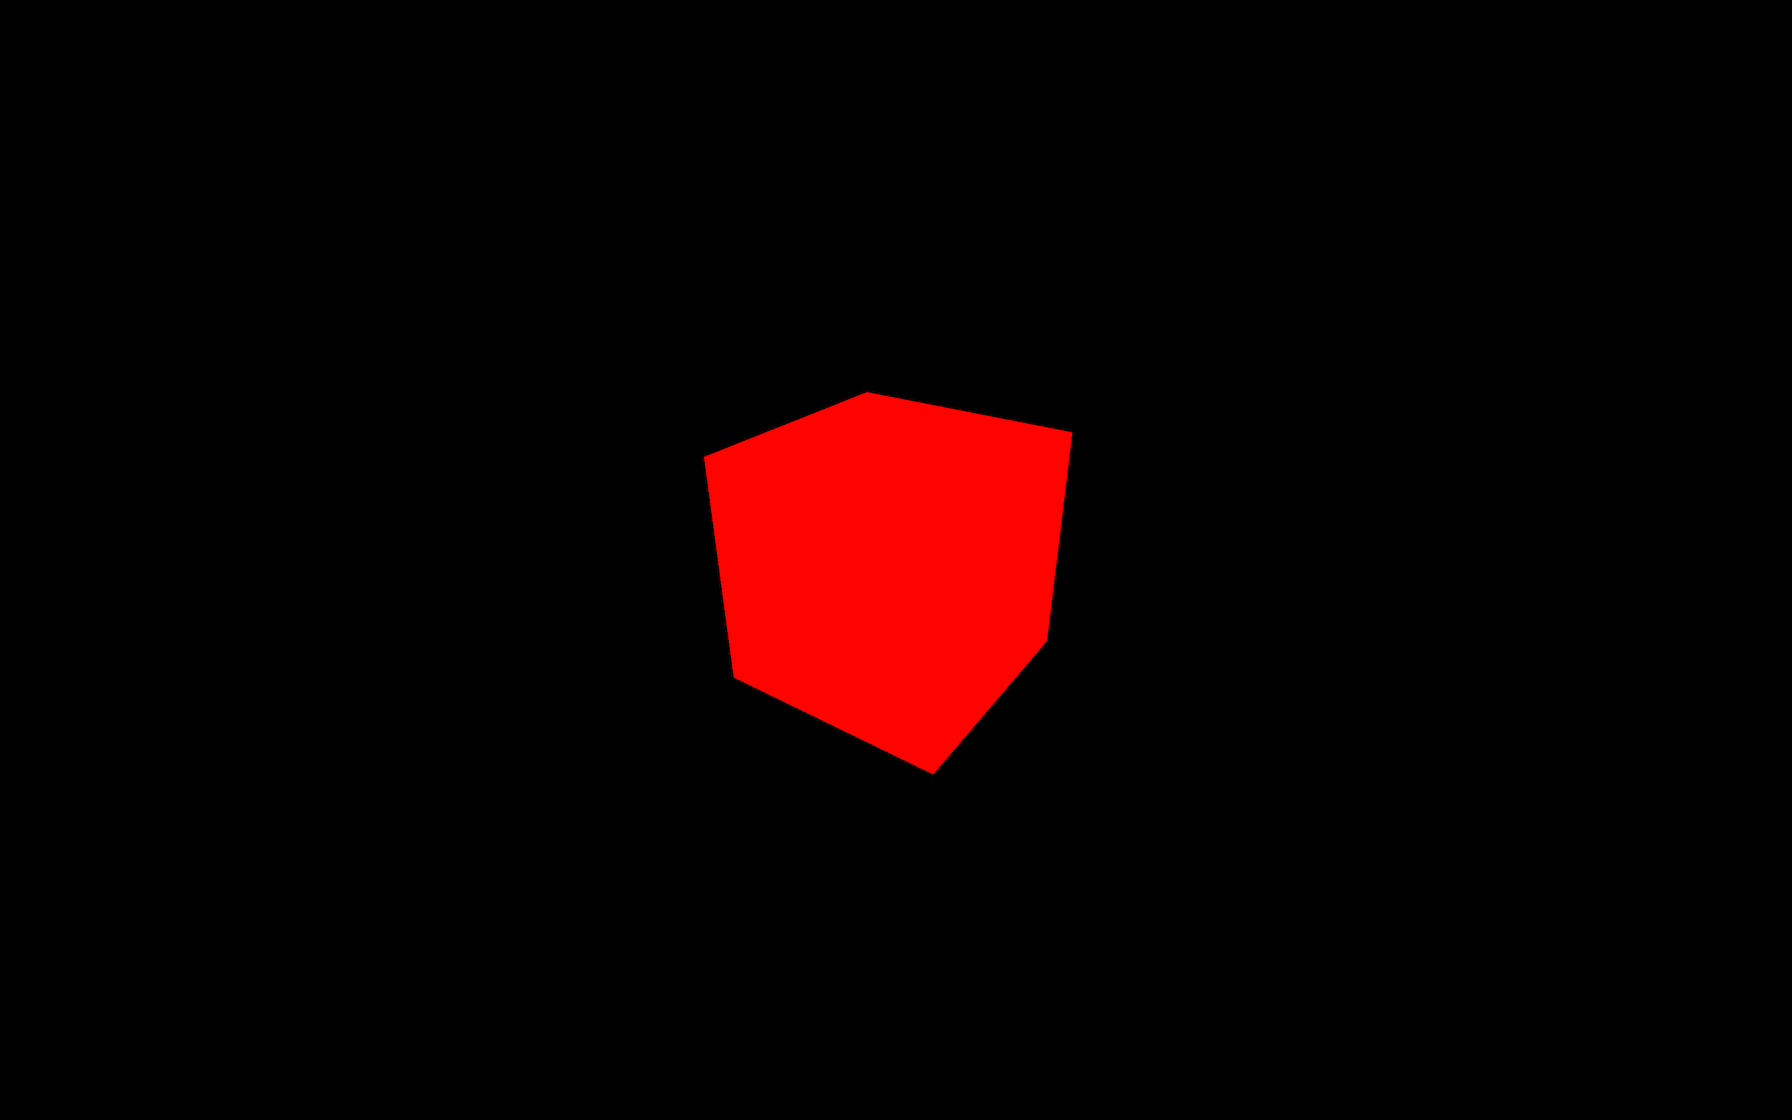
The starter contains what we finished within the previous lesson. We have our cube in the center, and we can drag and drop to move the camera.

Fit in the viewport
To make the canvas fit perfectly in the viewport, instead of using fixed numbers in the sizes variable, use the window.innerWidth and window.innerHeight :
// ...

// Sizes
const sizes = {
    width: window.innerWidth,
    height: window.innerHeight
}

// ...
JavaScript
Copy
You can see that the canvas now has the width and height of the viewport. Unfortunately, there is a white margin and a scroll bar (try to scroll if you don’t see any scrollbar).
The problem is that browsers all have default stylings like more significant titles, underlined links, space between paragraphs, and paddings on the page. There are many ways of fixing that, and it might depend on the rest of your website. If you have other content, try not to break any of those while doing this.
We will keep things simple and fix the position of the canvas using CSS.
Our template is already linked to a CSS file in src/style.css . It might look strange if you are not used to Webpack, but the CSS file is directly imported from script.js on the first line:
import './style.css'
JavaScript
Copy
You can write standard CSS just like you’re used to, and the page will automatically reload.
A good thing to do first would be to remove any type of margin or padding on all elements by using a wildcard * :
*
{
    margin: 0;
    padding: 0;
}
CSS
Copy
Then, we can fix the canvas on the top left using its webgl class to select it:
.webgl
{
    position: fixed;
    top: 0;
    left: 0;
}
CSS
Copy
You don’t need to specify width or height on the canvas because Three.js is already taking care of that when you call the renderer.setSize(...) method.
This is a good opportunity to fix a small problem on our canvas. Maybe you’ve noticed a blue outline on it when drag and dropping. This mostly happens on latest versions of Chrome. To fix that, we can simply add an outline: none; on the .webgl :
.webgl
{
    position: fixed;
    top: 0;
    left: 0;
    outline: none;
}
JavaScript
Copy
If you want to remove any type of scrolling even on touch screens, you can add an overflow: hidden on both html and body :
html,
body
{
    overflow: hidden;
}
CSS
Copy
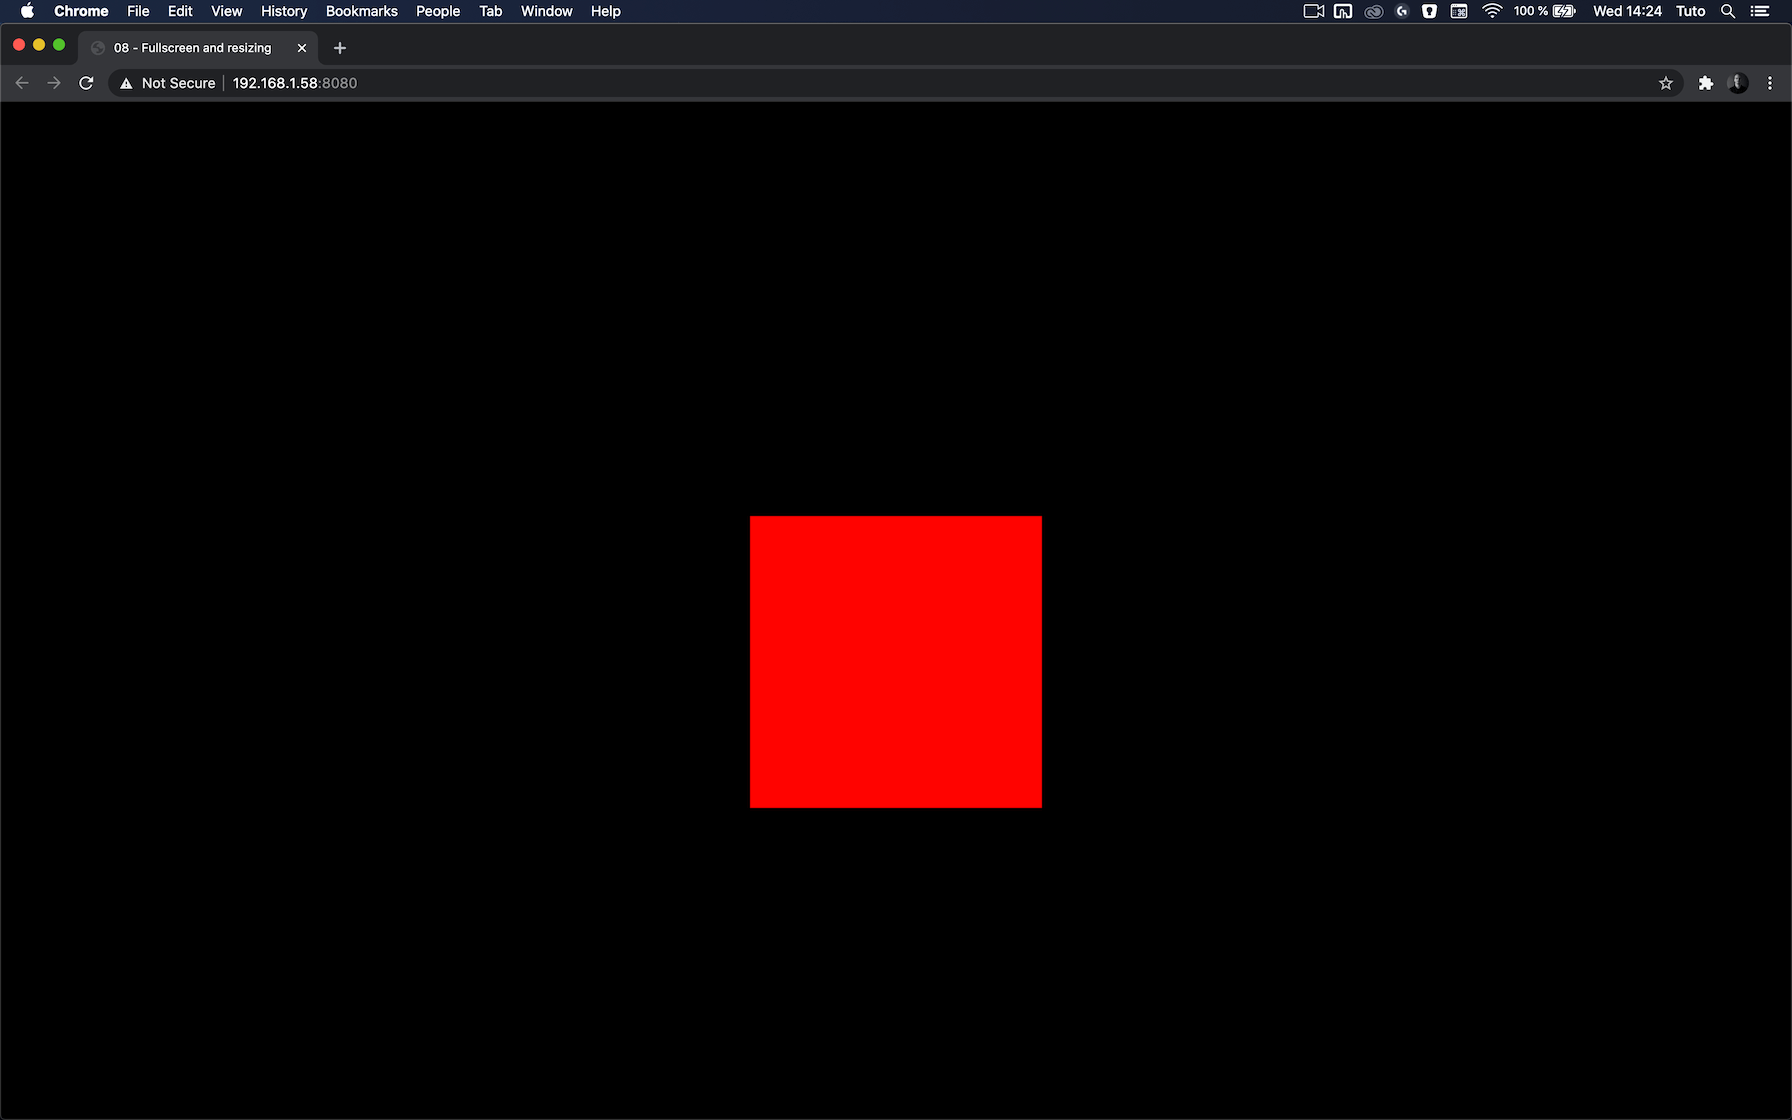
You can now enjoy your WebGL in all its glory. Unfortunately, if you resize the window, the canvas won’t follow.
We need to deal with the resize.
Handle resize
To resize the canvas, we first need to know when the window is being resized. To do so, you can listen to the resize event on window.
Add the resize listener right after the sizes variable:
window.addEventListener('resize', () =>
{
    console.log('window has been resized')
})
JavaScript
Copy
Now that we trigger a function when the window is being resized, we need to update few things in our code.
First, we must update the sizes variable:
window.addEventListener('resize', () =>
{
    // Update sizes
    sizes.width = window.innerWidth
    sizes.height = window.innerHeight
})
JavaScript
Copy
Secondly, we must update the camera aspect ratio by changing its aspect property:
window.addEventListener('resize', () =>
{
    // ...

    // Update camera
    camera.aspect = sizes.width / sizes.height
})
JavaScript
Copy
When you change camera properties like aspect you also need to update the projection matrix using camera.updateProjectionMatrix() . We will talk about matrices later:
window.addEventListener('resize', () =>
{
    // ...

    camera.updateProjectionMatrix()
})
JavaScript
Copy
Finally, we must update the renderer . Updating the renderer will automatically update the canvas width and height:
window.addEventListener('resize', () =>
{
    // ...

    // Update renderer
    renderer.setSize(sizes.width, sizes.height)
})
JavaScript
Copy
All together:
window.addEventListener('resize', () =>
{
    // Update sizes
    sizes.width = window.innerWidth
    sizes.height = window.innerHeight

    // Update camera
    camera.aspect = sizes.width / sizes.height
    camera.updateProjectionMatrix()

    // Update renderer
    renderer.setSize(sizes.width, sizes.height)
})
JavaScript
Copy
You can resize the window as you want, the canvas should cover the viewport without any scroll bar or overflow.
Handle pixel ratio
Some of you might see a kind of blurry render and artifacts shaped likes stairs on the edges (called aliasing), but not all of you. If you do, it’s because you are testing on a screen with a pixel ratio greater than 1 .
The pixel ratio corresponds to how many physical pixels you have on the screen for one pixel unit on the software part.
Some history
A few years ago, all screens had a pixel ratio of 1 and everything was just fine. But when you looked closely at your screen, you could see those pixels, and it was a limitation for how precise images and how thin fonts could be.
The company that did the most about that was Apple. Apple saw an opportunity and started constructing screens with a pixel ratio of 2 called retina. Now, a lot of constructors are doing it and you can see screens with even higher pixel ratios.
While this is a good thing for the image quality, a pixel ratio of 2 means 4 times more pixels to render. And a pixel ratio of 3 means 9 times more pixels to render.
And guess what? Highest pixel ratios are usually on the weakest devices —mobiles ones.
There goes your frame rate.
Handle the pixel ratio
To get the screen pixel ratio you can use window.devicePixelRatio , and to update the pixel ratio of your renderer, you simply need to call the renderer.setPixelRatio(...)
You might be tempted to simply send the device pixel ratio to that method, but you’ll end up with performance issues on high pixel ratio devices.
Having a pixel ratio greater than 2 is mostly marketing. Your eyes will see almost no difference between 2 and 3 but it will create performance issues and empty the battery faster. What you can do is limit the pixel ratio to 2 . To do that, you can use Math.min() :
renderer.setPixelRatio(Math.min(window.devicePixelRatio, 2))
JavaScript
Copy

There are techniques to be notified when the pixel ratio changes, but it only concerns users having multiple screens with different pixel ratios and they usually resize their window when changing from a screen to another. That is why we will simply add this method to the resize callback too:
window.addEventListener('resize', () =>
{
    // Update sizes
    sizes.width = window.innerWidth
    sizes.height = window.innerHeight

    // Update camera
    camera.aspect = sizes.width / sizes.height

    // Update renderer
    renderer.setSize(sizes.width, sizes.height)
    renderer.setPixelRatio(Math.min(window.devicePixelRatio, 2))
})
JavaScript
Copy
Handle fullscreen
Now that we have the canvas taking all the available space with the right pixel ratio, it’s time to add support to the fullscreen.
First, we need to decide what action will trigger the fullscreen mode. It could be an HTML button, but instead, we’re going to use a double click.
When the double click happens, we will toggle the fullscreen —meaning that if the window is not in fullscreen, a double-click will enable fullscreen mode, and if the window is already in fullscreen, a double-click will exit fullscreen mode.
First, we need to listen to the double click event, and we can do that with the dblclick event:
window.addEventListener('dblclick', () =>
{
    console.log('double click')
})
JavaScript
Copy
This event will work on most modern browsers except for Chrome Android: https://developer.mozilla.org/docs/Web/API/Element/dblclick_event
Now that we have our event, we need 3 things:
- A way to know if it’s already in fullscreen
- A method to go to the fullscreen mode
- A method to leave the fullscreen mode
To know if we are already in fullscreen or not, we can use document.fullscreenElement :
window.addEventListener('dblclick', () =>
{
    if(!document.fullscreenElement)
    {
        console.log('go fullscreen')
    }
    else
    {
        console.log('leave fullscreen')
    }
})
JavaScript
Copy
The method to request the fullscreen is associated with the element. It’s because you can choose what will be in fullscreen. It can be the whole page, any DOM element or the <canvas> .
We will use the <canvas> and call the requestFullscreen() method on it:
window.addEventListener('dblclick', () =>
{
    if(!document.fullscreenElement)
    {
        canvas.requestFullscreen()
    }
    else
    {
        console.log('leave fullscreen')
    }
})
JavaScript
Copy
The method to leave the fullscreen mode is available directly on the document :
window.addEventListener('dblclick', () =>
{
    if(!document.fullscreenElement)
    {
        canvas.requestFullscreen()
    }
    else
    {
        document.exitFullscreen()
    }
})
JavaScript
Copy
You can test the result by double-clicking anywhere to toggle the fullscreen mode. Unfortunately, this won’t work on Safari
This browser is taking its time to support officially simple features like the fullscreen, and we need to use prefixed versions to make it work for document.fullscreenElement , canvas.requestFullscreen , and document.exitFullscreen :
window.addEventListener('dblclick', () =>
{
    const fullscreenElement = document.fullscreenElement || document.webkitFullscreenElement

    if(!fullscreenElement)
    {
        if(canvas.requestFullscreen)
        {
            canvas.requestFullscreen()
        }
        else if(canvas.webkitRequestFullscreen)
        {
            canvas.webkitRequestFullscreen()
        }
    }
    else
    {
        if(document.exitFullscreen)
        {
            document.exitFullscreen()
        }
        else if(document.webkitExitFullscreen)
        {
            document.webkitExitFullscreen()
        }
    }
})
JavaScript
Copy
Everything should work fine on all modern browsers.
09 Geometries
Difficulty Hard
Introduction
Until now, we only used the BoxGeometry class to create our cube. In this lesson, we will discover various other geometries, but first, we need to understand what a geometry really is.
What is a geometry?
In Three.js, geometries are composed of vertices (point coordinates in 3D spaces) and faces (triangles that join those vertices to create a surface).
We use geometries to create meshes, but you can also use geometries to form particles. Each vertex (singular of vertices) will correspond to a particle, but this is for a future lesson.
We can store more data than the position in the vertices. A good example would be to talk about the UV coordinates or the normals. As you’ll see, we will learn more about those later.
The different built-in geometries
Three.js has many built-in geometries. While you don’t need to know precisely how to instantiate each one, it is good to know that they exist.
All the built-in geometries we are going to see inherit from the Geometry class. This class has many built in methods like translate(...) , rotateX(...) , normalize() , etc. but we are not going to use them in this lesson.
Most of the geometries documentation pages have examples.
- BoxGeometry To create a box.
- PlaneGeometry To create a rectangle plane.
- CircleGeometry To create a disc or a portion of a disc (like a pie chart).
- ConeGeometry To create a cone or a portion of a cone. You can open or close the base of the cone.
- CylinderGeometry To create a cylinder. You can open or close the ends of the cylinder and you can change the radius of each end.
- RingGeometry To create a flat ring or portion of a flat circle.
- TorusGeometry To create a ring that has a thickness (like a donut) or portion of a ring.
- TorusKnotGeometry To create some sort of knot geometry.
- DodecahedronGeometry To create a 12 faces sphere. You can add details for a rounder sphere.
- OctahedronGeometry To create a 8 faces sphere. You can add details for a rounder sphere.
- TetrahedronGeometry To create a 4 faces sphere (it won’t be much of a sphere if you don’t increase details). You can add details for a rounder sphere.
- IcosahedronGeometry To create a sphere composed of triangles that have roughly the same size.
- SphereGeometry To create the most popular type of sphere where faces looks like quads (quads are just a combination of two triangles).
- ShapeGeometry To create a shape based on a path.
- TubeGeometry To create a tube following a path.
- ExtrudeGeometry To create an extrusion based on a path. You can add and control the bevel.
- LatheGeometry To create a vase or portion of a vase (more like a revolution).
- TextGeometry To create a 3D text. You’ll have to provide the font in typeface json format.
If you need a particular geometry that is not supported by Three.js, you can create your own geometry in JavaScript, or you can make it in a 3D software, export it and import it into your project. We will learn more about that later.
Box example
We already made a cube but we didn’t talk much about the parameters. Most geometries have parameters, and you should always take a look at the documentation before using it.
The BoxGeometry has 6 parameters:
-
width: The size on thexaxis -
height: The size on theyaxis -
depth: The size on thezaxis -
widthSegments: How many subdivisions in thexaxis -
heightSegments: How many subdivisions in theyaxis -
depthSegments: How many subdivisions in thezaxis
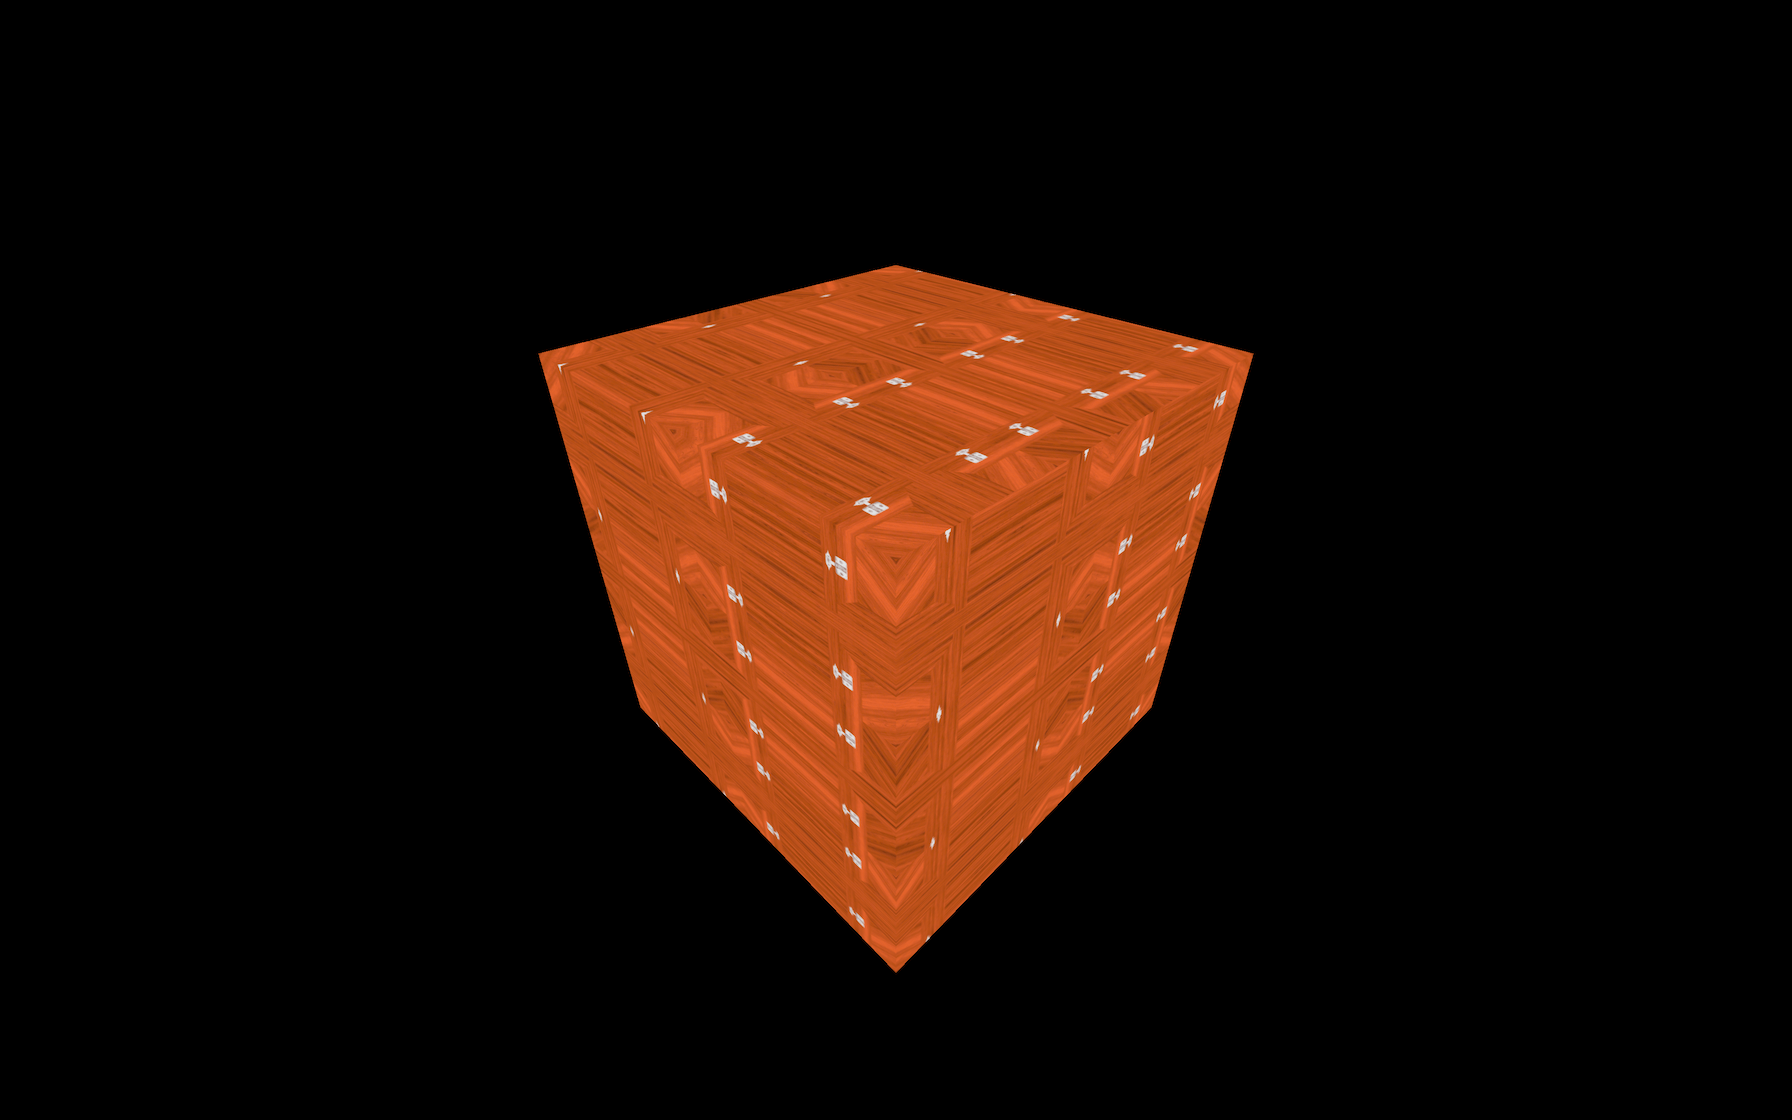
Subdivisions correspond to how much triangles should compose the face. By default it’s 1 , meaning that there will only be 2 triangles per face. If you set the subdivision to 2 , you’ll end up with 8 triangles per face:
const geometry = new THREE.BoxGeometry(1, 1, 1, 2, 2, 2)
JavaScript
Copy
The problem is that we cannot see these triangles.
A good solution is to add wireframe: true to our material. The wireframe will show the lines that delimit each triangle:
const material = new THREE.MeshBasicMaterial({ color: 0xff0000, wireframe: true })
JavaScript
Copy
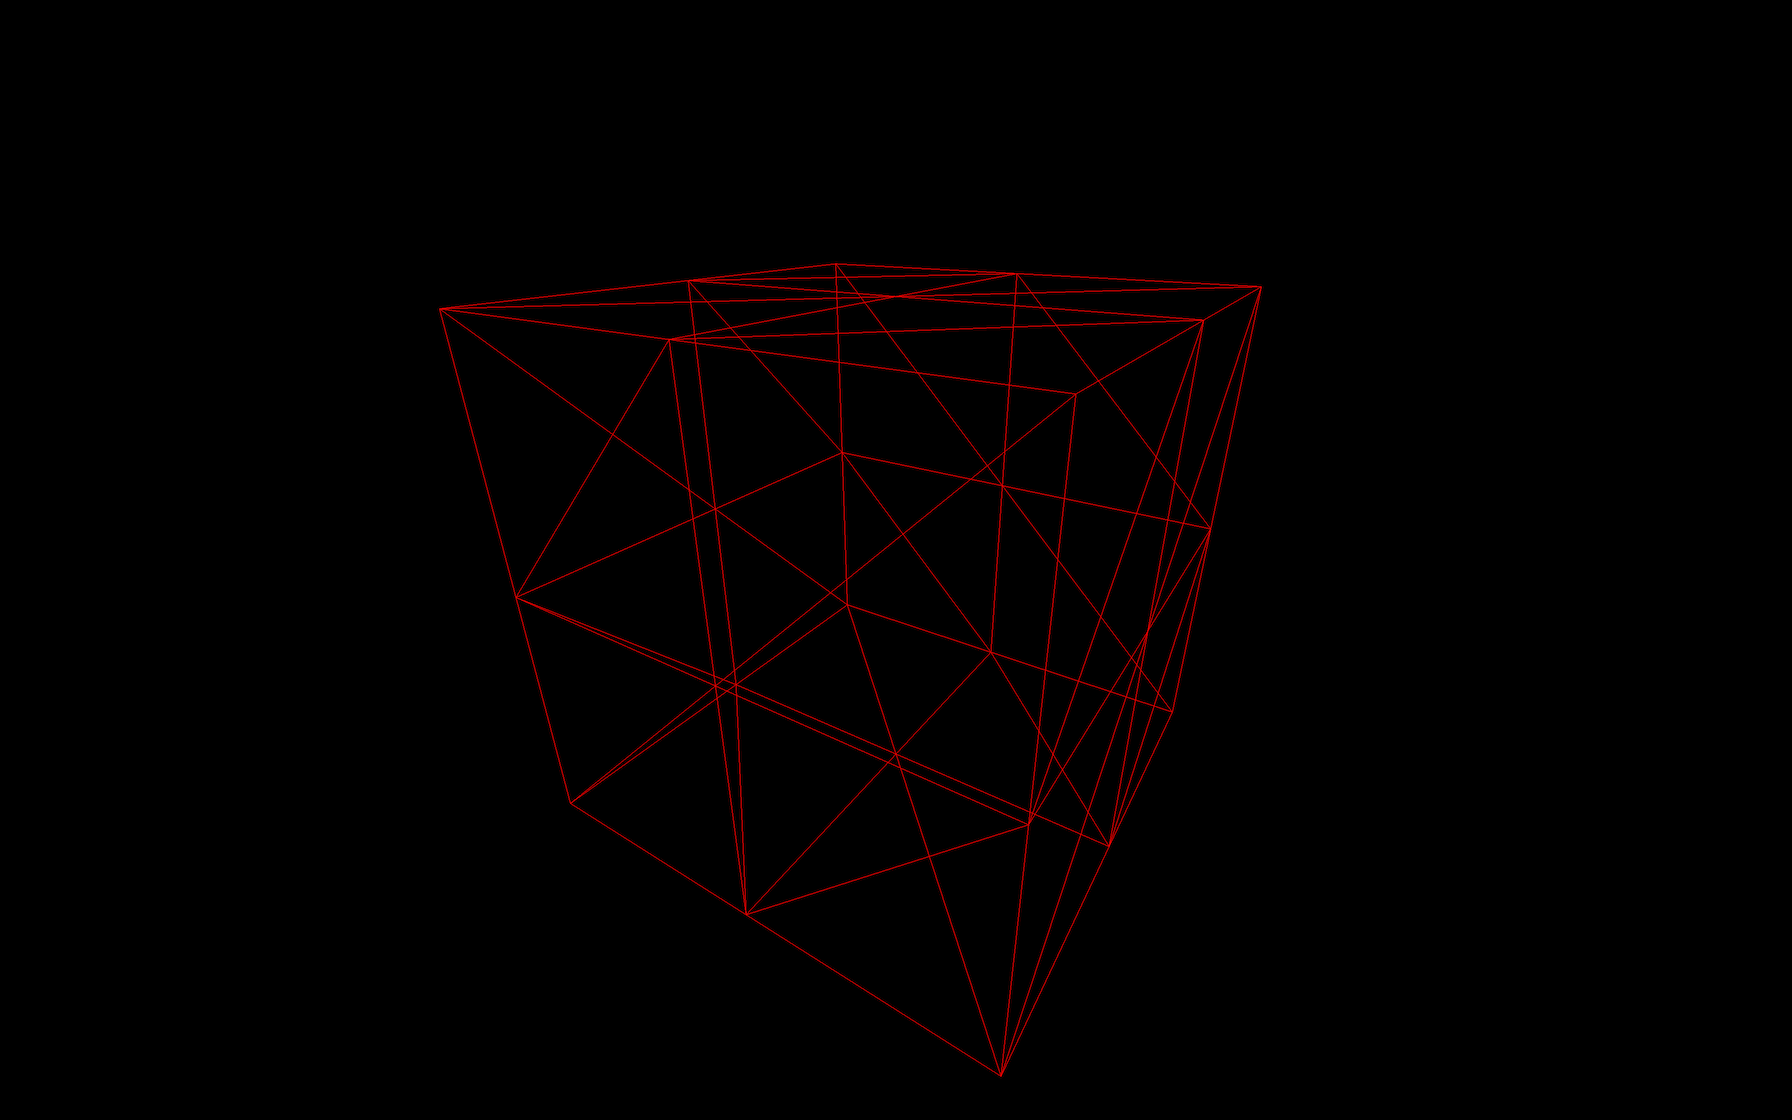
As you can see, there are 8 triangles by face.
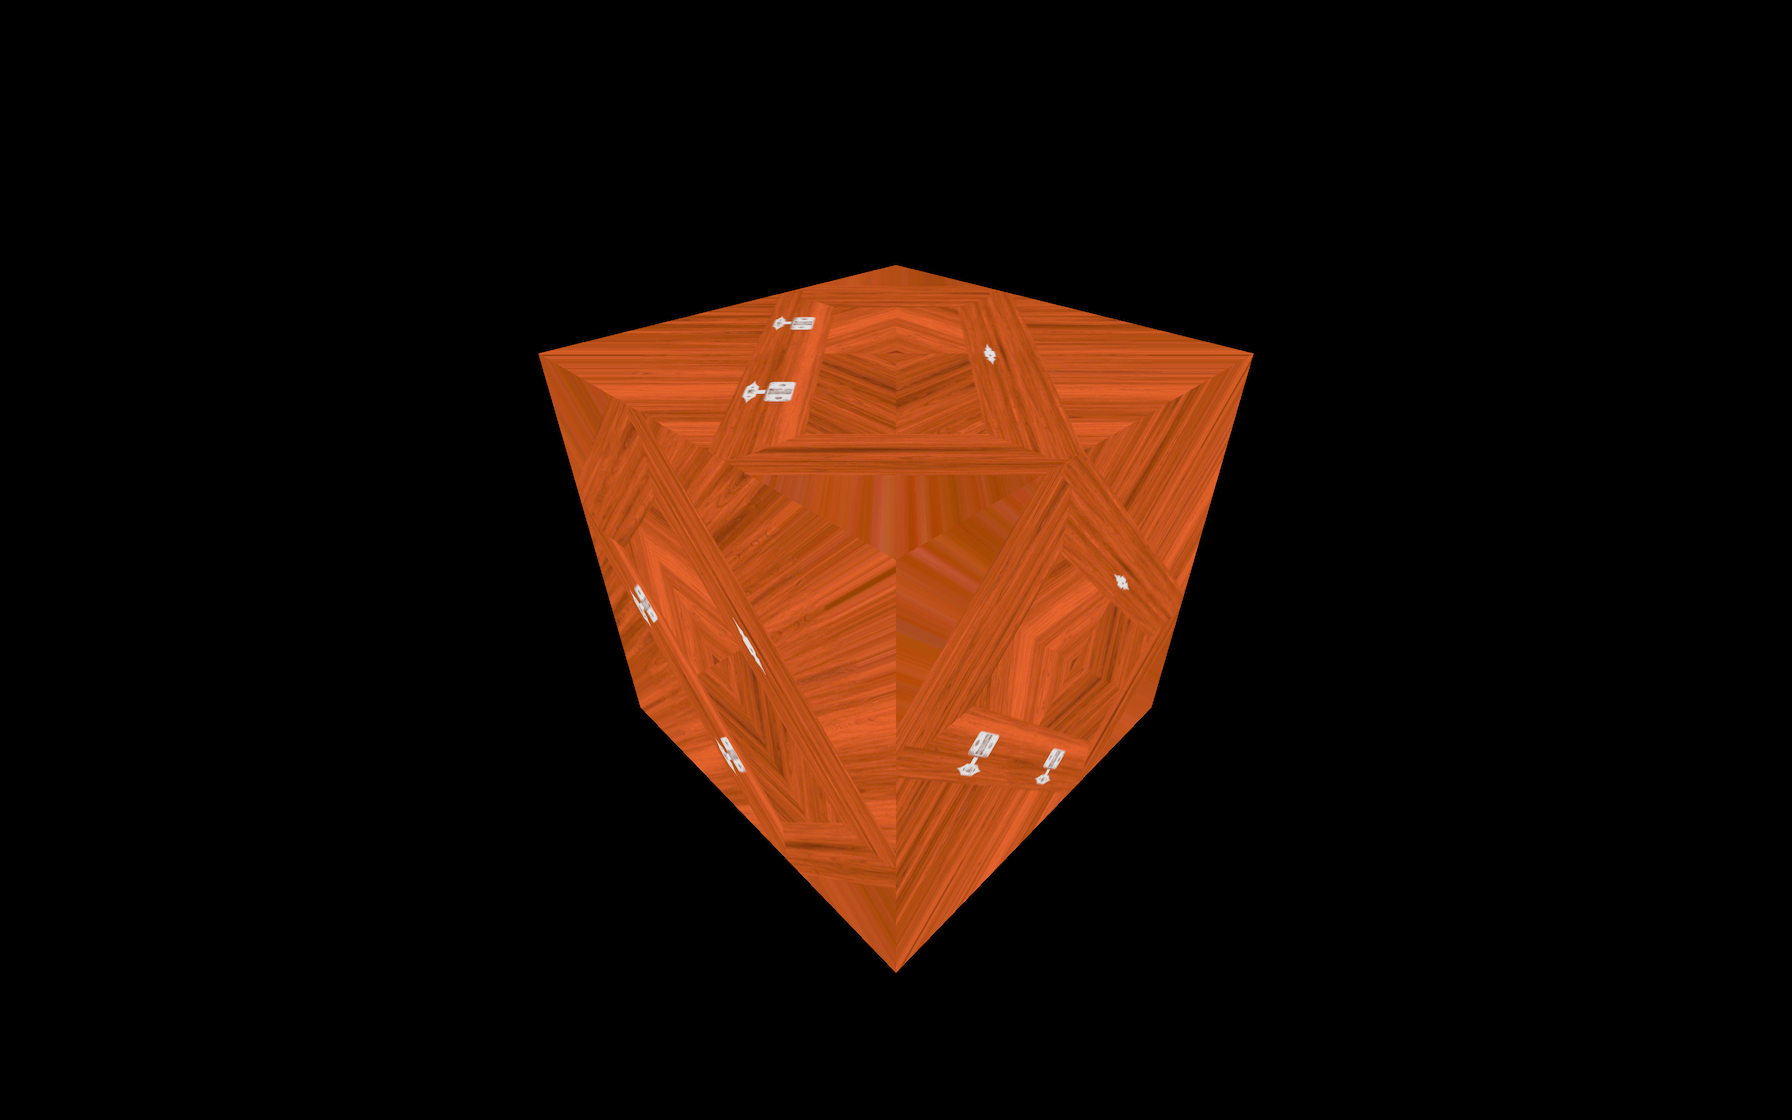
While this is not relevant for a flat face cube, it gets more interesting when using a SphereGeometry:
const geometry = new THREE.SphereGeometry(1, 32, 32)
JavaScript
Copy
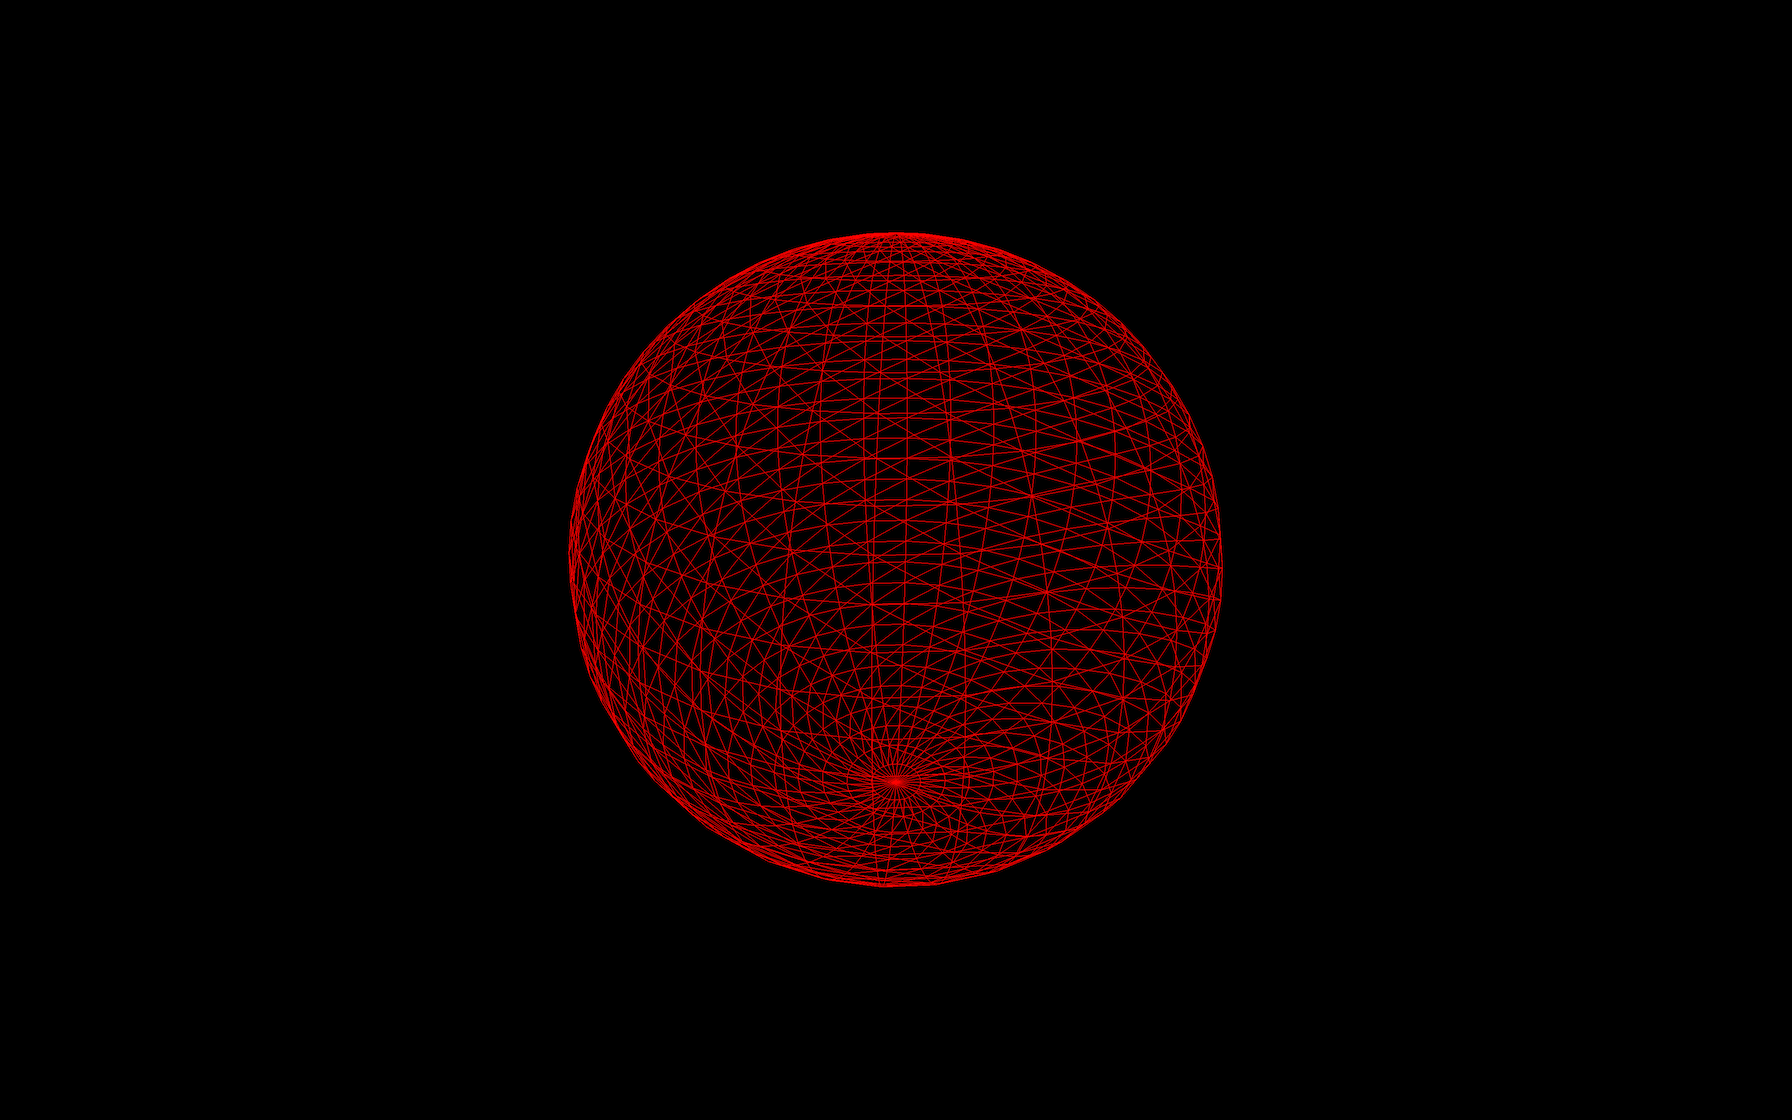
The more subdivisions we add, the less we can distinguish the faces. But keep in mind that too many vertices and faces will affect performances.
Create your own geometries
Sometimes, we need to create our own geometries. If the geometry is very complex or with a precise shape, it’s better to create it in a 3D software (and we will cover that in a future lesson), but if the geometry isn’t too complex, we can build it ourself by starting with an empty Geometry.
const geometry = new THREE.Geometry()
JavaScript
Copy
We now need to provide vertices. As we said earlier, vertices are 3D coordinates, and we already know how to specify 3D coordinates when using Three.js. We are going to use the Vector3 class and push those vertices to the vertices property array of our geometry:
const vertex1 = new THREE.Vector3(0, 0, 0)
geometry.vertices.push(vertex1)

const vertex2 = new THREE.Vector3(0, 1, 0)
geometry.vertices.push(vertex2)

const vertex3 = new THREE.Vector3(1, 0, 0)
geometry.vertices.push(vertex3)
JavaScript
Copy
We can now create a face using the Face3 class (“3” because faces are triangles)
The parameters of the this class are the indexes of the vertices. In our case, we only have 3 vertices so it’s going to be 0 , 1 and 2 :
geometry.faces.push(new THREE.Face3(0, 1, 2))
JavaScript
Copy
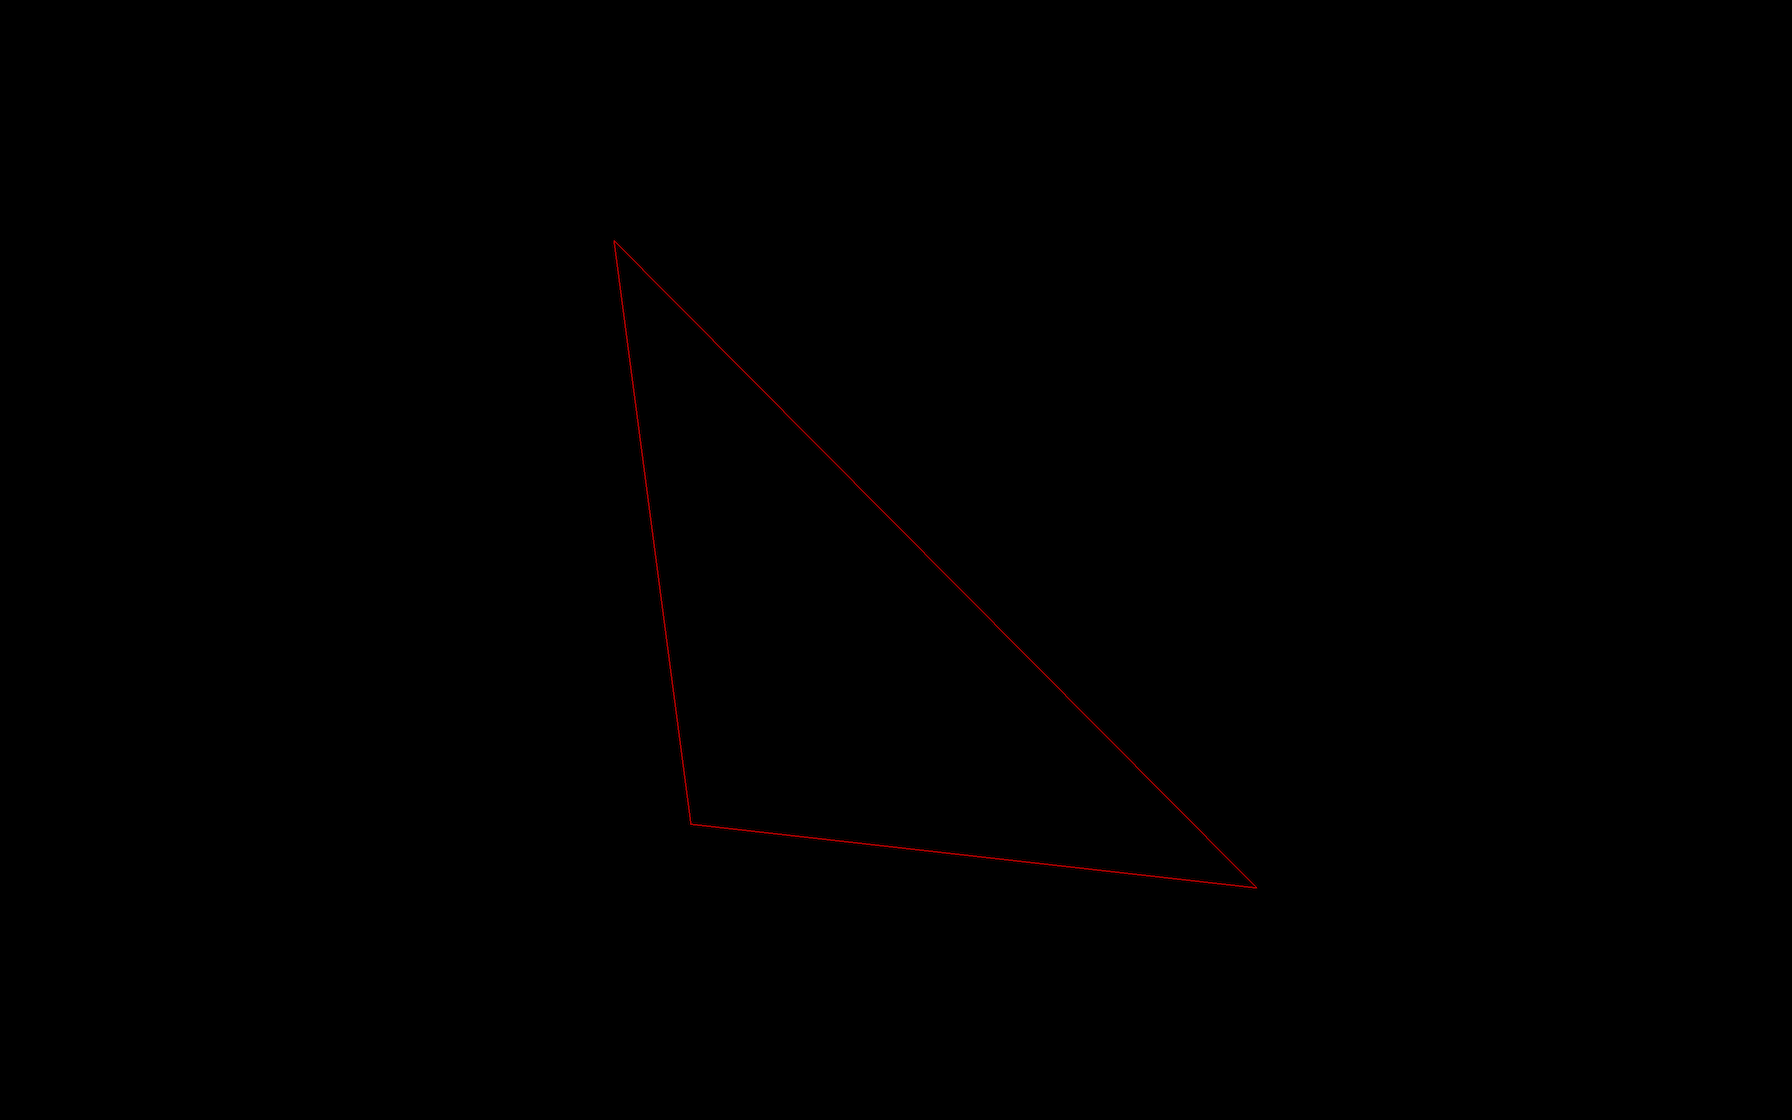
All together:
// Create an empty geometry
const geometry = new THREE.Geometry()

// Create 3 vertices
const vertice1 = new THREE.Vector3(0, 0, 0)
geometry.vertices.push(vertice1)

const vertice2 = new THREE.Vector3(0, 1, 0)
geometry.vertices.push(vertice2)

const vertice3 = new THREE.Vector3(1, 0, 0)
geometry.vertices.push(vertice3)

// Create a face from those 3 vertices
geometry.faces.push(new THREE.Face3(0, 1, 2))
JavaScript
Copy
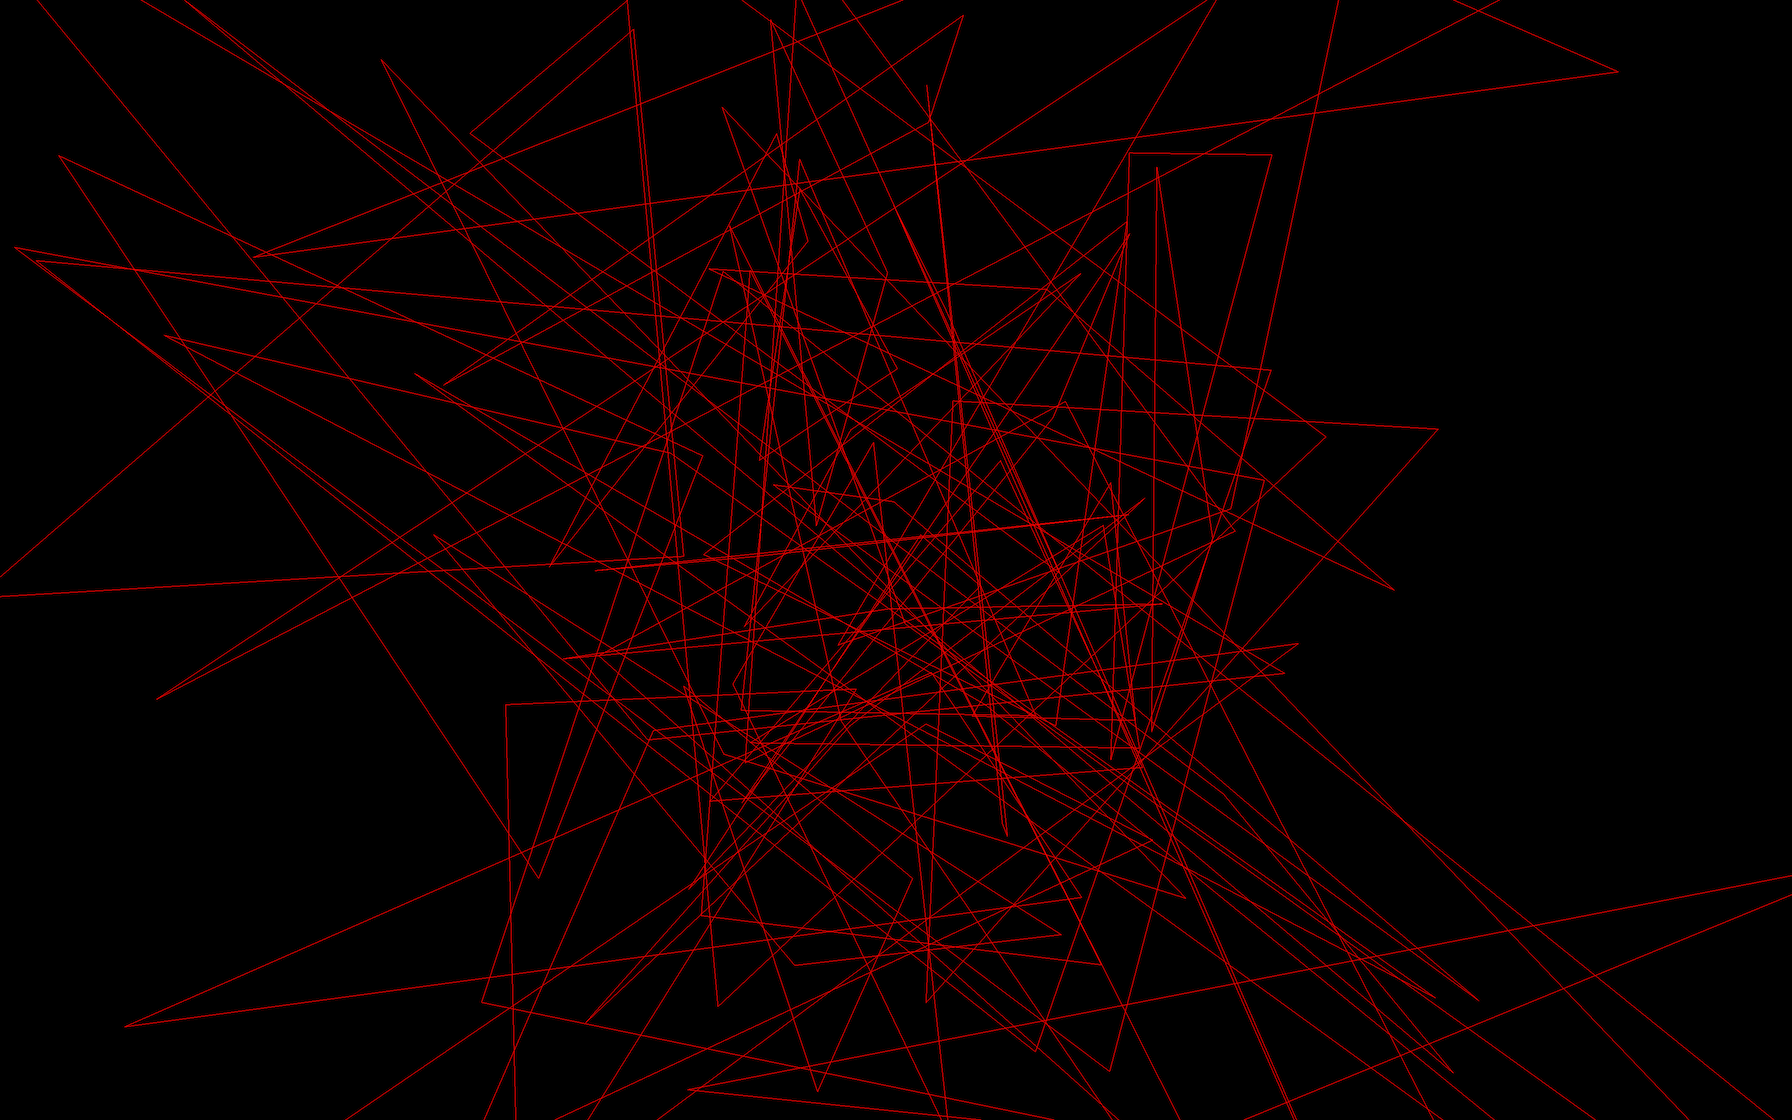
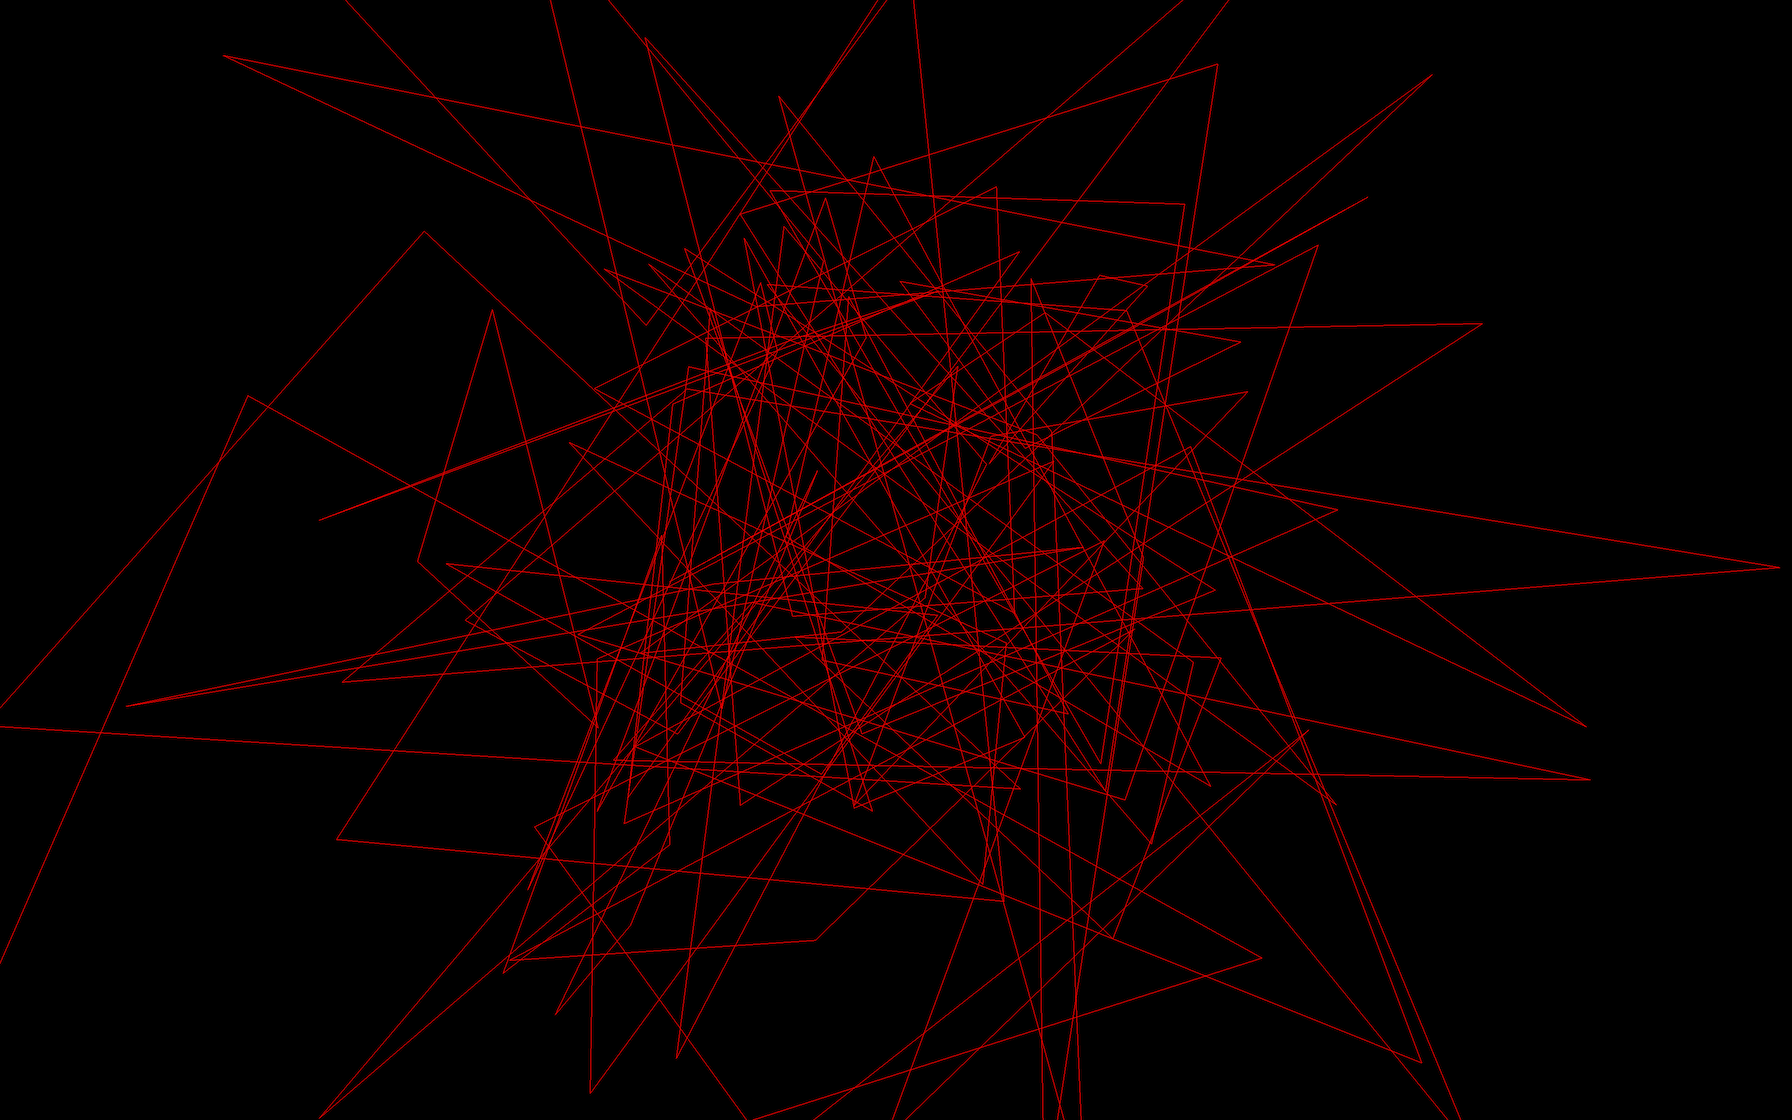
That was a lot of efforts just to create a mere triangle. Let’s have some fun and create a bunch of random triangles using loops:
// Create an empty geometry
const geometry = new THREE.Geometry()

// Loop to create 50 triangles
for(let i = 0; i < 50; i++)
{
    // Loop to create 3 vertices
    for(let j = 0; j < 3; j++)
    {
        geometry.vertices.push(new THREE.Vector3(
            (Math.random() - 0.5) * 4, // x
            (Math.random() - 0.5) * 4, // y
            (Math.random() - 0.5) * 4  // z
        ))
    }

    // Create the triangle
    const verticesIndex = i * 3
    geometry.faces.push(new THREE.Face3(
        verticesIndex,
        verticesIndex + 1,
        verticesIndex + 2
    ))
}
JavaScript
Copy
Buffer geometries
While wandering the Three.js documentation, you probably came across the term “BufferGeometry”.
Buffer geometries are like geometries, but they are more efficient and optimized. The drawback is that they are less developer-friendly. Updating a buffer geometry or creating one from scratch will be more challenging but will improve performance.
Using buffer geometries
Most of the geometries we saw earlier have a buffer version. All you have to do is to use the corresponding class with the same parameter:
const geometry = new THREE.BoxBufferGeometry(1, 1, 1)
JavaScript
Copy
We get the same result.
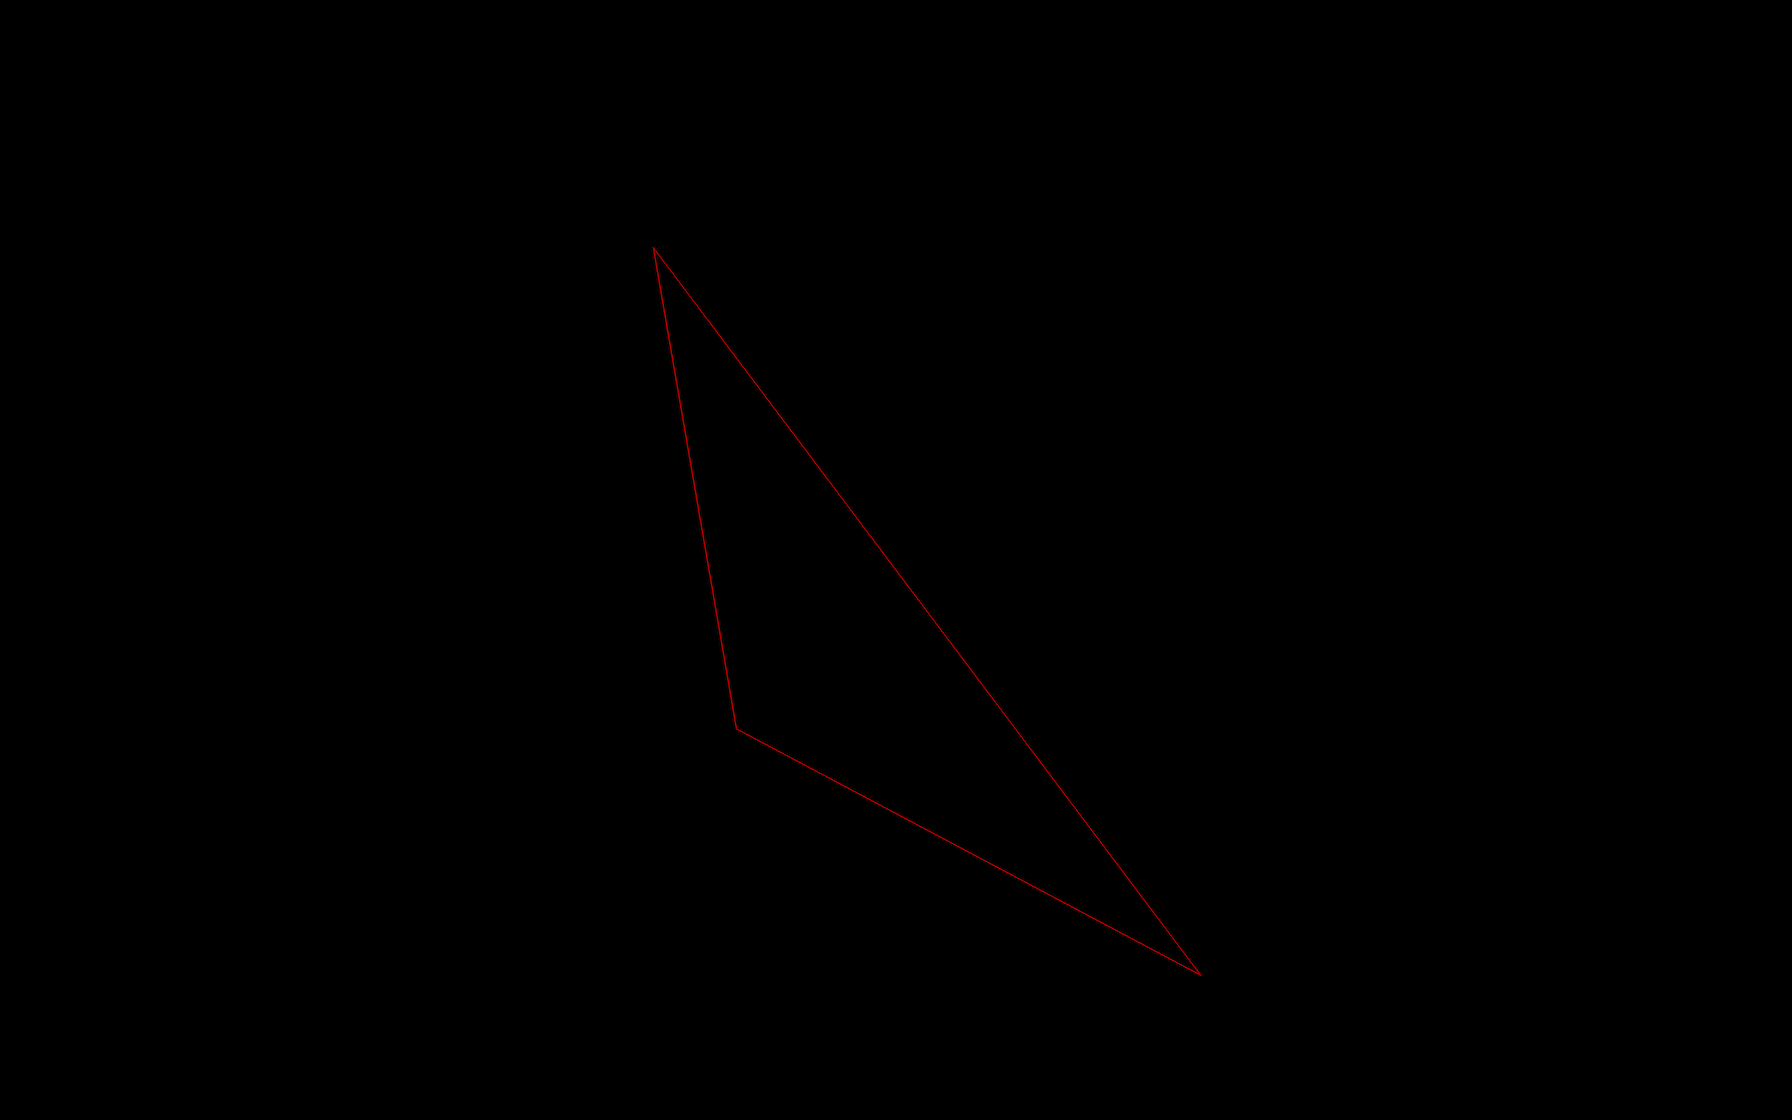
Creating your own buffer geometry
To create your own buffer geometry, start by instantiating an empty BufferGeometry. We will create a simple triangle just as we did before:
To add vertices to a BufferGeometry you must start with a Float32Array.
Float32Array are native JavaScript typed array. You can only store floats inside, and the length of that array is fixed.
To create a Float32Array, you can specify its length and then fill it later:
const positionsArray = new Float32Array(9)

// First vertice
positionsArray[0] = 0
positionsArray[1] = 0
positionsArray[2] = 0

// Second vertice
positionsArray[3] = 0
positionsArray[4] = 1
positionsArray[5] = 0

// Third vertice
positionsArray[6] = 1
positionsArray[7] = 0
positionsArray[8] = 0
JavaScript
Copy
Or you can pass an array:
const positionsArray = new Float32Array([
    0, 0, 0, // First vertex
    0, 1, 0, // Second vertex
    1, 0, 0  // Third vertex
])
JavaScript
Copy
As you can see, the coordinates of the vertices are specified linearly. The array is a one-dimensional array where you specify the x , y , and z of the first vertex, followed by the x , y , and z of the second vertex, and so on.
Before you can send that array to the BufferGeometry, you have to transform it into a BufferAttribute.
The first parameter corresponds to your typed array and the second parameter corresponds to how much values make one vertex attribute. As we saw earlier, to read this array, we have to go 3 by 3 because a vertex position is composed of 3 values ( x , y and z ):
const positionsAttribute = new THREE.BufferAttribute(positionsArray, 3)
JavaScript
Copy
Then we can add this attribute to our BufferGeometry using the setAttribute(...) method. The first parameter is the name of this attribute and the second parameter is the value:
geometry.setAttribute('position', positionsAttribute)
JavaScript
Copy
We chose 'position' as the name because Three.js internal shaders will look for that value to position the vertices. We will see more about that in the shaders lessons.
The faces will be automatically created following the order of the vertices.
All together:
// Create an empty BufferGeometry
const geometry = new THREE.BufferGeometry()

// Create a Float32Array containing the vertices position (3 by 3)
const positionsArray = new Float32Array([
    0, 0, 0, // First vertex
    0, 1, 0, // Second vertex
    1, 0, 0  // Third vertex
])

// Create the attribute and name it 'position'
const positionsAttribute = new THREE.BufferAttribute(positionsArray, 3)
geometry.setAttribute('position', positionsAttribute)
JavaScript
Copy
We can also create a bunch of random triangles as we did before:
// Create an empty BufferGeometry
const geometry = new THREE.BufferGeometry()

// Create 50 triangles (450 values)
const count = 50
const positionsArray = new Float32Array(count * 3 * 3)
for(let i = 0; i < count * 3 * 3; i++)
{
    positionsArray[i] = (Math.random() - 0.5) * 4
}

// Create the attribute and name it 'position'
const positionsAttribute = new THREE.BufferAttribute(positionsArray, 3)
geometry.setAttribute('position', positionsAttribute)
JavaScript
Copy
The code is actually smaller using BufferGeometry. The only difficulty might be the count * 3 * 3 part but it’s quite simple to explain: We need 50 triangles. Each triangle is composed of 3 vertices and each vertex is composed of 3 values ( x , y , and z ).
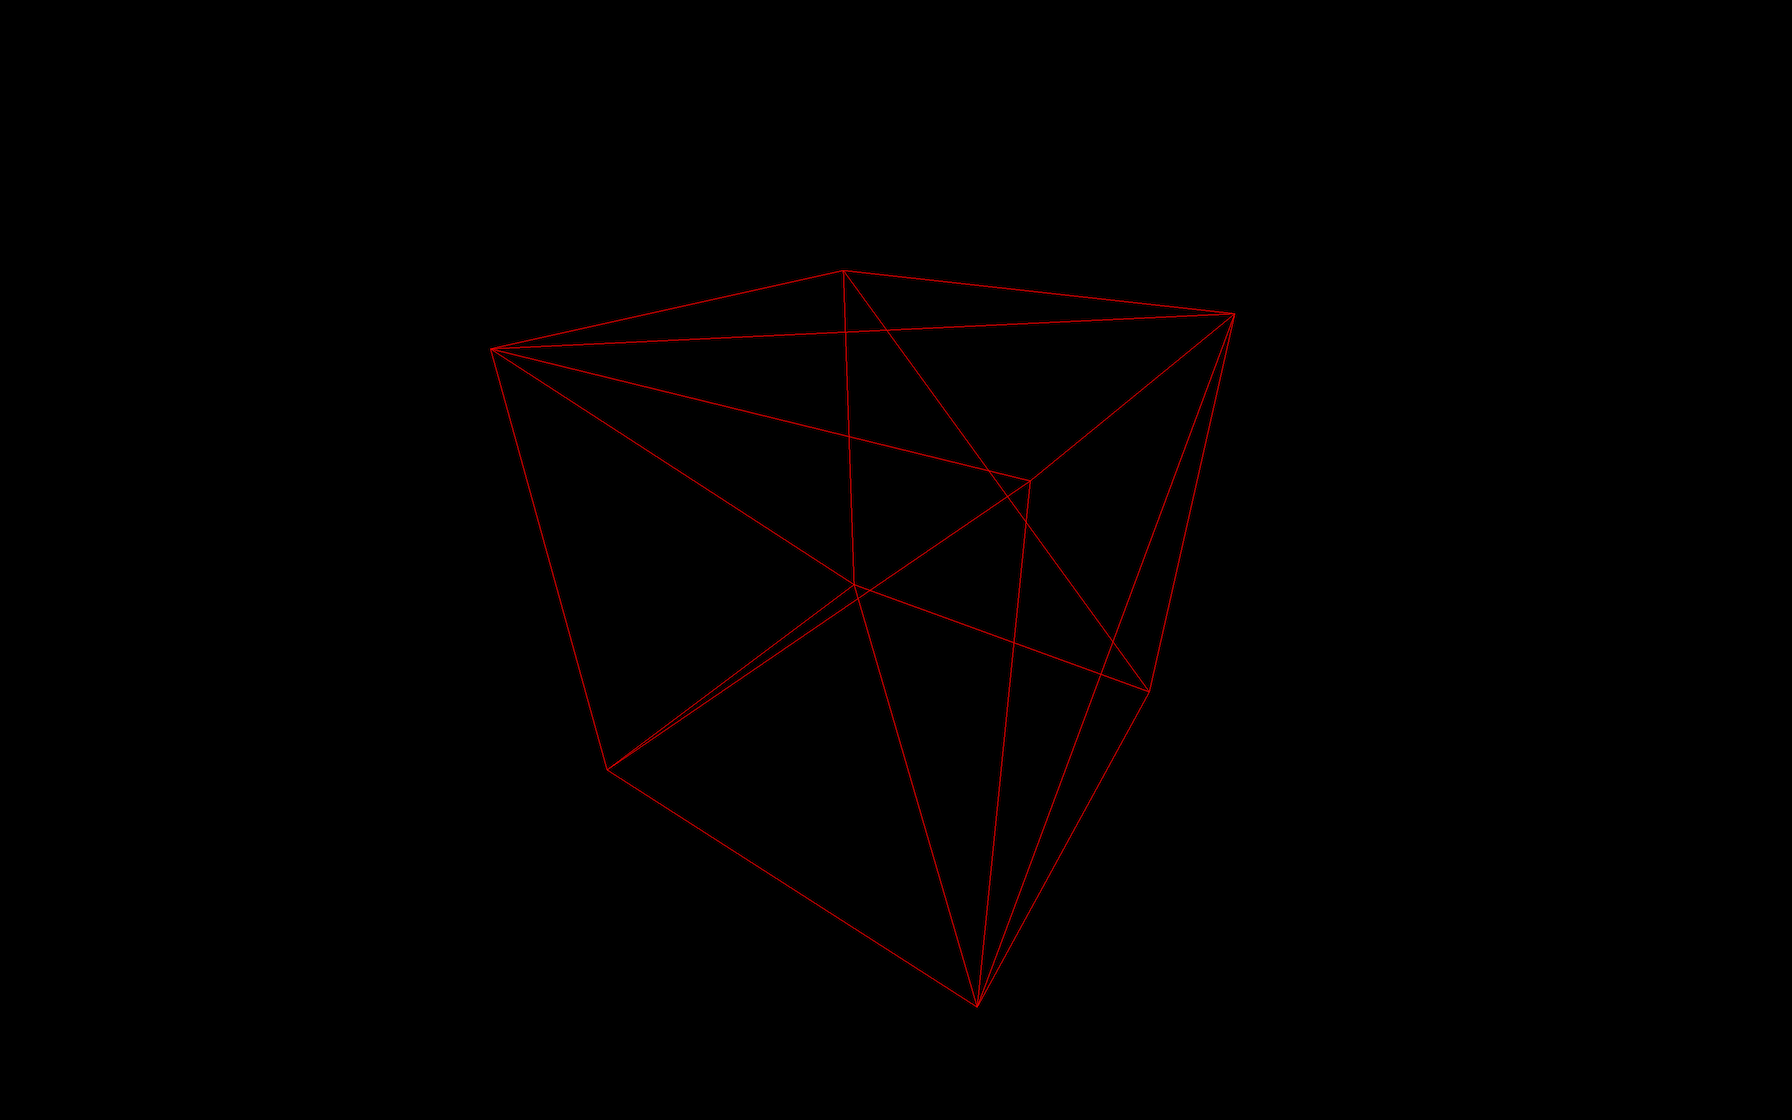
Index
One interesting thing with BufferGeometry is that you can mutualize vertices using the index property. Consider a cube. Multiple faces can use some vertices like the ones in the corners. And if you look closely, every vertex can be used by various neighbor triangles. That will result in a smaller attribute array and performance improvement. But we won’t cover this part in that lesson.
10 Debug UI
Difficulty Medium
Introduction
An essential aspect of every creative project is making debugging easy and tweaking your code. The developer (you) and other actors working on the project (like designers or even the client) must be able to change as many parameters as possible.
You have to take this into account for them to find the perfect color, speed, quantity, etc. for the best experience. You might even get unexpected results that look great.
First, we need a debug UI.
While you can create your own debug UI using HTML / CSS / JS, there are already multiple libraries:
All of these can do what we want, but we will use the most popular one, which is dat.GUI. Feel free to try the other ones.
Example
You can find a pretty good example of debug UI on my portfolio. This UI only shows up when you add #debug to the URL.
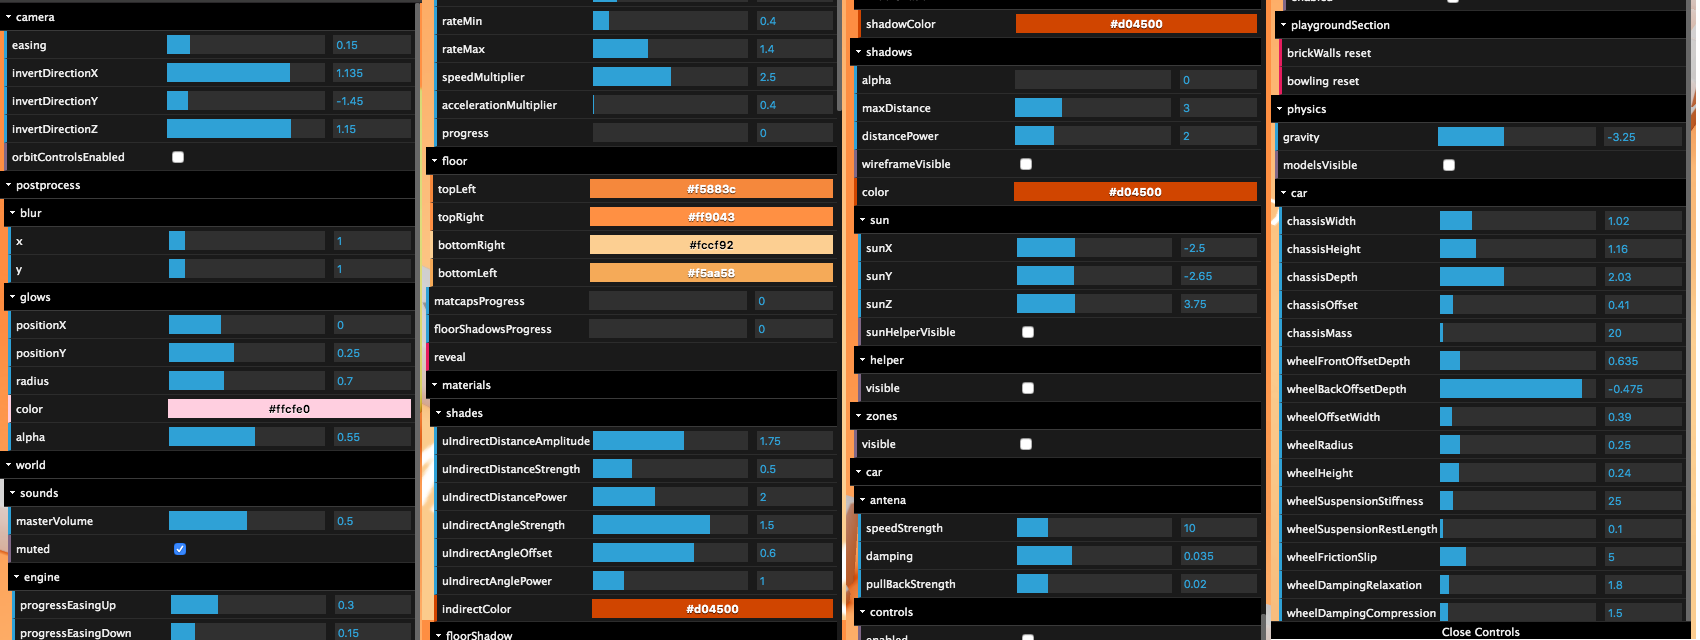
You can tweak the gravity, the colors, the speed, the elements position, etc.
While it took me a lot of time to create all those tweaks, the game would appear less balanced without it.
Setup
In the starter, we have our cube, but the dependencies don’t include Dat.GUI. We will add it and create some tweaks.
How to implement Dat.GUI
To add Dat.GUI to our Webpack project, we can use the dependency manager provided with Node.js called NPM (just like we did for GSAP in a previous lesson).
In your terminal (while the server is not running or by using another terminal window on the same folder) run npm install --save dat.gui
Dat.GUI is now available in the /node_modules/ folder and we can import it in our script.js . Don’t forget to relaunch the server:
import './style.css'
import * as THREE from 'three'
import { OrbitControls } from 'three/examples/jsm/controls/OrbitControls.js'
import gsap from 'gsap'
import * as dat from 'dat.gui'

// ...
JavaScript
Copy
You can now instantiate Dat.GUI:
/**
 * Debug
 */
const gui = new dat.GUI()
JavaScript
Copy

This will result in an empty panel on the top right corner of the screen.
There are different types of elements you can add to that panel:
- Range —for numbers with minimum and maximum value
- Color —for colors with various formats
- Text —for simple texts
-
Checkbox —for booleans (
trueorfalse) - Select —for a choice from a list of values
- Button —to trigger functions
- Folder —to organize your panel if you have too many elements
Let’s see some of those.
Add elements
To add an element to the panel, you must use gui.add(...) . The first parameter is an object and the second parameter is the property of that object you want to tweak. You need to set it after you created the concerned object:
gui.add(mesh.position, 'y')
JavaScript
Copy
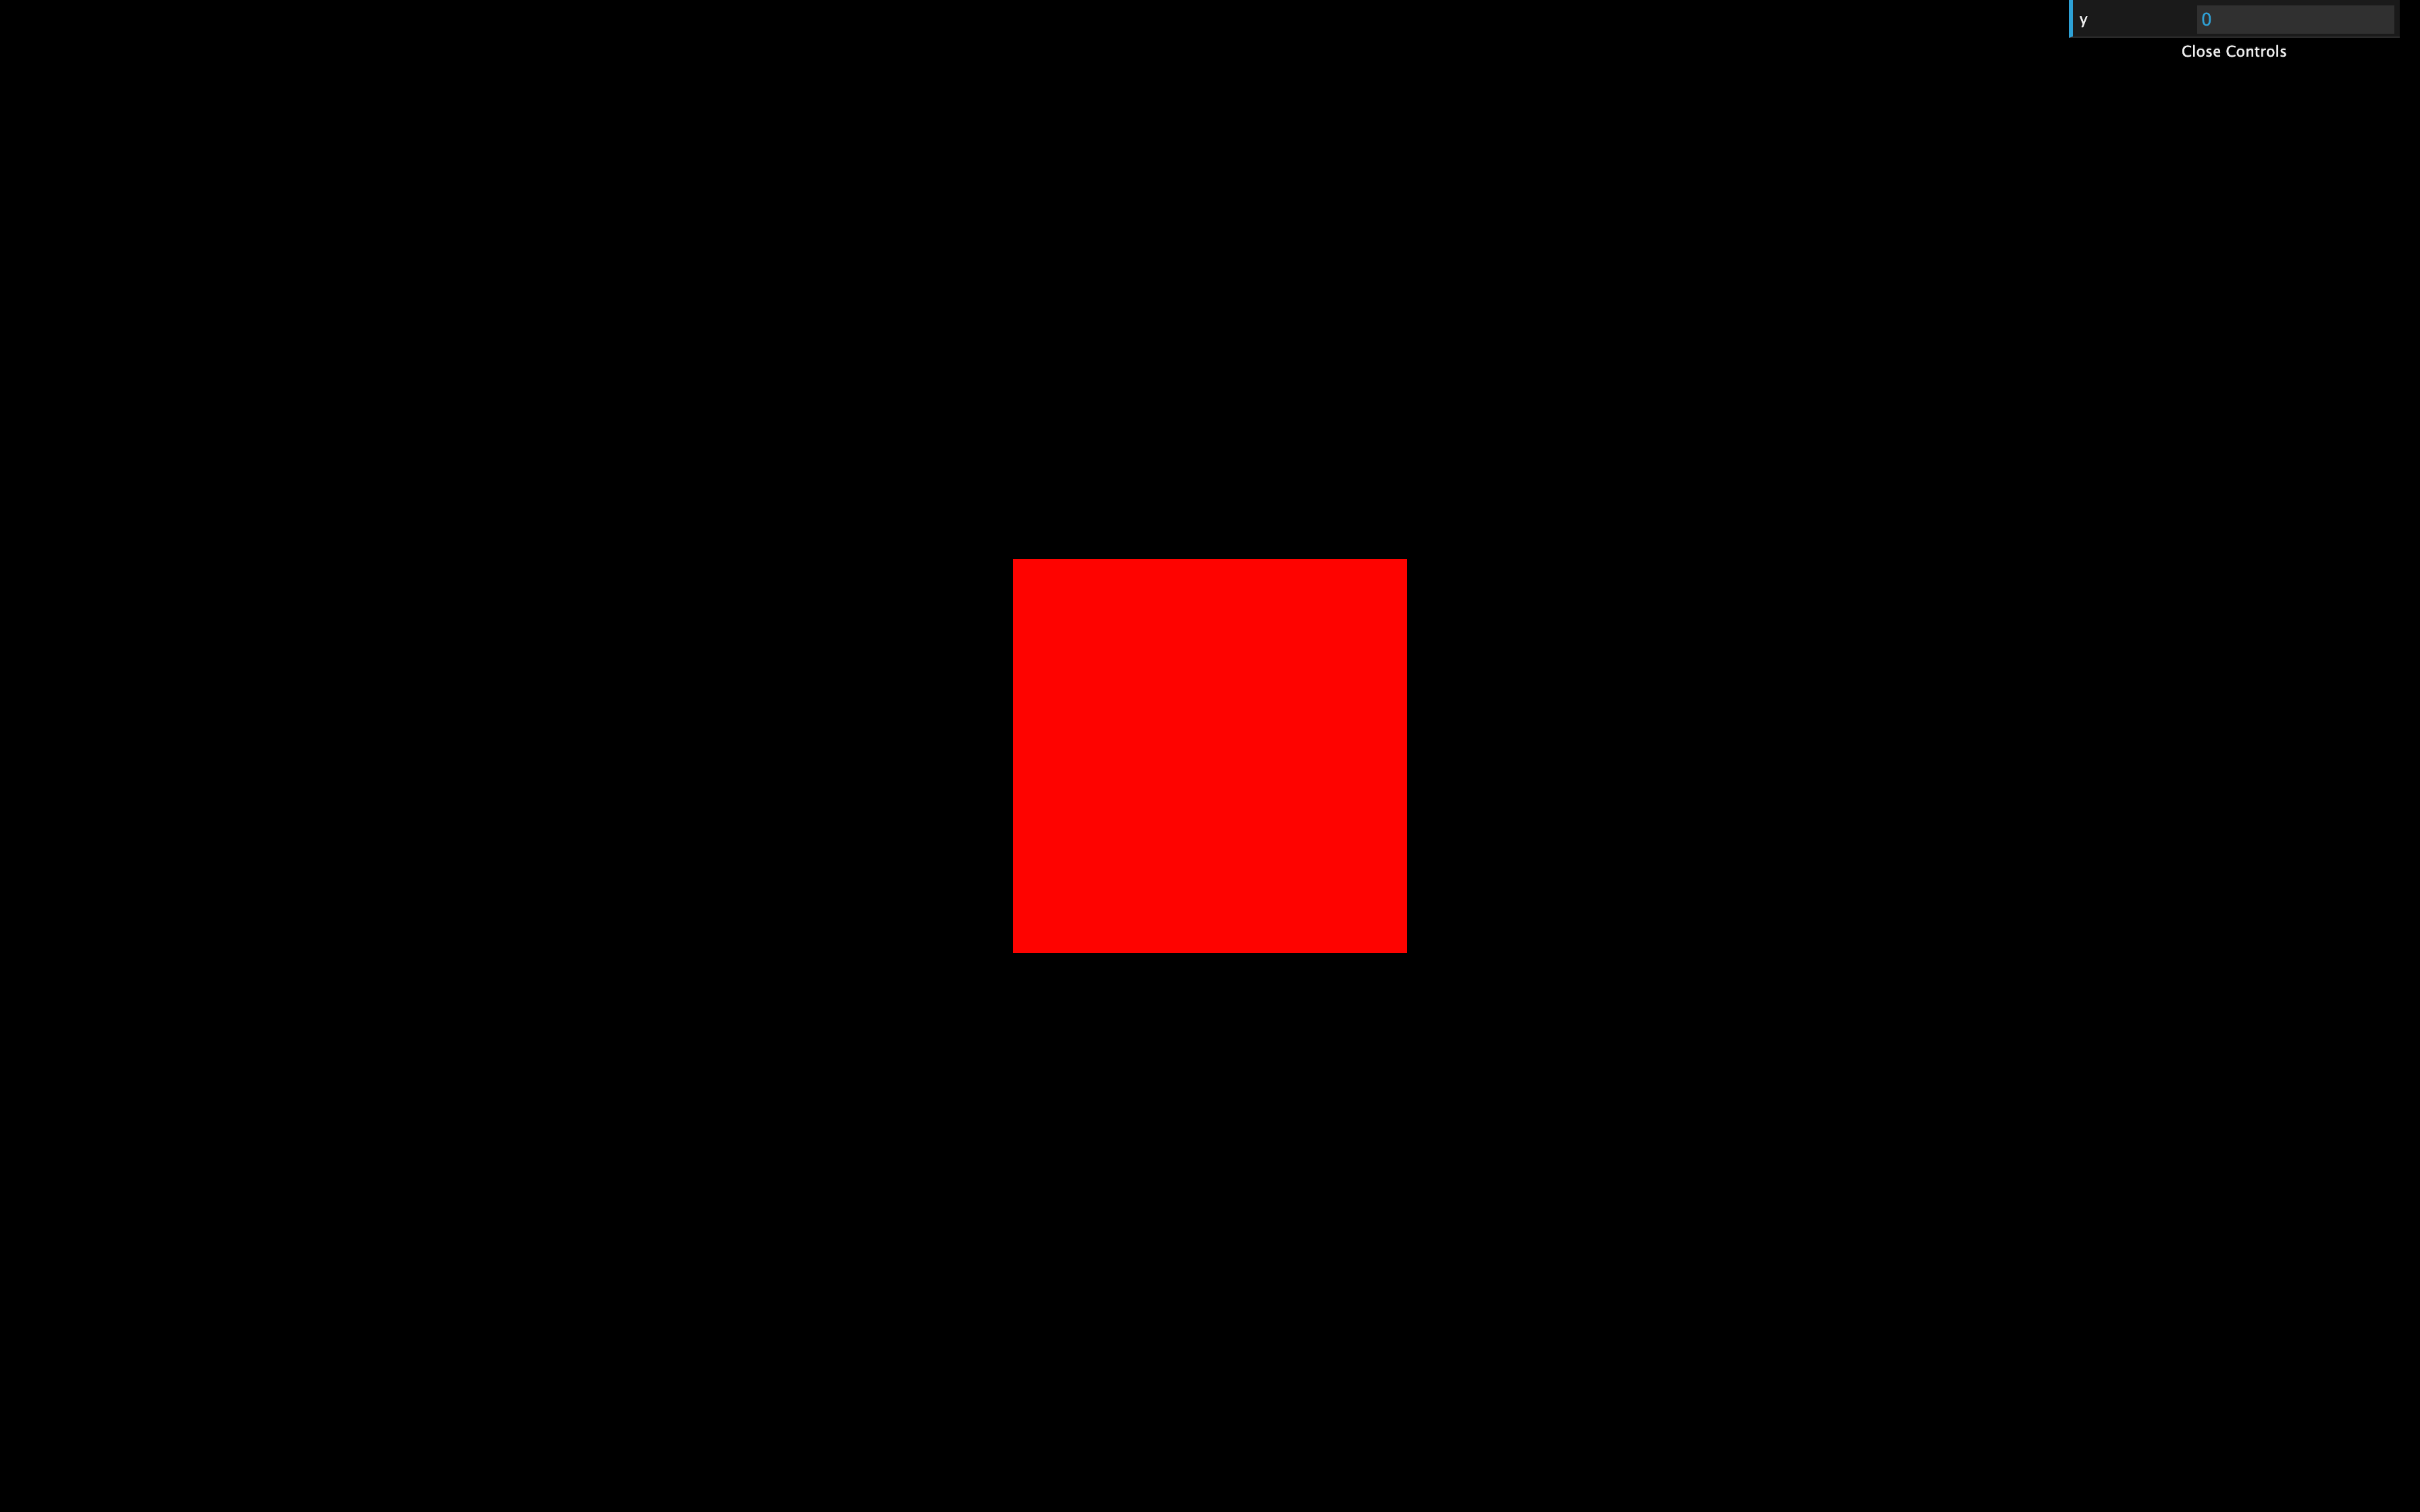
A range should appears in the panel. Try to change it and watch the cube moving accordingly.
To specify the minimum value, the maximum value and the precision, you can set them in the parameters:
gui.add(mesh.position, 'y', - 3, 3, 0.01)
JavaScript
Copy

Or you can use the methods min(...) , max(...) and step(...) by chaining directly after the add(...) method:
gui.add(mesh.position, 'y').min(- 3).max(3).step(0.01)
JavaScript
Copy
If you don’t like having too many methods chained in one line, you can simply add line breaks:
gui
    .add(mesh.position, 'y')
    .min(- 3)
    .max(3)
    .step(0.01)
JavaScript
Copy
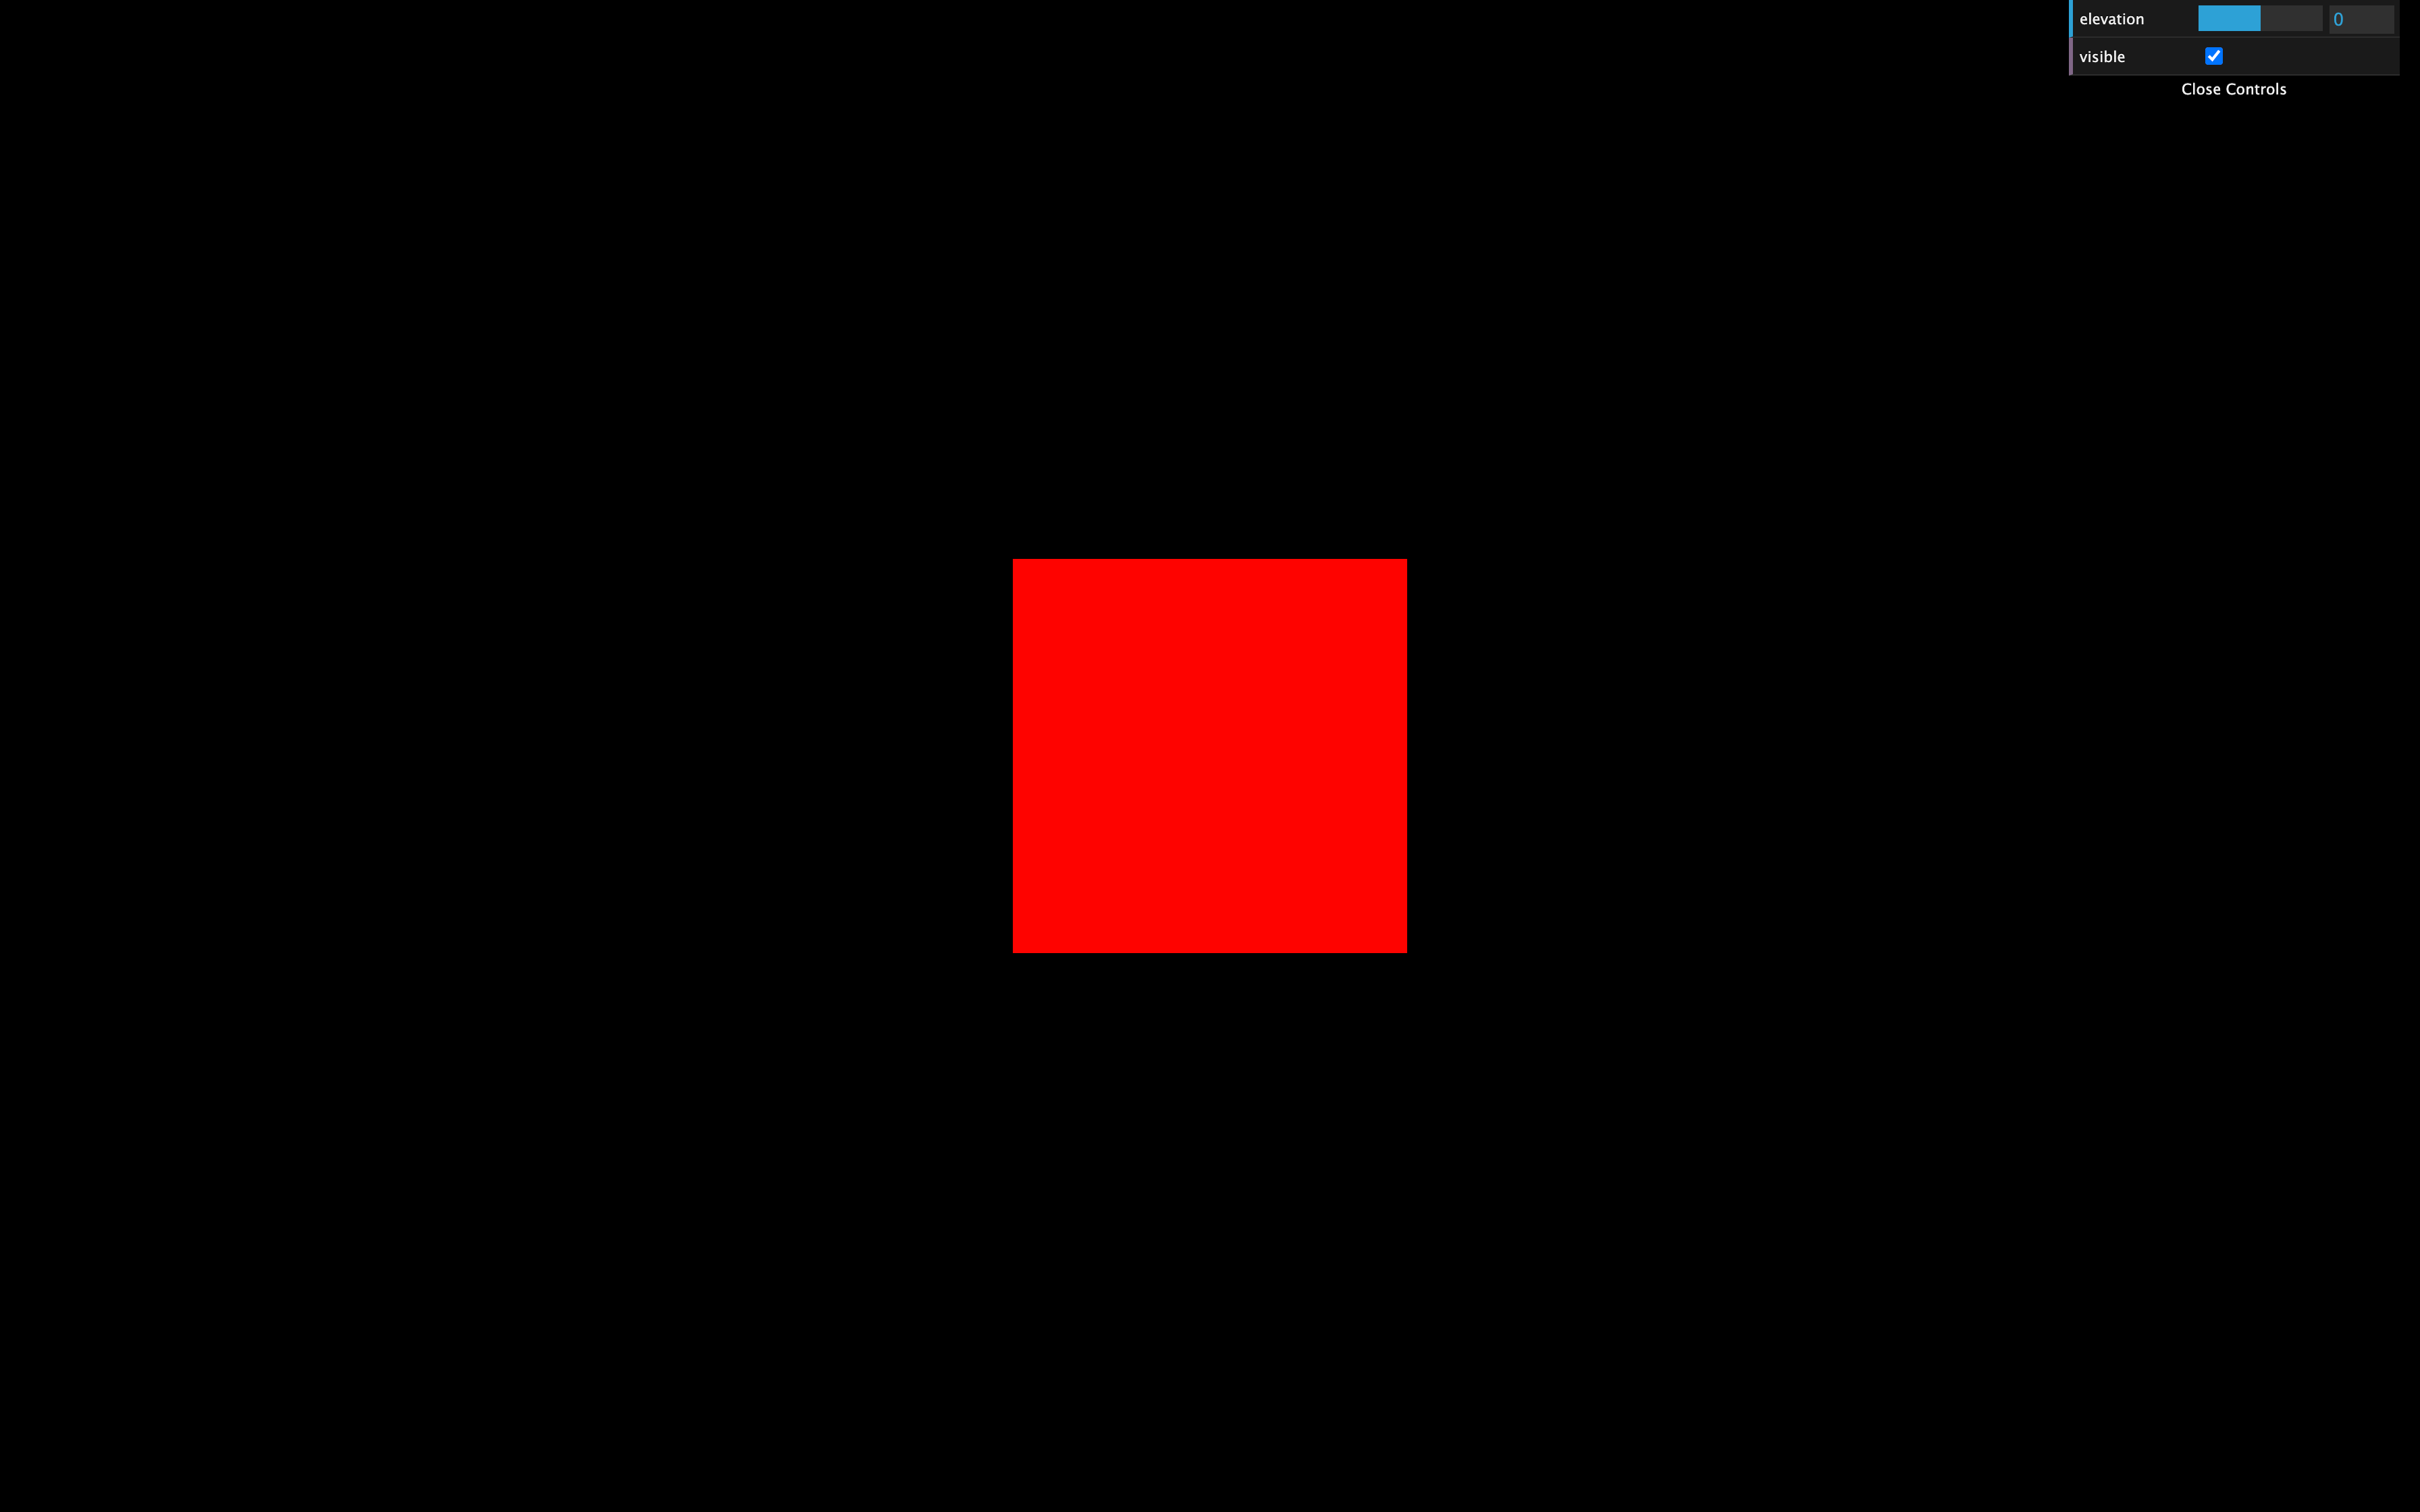
To change the label, use the the name(...) method:
gui
    .add(mesh.position, 'y')
    .min(- 3)
    .max(3)
    .step(0.01)
    .name('elevation')
JavaScript
Copy

Dat.GUI will automatically detect what kind of property you want to tweak and use the corresponding element. A good example is the visible property of Object3D. It is a boolean that, if false , will hide the object:
gui.add(mesh, 'visible')
JavaScript
Copy
As you can see, Dat.GUI chose a checkbox because the visible property is a boolean.
We can do the same with the wireframe property of the material:
gui.add(material, 'wireframe')
JavaScript
Copy

Colors
Handling colors is a little harder.
First, we need to use addColor(...) instead of add(...) . This is due to Dat.GUI not being able to know if you want to tweak a text, a number or a color just by the type of the property.
Secondly, you’ll have to create an intermediate object with the color in its properties and use that property in your material. That is due to the Three.js material not having a clean and accessible value like #ff0000 .
Create a parameter variable at the start of your code right after the import part:
const parameters = {
    color: 0xff0000
}
JavaScript
Copy
Then, after instantiating your gui variable, add the following tweak:
gui.addColor(parameters, 'color')
JavaScript
Copy
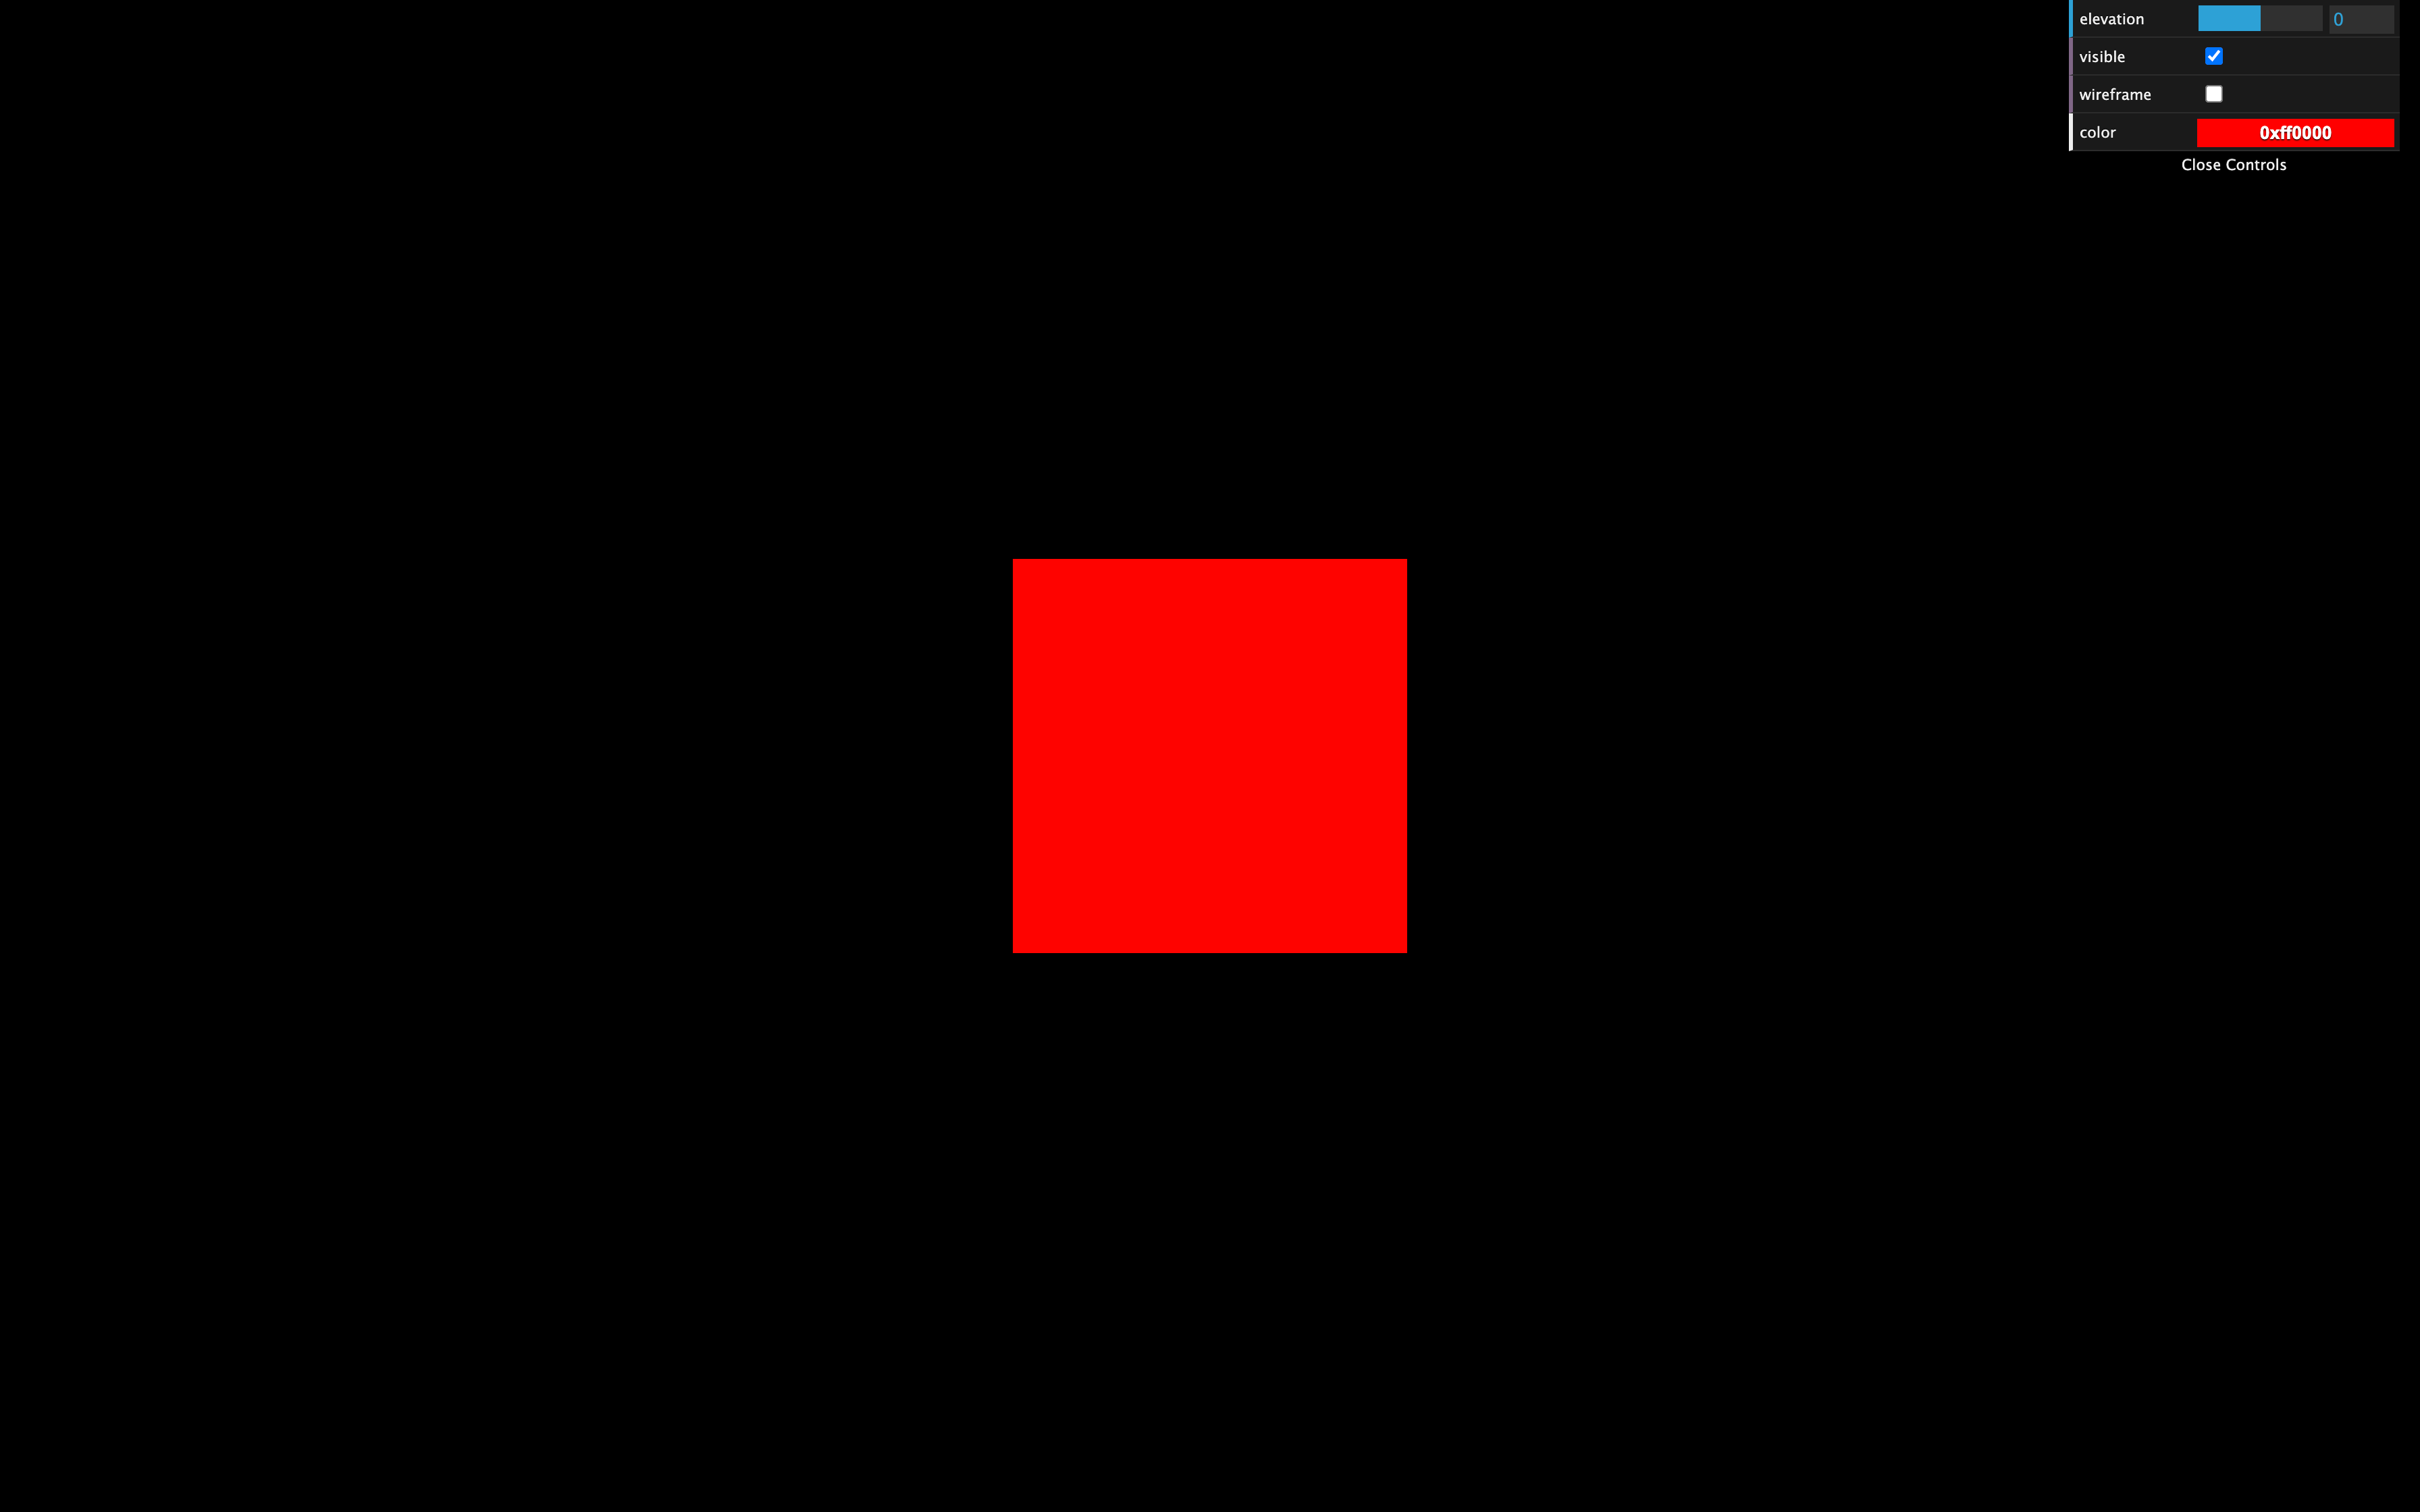
You should see a color picker in your panel. The problem is that changing this color doesn’t affect the material. It does change the color property of the parameter variable, but we don’t even use that variable in our material.
To fix that, we need Dat.GUI to alert us when the value changed. We can do that by chaining the onChange(...) method and updating the material color using material.color.set(...) . This method is very useful because of how many formats you can use like '#ff0000' , '#f00' , 0xff0000 or even 'red' :
const parameters = {
    color: 0xff0000
}

// ...

gui
    .addColor(parameters, 'color')
    .onChange(() =>
    {
        material.color.set(parameters.color)
    })
JavaScript
Copy
Currently, the 0xff0000 color is specified at two places: in the parameters object and in the material .
While it’s not a big deal, if we want to change the color, we’ll have to do it at those two places.
Let’s simply fix that by using the parameters.color property in our material:
const material = new THREE.MeshBasicMaterial({ color: parameters.color })
JavaScript
Copy
Functions
To trigger a function, like the color value, we must add that function to an object. We can use the parameters object we created earlier to add a spin property containing the function that will animate the cube:
const parameters = {
    color: 0xff0000,
    spin: () =>
    {
        gsap.to(mesh.rotation, { duration: 1, y: mesh.rotation.y + Math.PI * 2 })
    }
}
JavaScript
Copy
And again, we can add the tweak to our gui after instantiating it:
gui.add(parameters, 'spin')
JavaScript
Copy
You should see a spin button, and clicking on it will result on your cube doing a 360 rotation.
Tips
Hide
Press H to hide the panel.
If you want the panel to be hidden from start, call gui.hide() after instantiating it.
Close
You can close the panel by clicking on its bottom part.
If you want the panel to be closed by default, you can send an object when instantiating Dat.GUI and pass it closed: true in its properties:
const gui = new dat.GUI({ closed: true })
JavaScript
Copy
Width
You can change the panel’s width by drag and dropping its left border (although please note, it doesn’t always work).
If you want to change the default width of the panel, add width: ... in the properties:
const gui = new dat.GUI({ width: 400 })
JavaScript
Copy
If you want to know more about Dat.GUI, here are some links:
- Github repository: https://github.com/dataarts/dat.gui
- API documentation: https://github.com/dataarts/dat.gui/blob/HEAD/API.md
- A simple but complete example: https://jsfiddle.net/ikatyang/182ztwao/
How and when to use it
We will use our debug panel at specific moments of the next exercises. But feel free to add as many tweaks as you want. It’s an excellent way to practice and to start building some creative stuff.
I would recommend you to add tweaks as you progress. If you think of adding all the tweaks at the end of the project, you’ll probably end up with no tweak at all.
11 Textures
Difficulty Hard
Introduction
Bored with your red cube yet? It’s time to add some textures.
But first, what are textures and what can we really do with them?
What are textures?
Textures, as you probably know, are images that will cover the surface of your geometries. Many types of textures can have different effects on the appearance of your geometry. It’s not just about the color.
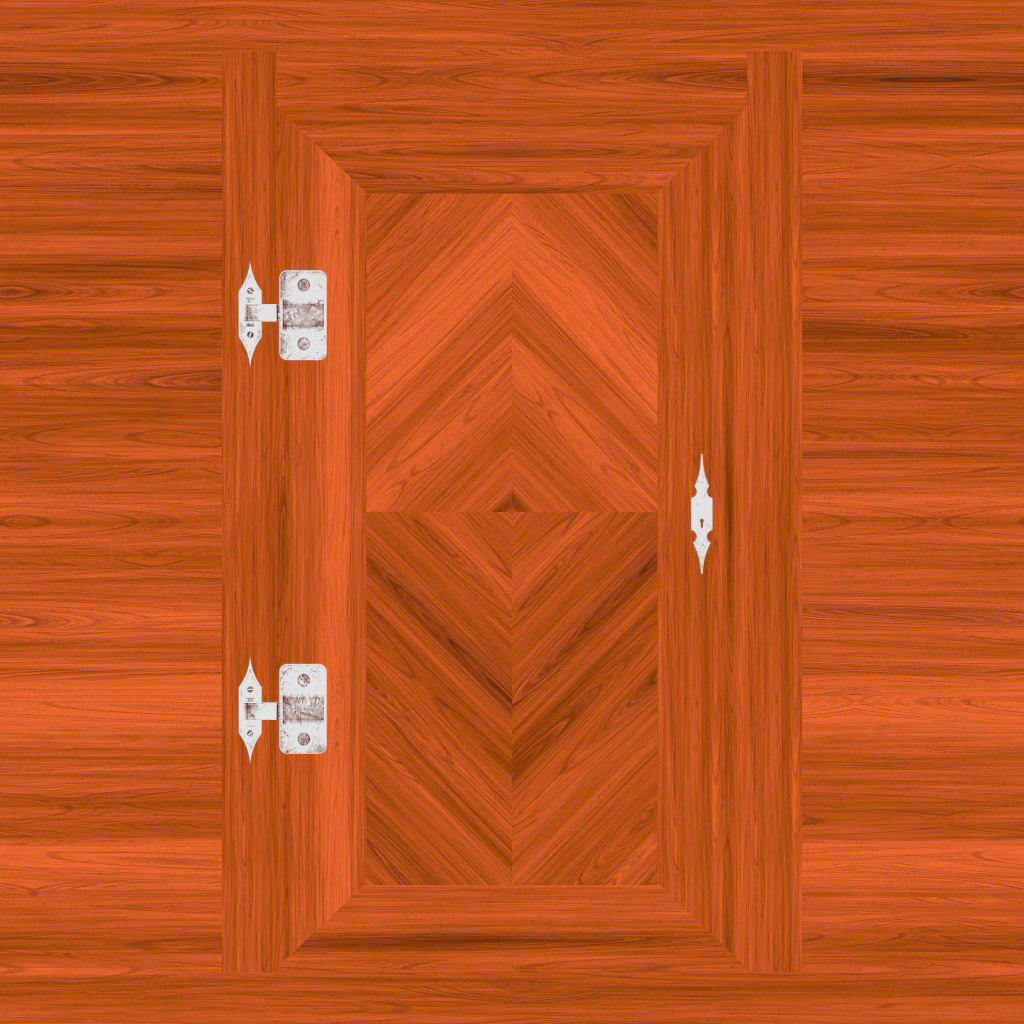
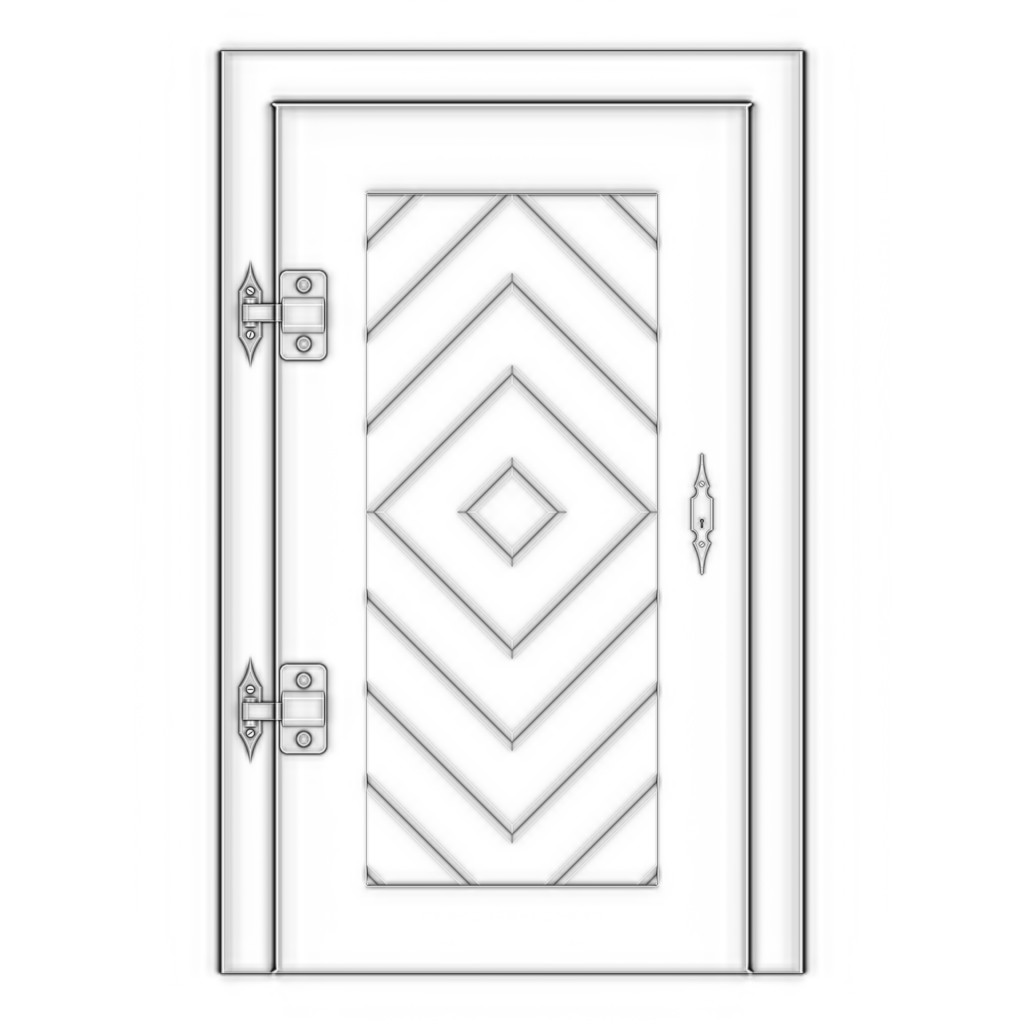
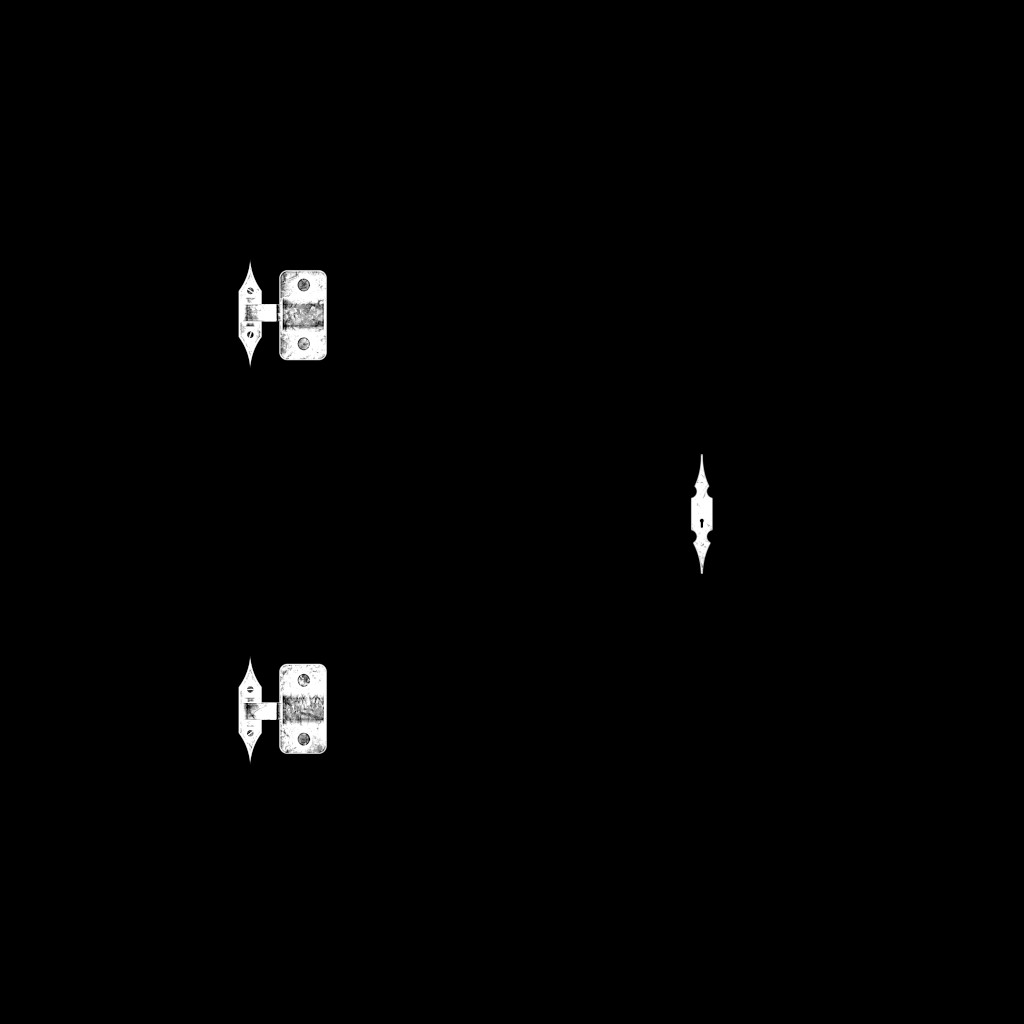
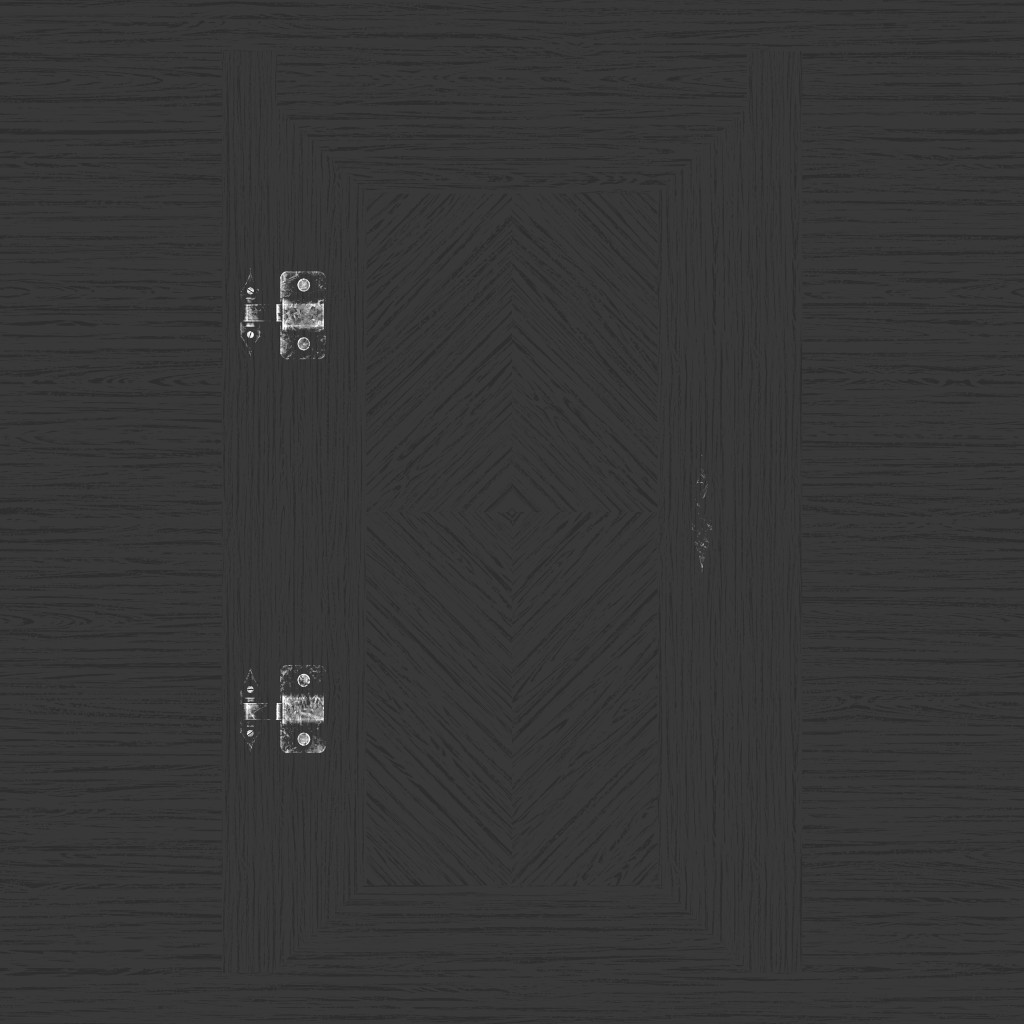
Here are the most common types of textures using a famous door texture by João Paulo. Buy him a Ko-fi or become a Patreon if you like his work.
- Color (or albedo) The albedo texture is the most simple one. It’ll only take the pixels of the texture and apply them to the geometry.
- Alpha The alpha texture is a grayscale image where white will be visible, and black won’t.
- Height The height texture is a grayscale image that will move the vertices to create some relief. You’ll need to add subdivision if you want to see it.
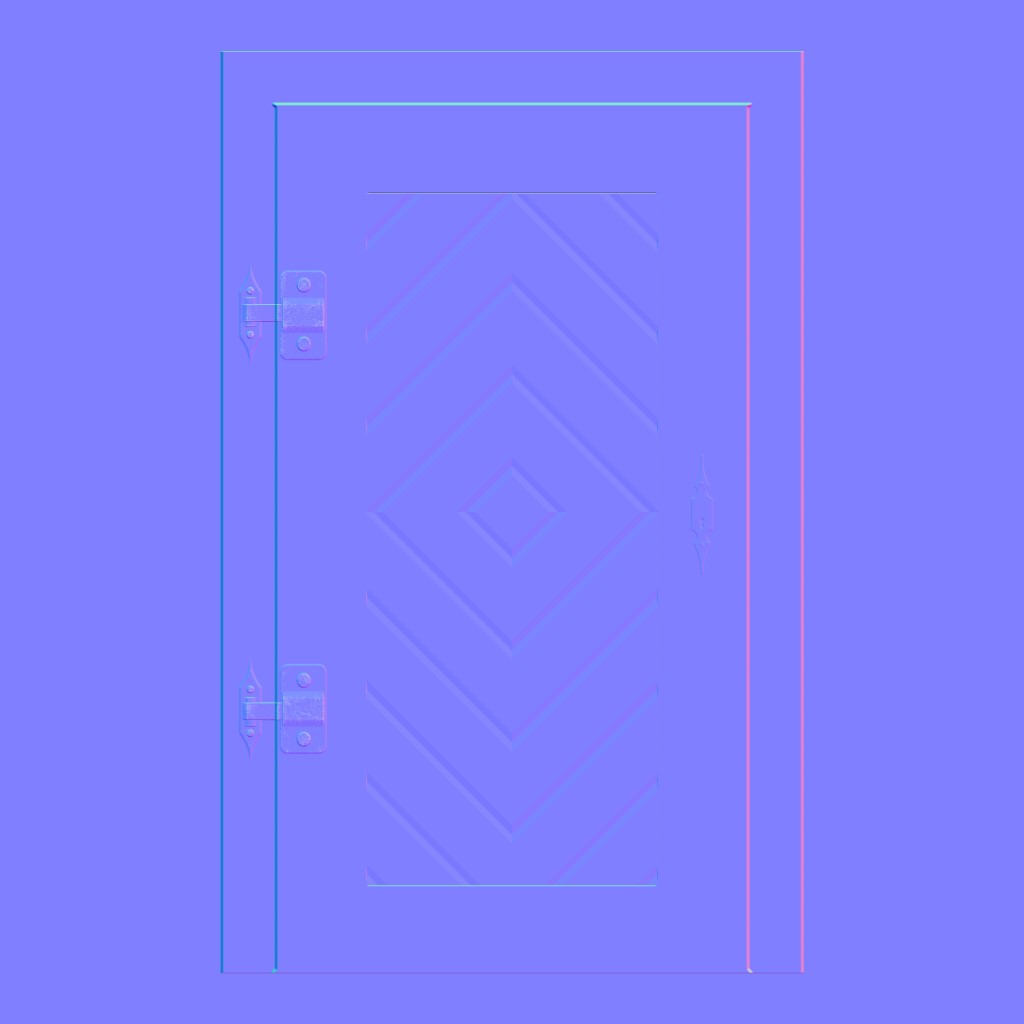
- Normal The normal texture will add small details. It won’t move the vertices, but it will lure the light into thinking that the face is oriented differently. Normal textures are very useful to add details with good performance because you don’t need to subdivide the geometry.
- Ambient occlusion The ambient occlusion texture is a grayscale image that will fake shadow in the surface’s crevices. While it’s not physically accurate, it certainly helps to create contrast.
- Metalness The metalness texture is a grayscale image that will specify which part is metallic (white) and non-metallic (black). This information will help to create reflection.
- Roughness The roughness is a grayscale image that comes with metalness, and that will specify which part is rough (white) and which part is smooth (black). This information will help to dissipate the light. A carpet is very rugged, and you won’t see the light reflection on it, while the water’s surface is very smooth, and you can see the light reflecting on it. Here, the wood is uniform because there is a clear coat on it.


PBR
Those textures (especially the metalness and the roughness) follow what we call PBR principles. PBR stands for Physically Based Rendering. It regroups many techniques that tend to follow real-life directions to get realistic results.
While there are many other techniques, PBR is becoming the standard for realistic renders, and many software, engines, and libraries are using it.
For now, we will simply focus on how to load textures, how to use them, what transformations we can apply, and how to optimize them. We will see more about PBR in later lessons, but if you’re curious, you can learn more about it here:
- https://marmoset.co/posts/basic-theory-of-physically-based-rendering/
- https://marmoset.co/posts/physically-based-rendering-and-you-can-too/
How to load textures
Getting the URL of the image
To load the texture, we need the URL of the image file.
Because we are using Webpack, there are two ways of getting it.
You can put the image texture in the /src/ folder and import it like you would import a JavaScript dependency:
import imageSource from './image.png'

console.log(imageSource)
JavaScript
Copy
Or you can put that image in the /static/ folder and access it just by adding the path of the image (without /static ) to the URL:
const imageSource = '/image.png'

console.log(imageSource)
JavaScript
Copy
Be careful, this /static/ folder only works because of the Webpack template’s configuration. If you are using other types of bundler, you might need to adapt your project.
We will use the /static/ folder technique for the rest of the course.
Loading the image
You can find the door textures we just saw in the /static/ folder, and there are multiple ways of loading them.
Using native JavaScript
With native JavaScript, first, you must create an Image instance, listen to the load event, and then change its src property to start loading the image:
const image = new Image()
image.onload = () =>
{
    console.log('image loaded')
}
image.src = '/textures/door/color.jpg'
JavaScript
Copy
You should see 'image loaded' appears in the console. As you can see, we set the source to '/textures/door/color.jpg' without the /static folder in the path.
We cannot use that image directly. We need to create a Texture from that image first.
This is because WebGL needs a very specific format that can be access by the GPU and also because some changes will be applied to the textures like the mipmapping but we will see more about that a little later.
Create the texture with the Texture class:
const image = new Image()
image.addEventListener('load', () =>
{
    const texture = new THREE.Texture(image)
})
image.src = '/textures/door/color.jpg'
JavaScript
Copy
What we need to do now is use that texture in the material . Unfortunately, the texture variable has been declared in a function and we can not access it outside of this function. This is a JavaScript limitation called scope.
We could create the mesh inside the function, but there is a better solution consisting on creating the texture outside of the function and then updating it once the image is loaded by setting the texture needsUpdate property to true :
const image = new Image()
const texture = new THREE.Texture(image)
image.addEventListener('load', () =>
{
    texture.needsUpdate = true
})
image.src = '/textures/door/color.jpg'
JavaScript
Copy
While doing this, you can immediately use the texture variable immediately, and the image will be transparent until it is loaded.
To see the texture on the cube, replace the color property by map and use the texture as value:
const material = new THREE.MeshBasicMaterial({ map: texture })
JavaScript
Copy
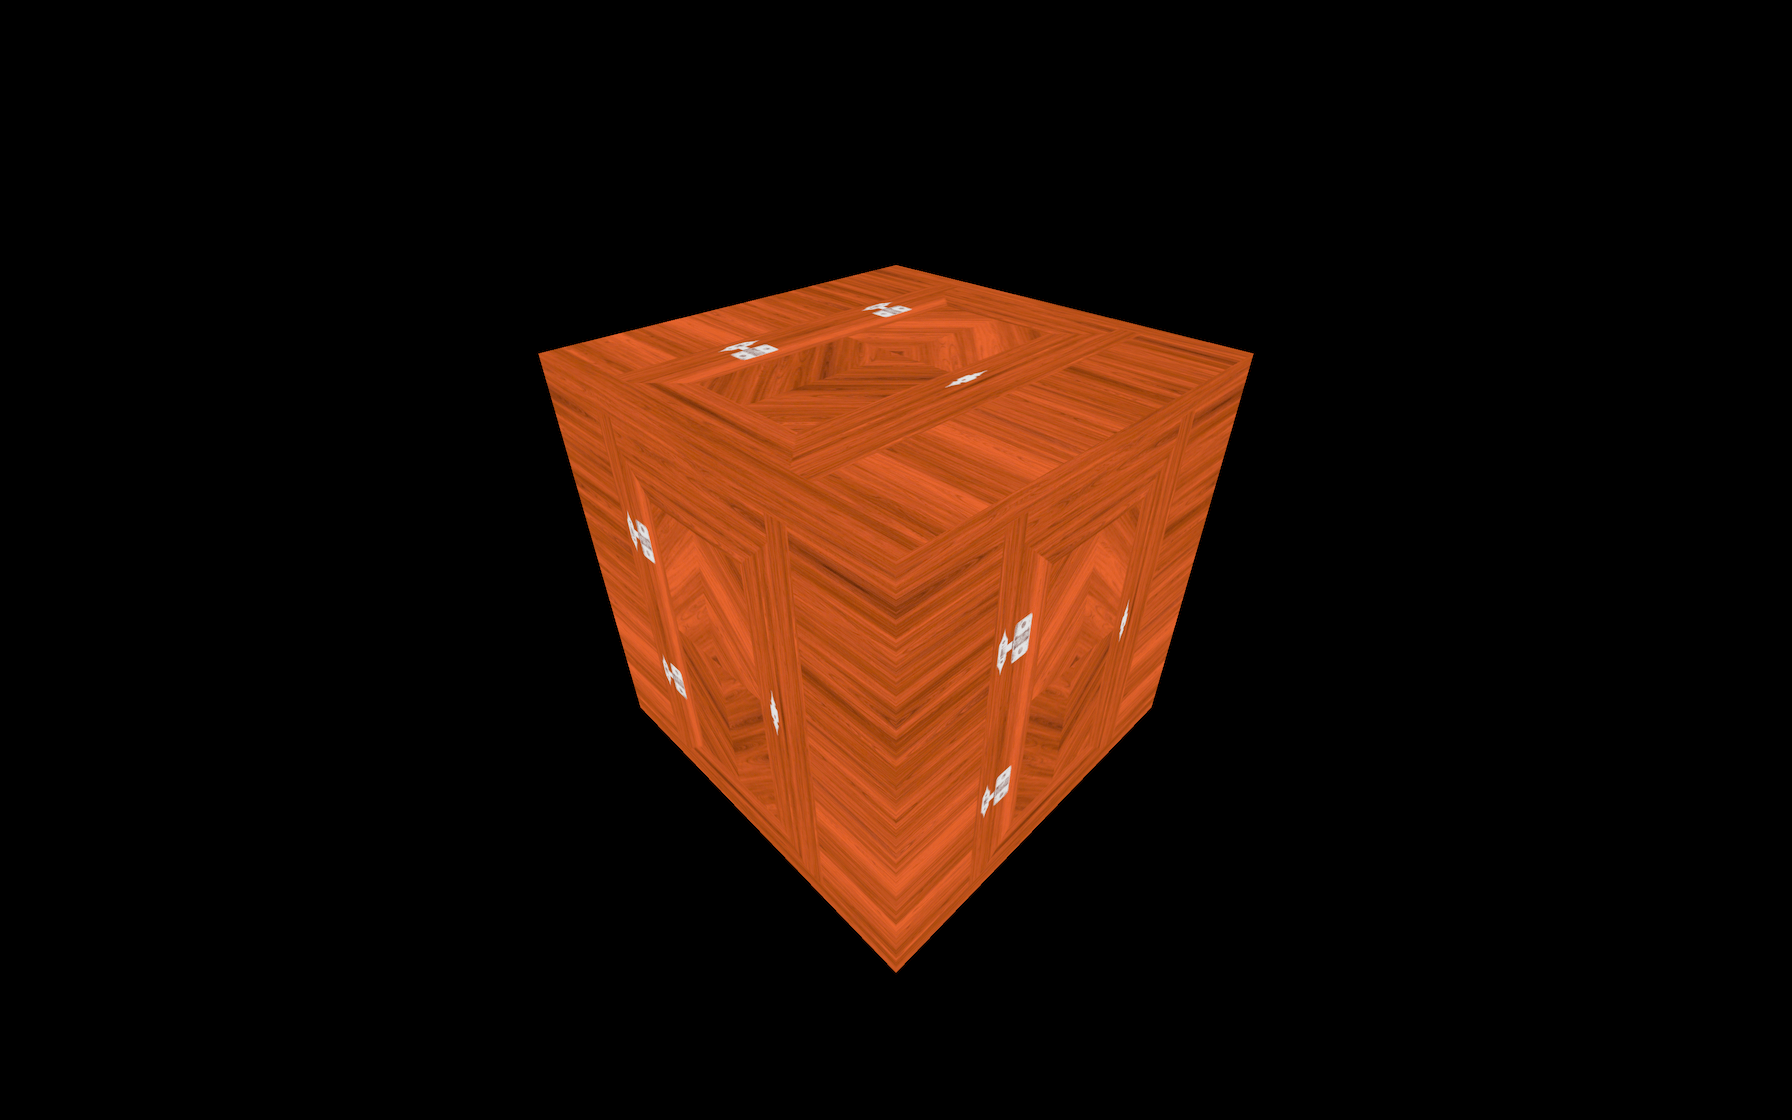
You should see the door texture on each side of your cube.
Using TextureLoader
The native JavaScript technique is not that complicated, but there is an even more straightforward way with TextureLoader.
Instantiate a variable using the TextureLoader class and use its .load(...) method to create a texture:
const textureLoader = new THREE.TextureLoader()
const texture = textureLoader.load('/textures/door/color.jpg')
JavaScript
Copy
Internally, Three.js will do what it did before to load the image and update the texture once it’s ready.
You can load as many textures as you want with only one TextureLoader instance.
You can send 3 functions after the path. They will be called for the following events:
-
loadwhen the image loaded successfully -
progresswhen the loading is progressing -
errorif something went wrong
const textureLoader = new THREE.TextureLoader()
const texture = textureLoader.load(
    '/textures/door/color.jpg',
    () =>
    {
        console.log('loading finished')
    },
    () =>
    {
        console.log('loading progressing')
    },
    () =>
    {
        console.log('loading error')
    }
)
JavaScript
Copy
If the texture doesn’t work, it might be useful to add those callback functions to see what is happening and spot errors.
Using the LoadingManager
Finally, if you have multiple images to load and want to mutualize the events like being notified when all the images are loaded, you can use a LoadingManager.
Create an instance of the LoadingManager class and pass it to the TextureLoader:
const loadingManager = new THREE.LoadingManager()
const textureLoader = new THREE.TextureLoader(loadingManager)
JavaScript
Copy
You can listen to the various events by replacing the following properties by your own functions onStart , onLoad , onProgress , and onError :
const loadingManager = new THREE.LoadingManager()
loadingManager.onStart = () =>
{
    console.log('loading started')
}
loadingManager.onLoaded = () =>
{
    console.log('loading finished')
}
loadingManager.onProgress = () =>
{
    console.log('loading progressing')
}
loadingManager.onError = () =>
{
    console.log('loading error')
}

const textureLoader = new THREE.TextureLoader(loadingManager)
JavaScript
Copy
You can now start loading all the images you need:
// ...

const colorTexture = textureLoader.load('/textures/door/color.jpg')
const alphaTexture = textureLoader.load('/textures/door/alpha.jpg')
const heightTexture = textureLoader.load('/textures/door/height.jpg')
const normalTexture = textureLoader.load('/textures/door/normal.jpg')
const ambientOcclusionTexture = textureLoader.load('/textures/door/ambientOcclusion.jpg')
const metalnessTexture = textureLoader.load('/textures/door/metalness.jpg')
const roughnessTexture = textureLoader.load('/textures/door/roughness.jpg')
JavaScript
Copy
Has you can see here, we renamed the texture variable colorTexture so don’t forget to change it in the material too:
const material = new THREE.MeshBasicMaterial({ map: colorTexture })
JavaScript
Copy
The LoadingManager is very useful if you want to show a loader and hide it only when all the assets are loaded. As we will see in a future lesson, you can also use it with other types of loaders.
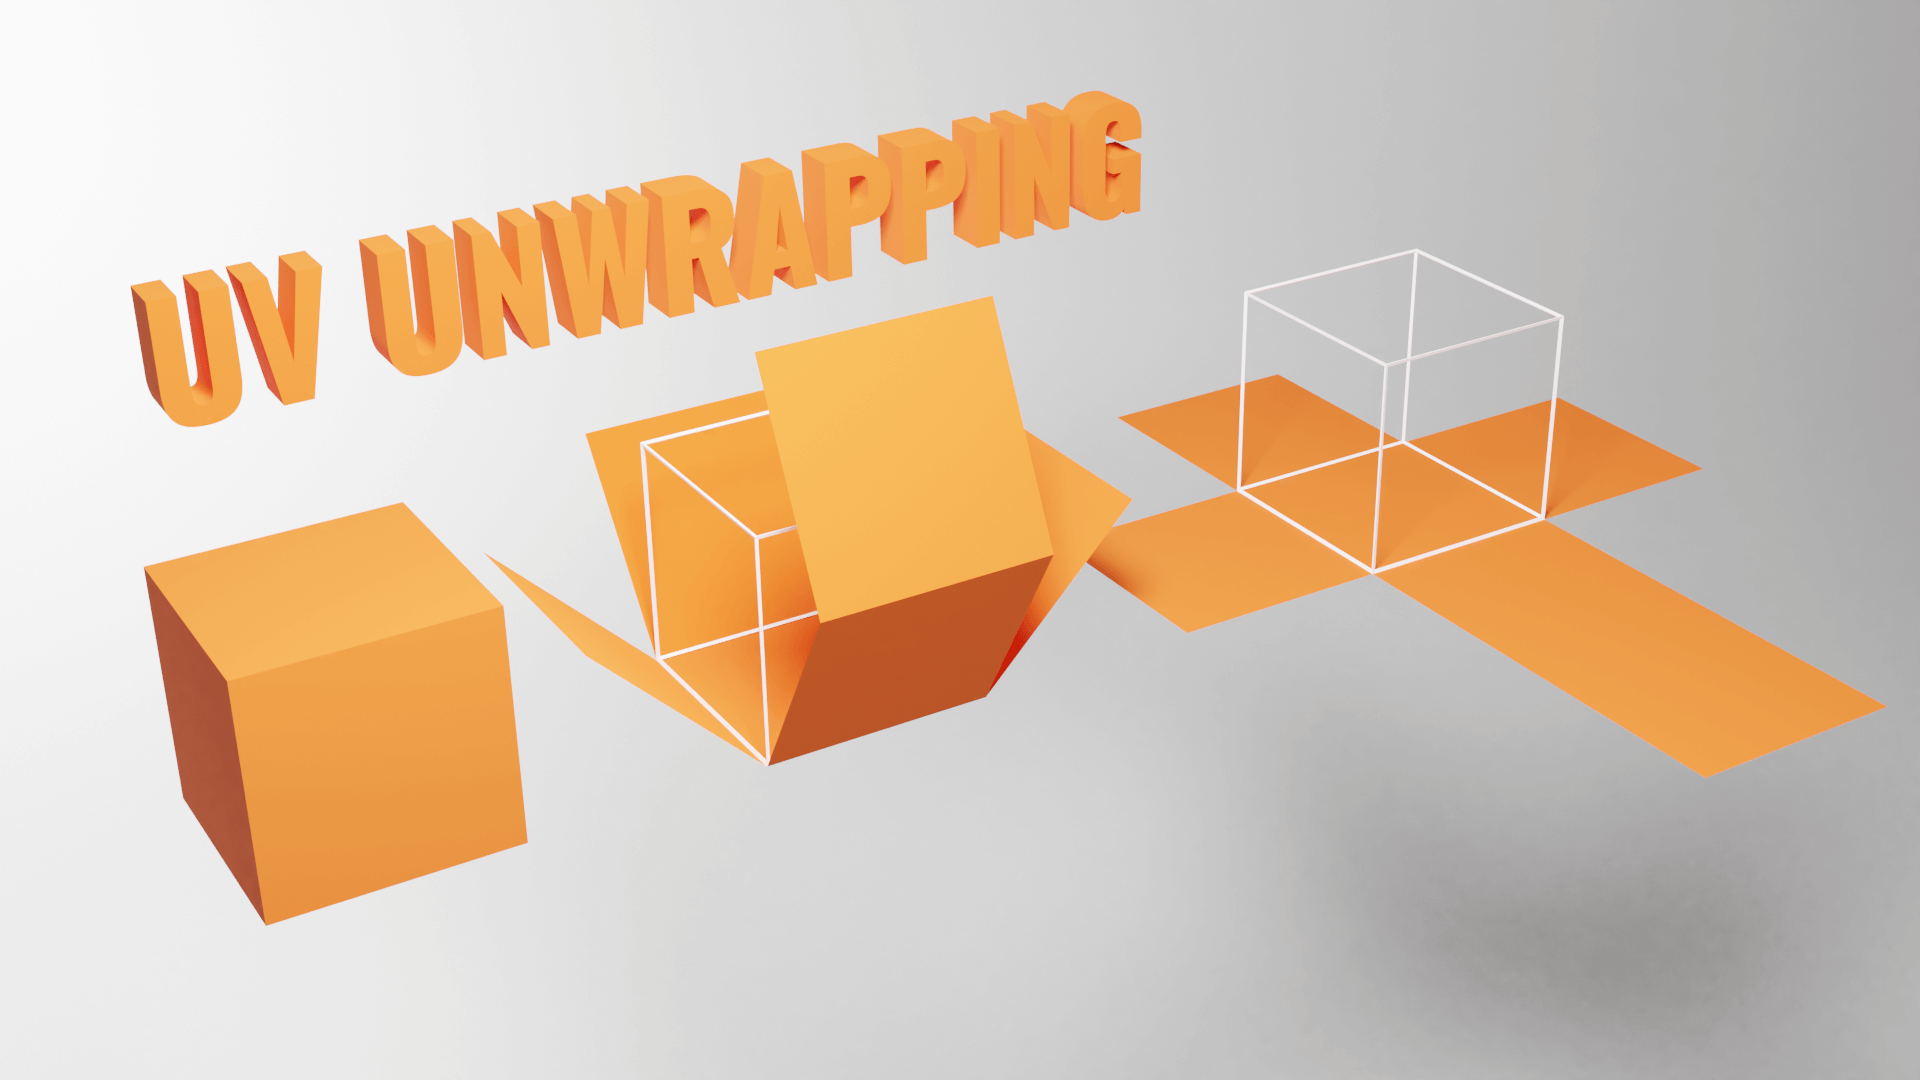
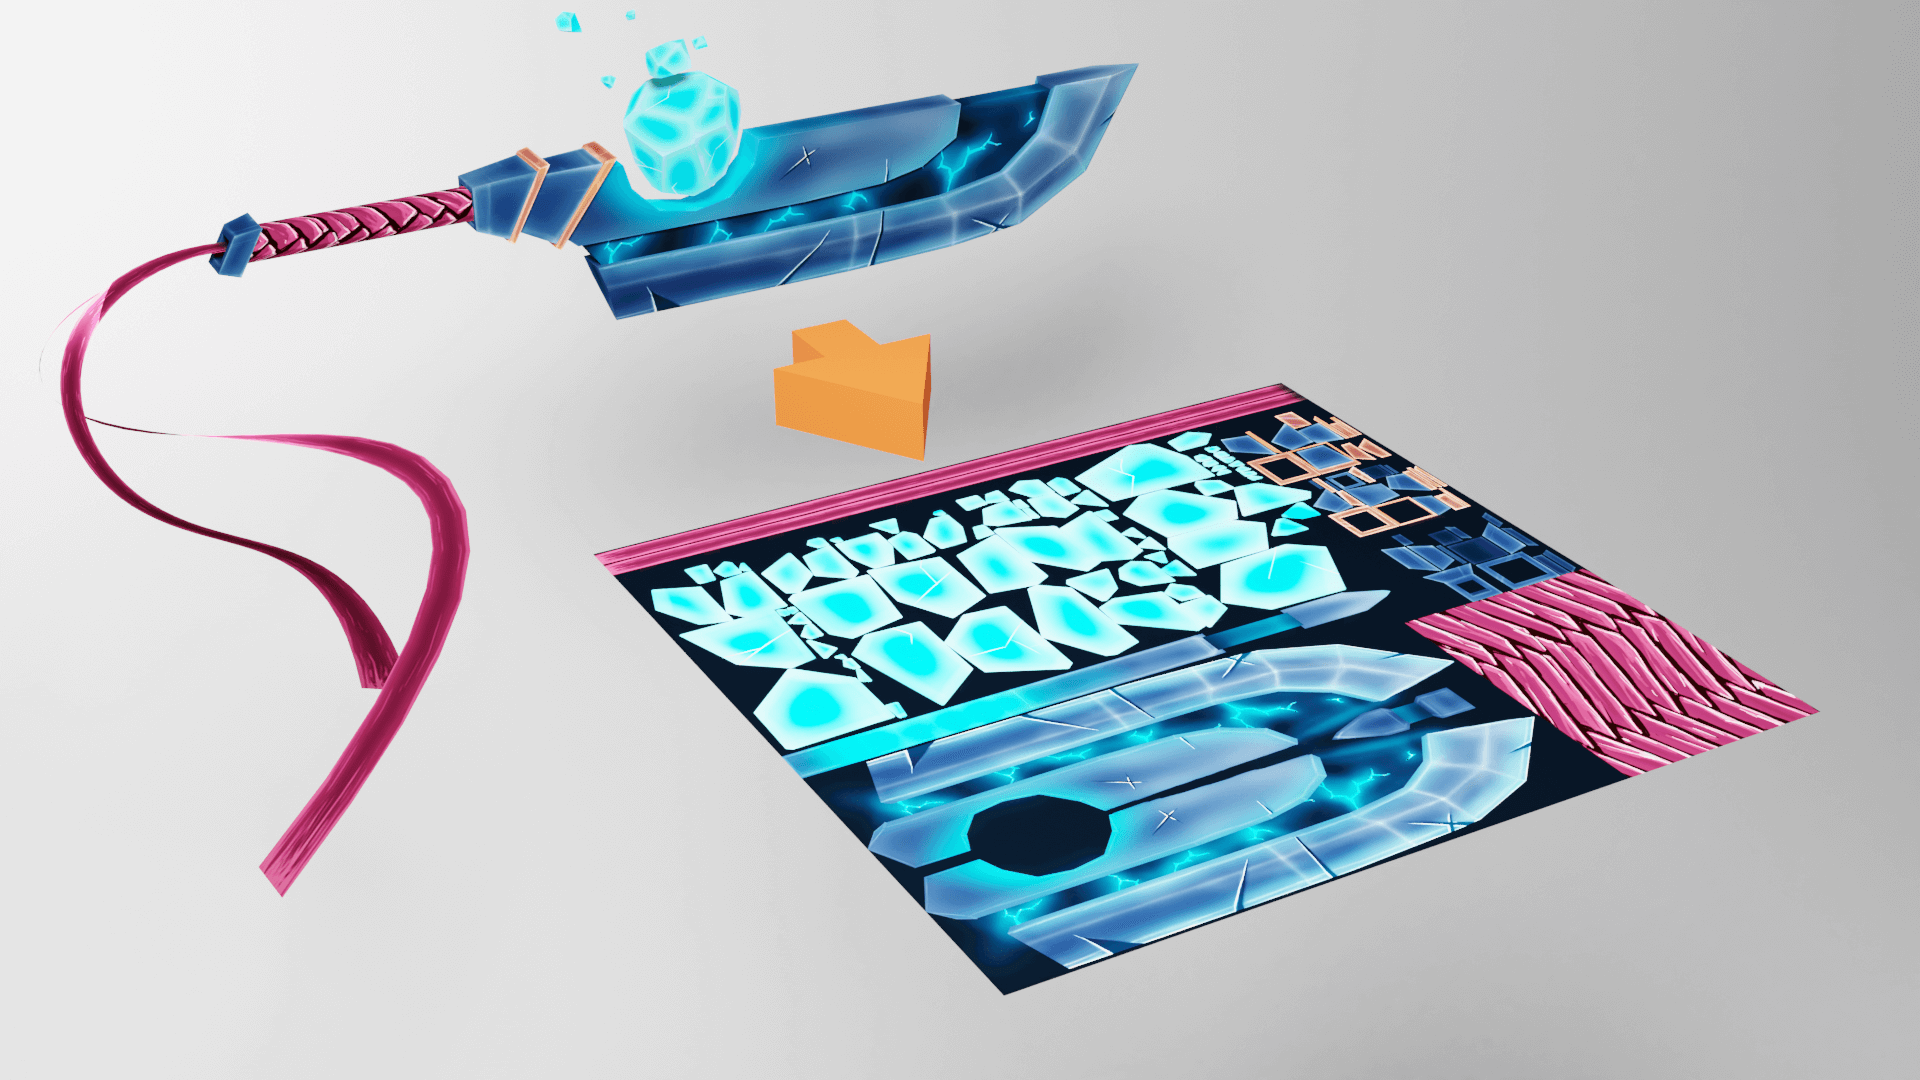
UV unwrapping
While it is quite logical how to place a texture on a cube, things can be a little trickier for other geometries.
Try to replace your BoxGeometry with other geometries:
const geometry = new THREE.BoxBufferGeometry(1, 1, 1)

// Or
const geometry = new THREE.SphereBufferGeometry(1, 32, 32)

// Or
const geometry = new THREE.ConeBufferGeometry(1, 1, 32)

// Or
const geometry = new THREE.TorusBufferGeometry(1, 0.35, 32, 100)
JavaScript
Copy
As you can see, the texture is being stretched or squeezed in different ways to cover the geometry.
That is called UV unwrapping . You can imagine that like unwrapping an origami or a candy wrap to make it flat. Each vertex will have a 2D coordinate on a flat (usually square) plane.
You can actually see those UV 2D coordinates in the geometry.attributes.uv property if it’s a buffer geometry:
console.log(geometry.attributes.uv)
JavaScript
Copy
Those UV coordinates are generated by Three.js when you use the primitives. If you create your own geometry and want to apply a texture to it, you’ll have to specify the UV coordinates.
If you are making the geometry using a 3D software, you’ll also have to do the UV unwrapping.
Don’t worry; most 3D software also has auto unwrapping that should do the trick.
Transforming the texture
Let’s get back to our cube with one texture and see what kind of transformations we can apply to that texture.
Repeat
You can repeat the texture using the repeat property, which is a Vector2, meaning that it has x and y properties.
Try to change these properties:
const colorTexture = textureLoader.load('/textures/door/color.jpg')
colorTexture.repeat.x = 2
colorTexture.repeat.y = 3
JavaScript
Copy

As you can see, the texture is not repeating, but it is smaller, and the last pixel seems stretched.
That is due to the texture not being set up to repeat itself by default. To change that, you have to update the wrapS and wrapT properties using the THREE.RepeatWrapping constant.
-
wrapSis for thexaxis -
wrapTis for theyaxis
colorTexture.wrapS = THREE.RepeatWrapping
colorTexture.wrapT = THREE.RepeatWrapping
JavaScript
Copy
You can also alternate the direction with THREE.MirroredRepeatWrapping :
colorTexture.wrapS = THREE.MirroredRepeatWrapping
colorTexture.wrapT = THREE.MirroredRepeatWrapping
JavaScript
Copy
Offset
You can offset the texture using the offset property that is also a Vector2 with x and y properties. Changing these will simply offset the UV coordinates:
colorTexture.offset.x = 0.5
colorTexture.offset.y = 0.5
JavaScript
Copy
Rotation
You can rotate the texture using the rotation property, which is a simple number corresponding to the angle in radians:
colorTexture.rotation = Math.PI * 0.25
JavaScript
Copy

If you remove the offset and repeat properties, you’ll see that the rotation occurs around the bottom left corner of the cube’s faces:

That is, in fact, the 0, 0 UV coordinates. If you want to change the pivot of that rotation, you can do it using the center property which is also a Vector2:
colorTexture.rotation = Math.PI * 0.25
colorTexture.center.x = 0.5
colorTexture.center.y = 0.5
JavaScript
Copy
The texture will now rotate on its center.
Filtering and Mipmapping
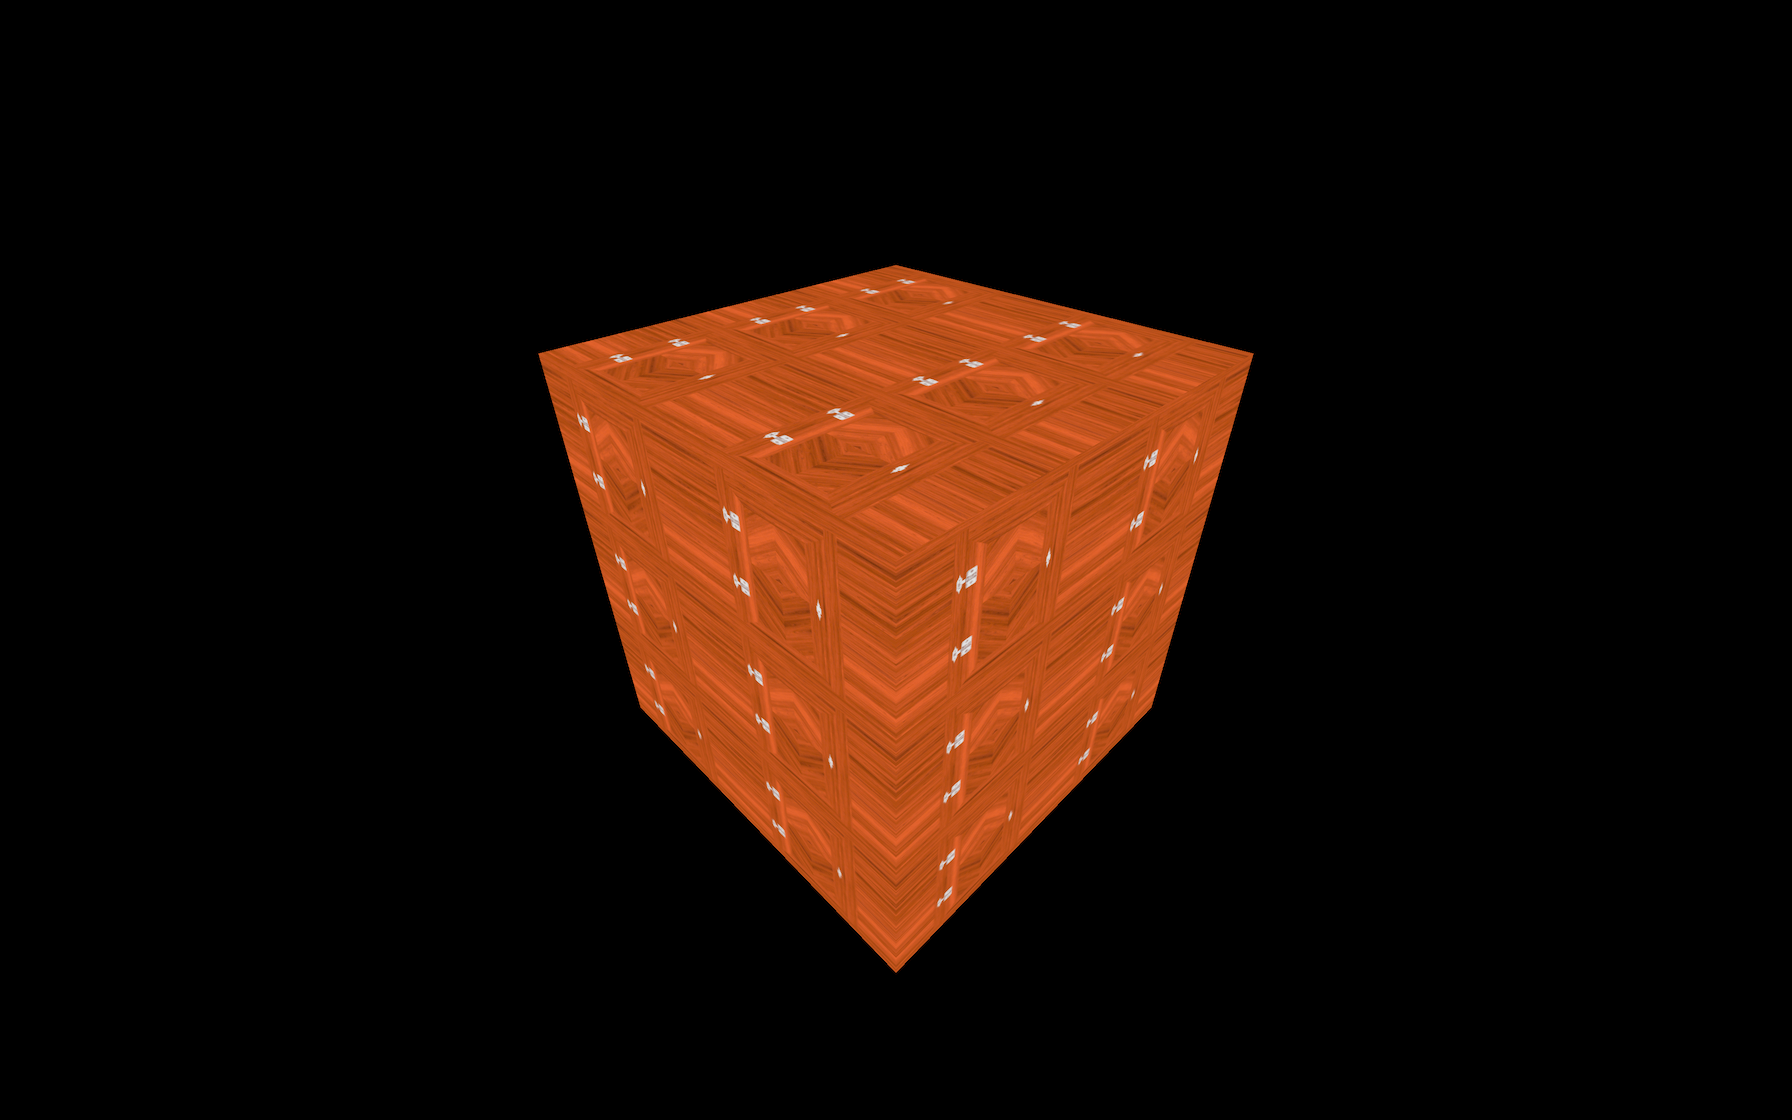
If you look at the cube’s top face while this face is almost hidden, you’ll see a very blurry texture.

That is due to the filtering and the mipmapping.
Mipmapping (or “mip mapping” with a space) is a technique that consists of creating half a smaller version of a texture again and again until you get a 1x1 texture. All those texture variations are sent to the GPU, and the GPU will choose the most appropriate version of the texture.
Three.js and the GPU already handle all of this, and you can just set what filter algorithm to use. There are two types of filter algorithms: the minification filter and the magnification filter.
Minification filter
The minification filter happens when the pixels of texture are smaller than the pixels of the render. In other words, the texture is too big for the surface, it covers.
You can change the minification filter of the texture using the minFilter property.
There are 6 possible values:
THREE.NearestFilterTHREE.LinearFilterTHREE.NearestMipmapNearestFilterTHREE.NearestMipmapLinearFilterTHREE.LinearMipmapNearestFilterTHREE.LinearMipmapLinearFilter
The default is THREE.LinearMipmapLinearFilter . If you are not satisfied with how you texture looks, you should try the other filters.
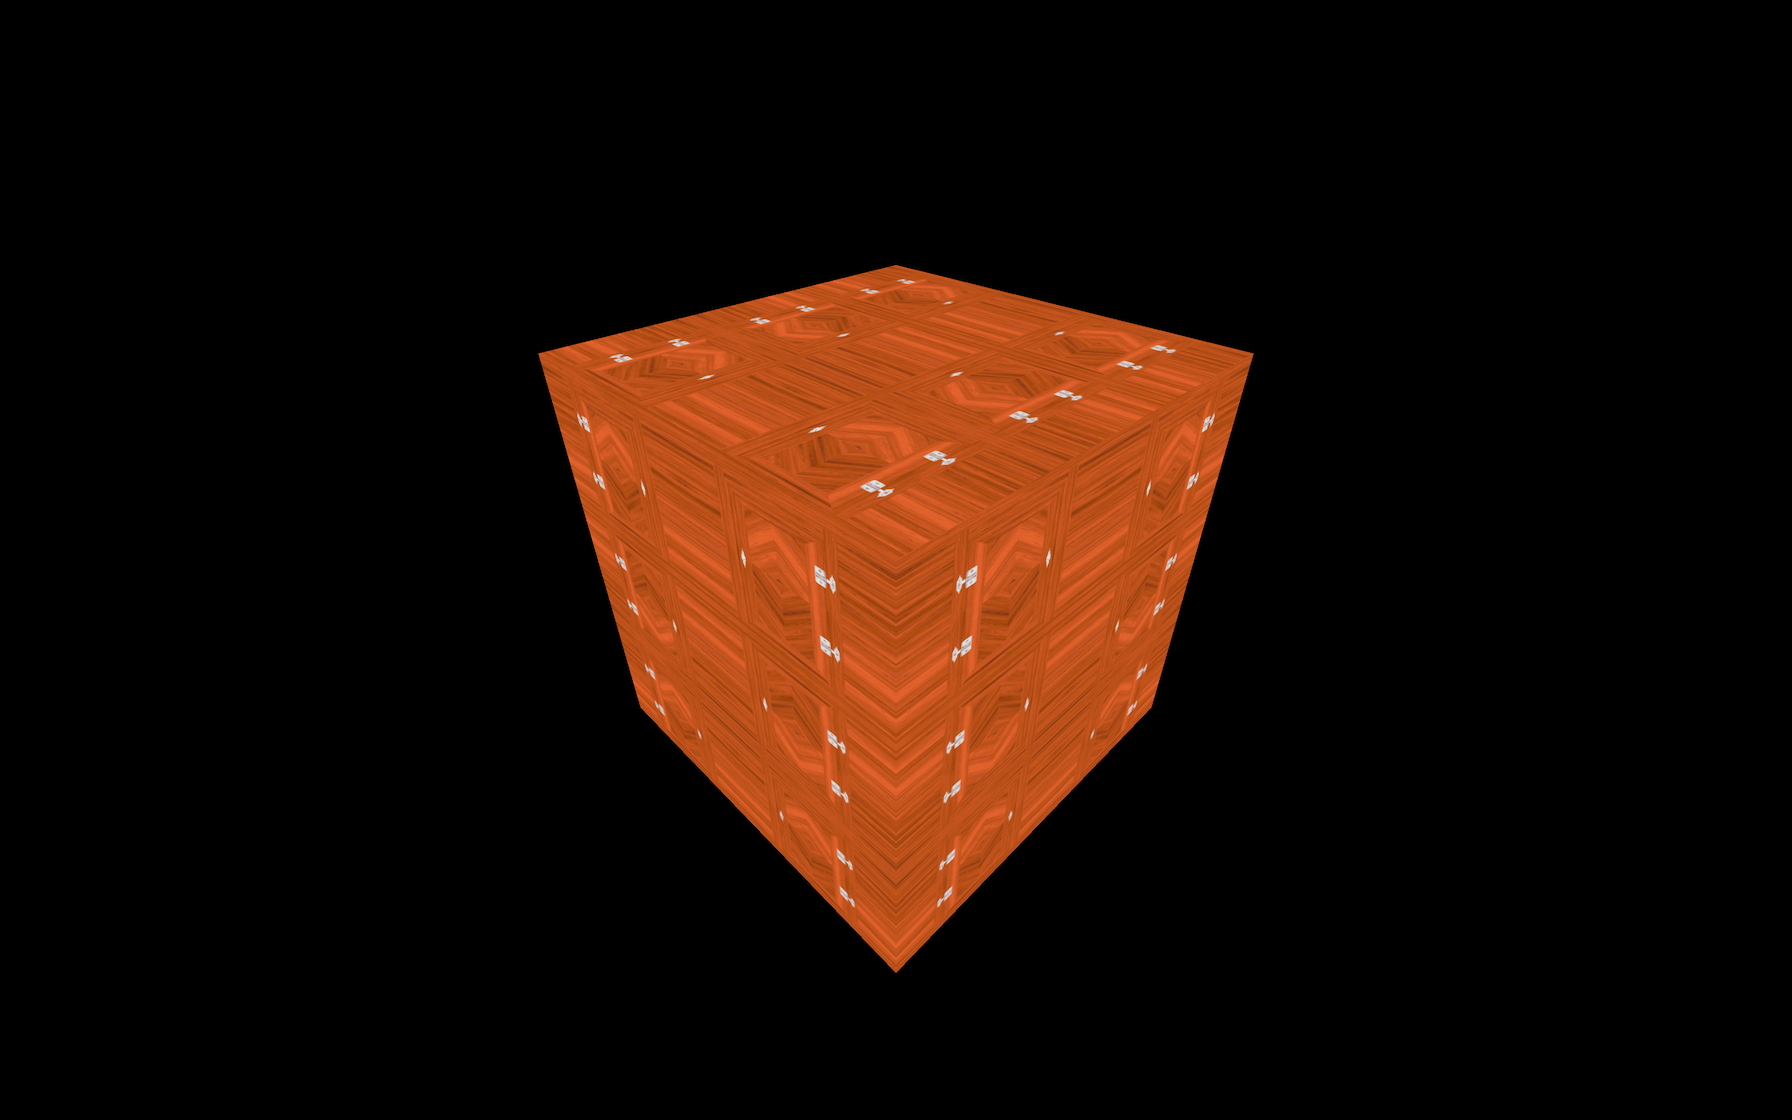
We won’t see each one, but we will test the THREE.NearestFilter , which has a very different result:
colorTexture.minFilter = THREE.NearestFilter
JavaScript
Copy
If you’re using a device with a pixel ratio above one, you won’t see much of a difference. If not, place the camera where this face is almost hidden, and you should get more details and strange artifacts.
If you test with the checkerboard-1024x1024.png texture located in the /static/textures/ folder, you will see those artefacts more clearly:
const colorTexture = textureLoader.load('/textures/checkerboard-1024x1024.png')
JavaScript
Copy
The artefacts you see are are called moiré patterns and you usually want to avoid them.
Magnification filter
The magnification filter works just like the minification filter, but when the pixels of the texture are bigger than the render’s pixels. In other words, the texture too small for the surface it covers.
You can see the result using the checkerboard-8x8.png texture also located in the static/textures/ folder:
const colorTexture = textureLoader.load('/textures/checkerboard-8x8.png')
JavaScript
Copy
The texture gets all blurry because it’s a very small texture on a very large surface.
While you might think this looks awful, it is probably for the best. If the effect isn’t too exaggerated, the user will probably not even notice it.
You can change the magnification filter of the texture using the magFilter property.
There are only two possible values:
THREE.NearestFilterTHREE.LinearFilter
The default is THREE.LinearFilter .
If you test the THREE.NearestFilter , you’ll see that the base image is preserved, and you get a pixelated texture:
colorTexture.magFilter = THREE.NearestFilter
JavaScript
Copy

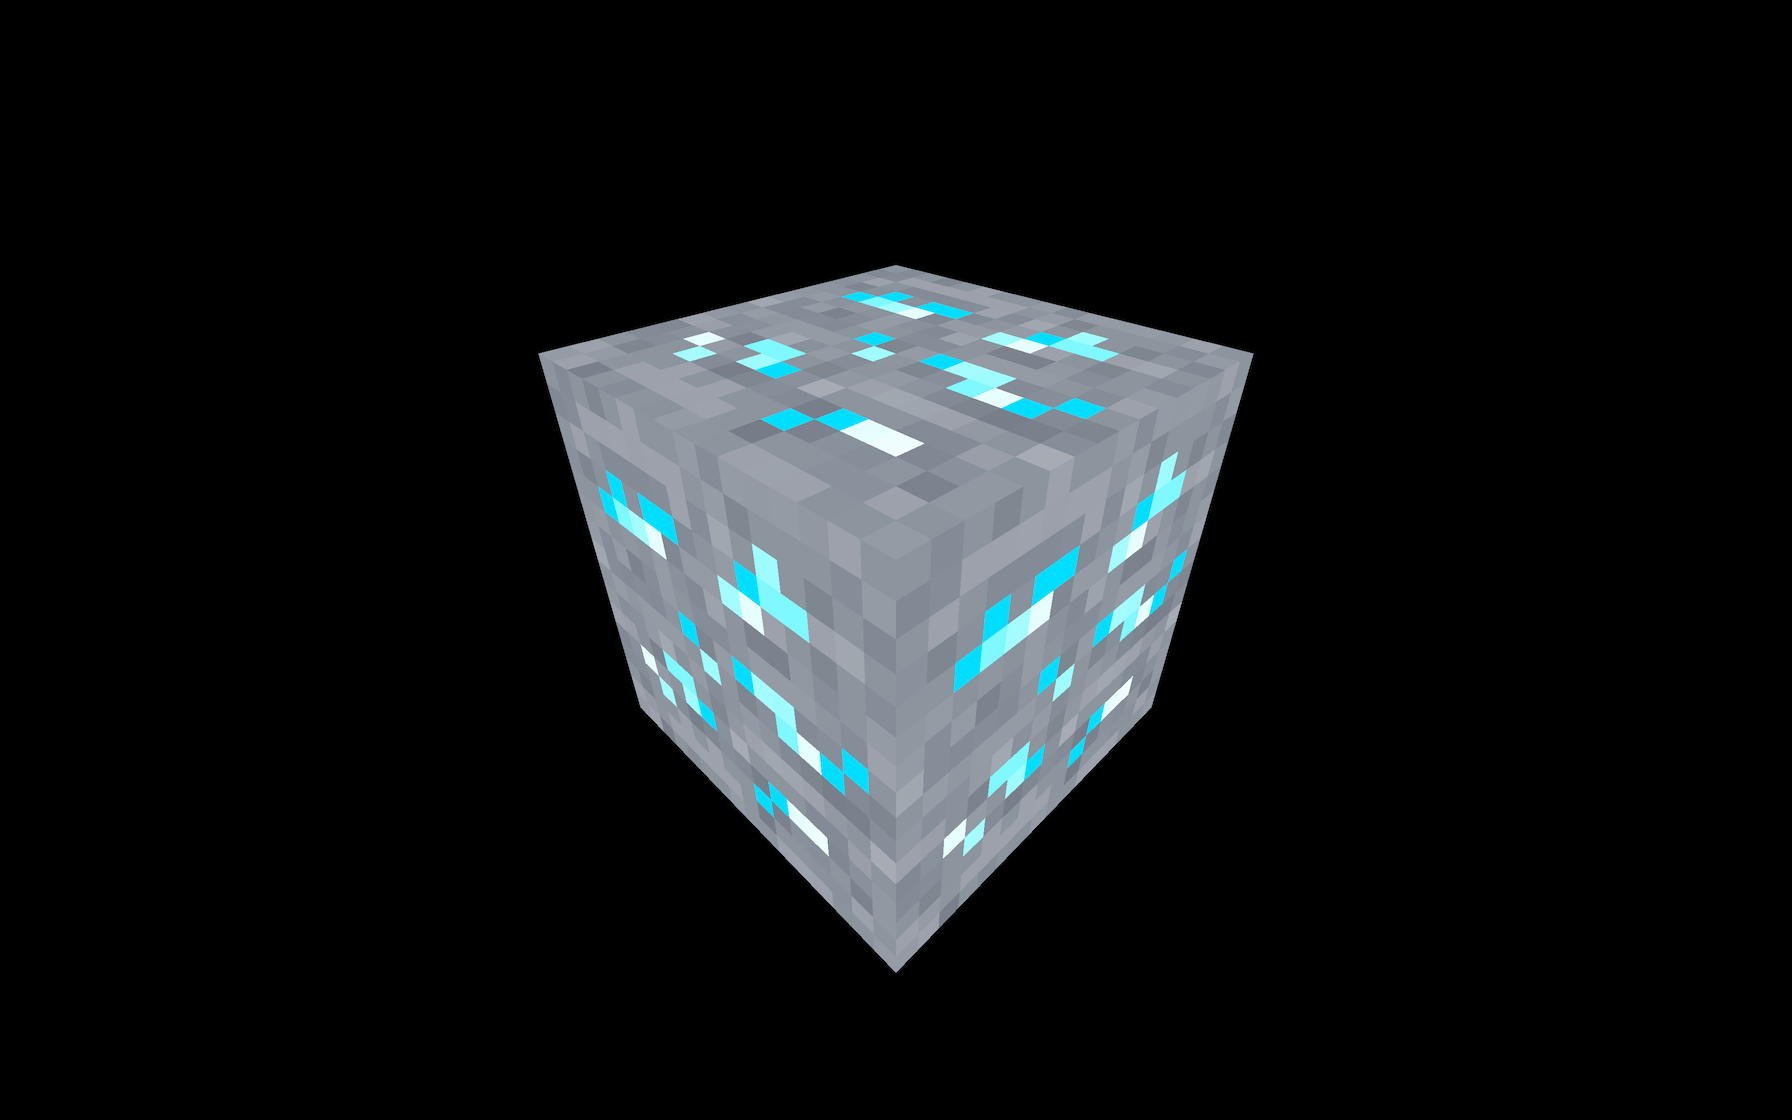
It can be advantageous if you’re going for a Minecraft style with pixelated textures.
You can see the result using the minecraft.png texture located in the static/textures/ folder:
const colorTexture = textureLoader.load('/textures/minecraft.png')
JavaScript
Copy
One final word about all those filters is that THREE.NearestFilter is cheaper than the other ones, and you should get better performances when using it.
Only use the mipmaps for the minFilter property. If you are using the THREE.NearestFilter , you don’t need the mipmaps, and you can deactivate them with colorTexture.generateMipmaps = false :
colorTexture.generateMipmaps = false
colorTexture.minFilter = THREE.NearestFilter
JavaScript
Copy
That will slightly offload the GPU.
Texture format and optimisation
When you are preparing your textures, you must keep 3 crucial elements in mind:
- The weight
- The size (or the resolution)
- The data
The weight
Don’t forget that the users going to your website will have to download those textures. You can use most of the types of images we use on the web like .jpg (lossy compression but usually lighter) or .png (lossless compression but usually heavier).
Try to apply the usual methods to get an acceptable image but as light as possible. You can use compression websites like TinyPNG (also works with jpg) or any software.
The size
Each pixel of the textures you are using will have to be stored on the GPU regardless of the image’s weight. And like your hard drive, the GPU has storage limitations. It’s even worse because the automatically generated mipmapping increases the number of pixels that have to be store.
Try to reduce the size of your images as much as possible.
If you remember what we said about the mipmapping, Three.js will produce a half smaller version of the texture repeatedly until it gets a 1x1 texture. Because of that, your texture width and height must be a power of 2. That is mandatory so that Three.js can divide the size of the texture by 2.
Some examples: 512x512 , 1024x1024 or 512x2048
512 , 1024 and 2048 can be divided by 2 until it reaches 1.
If you are using a texture with a width or height different than a power of 2 value, Three.js will try to stretch it to the closest power of 2 number, which can have visually poor results, and you’ll also get a warning in the console.
The data
We haven’t tested it yet, because we have other things to see first, but textures support transparency. As you may know, jpg files don’t have an alpha channel, so you might prefer using a png.
Or you can use an alpha map, as we will see in a future lesson.
If you are using a normal texture (the purple one), you will probably want to have the exact values for each pixel’s red, green, and blue channels, or you might end up with visual glitches. For that, you’ll need to use a png because its lossless compression will preserve the values.
Where to find textures
Unfortunately, it’s always hard to find the perfect textures. There are many websites, but the textures aren’t always right, and you may have to pay.
It’s probably a good idea to start by searching on the web. Here are some websites I frequently end up on.
Always make sure that you have the right to use the texture if it’s not for personal usage.
You can also create your own using photos and 2D software like Photoshop or even procedural textures with software like Substance Designer.