12 Materials
Difficulty Hard
Introduction
Materials are used to put a color on each visible pixel of the geometries.
The algorithms that decide on the color of each pixel are written in programs called shaders. Writing shaders is one of the most challenging parts of WebGL and Three.js, but don’t worry; Three.js has many built-in materials with pre-made shaders.
We will discover how to create our own shaders in a future lesson. For now, let’s use Three.js materials.
Setup
The starter doesn’t contain any object. This is an excellent occasion to revise the basics of creating Meshes.
Prepare our scene
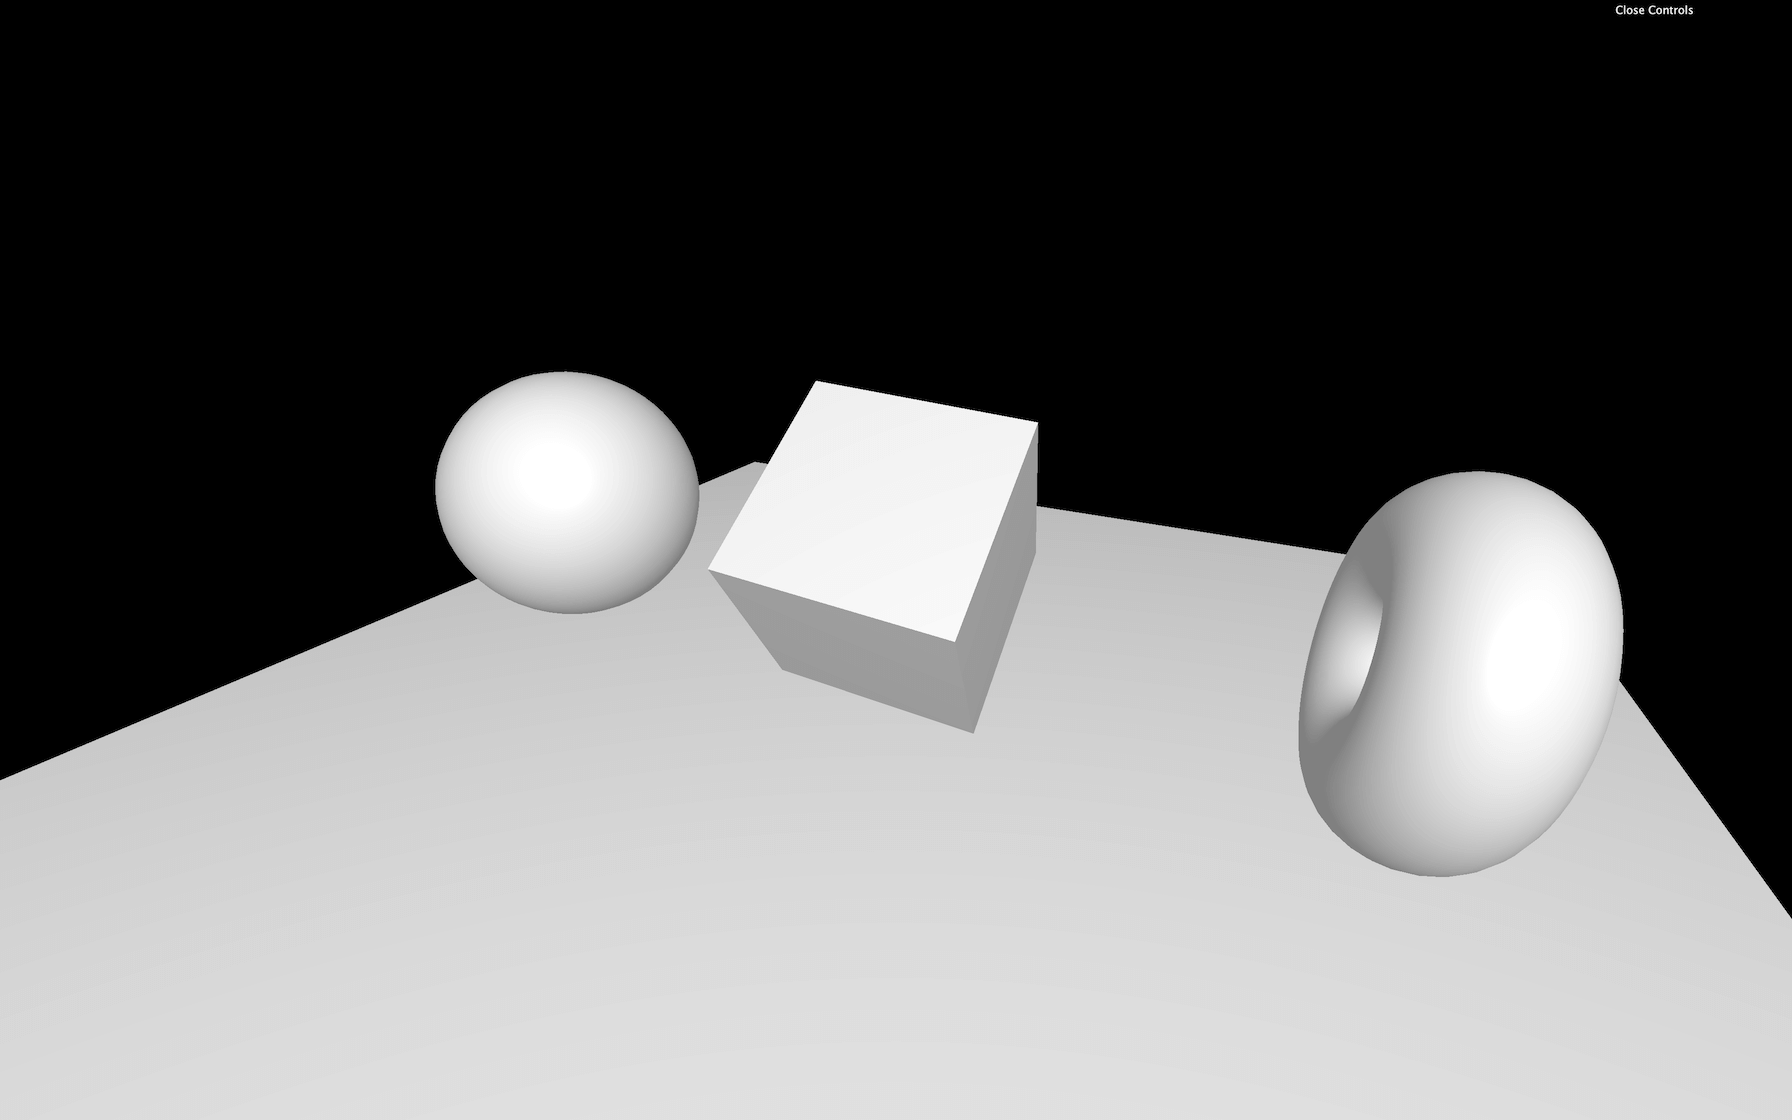
To test the materials, we should prepare a lovely scene and load some textures.
Create 3 Meshes composed of 3 different geometries (a sphere, a plane, and a torus) and use the same MeshBasicMaterial on all of the 3. Yes, you can use one material on multiple meshes. Move the sphere on the left and the torus on the right to separate them.
The add(...) method support adding multiple objects at once:
/**
 * Objects
 */
const material = new THREE.MeshBasicMaterial()

const sphere = new THREE.Mesh(
    new THREE.SphereBufferGeometry(0.5, 16, 16),
    material
)
sphere.position.x = - 1.5

const plane = new THREE.Mesh(
    new THREE.PlaneBufferGeometry(1, 1),
    material
)

const torus = new THREE.Mesh(
    new THREE.TorusBufferGeometry(0.3, 0.2, 16, 32),
    material
)
torus.position.x = 1.5

scene.add(sphere, plane, torus)
JavaScript
Copy
We can now rotate our objects on our tick function as we did on the Animation lesson:
/**
 * Animate
 */
const clock = new THREE.Clock()

const tick = () =>
{
    const elapsedTime = clock.getElapsedTime()

    // Update objects
    sphere.rotation.y = 0.1 * elapsedTime
    plane.rotation.y = 0.1 * elapsedTime
    torus.rotation.y = 0.1 * elapsedTime

    sphere.rotation.x = 0.15 * elapsedTime
    plane.rotation.x = 0.15 * elapsedTime
    torus.rotation.x = 0.15 * elapsedTime

    // ...
}

tick()
JavaScript
Copy
You should see your 3 objects spinning slowly.
The materials we are going to discover are using textures in many different ways. Let’s load some textures using the TextureLoader as we did on the Textures lesson.
All the texture images are located in the /static/textures/ folder. For now, we will load all the door textures located in the /static/textures/door/ folder, the first matcap texture located in the /static/textures/matcaps/ folder and the first gradient texture located in the /static/textures/gradients/ folder.
Make sure to do that before instantiating the material :
/**
 * Textures
 */
const textureLoader = new THREE.TextureLoader()

const doorColorTexture = textureLoader.load('/textures/door/color.jpg')
const doorAlphaTexture = textureLoader.load('/textures/door/alpha.jpg')
const doorAmbientOcclusionTexture = textureLoader.load('/textures/door/ambientOcclusion.jpg')
const doorHeightTexture = textureLoader.load('/textures/door/height.jpg')
const doorNormalTexture = textureLoader.load('/textures/door/normal.jpg')
const doorMetalnessTexture = textureLoader.load('/textures/door/metalness.jpg')
const doorRoughnessTexture = textureLoader.load('/textures/door/roughness.jpg')
const matcapTexture = textureLoader.load('/textures/matcaps/1.png')
const gradientTexture = textureLoader.load('/textures/gradients/3.jpg')
JavaScript
Copy
To ensure that all the textures are well loaded, you can use them on your material with the map property, as we saw in the Textures lesson.
const material = new THREE.MeshBasicMaterial({ map: doorColorTexture })
JavaScript
Copy

Until now, we only used the MeshBasicMaterial, which applies a uniform color or a texture on our geometry.
If you search for “material” on the Three.js documentation, you’ll see that there are many classes we can use. Let’s try them.
MeshBasicMaterial
MeshBasicMaterial is probably the most “basic” material… But there are multiple properties that we haven’t cover yet.
You can set most of those properties while instancing the material in the object we send as a parameter, but you can also change those properties on the instance directly:
const material = new THREE.MeshBasicMaterial({
    map: doorColorTexture
})

// Equals
const material = new THREE.MeshBasicMaterial()
material.map = doorColorTexture
JavaScript
Copy
We will use the second method, but feel free to do as you like.
- The
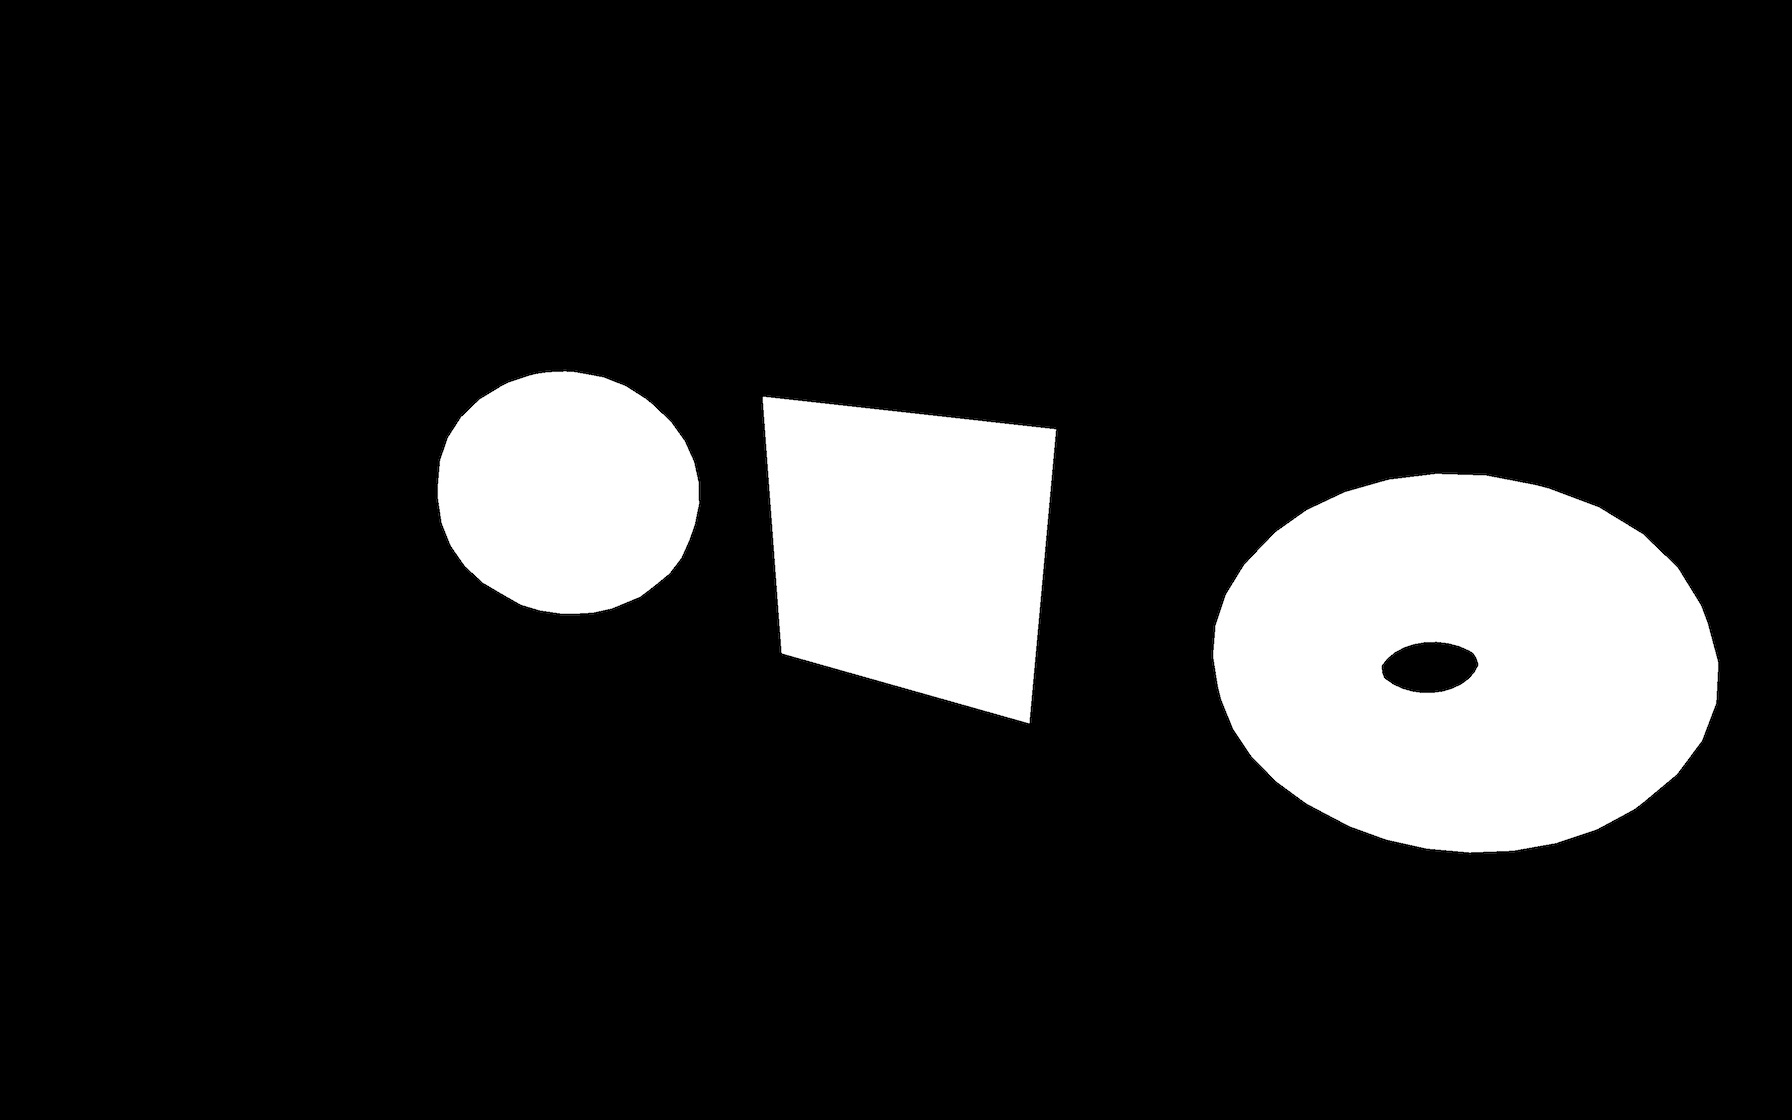
mapproperty will apply a texture on the surface of the geometry:
material.map = doorColorTexture
JavaScript
Copy
- The
colorproperty will apply a uniform color on the surface of the geometry. When you are changing thecolorproperty directly, you must instantiate a Color class. You can use many different formats:
material.color = new THREE.Color('#ff0000')
material.color = new THREE.Color('#f00')
material.color = new THREE.Color('red')
material.color = new THREE.Color('rgb(255, 0, 0)')
material.color = new THREE.Color(0xff0000)
JavaScript
Copy
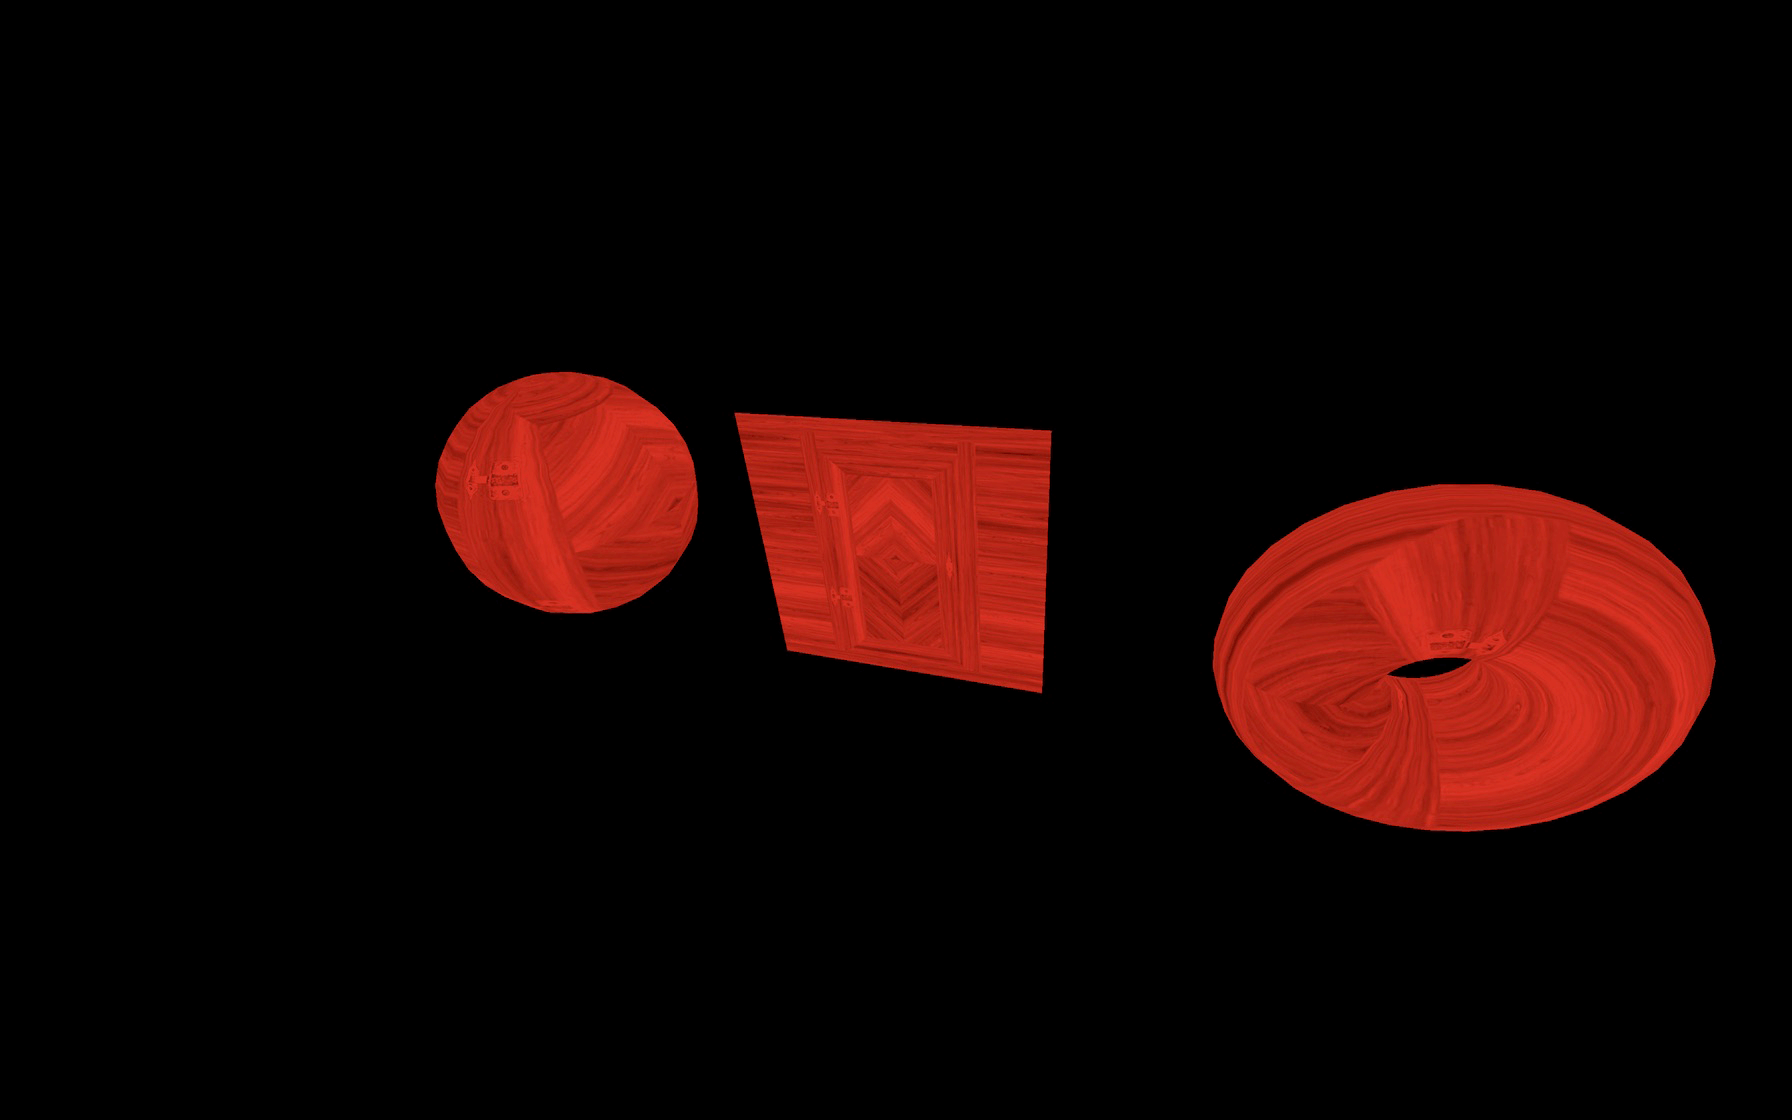
Combining
color and map will tint the texture with the color:
material.map = doorColorTexture
material.color = new THREE.Color('#ff0000')
JavaScript
Copy
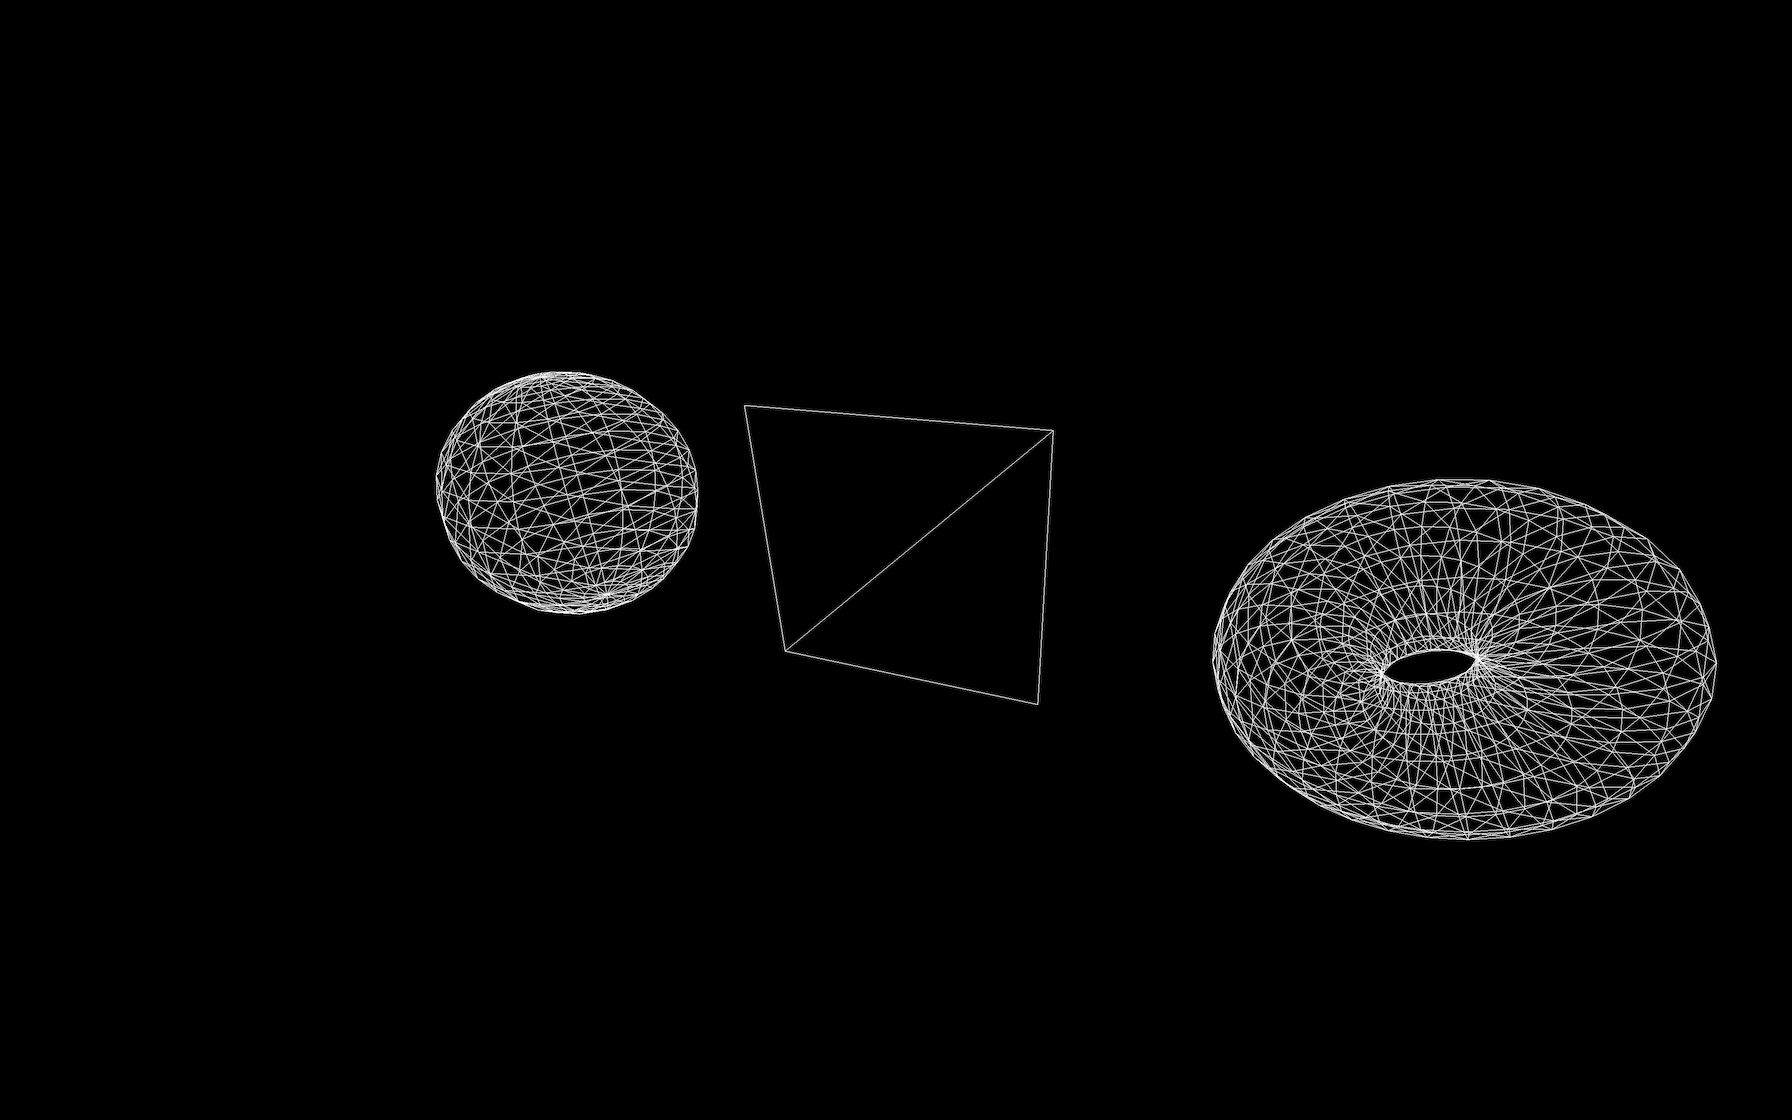
- The
wireframeproperty will show the triangles that compose your geometry with a thin line of 1px regardless of the distance of the camera:
material.wireframe = true
JavaScript
Copy
- The
opacityproperty controls the transparency but, to work, you should set thetransparentproperty totrueto inform Three.js that this material now supports transparency:
material.transparent = true
material.opacity = 0.5
JavaScript
Copy

- Now that the transparency is working, we can use the
alphaMapproperty to control the transparency with a texture:
material.transparent = true
material.alphaMap = doorAlphaTexture
JavaScript
Copy
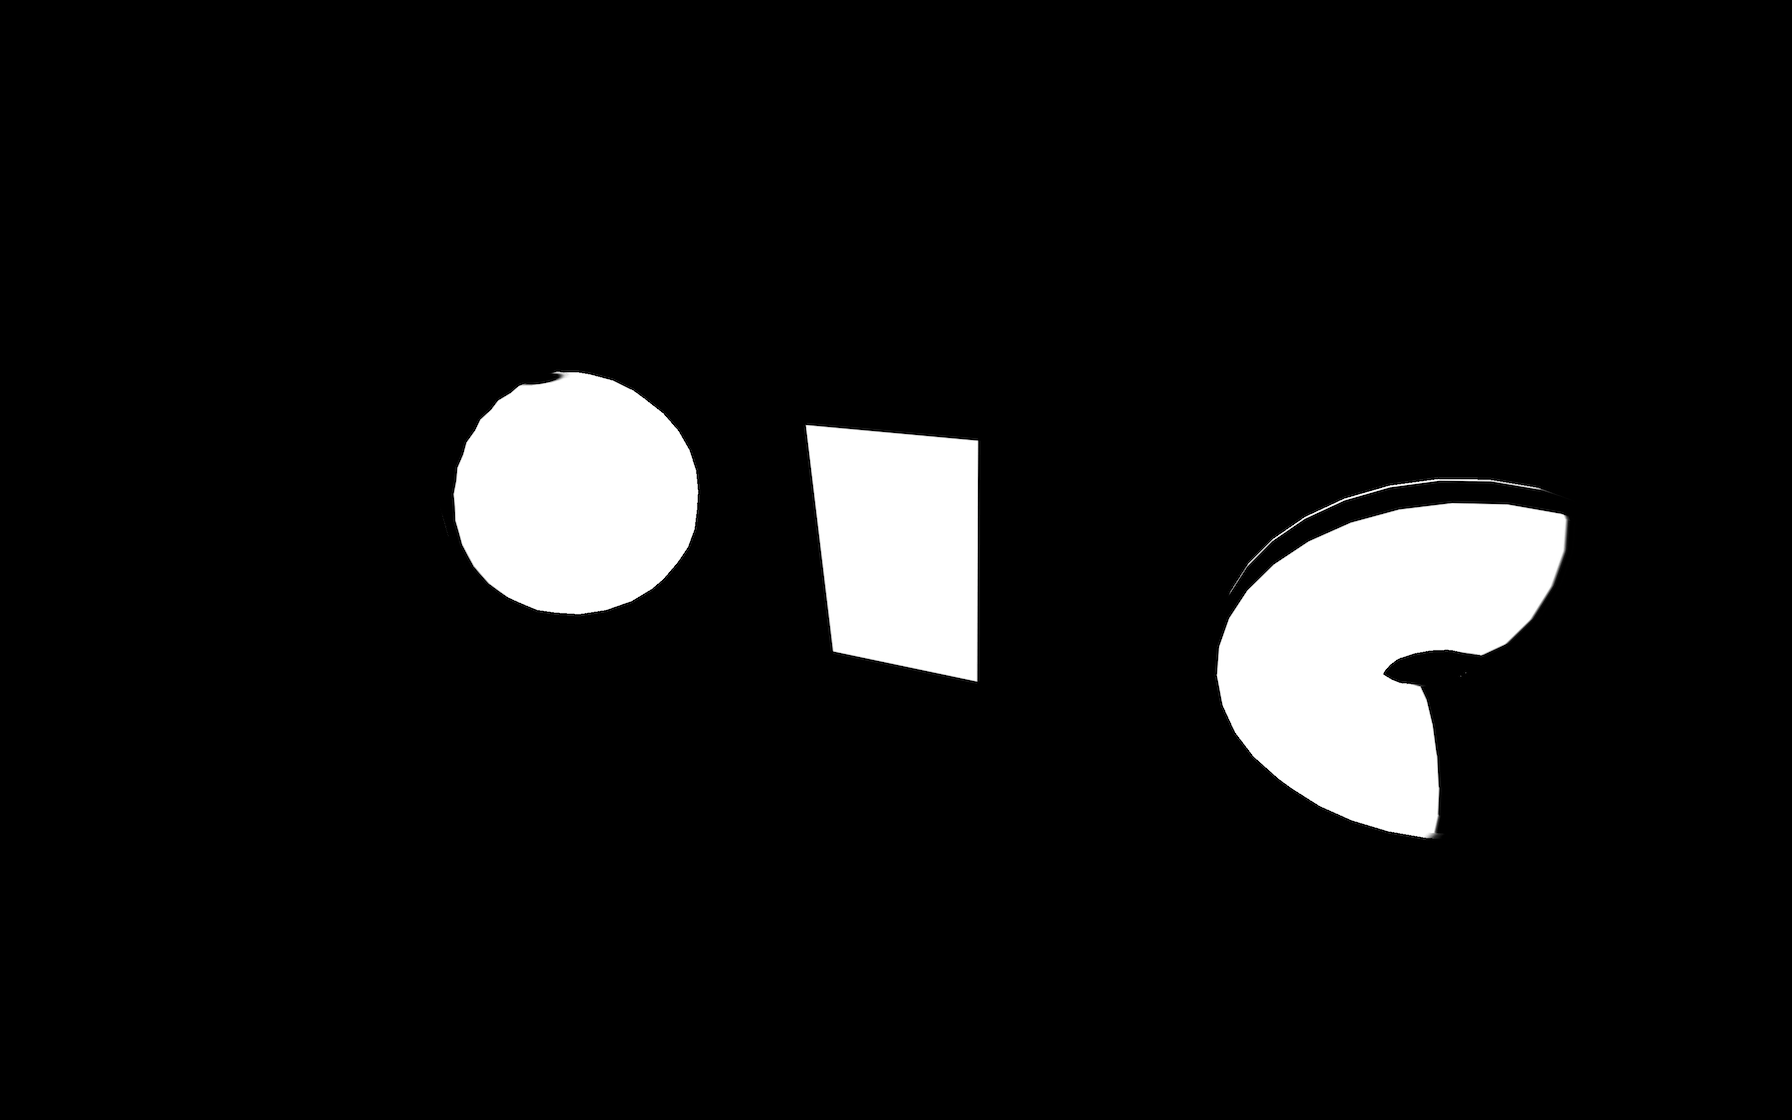
- The
sideproperty lets you decide which side of a face is visible. By default, the front side is visible (THREE.FrontSide), but you can show the backside instead (THREE.BackSide) or both (THREE.DoubleSide):
material.side = THREE.DoubleSide
JavaScript
Copy
You should see both the front and the back of the plane.Try to avoid using THREE.DoubleSide because rendering both sides means having twice more triangles to render.
Some of these properties like wireframe or opacity can be used with other types of materials. We won’t repeat those every time.
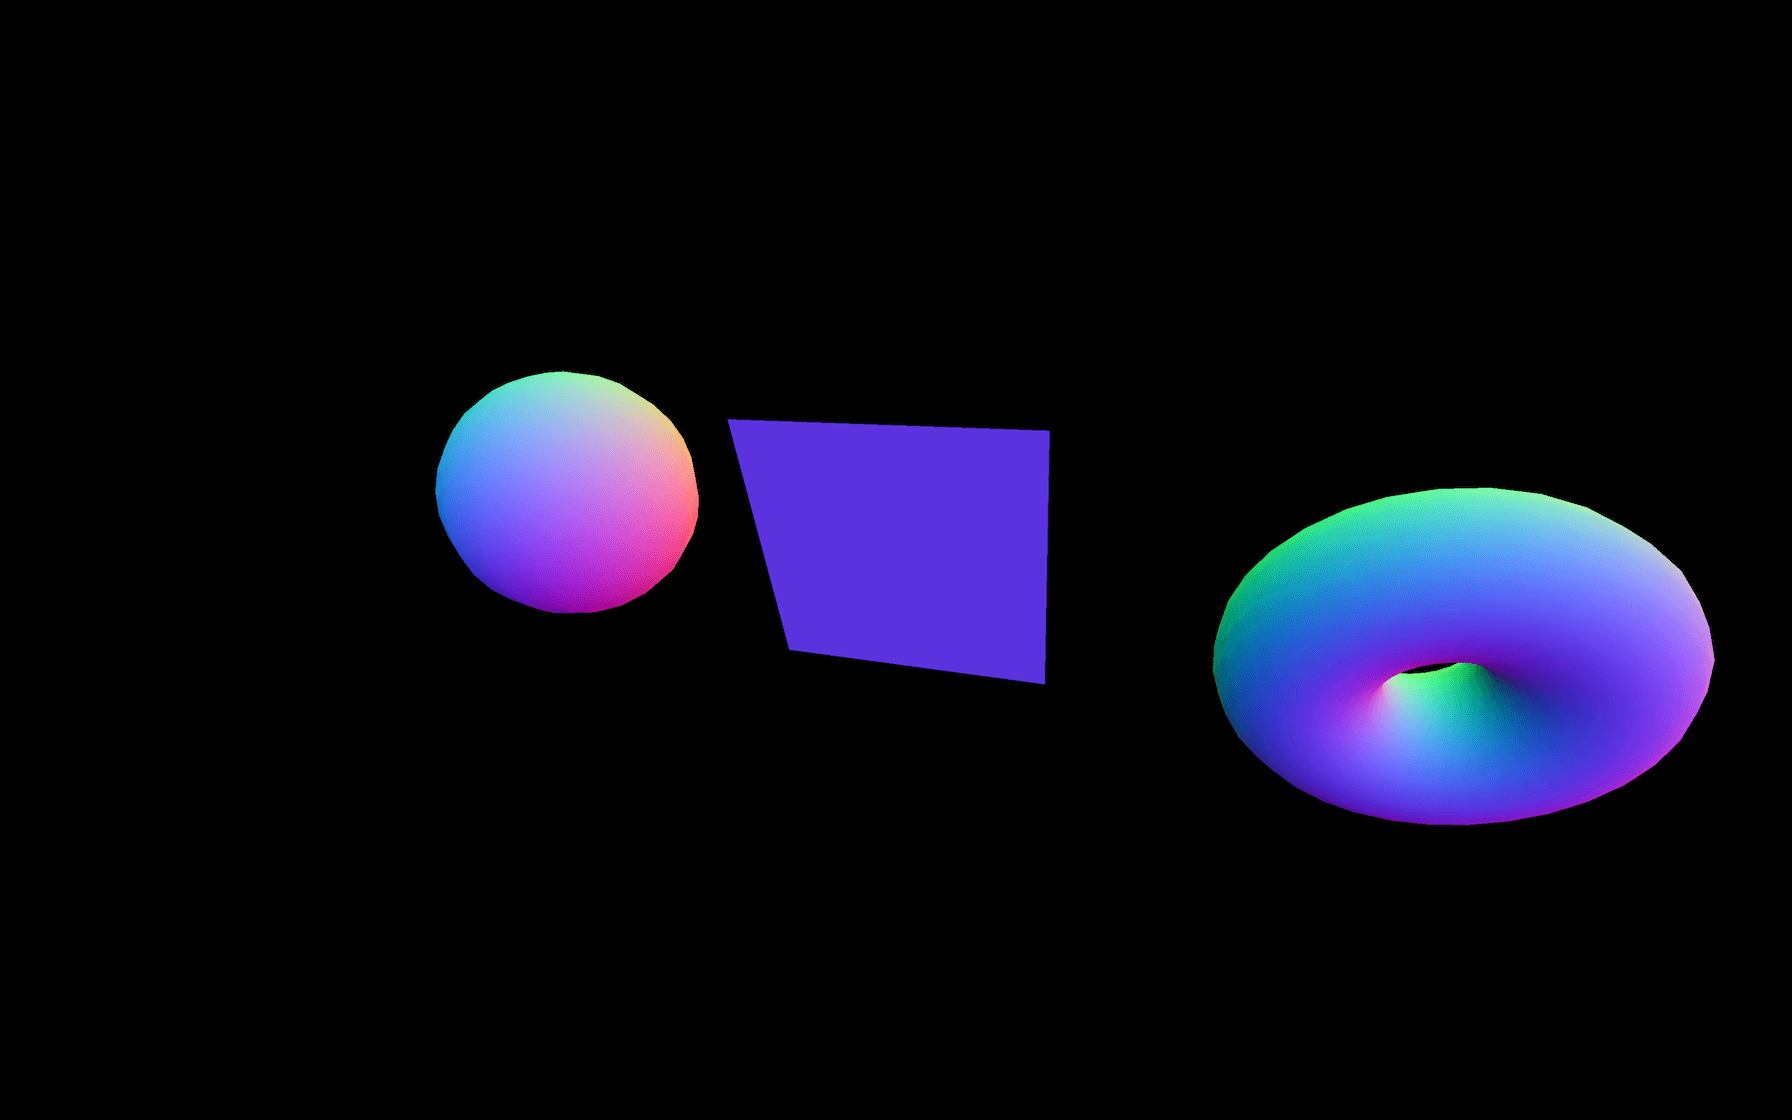
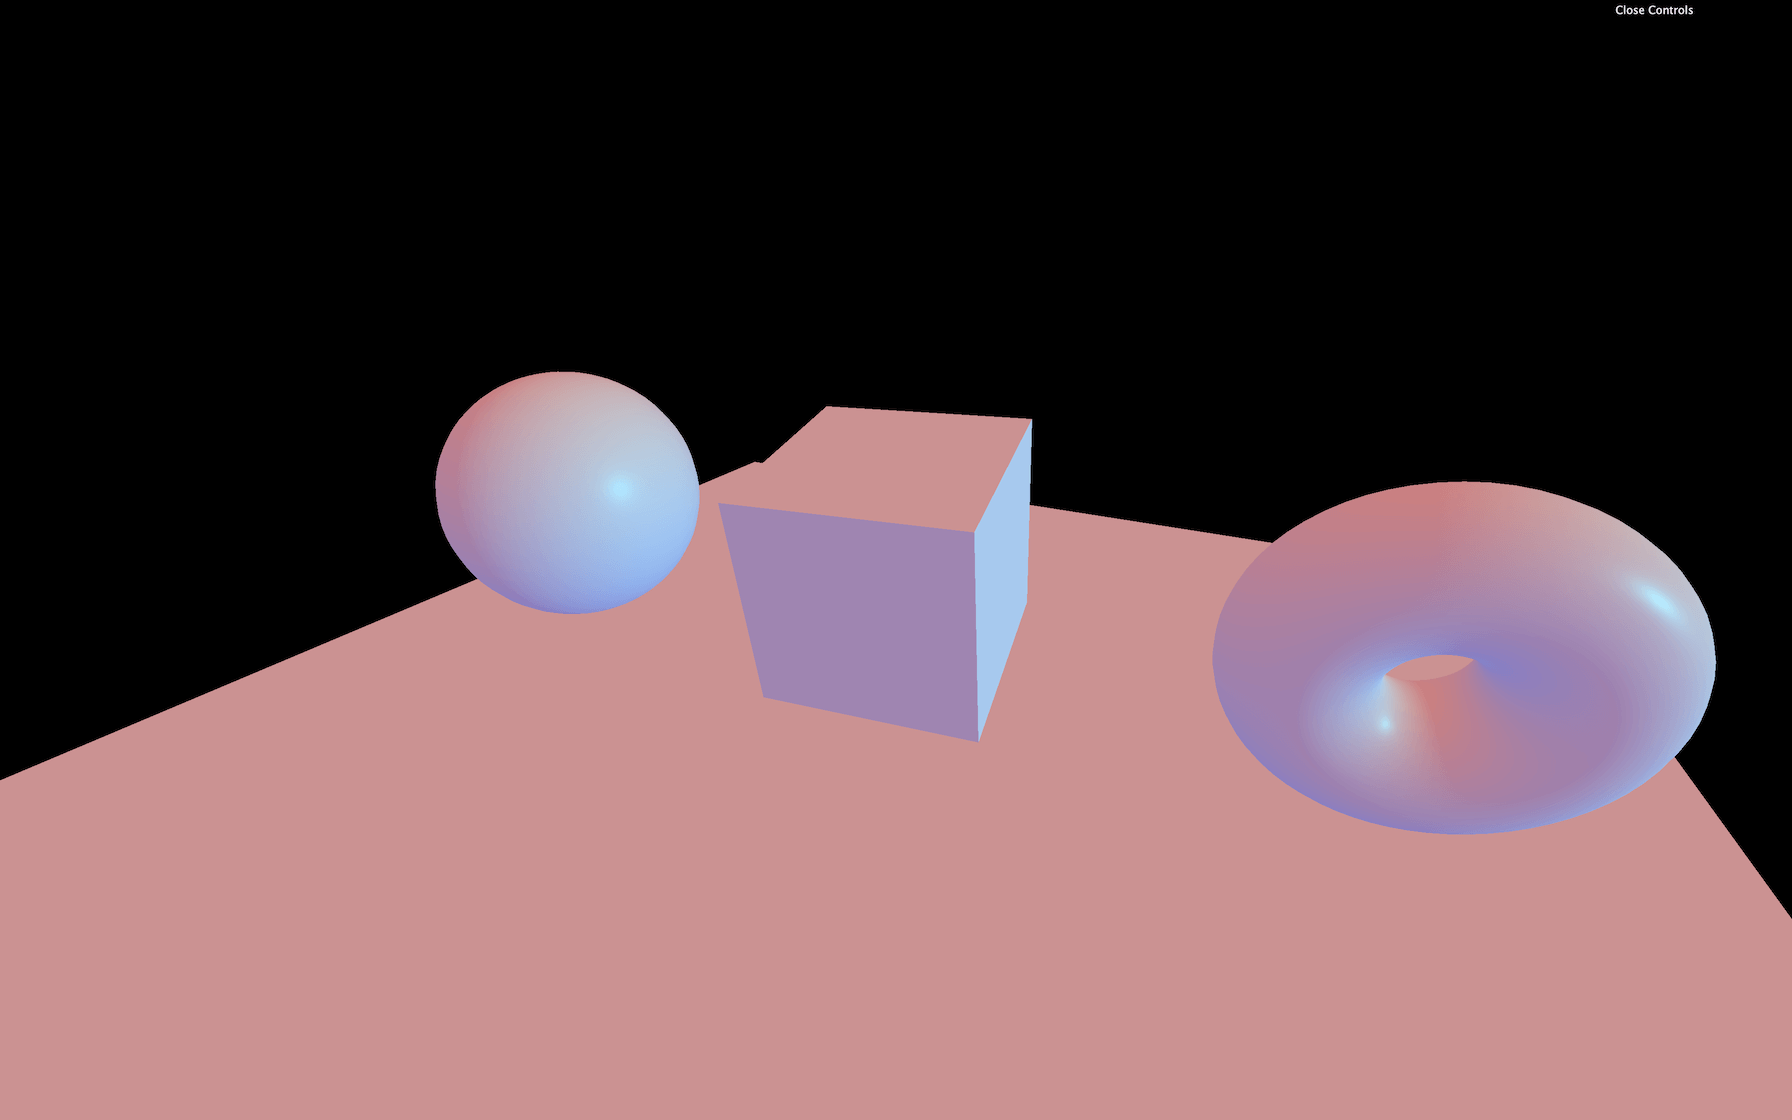
MeshNormalMaterial
The MeshNormalMaterial displays a nice purple, blueish, greenish color that looks like the normal texture we saw in the Textures lessons. That is no coincidence because both are related to what we call normals:
const material = new THREE.MeshNormalMaterial()
JavaScript
Copy
Normals are information encoded in each vertex that contains the direction of the outside of the face. If you displayed those normals as arrows, you would get straight lines comings out of each vertex that composes your geometry.
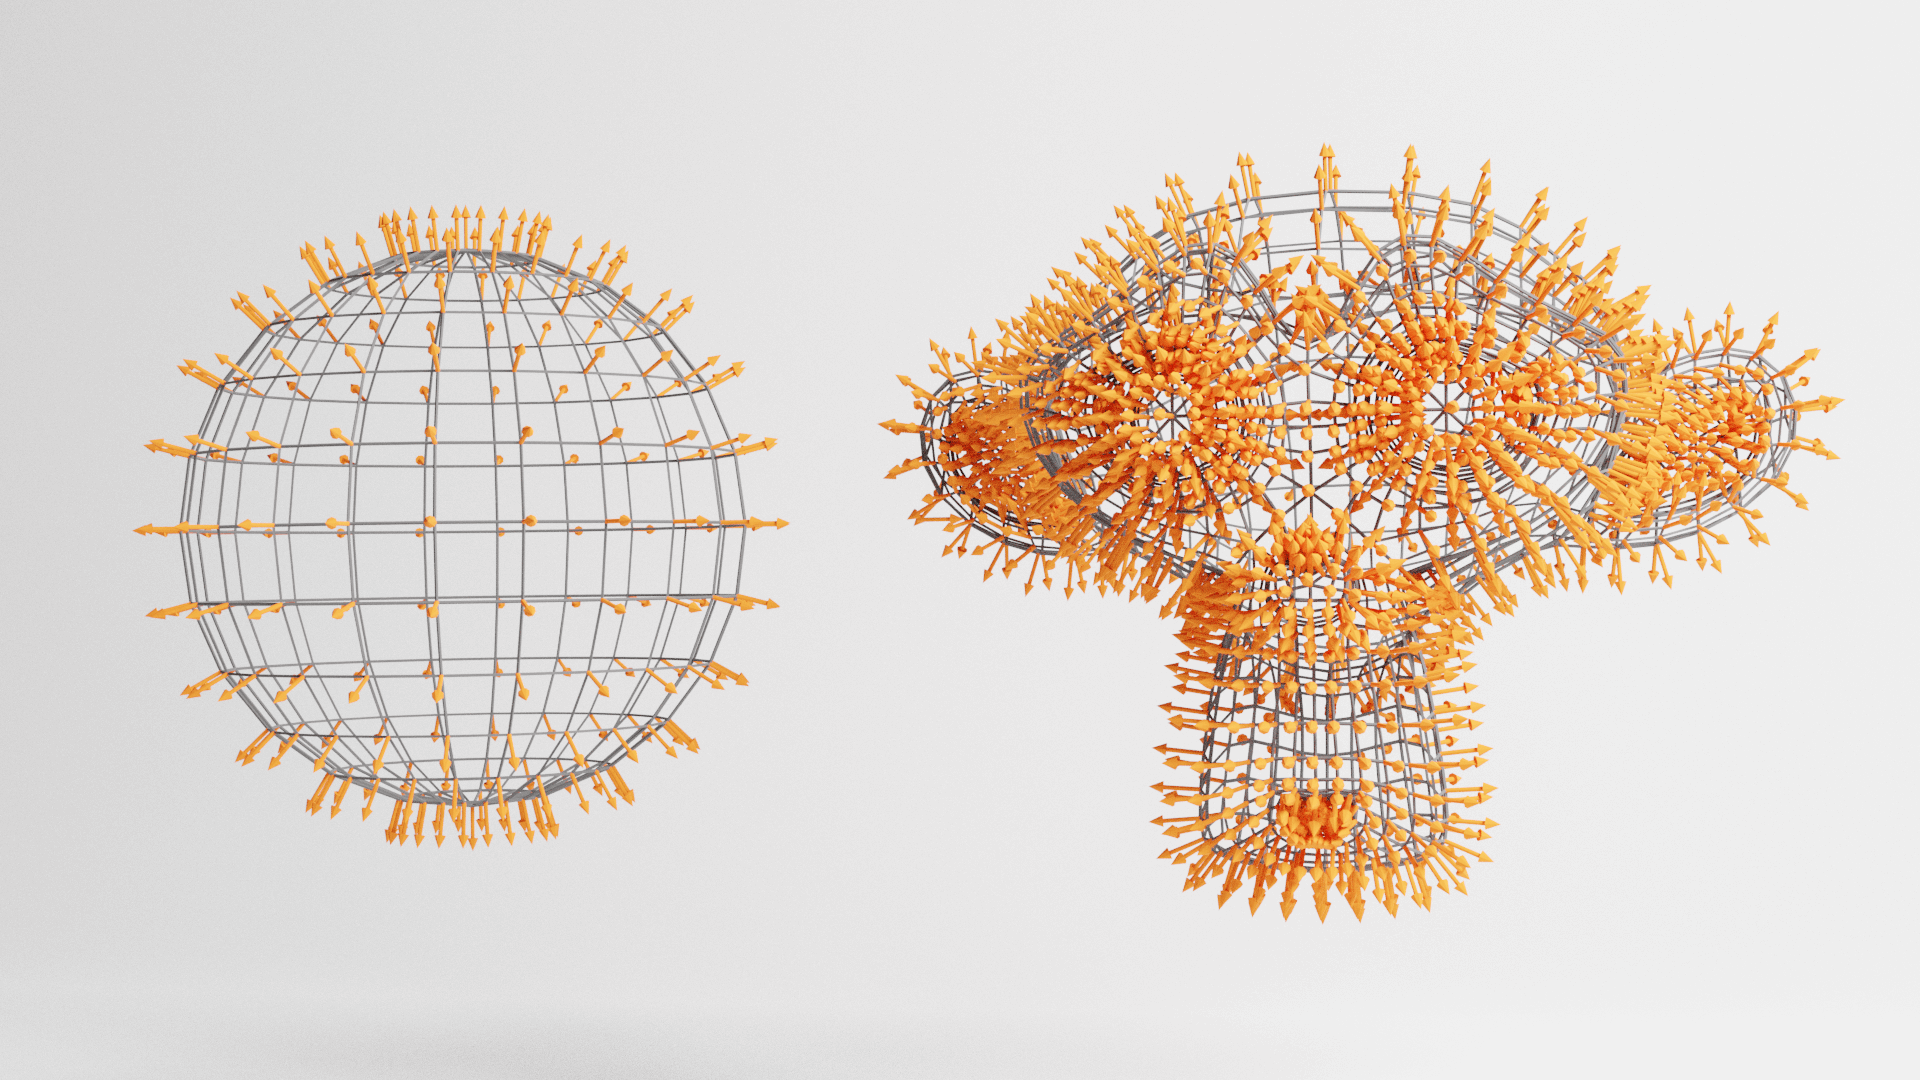
You can use Normals for many things like calculating how to illuminate the face or how the environment should reflect or refract on the geometries’ surface.
When using the MeshNormalMaterial, the color will just display the normal relative’s orientation to the camera. If you rotate around the sphere, you’ll see that the color is always the same, regardless of which part of the sphere you’re looking at.
While you can use some of the properties we discovered with the MeshBasicMaterial like wireframe , transparent , opacity and side , there is also a new property that you can use, which is called flatShading :
material.flatShading = true
JavaScript
Copy
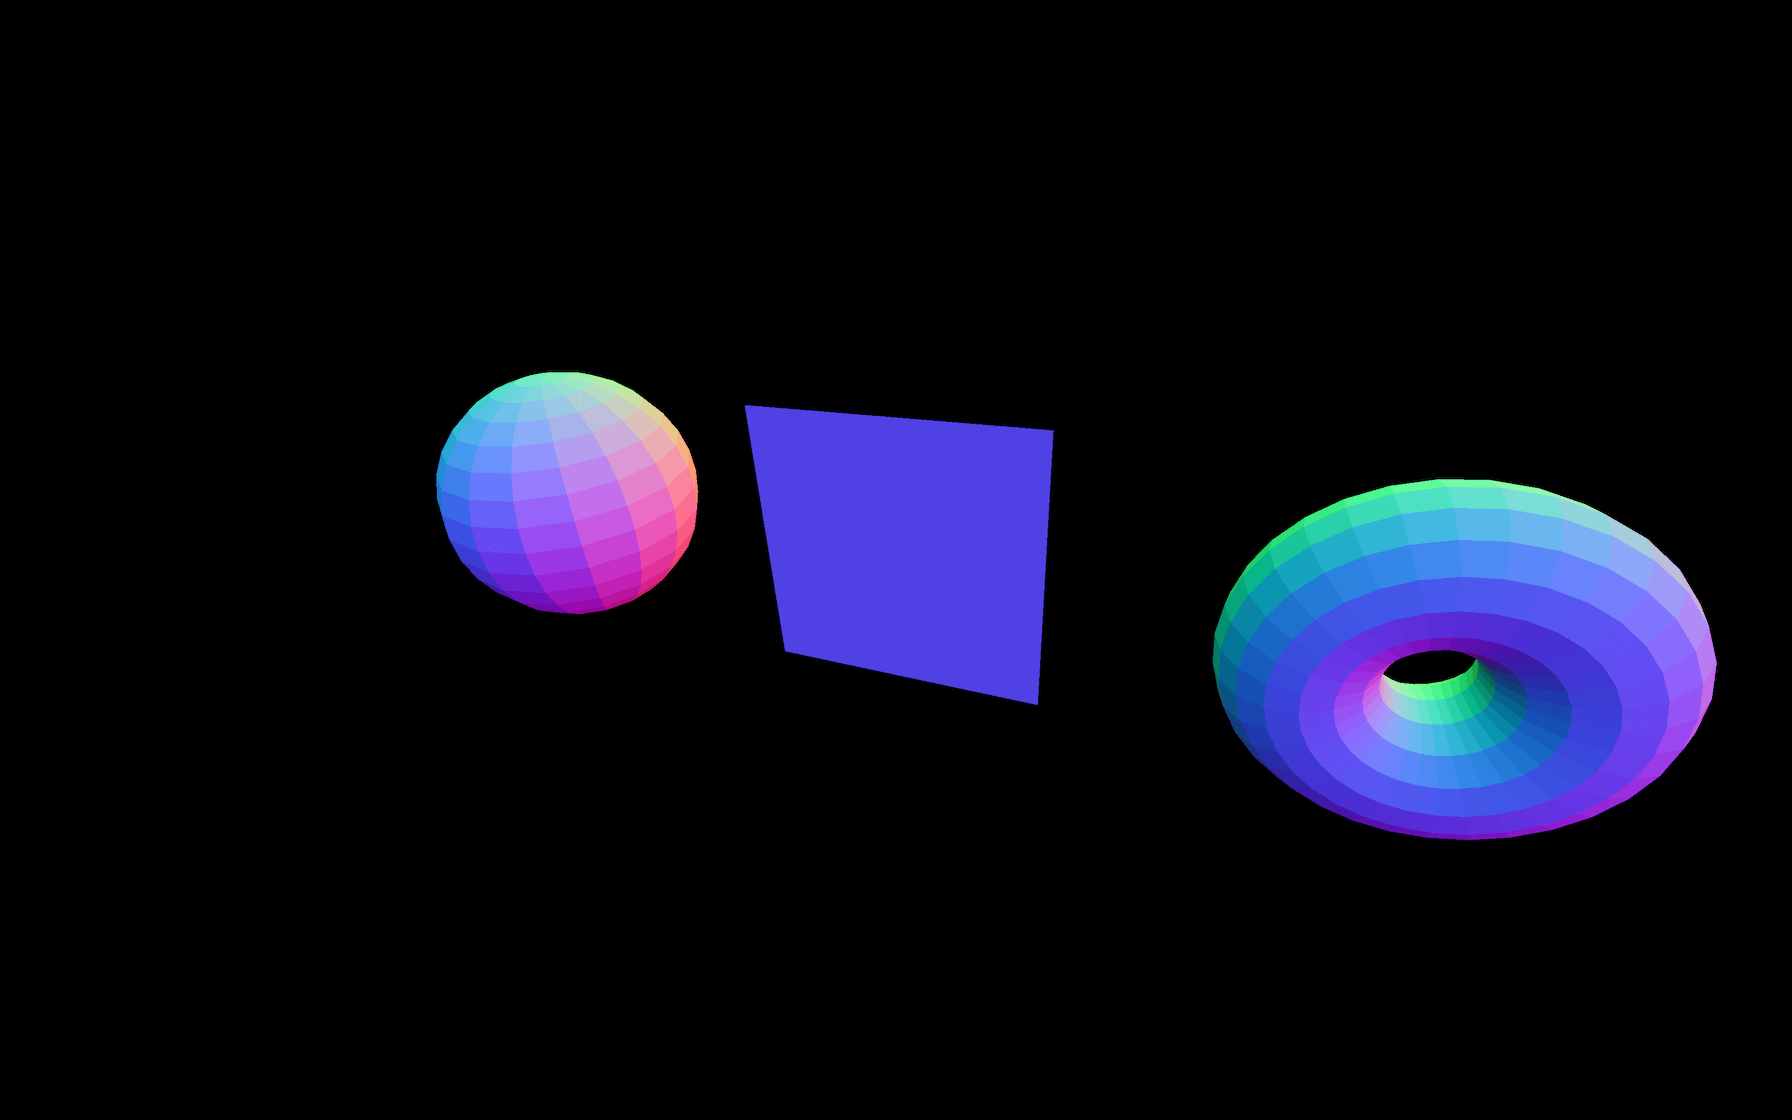
flatShading will flatten the faces, meaning that the normals won’t be interpolated between the vertices.
MeshNormalMaterial can be useful to debug the normals, but it also looks great, and you can use it as it is just like ilithya did on her portfolio https://www.ilithya.rocks.
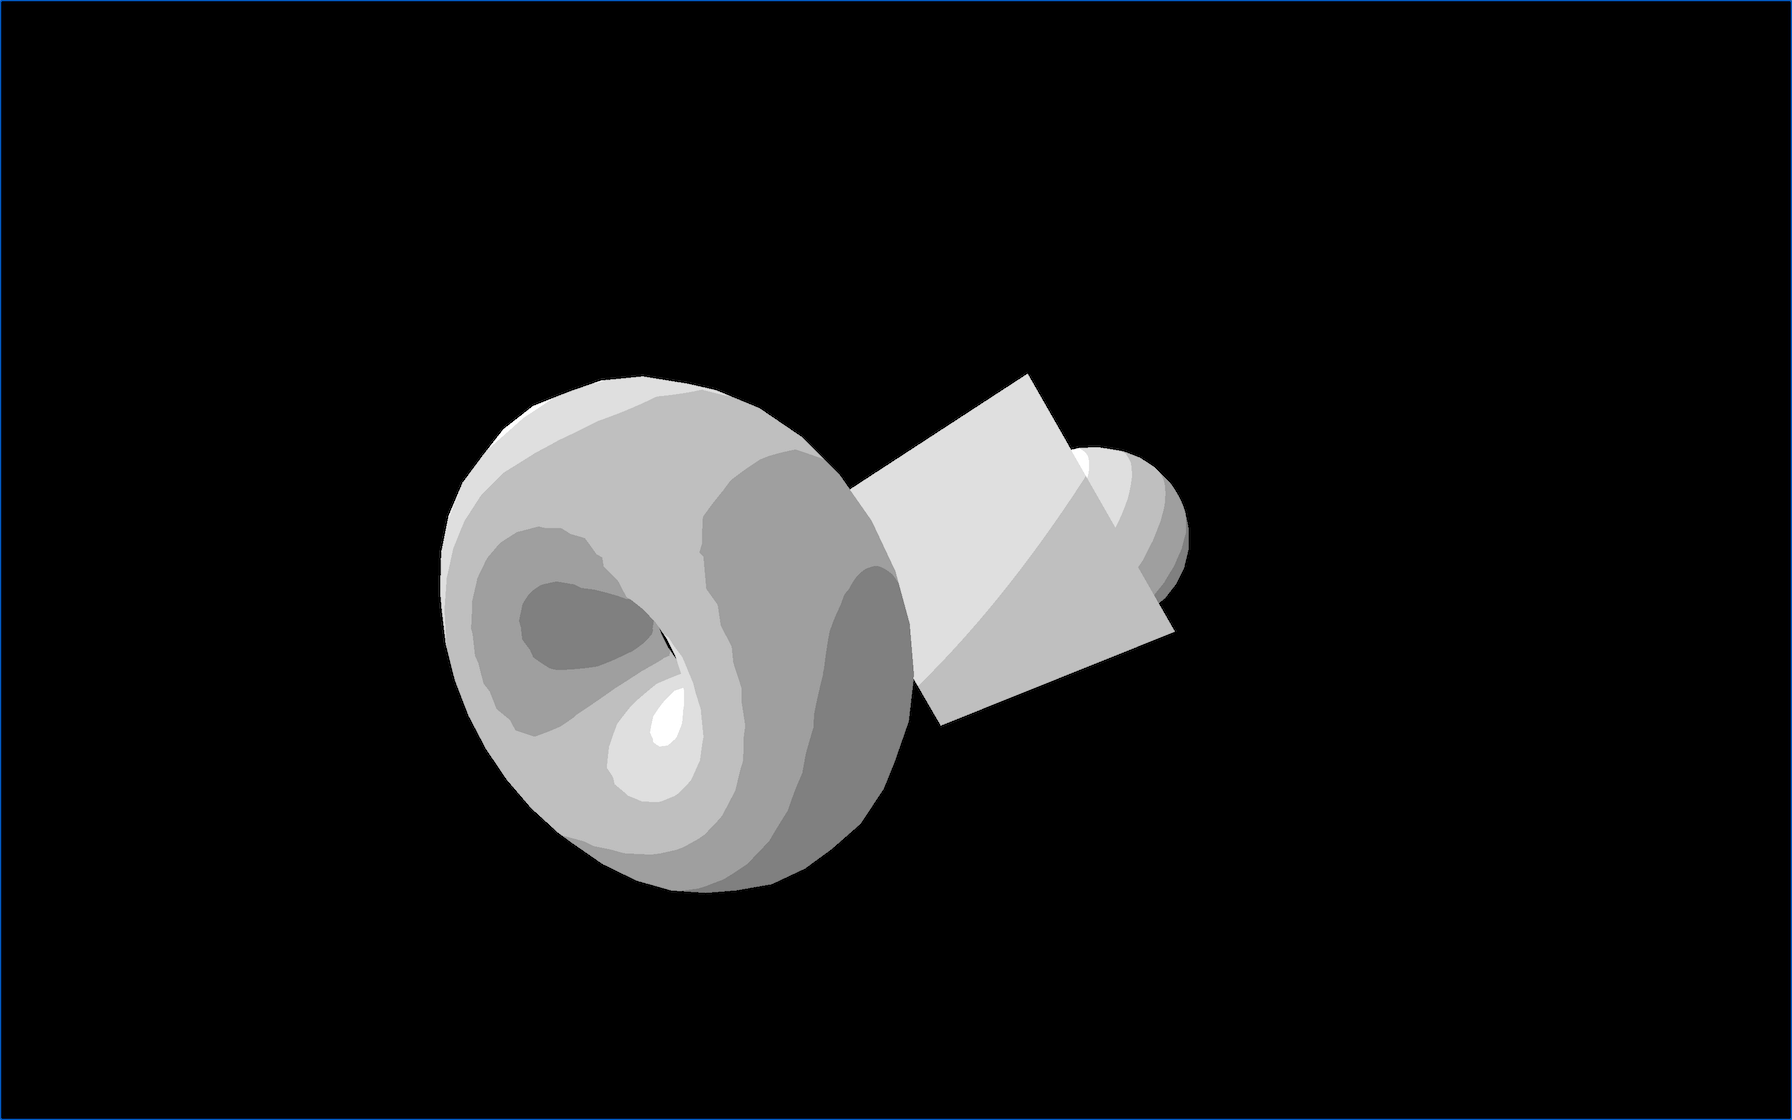
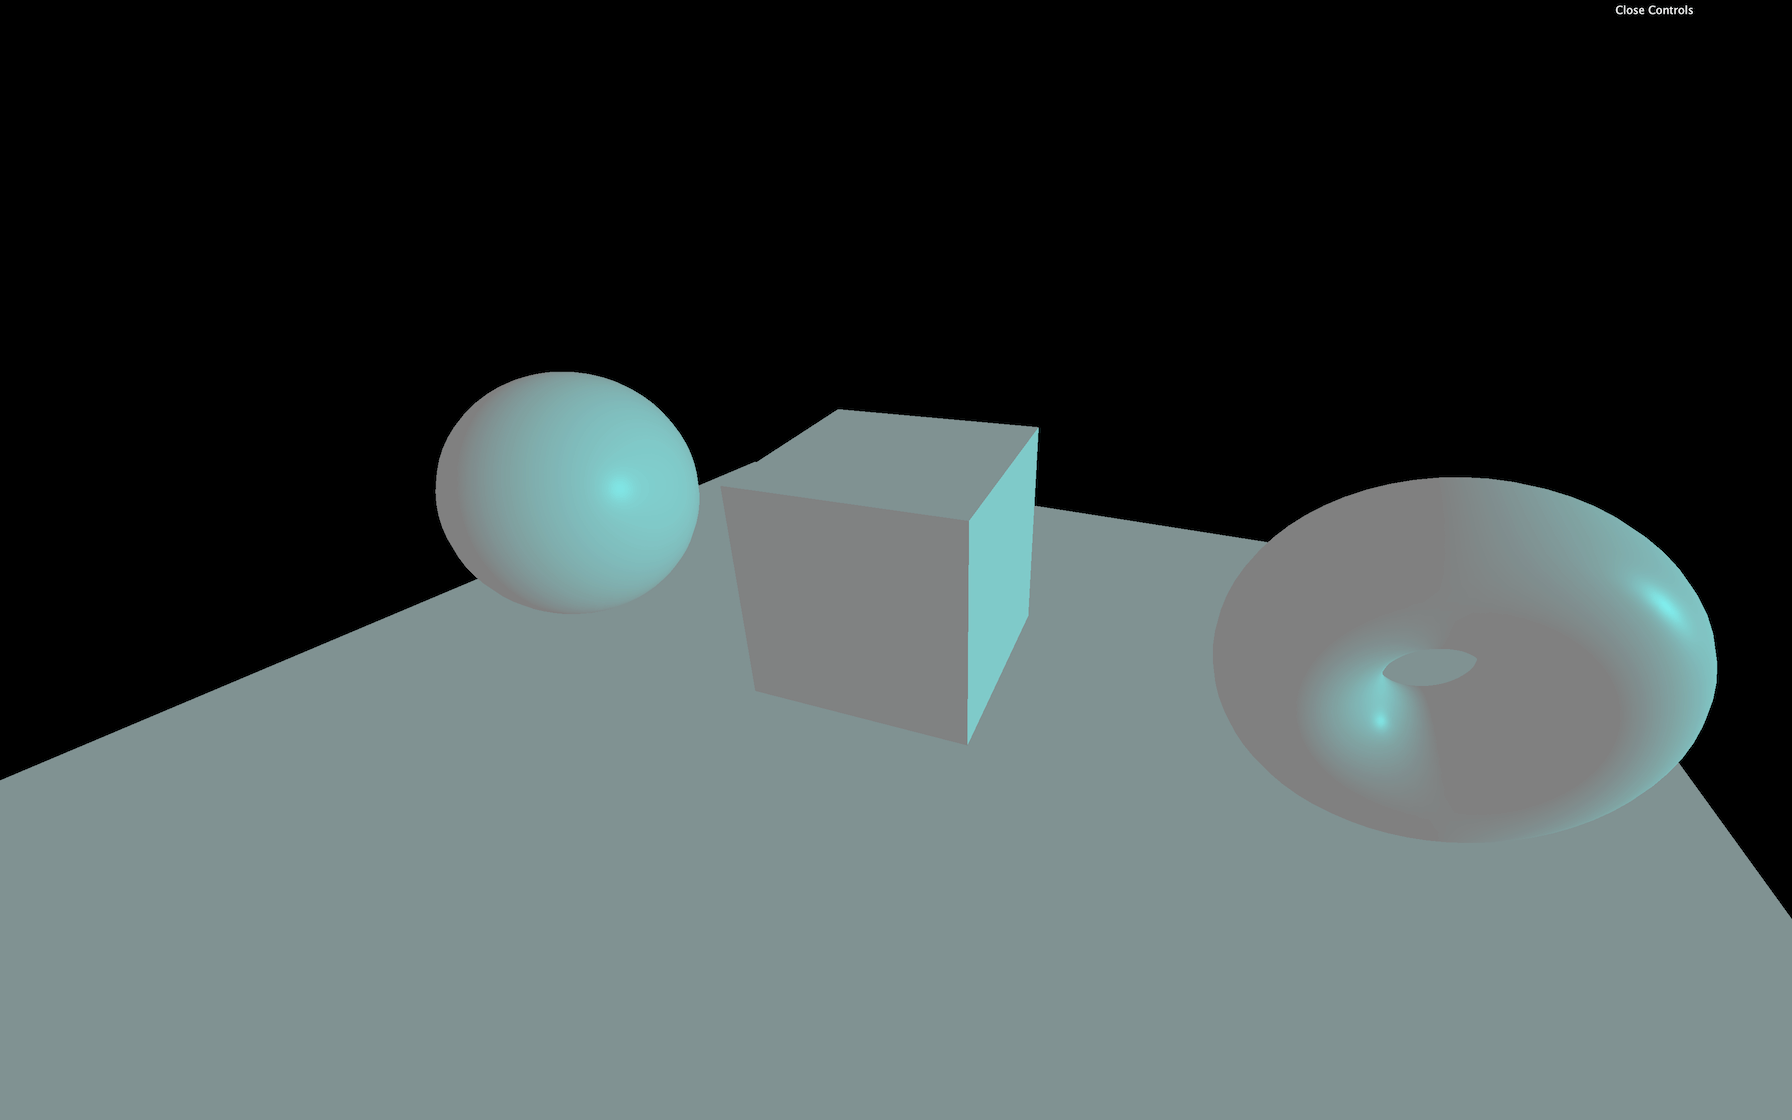
MeshMatcapMaterial
MeshMatcapMaterial is a fantastic material because of how great it can look while being very performant.
For it to work, the MeshMatcapMaterial needs a reference texture that looks like a sphere.
The material will then pick colors on the texture according to the normal orientation relative to the camera.
To set that reference matcap texture, use the matcap property:
const material = new THREE.MeshMatcapMaterial()
material.matcap = matcapTexture
JavaScript
Copy
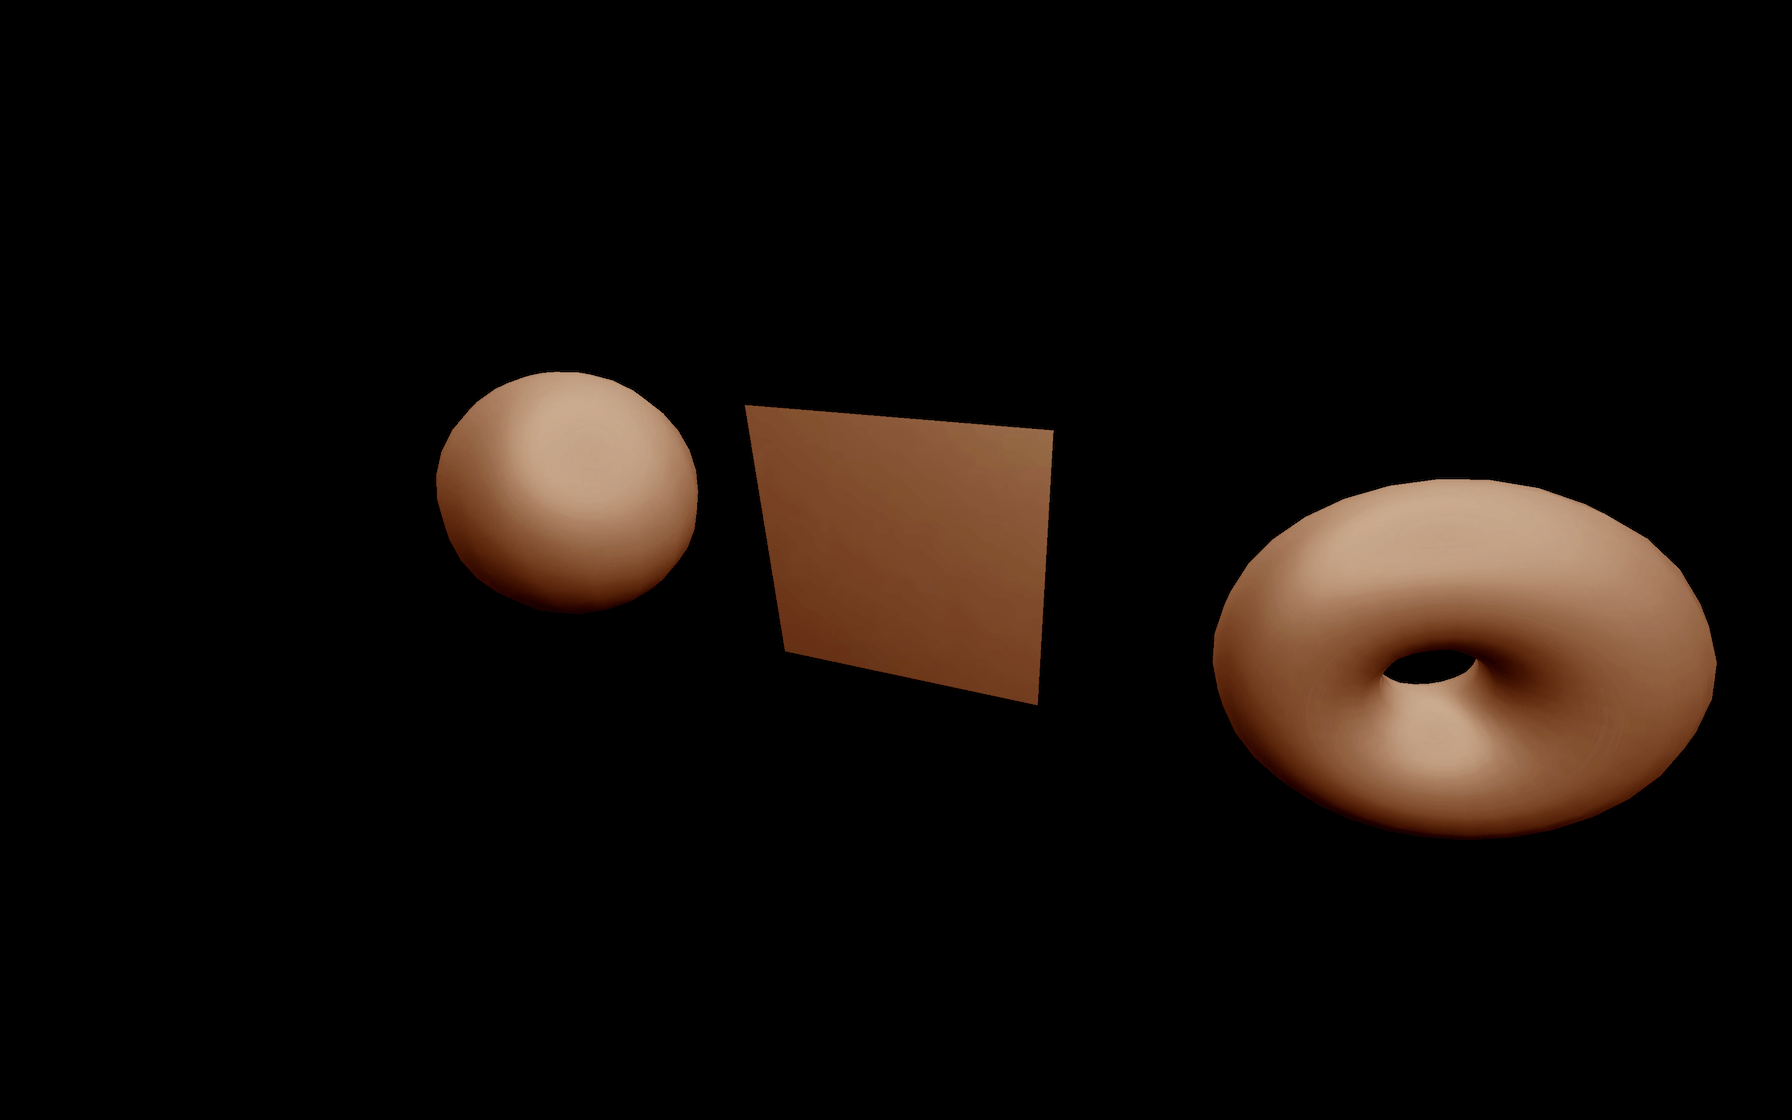
The meshes will appear illuminated, but it’s just a texture that looks like it.
The only problem is that the illusion is the same regardless of the camera orientation. Also, you cannot update the lights because there are none.
Try different textures available on the /static/textures/matcaps/ folder (just one of the lines below):
const matcapTexture = textureLoader.load('/textures/matcaps/2.png')
const matcapTexture = textureLoader.load('/textures/matcaps/3.png')
const matcapTexture = textureLoader.load('/textures/matcaps/4.png')
const matcapTexture = textureLoader.load('/textures/matcaps/5.png')
const matcapTexture = textureLoader.load('/textures/matcaps/6.png')
const matcapTexture = textureLoader.load('/textures/matcaps/7.png')
const matcapTexture = textureLoader.load('/textures/matcaps/8.png')
JavaScript
Copy

Regarding where to find matcaps textures, you can do a simple search on the web like any type of textures. Make sure you have the right to use the texture if it’s not for personal usage. There is also this vast list of matcaps: https://github.com/nidorx/matcaps
You can also create your own matcaps using a 3D software by rendering a sphere in front of the camera in a square image. Finally, you can try to make a matcap in 2D software like Photoshop.
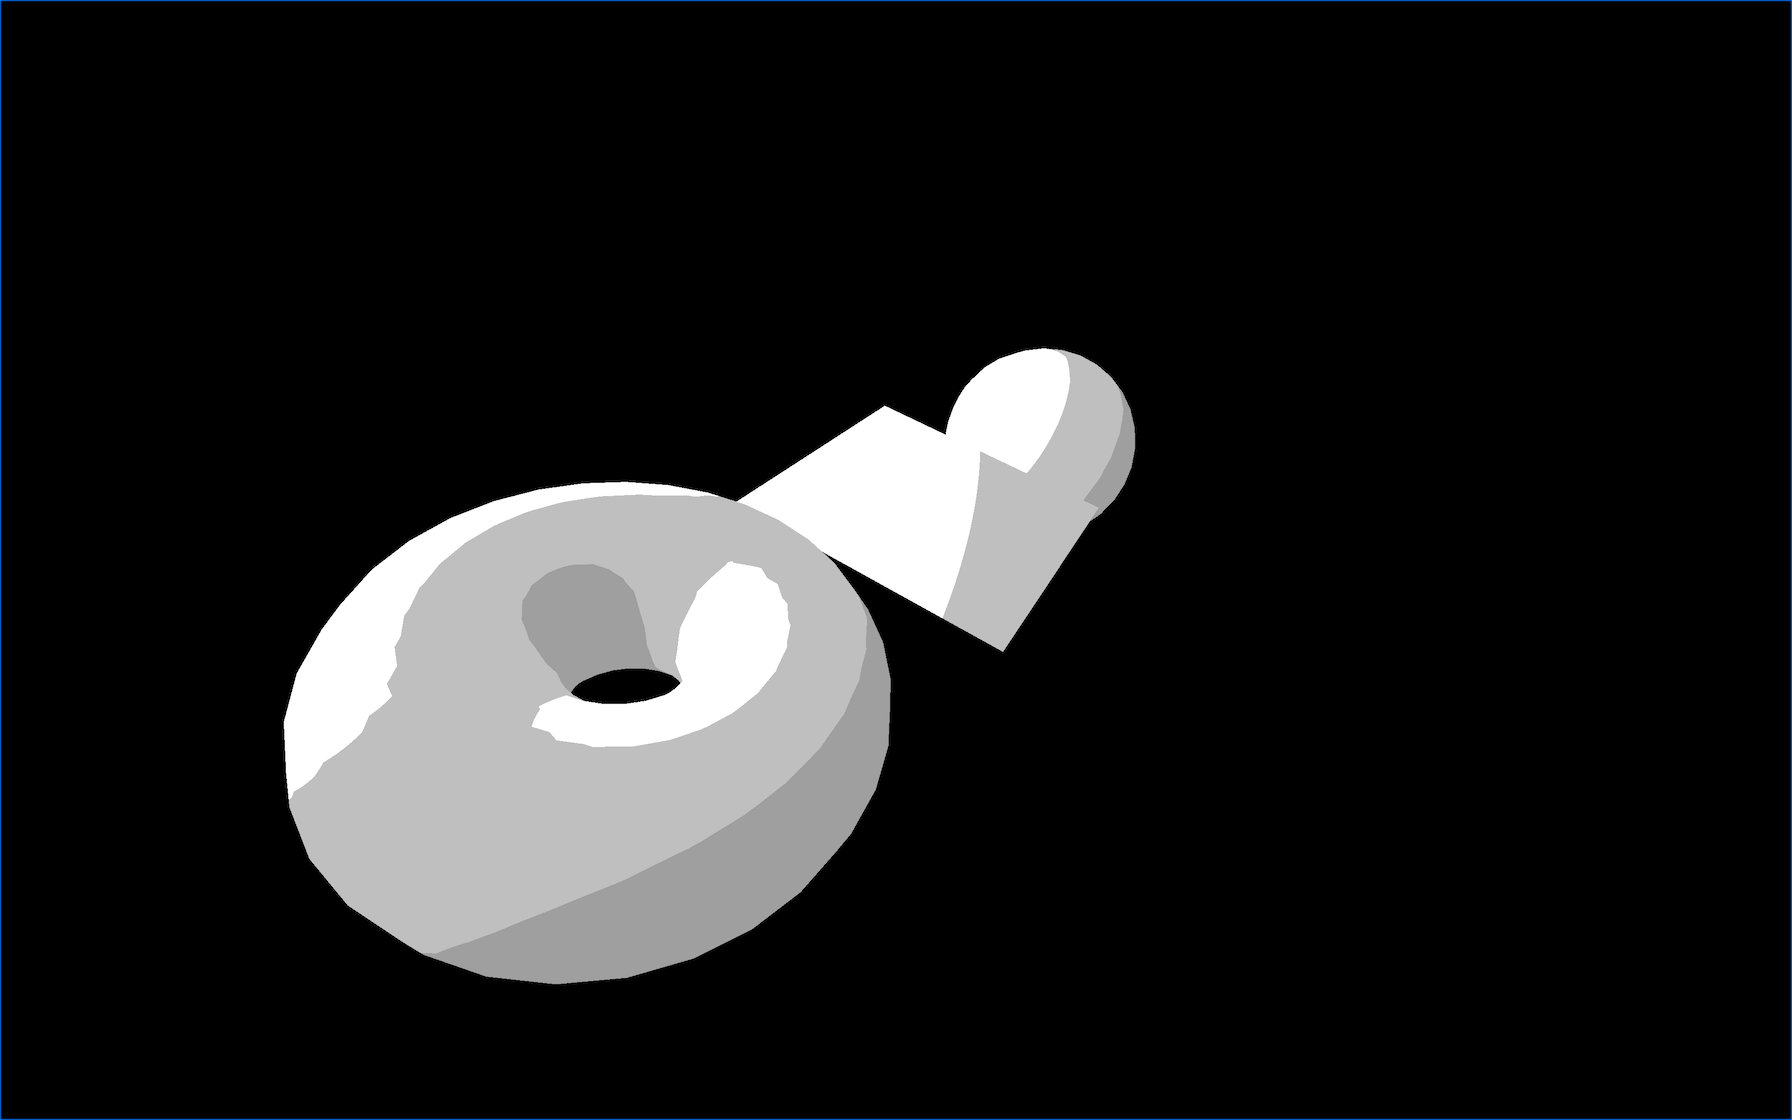
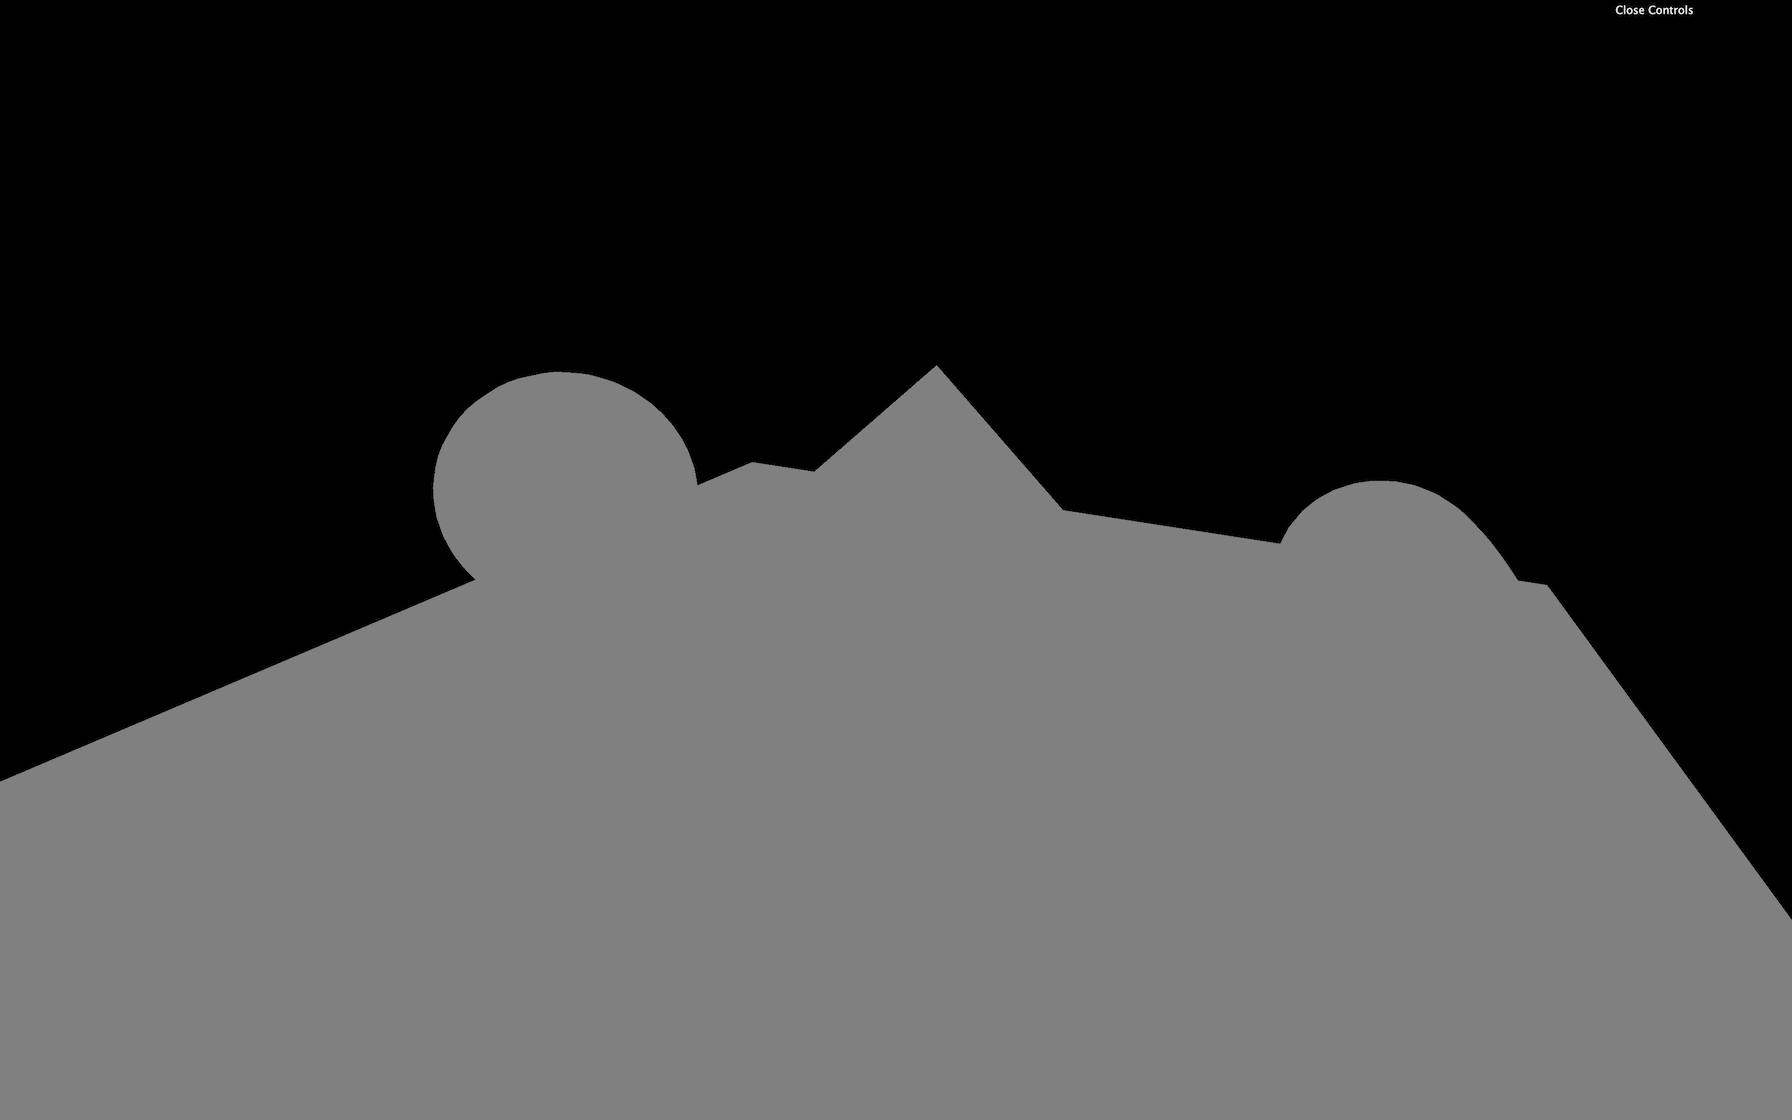
MeshDepthMaterial
The MeshDepthMaterial will simply color the geometry in white if it’s close to the camera’s near value and in black if it’s close to the far value of the camera:
const material = new THREE.MeshDepthMaterial()
JavaScript
Copy
You can use this material for special effects where you need to know how far the pixel is from the camera. We will use it in a future lesson.
Adding a few lights
The following materials need lights to be seen. Let’s add two simple lights to our scene.
Create an AmbientLight and add it to the scene:
/**
 * Lights
 */
const ambientLight = new THREE.AmbientLight(0xffffff, 0.5)
scene.add(ambientLight)
JavaScript
Copy
Create a PointLight and add it to the scene:
// ...

const pointLight = new THREE.PointLight(0xffffff, 0.5)
pointLight.position.x = 2
pointLight.position.y = 3
pointLight.position.z = 4
scene.add(pointLight)
JavaScript
Copy
We will see more about lights, how they work and how to tweak them in a future lesson.
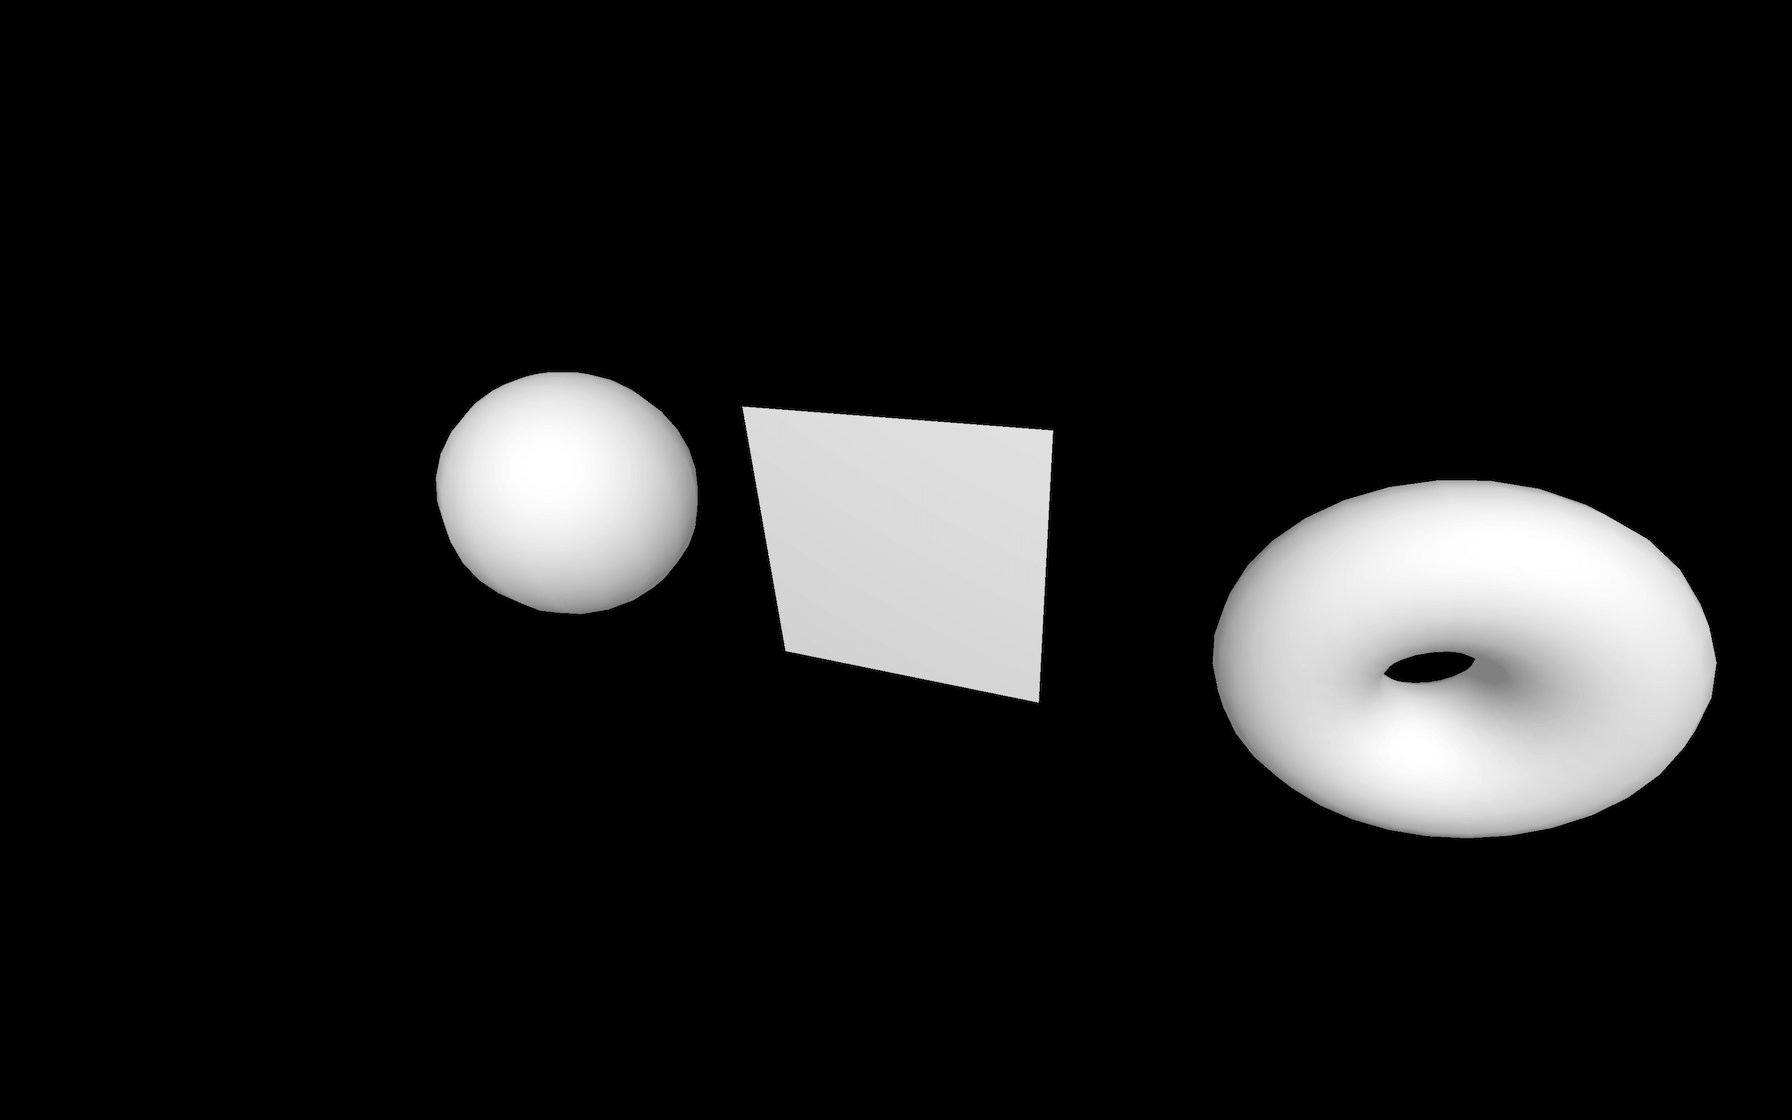
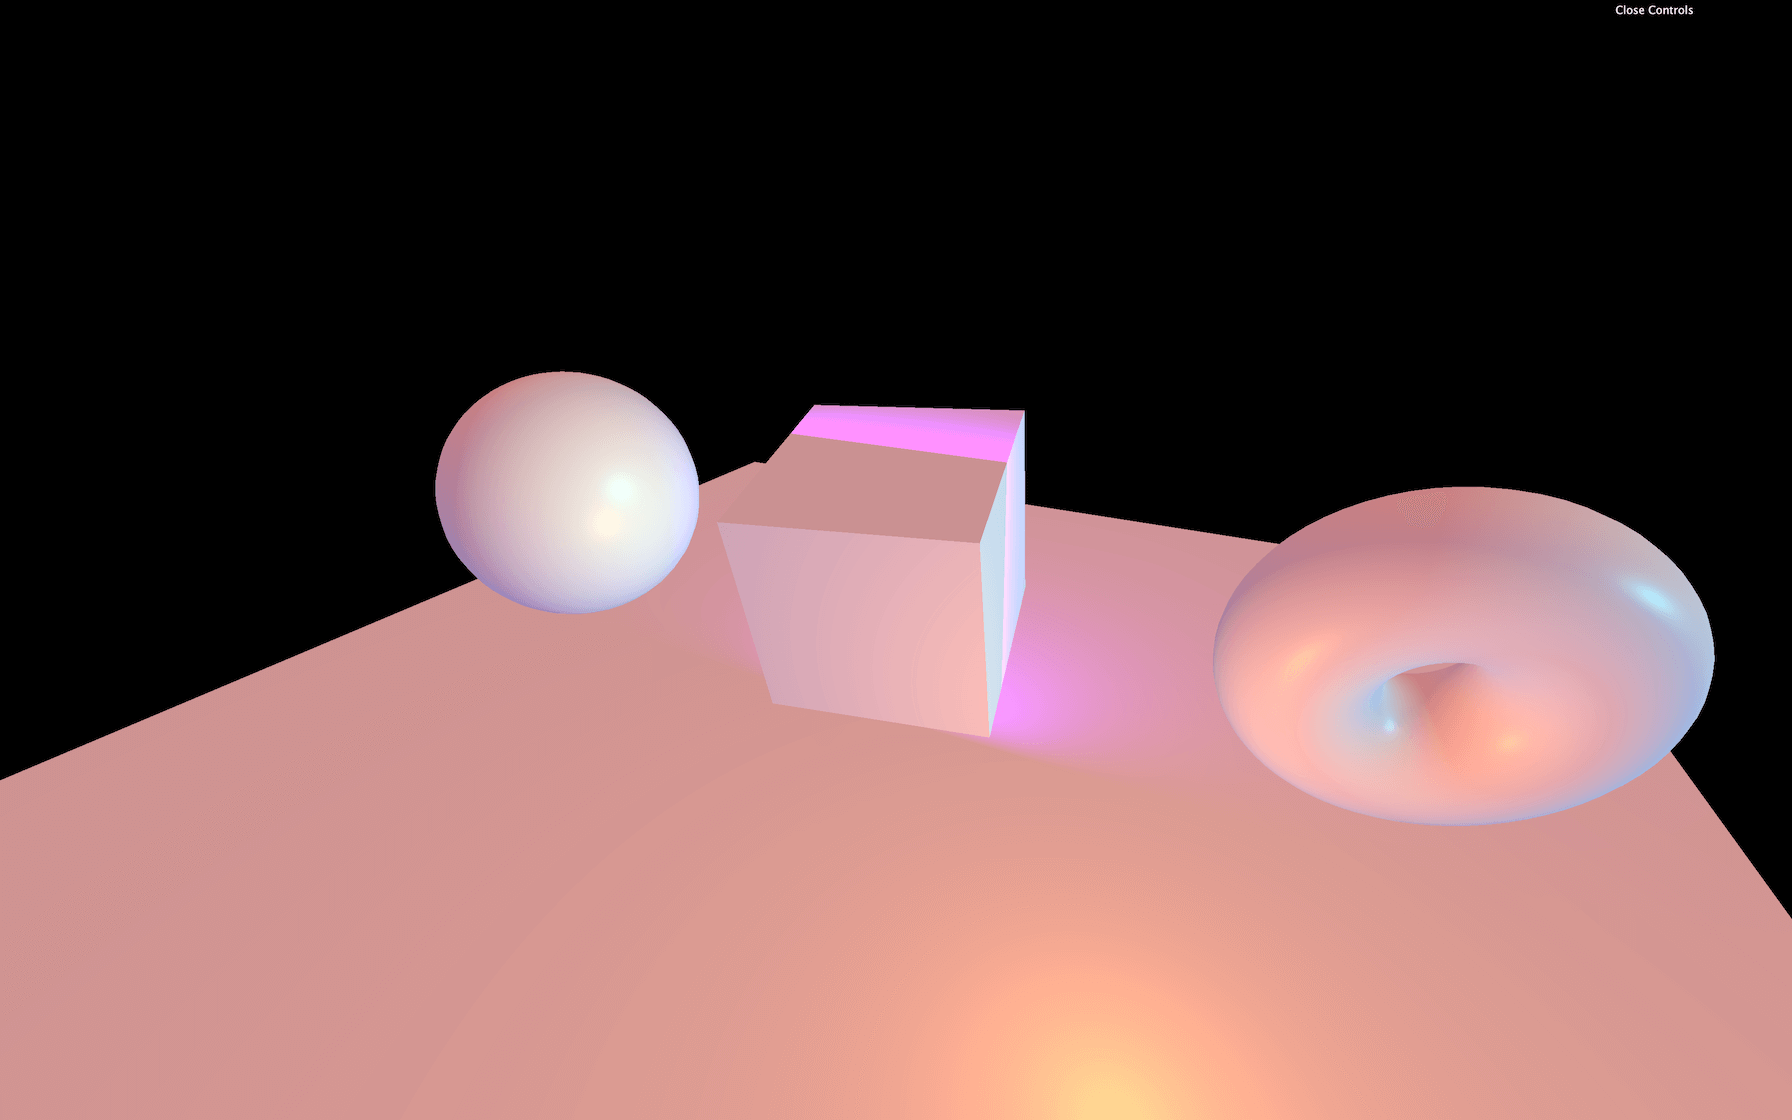
MeshLambertMaterial
The MeshLambertMaterial is the first material reacting to light that we are going to use:
const material = new THREE.MeshLambertMaterial()
JavaScript
Copy
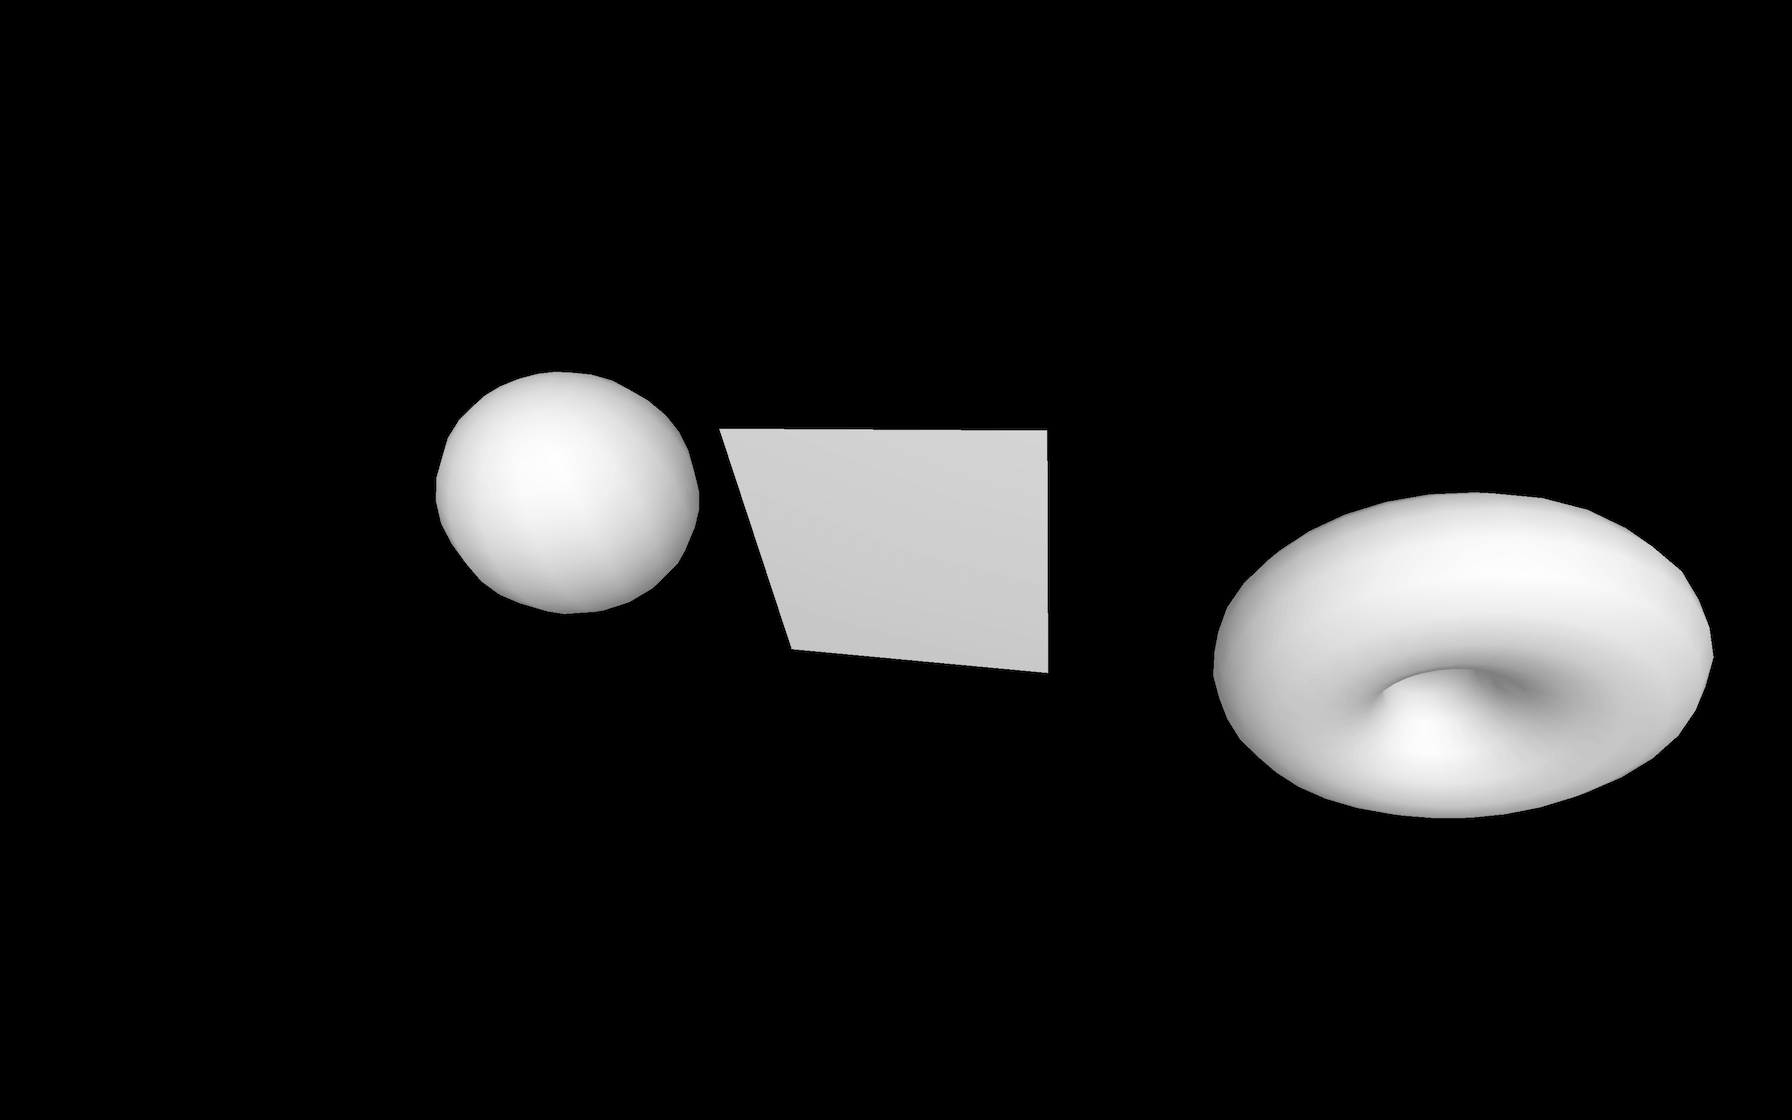
Things are getting realistic, as you can see. While the illumination isn’t very convincing, it’s a good start.
MeshLambertMaterial supports the same properties as the MeshBasicMaterial but also some properties related to lights. We will see those properties later in the lesson with more adequate materials.
The MeshLambertMaterial is the most performant material that uses lights. Unfortunately, the parameters aren’t convenient, and you can see strange patterns on the geometry if you look closely at rounded geometries like the sphere.
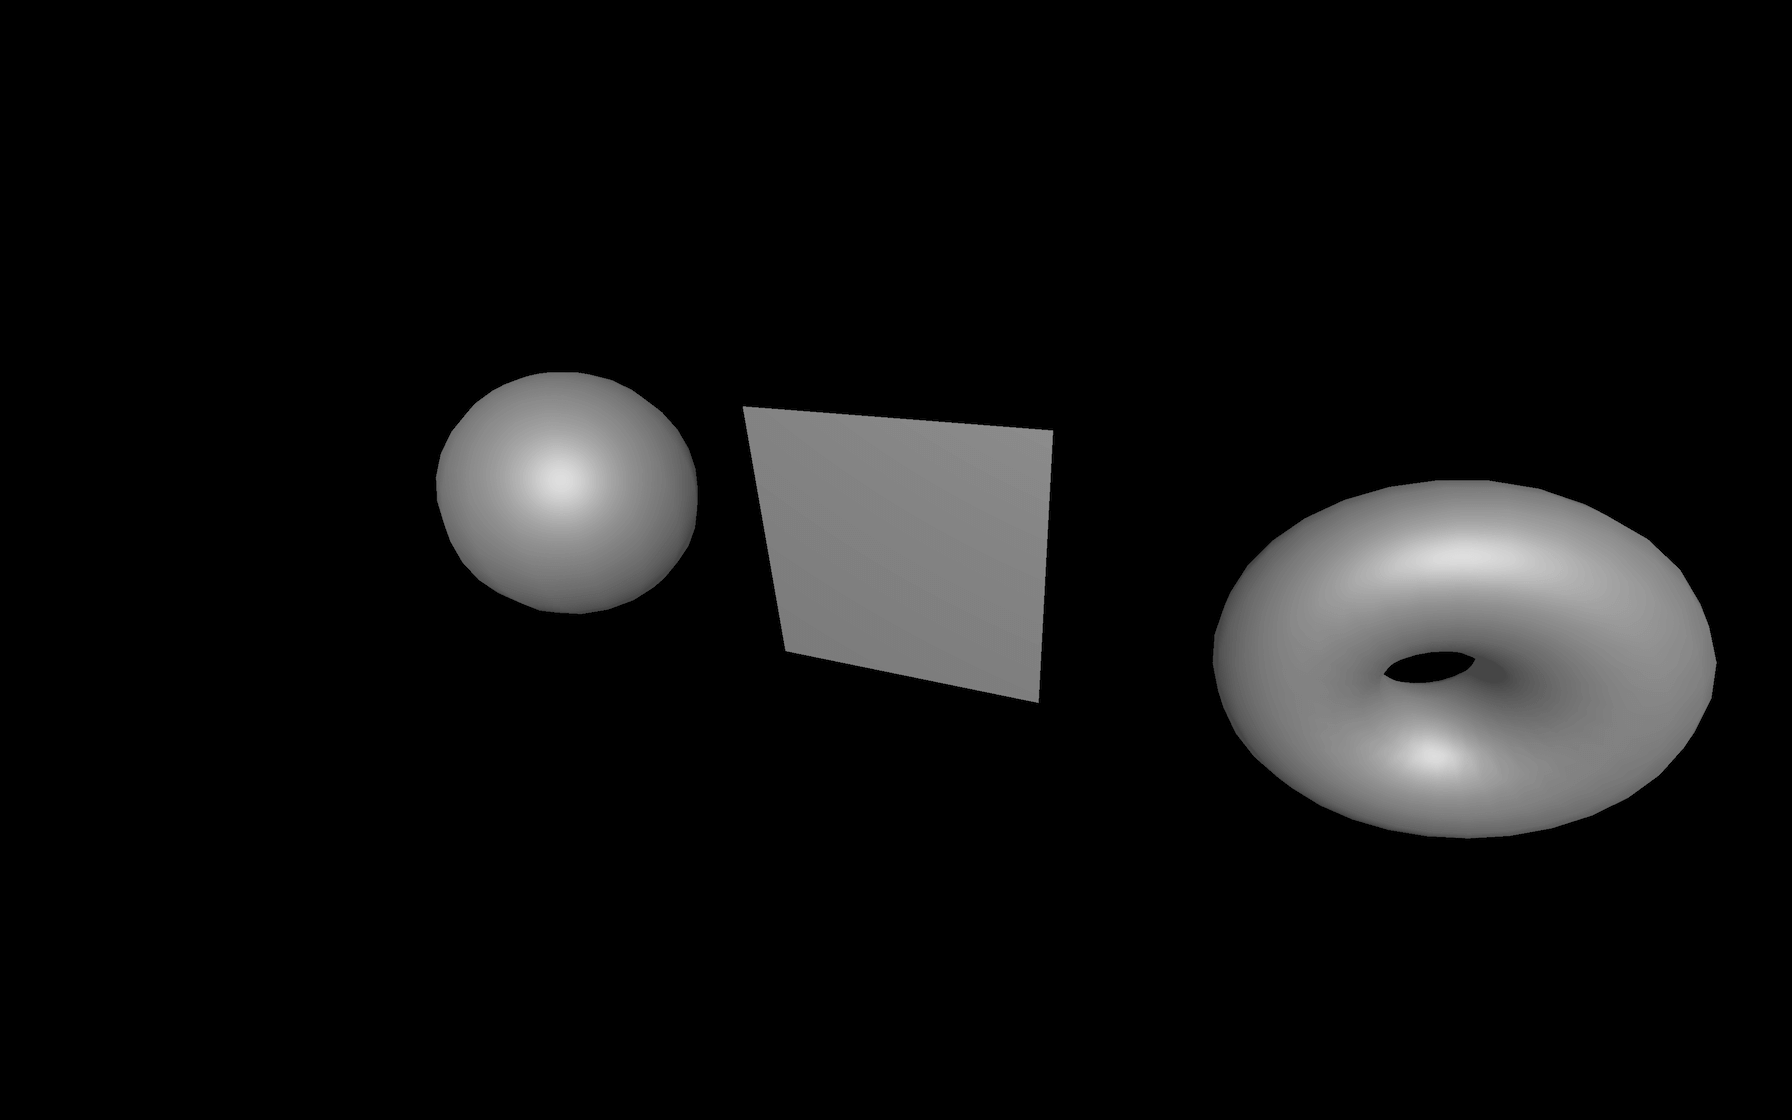
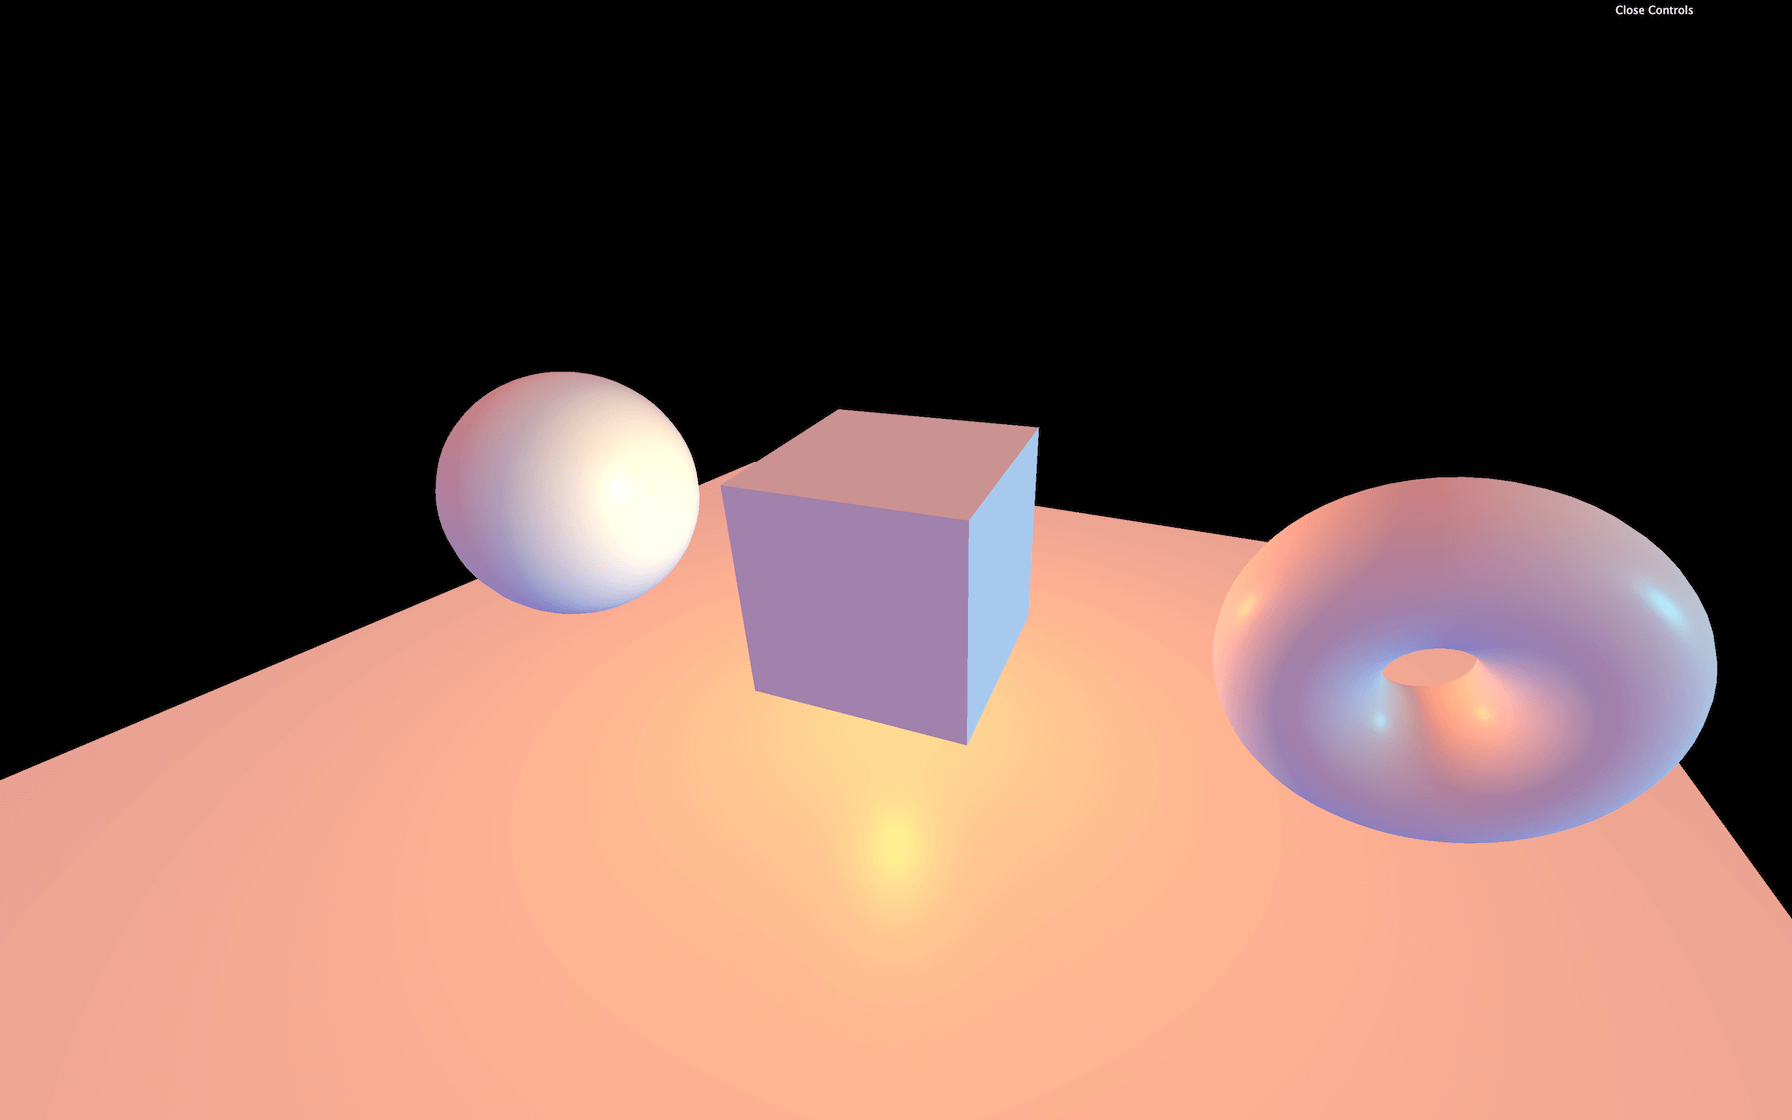
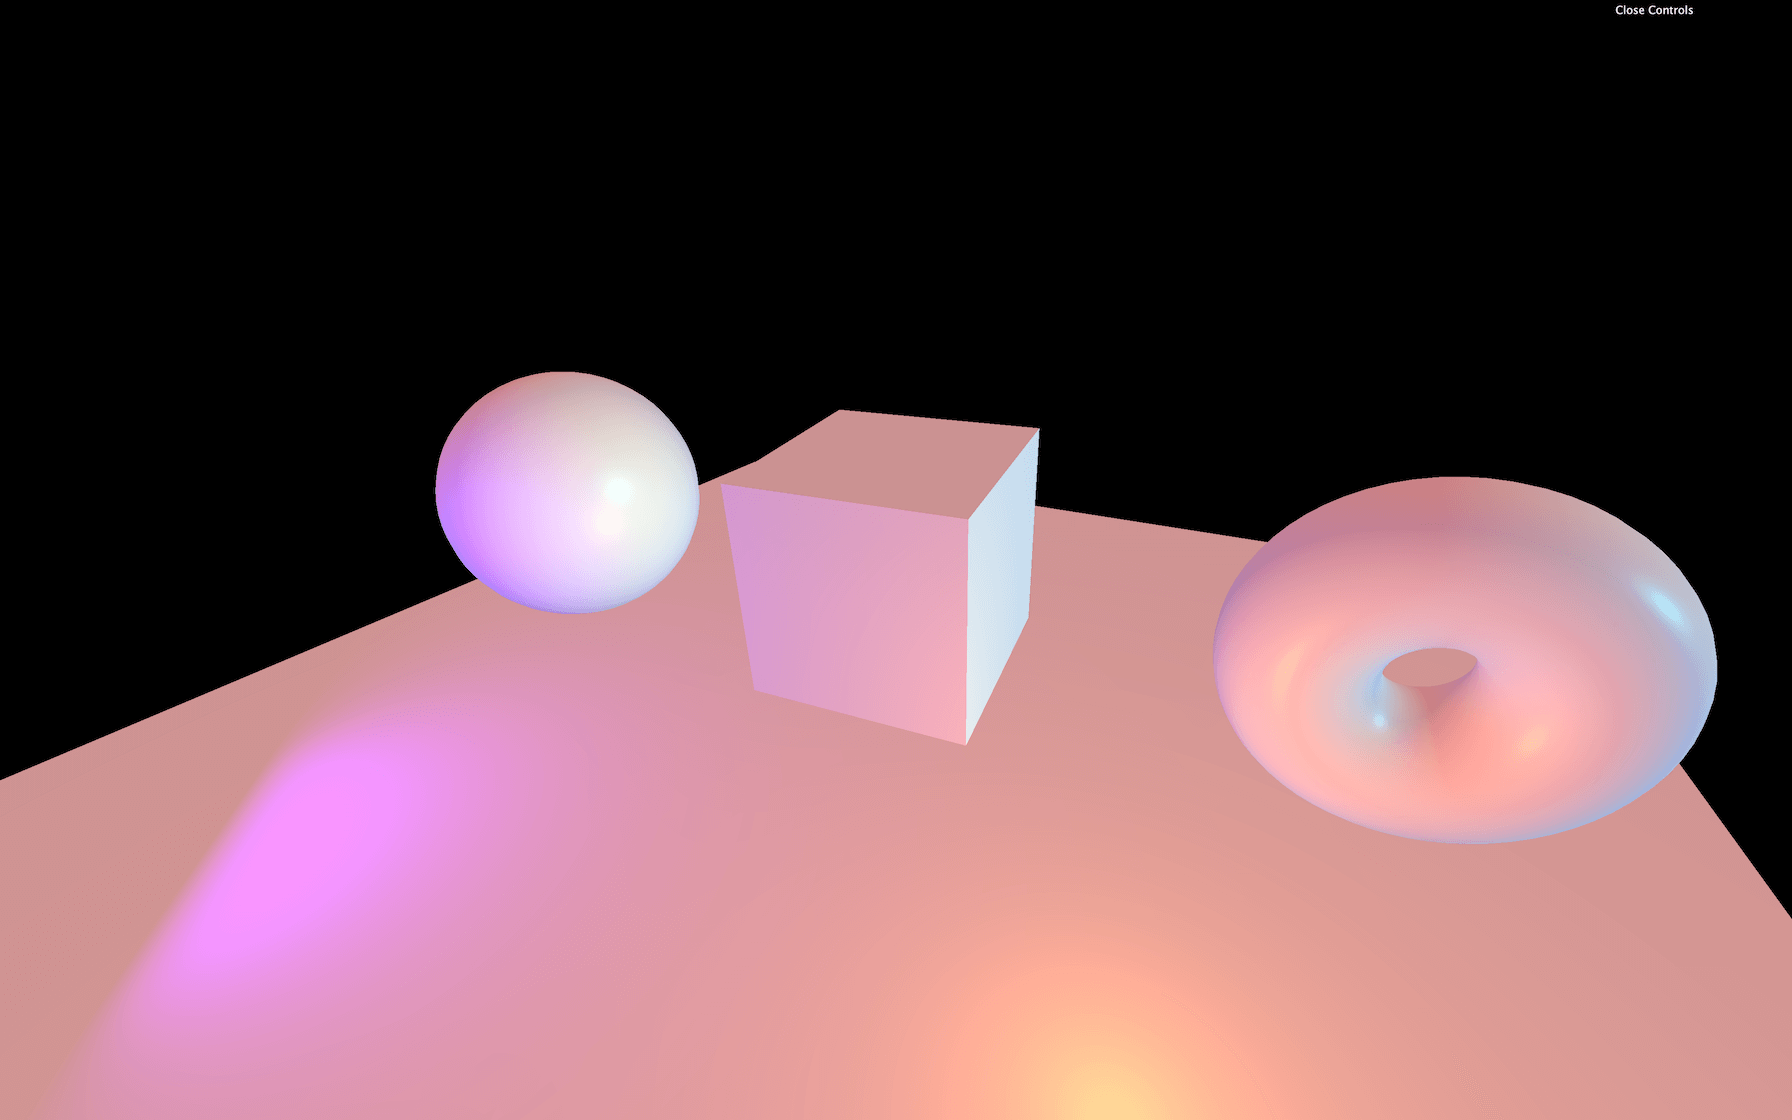
MeshPhongMaterial
The MeshPhongMaterial is very similar to the MeshLambertMaterial, but the strange patterns are less visible, and you can also see the light reflection on the surface of the geometry:
const material = new THREE.MeshPhongMaterial()
JavaScript
Copy

MeshPhongMaterial is less performant than MeshLambertMaterial. However, it doesn’t really matter at this level.
You can control the light reflection with the shininess property. The higher the value, the shinier the surface. You can also change the color of the reflection by using the specular property:
material.shininess = 100
material.specular = new THREE.Color(0x1188ff)
JavaScript
Copy
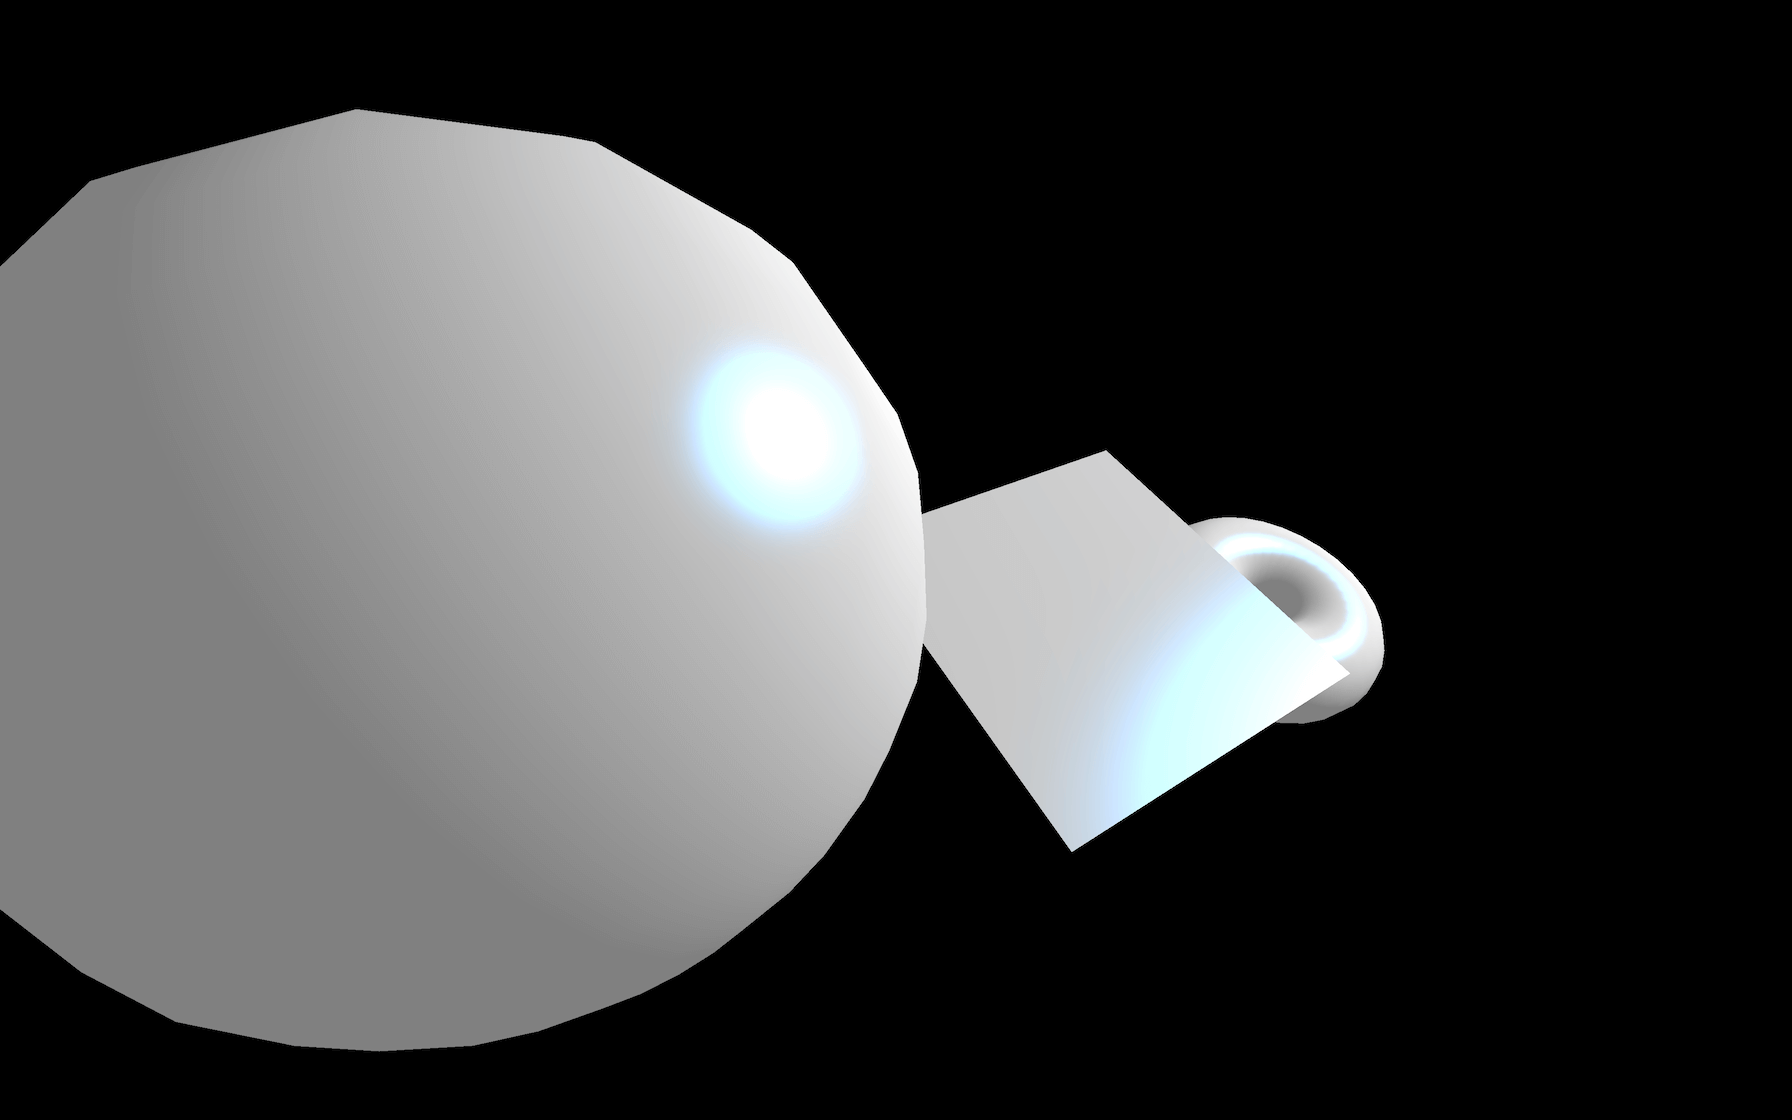
The light reflection will have a blue-ish color.
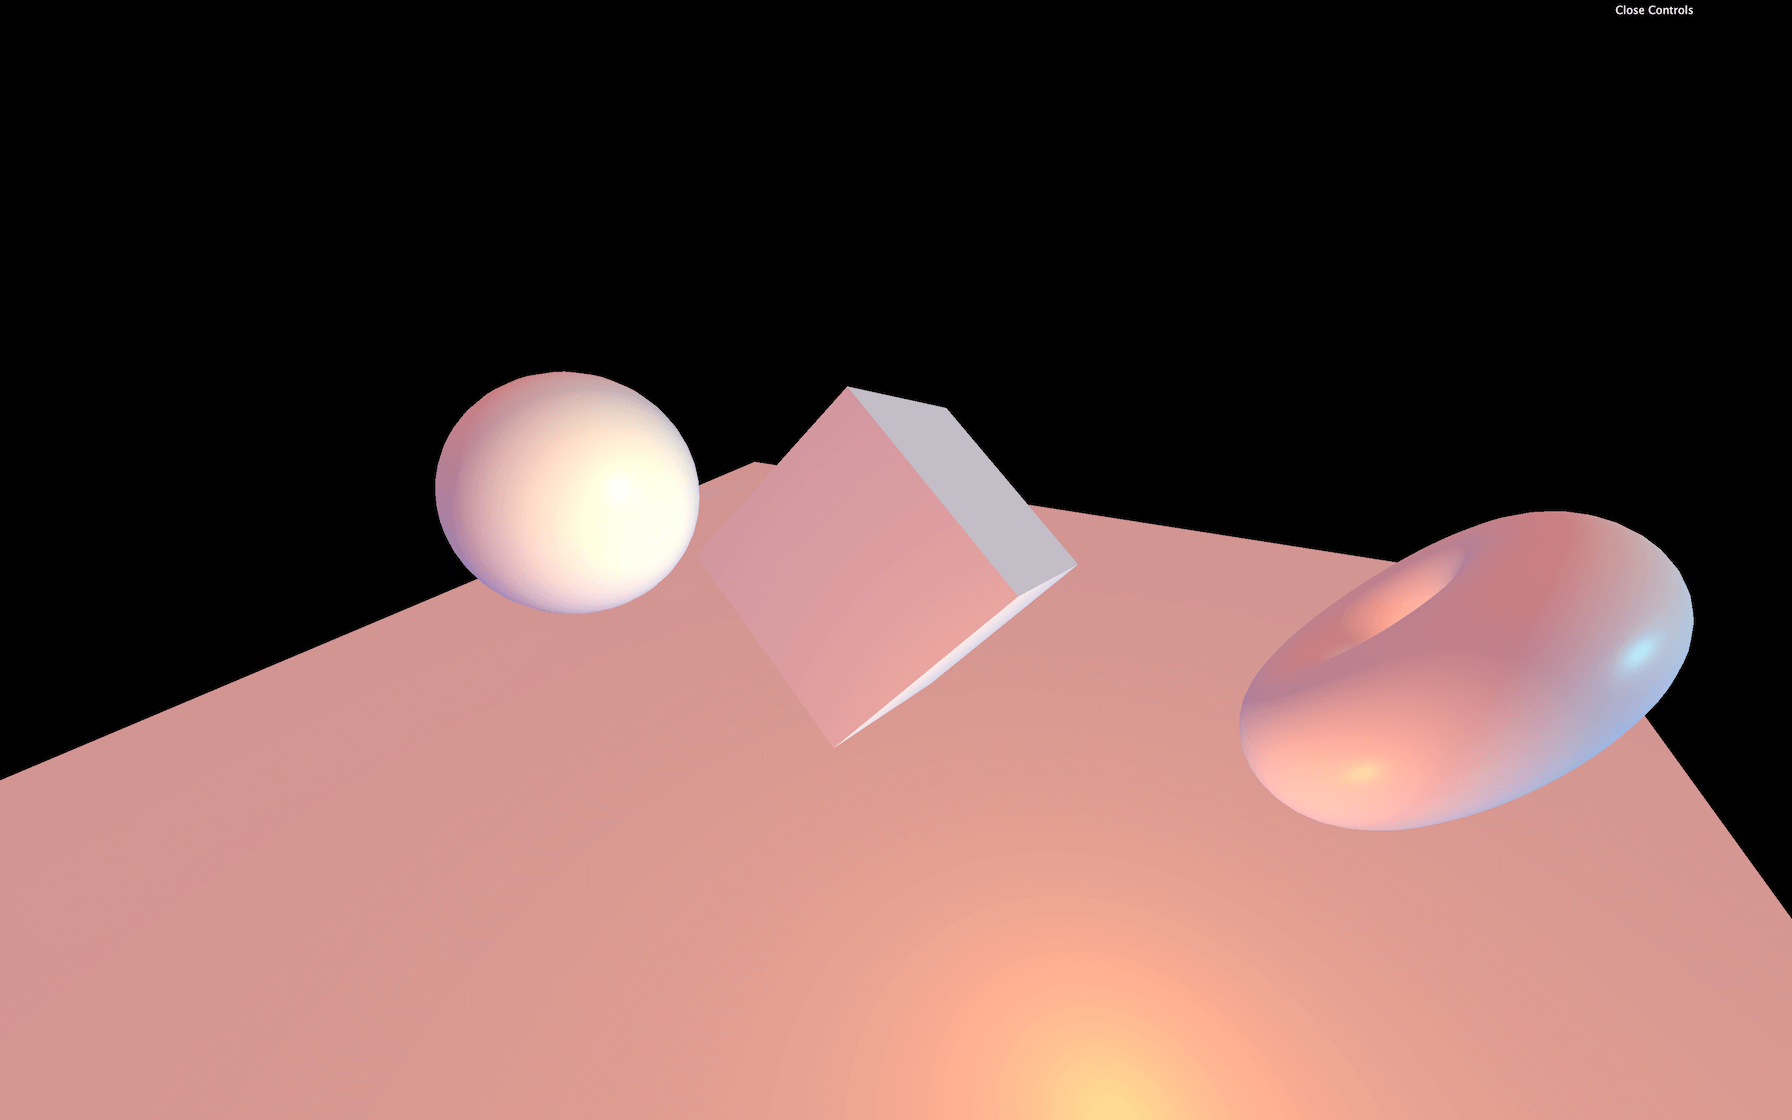
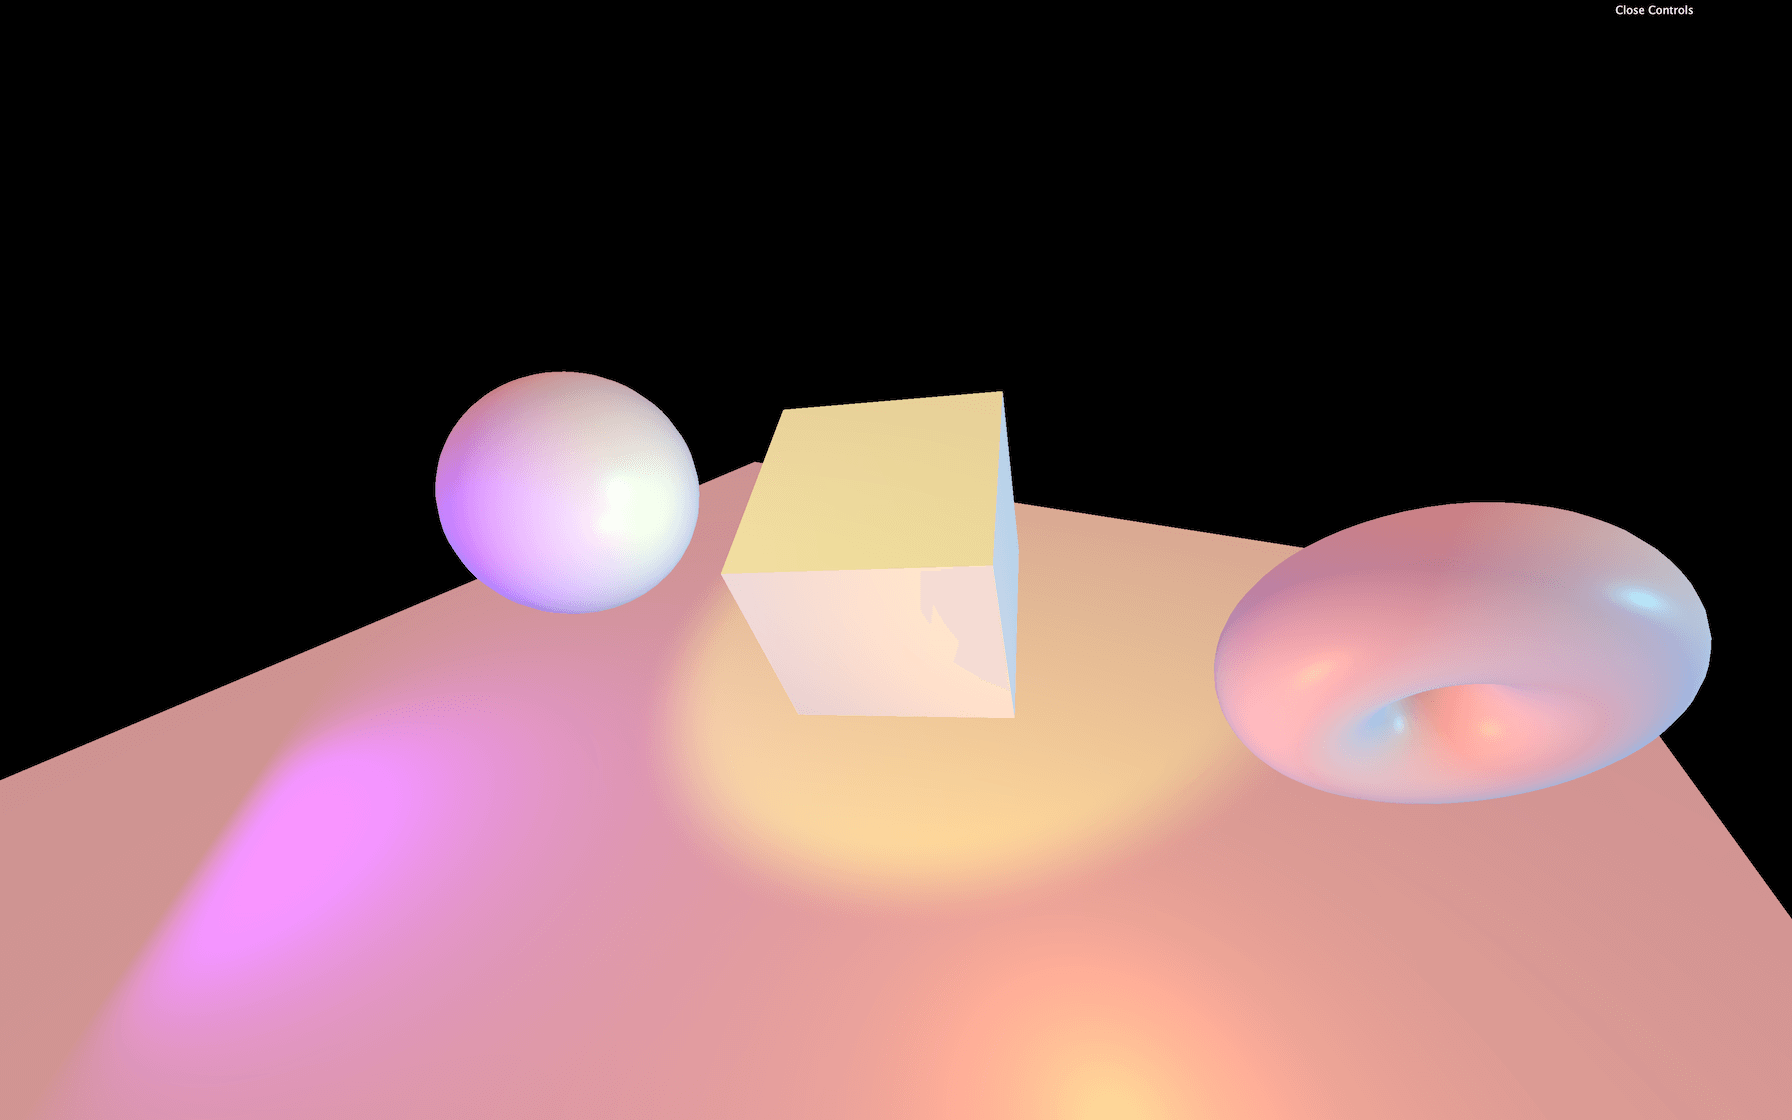
MeshToonMaterial
The MeshToonMaterial is similar to the MeshLambertMaterial in terms of properties but with a cartoonish style:
const material = new THREE.MeshToonMaterial()
JavaScript
Copy

By default, you only get a two parts coloration (one for the shadow and one for the light). To add more steps to the coloration, you can use the gradientMap property and use the gradientTexture we loaded at the start of the lesson:
material.gradientMap = gradientTexture
JavaScript
Copy

If you test this, you’ll see that the cartoon effect doesn’t work anymore. That is because the gradient texture we used is tiny, and the pixels of that texture are blended. Yes, it’s a matter of minFilter , magFilter , and mipmapping like we saw in the Textures lesson.
To fix this, we can simply change the minFilter and magFilter to THREE.NearestFilter .
Using THREE.NearestFilter means that we are not using the mip mapping, we can deactivate it with gradientTexture.generateMipmaps = false :
gradientTexture.minFilter = THREE.NearestFilter
gradientTexture.magFilter = THREE.NearestFilter
gradientTexture.generateMipmaps = false
JavaScript
Copy
You should now see the cartoon effect with an intermediate step.
You can try with even more steps by using the image located in /static/textures/gradients.5.jpg :
const gradientTexture = textureLoader.load('/textures/gradients/5.jpg')
JavaScript
Copy
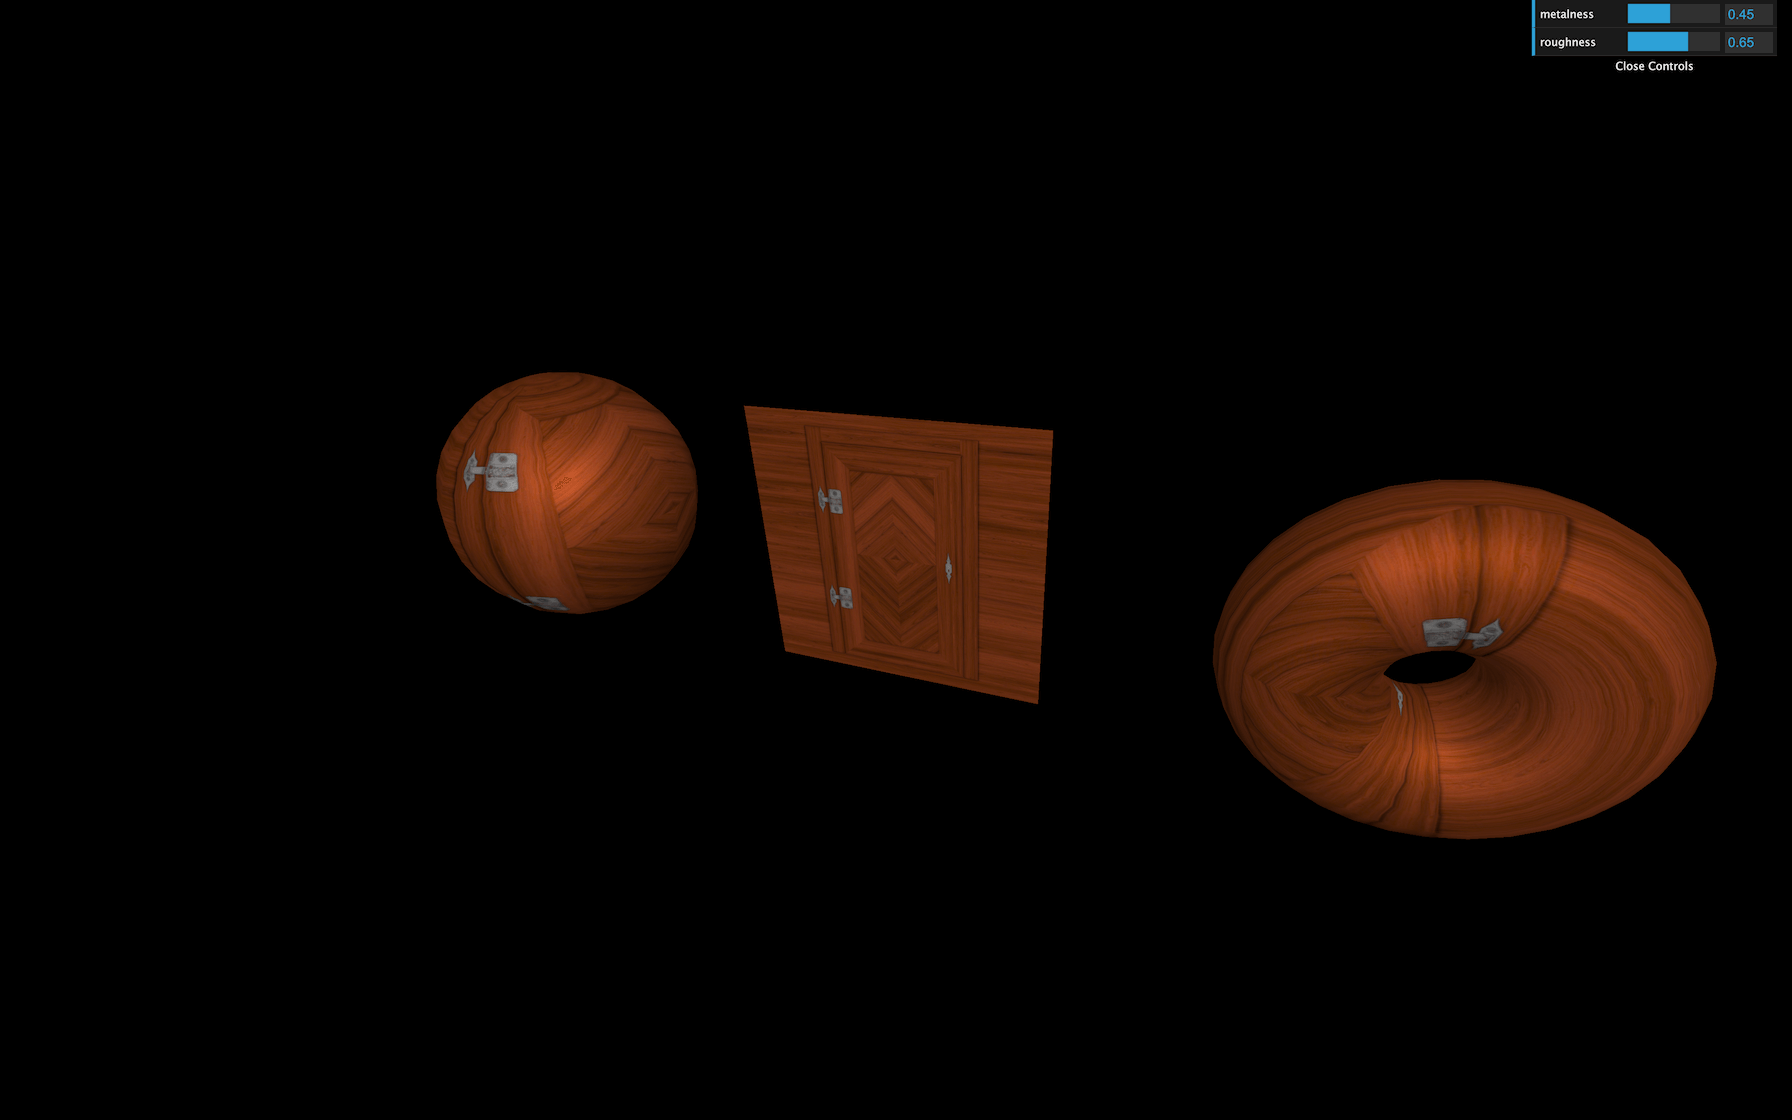
MeshStandardMaterial
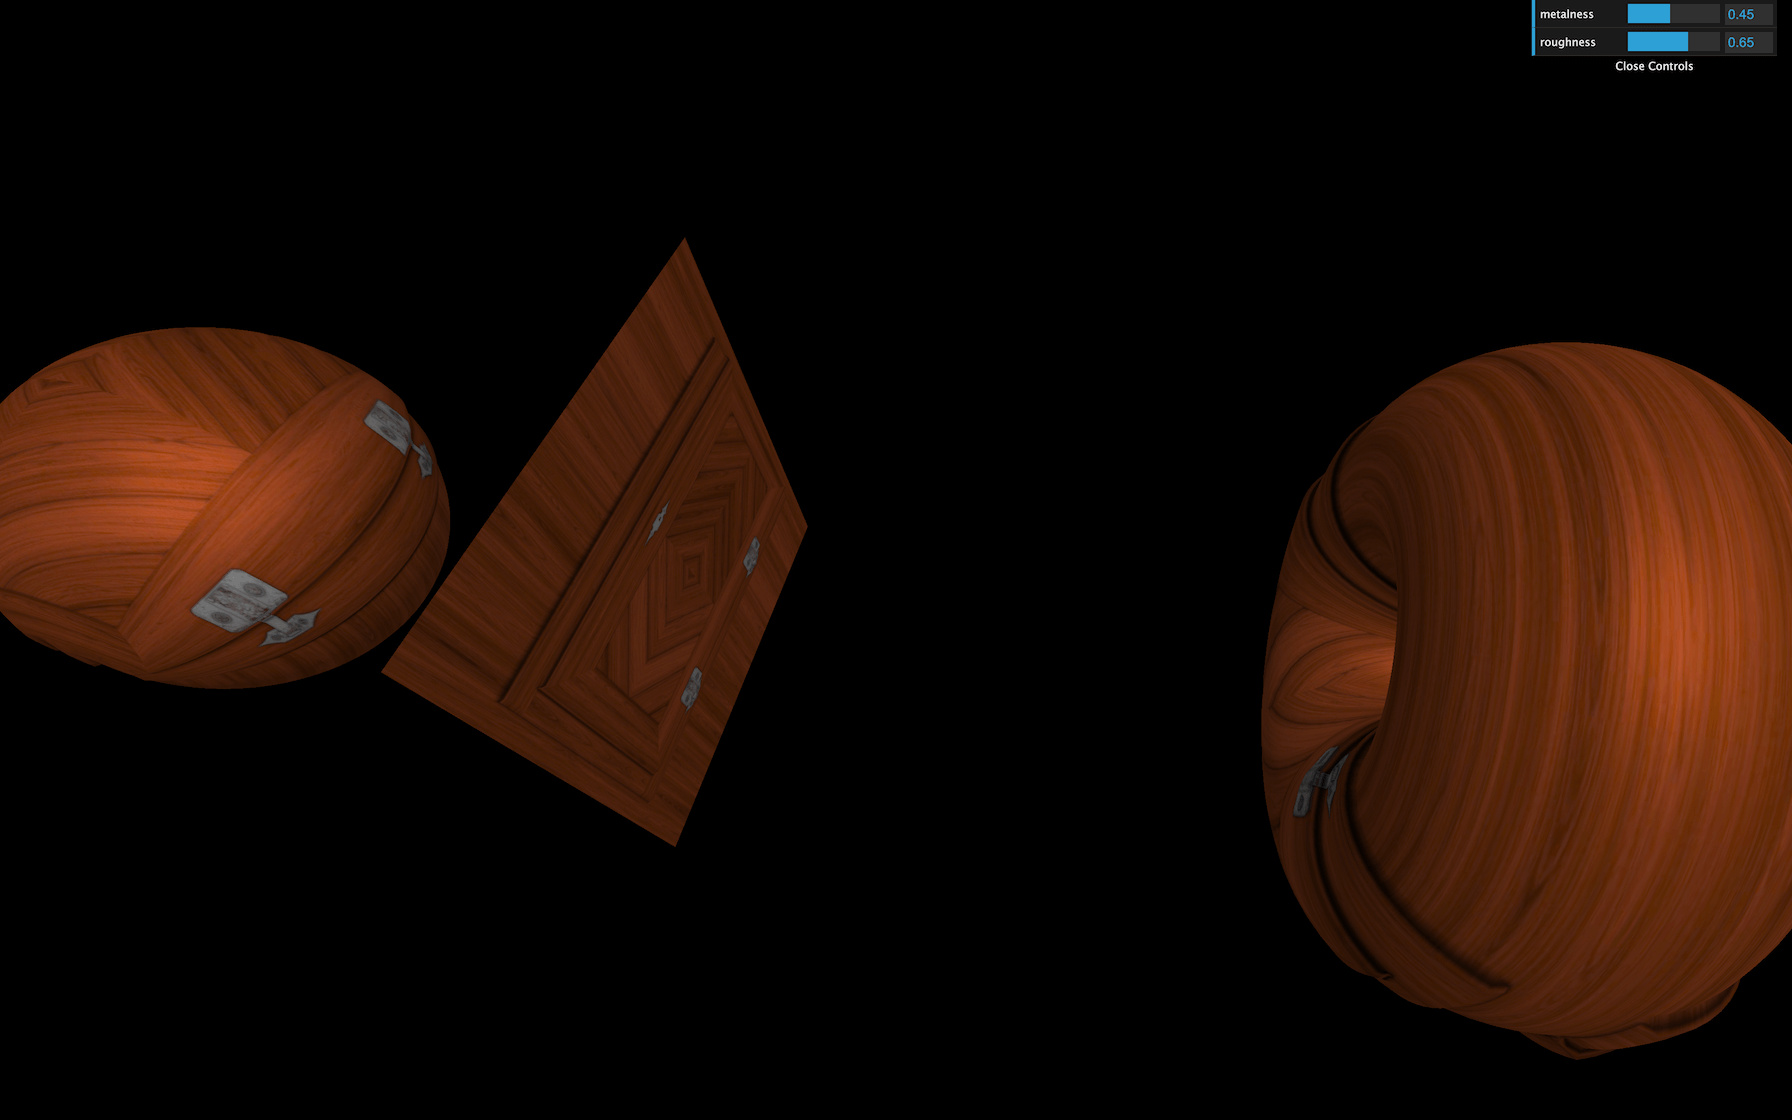
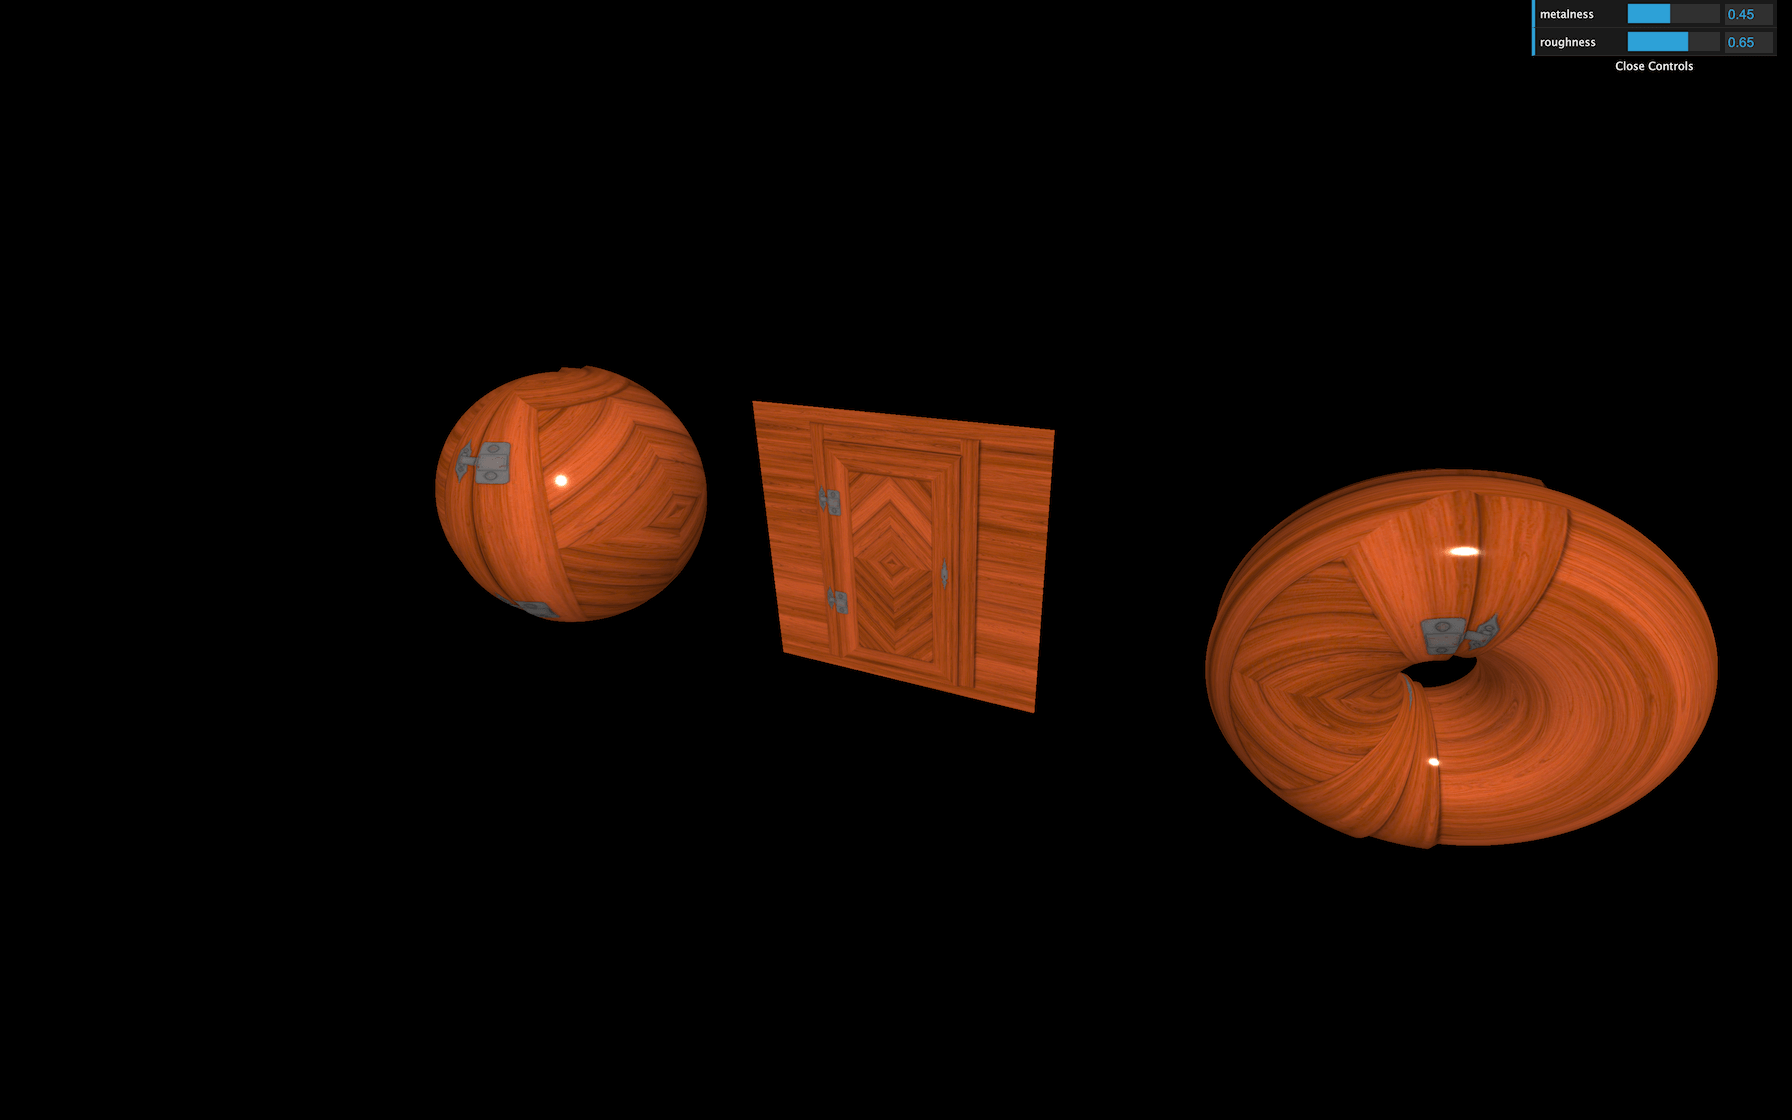
The MeshStandardMaterial uses physically based rendering principles. Yes, we are talking about the PBR we saw in the Textures lesson. Like the MeshLambertMaterial and the MeshPhongMaterial, it supports lights but with a more realistic algorithm and better parameters like roughness and metalness.
It’s called “standard” because the PBR is becoming a standard in many software, engines, and libraries. The idea is to have a realistic result with realistic parameters, and you should have a very similar result regardless of the technology you are using:
const material = new THREE.MeshStandardMaterial()
JavaScript
Copy
You can change the roughness and the metalness properties directly:
material.metalness = 0.45
material.roughness = 0.65
JavaScript
Copy
Add a debug UI
While this isn’t required, now would be an excellent time to add a debug UI. That will be very useful to test the different properties.
First, we must add the Dat.GUI dependency to our project. In the terminal, on the project folder (where the server should be currently running), use the following command:
npm install --save dat.gui
Bash
Copy
Then, on top of your code, import dat.gui (don’t forget to re-launch the server with npm run dev if you stopped it):
import * as dat from 'dat.gui'
JavaScript
Copy
You can now create an instance of it:
/**
 * Debug
 */
const gui = new dat.GUI()
JavaScript
Copy
And add the tweaks (after creating the material):
gui.add(material, 'metalness').min(0).max(1).step(0.0001)
gui.add(material, 'roughness').min(0).max(1).step(0.0001)
JavaScript
Copy
And that’s it. You can now change the metalness and the roughness as you like.
Let’s continue with the other properties of the MeshStandardMaterial.
The map property allows you to apply a simple texture. You can use doorColorTexture :
material.map = doorColorTexture
JavaScript
Copy

The aoMap property (literally “ambient occlusion map”) will add shadows where the texture is dark. For it to work, you must add what we call a second set of UV (the coordinates that help position the textures on the geometries).
We can simply add new attributes like we did on the Geometries lesson and use the default uv attribute. In more simple terms, we duplicated the uv attribute.
Call this new attribute uv2 :
sphere.geometry.setAttribute('uv2', new THREE.BufferAttribute(sphere.geometry.attributes.uv.array, 2))
plane.geometry.setAttribute('uv2', new THREE.BufferAttribute(plane.geometry.attributes.uv.array, 2))
torus.geometry.setAttribute('uv2', new THREE.BufferAttribute(torus.geometry.attributes.uv.array, 2))
JavaScript
Copy
You can now add the aoMap using the doorAmbientOcclusionTexture texture and control the intensity using the aoMapIntensity property:
material.aoMap = doorAmbientOcclusionTexture
material.aoMapIntensity = 1
JavaScript
Copy
The crevices should look darker, which creates contrast and adds dimension.
The displacementMap property will move the vertices to create true relief:
material.displacementMap = doorHeightTexture
JavaScript
Copy

It should look terrible. That is due to the lack of vertices on our geometries (we need more subdivisions) and the displacement being way too strong:
material.displacementScale = 0.05

// ...

new THREE.SphereBufferGeometry(0.5, 64, 64),

// ...

new THREE.PlaneBufferGeometry(1, 1, 100, 100),

// ...

new THREE.TorusBufferGeometry(0.3, 0.2, 64, 128),
JavaScript
Copy
Instead of specifying uniform metalness and roughness for the whole geometry, we can use metalnessMap and roughnessMap :
material.metalnessMap = doorMetalnessTexture
material.roughnessMap = doorRoughnessTexture
JavaScript
Copy
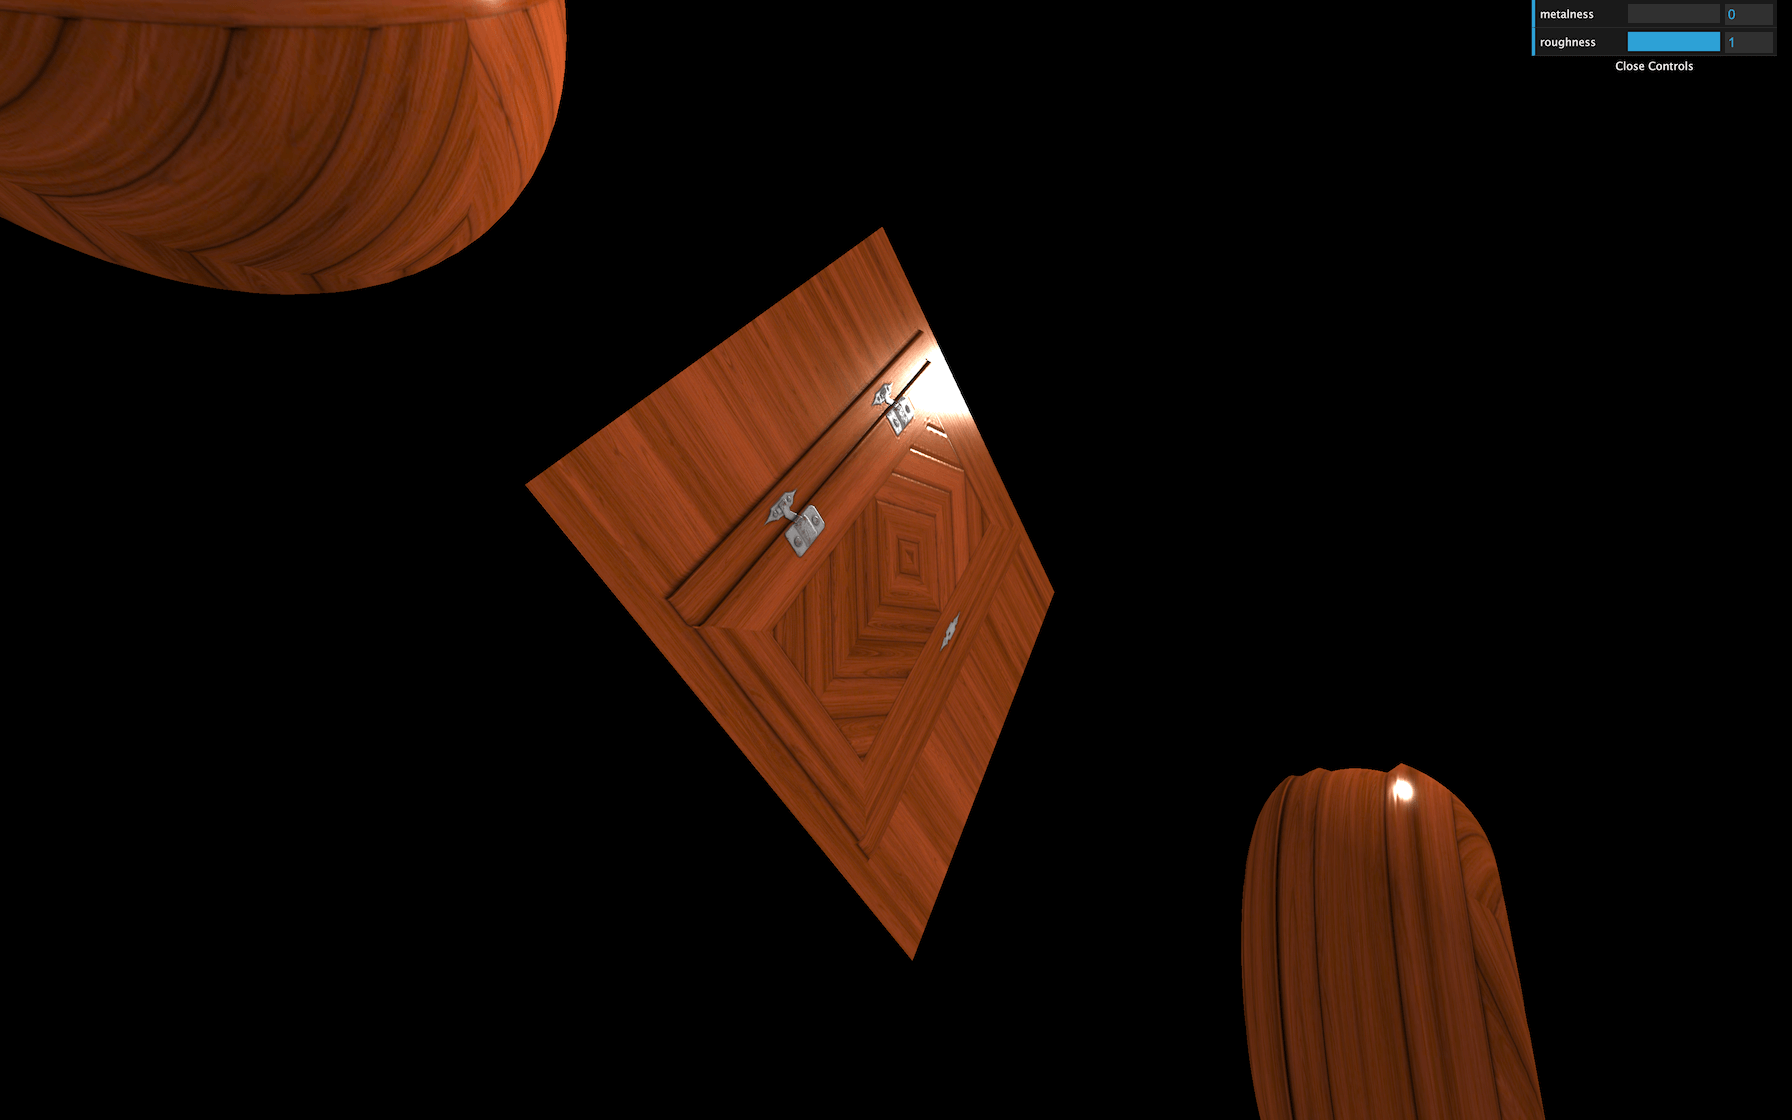
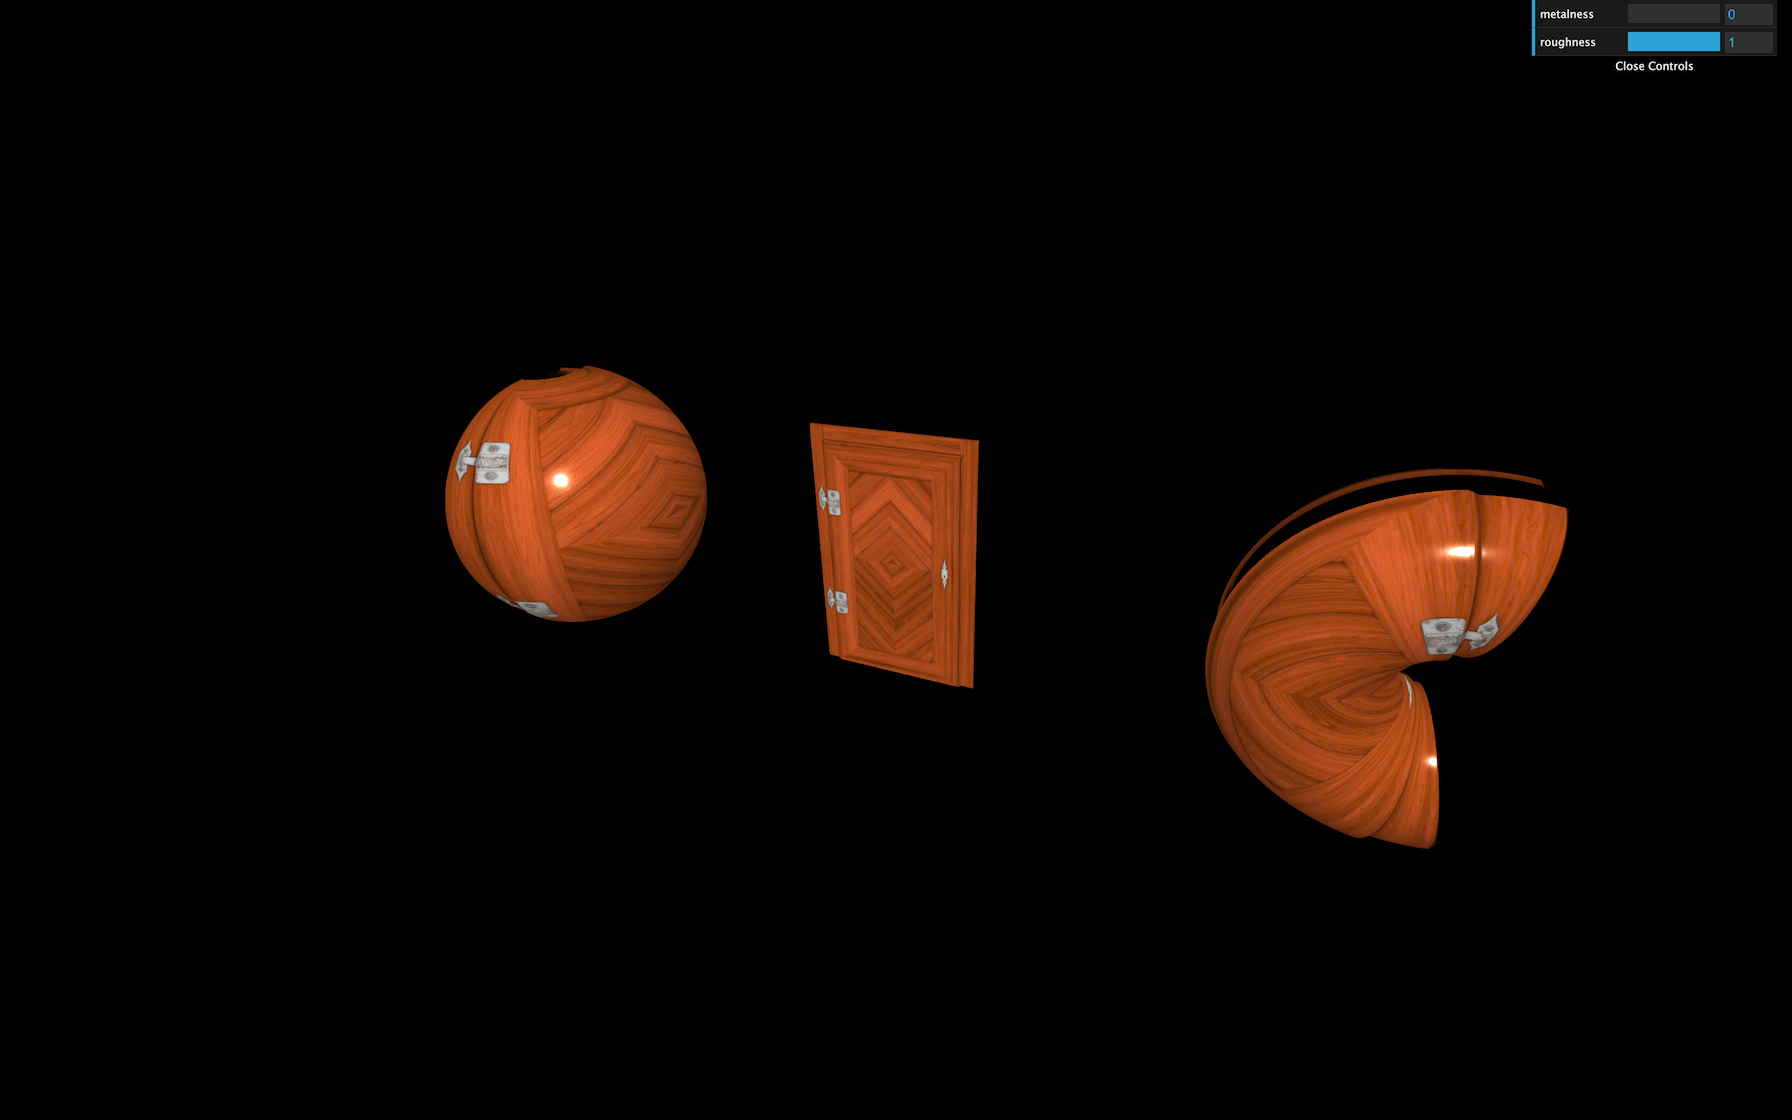
The reflection looks weird because the metalness and roughness properties still affect each map respectively. We should comment them or use their original values:
material.metalness = 0
material.roughness = 1
JavaScript
Copy

The normalMap will fake the normal orientation and add details on the surface regardless of the subdivision:
material.normalMap = doorNormalTexture
JavaScript
Copy
You can change the normal intensity with the normalScale property. Be careful, it’s a Vector2:
material.normalScale.set(0.5, 0.5)
JavaScript
Copy
And finally, you can control the alpha using the alphaMap property. Don’t forget to set the transparent property to true :
material.transparent = true
material.alphaMap = doorAlphaTexture
JavaScript
Copy
Here’s a beautiful door. Feel free to tweak the properties and try stuff.
MeshPhysicalMaterial
The MeshPhysicalMaterial is the same as the MeshStandardMaterial but with support of a clear coat effect. You can control that clear coat’s properties and even use a texture as in this Three.js example, but we won’t try this one here.
PointsMaterial
You can use PointsMaterial with particles. We will see more about that in a dedicated lesson.
ShaderMaterial and RawShaderMaterial
ShaderMaterial and RawShaderMaterial can both be used to create your own materials but we will see more about that in a dedicated lesson.
Environment map
The environment map is like an image of what’s surrounding the scene. You can use it to add reflection or refraction to your objects. It can also be used as lighting information.
We haven’t covered it yet, but you can use it with many of the materials we saw.
First, let’s setup a very simple MeshStandardMaterial with the debug UI as we did earlier:
const material = new THREE.MeshStandardMaterial()
material.metalness = 0.7
material.roughness = 0.2
gui.add(material, 'metalness').min(0).max(1).step(0.0001)
gui.add(material, 'roughness').min(0).max(1).step(0.0001)
JavaScript
Copy

To add the environment map to our material, we must use the envMap property. Three.js only supports cube environment maps. Cube environment maps are 6 images with each one corresponding to a side of the environment.
You can find multiple environment maps in the /static/textures/environmentMap/ folder.
To load a cube texture, you must use the CubeTextureLoader instead of the TextureLoader.
Instantiate the CubeTextureLoader before instantiating the material and call its load(...) method but use an array of paths instead of one path:
const cubeTextureLoader = new THREE.CubeTextureLoader()

const environmentMapTexture = cubeTextureLoader.load([
    '/textures/environmentMaps/0/px.jpg',
    '/textures/environmentMaps/0/nx.jpg',
    '/textures/environmentMaps/0/py.jpg',
    '/textures/environmentMaps/0/ny.jpg',
    '/textures/environmentMaps/0/pz.jpg',
    '/textures/environmentMaps/0/nz.jpg'
])
JavaScript
Copy
You can now use the environmentMapTexture in the envMap property of your material:
material.envMap = environmentMapTexture
JavaScript
Copy

You should see the environment reflect on the surface of the geometry. Try to tweak the metalness and roughness for different results.
You can also test the other environment maps in the /static/textures/environmentMap/ folder.
Where to find environment maps
To find cool environment maps, you can always do a simple search on the web and make sure you have the right to use the environment map if it’s not for personal usage.
One of the best sources is HDRIHaven. This website has hundreds of awesome HDRIs. HDRI stands for High Dynamic Range Imaging . They are composed of one image (not a cube map) and contain more data than a simple image, thus improving lighting information for a more realistic result. HDRIHaven images are free and under CC0 license, which means that you can do anything you want with them without having to credit the authors. But if you appreciate their work, you can thank them by subscribing to their Patreon.
But we have a problem. As we said, Three.js only supports cube maps. To convert an HDRI to a cube map, you can use this online tool: https://matheowis.github.io/HDRI-to-CubeMap/
Upload an HDRI, rotate it as you please, and download a cubemap version composed of 6 images. The default format is .png , and you’ll have to convert them to .jpg if you want.
13 3D Text
Difficulty Medium
Introduction
We already know enough basics to create some content. For our first project, we will re-create what ilithya did with her cool portfolio https://www.ilithya.rocks/ and have a big 3D text in the middle of the scene with objects floating around.
This portfolio is an excellent example of what you can do quite early when learning Three.js. It simple, efficient, and it looks great.
Three.js already supports 3D text geometries with the TextBufferGeometry class. The problem is that you must specify a font, and this font must be in a particular json format called typeface.
We won’t talk about licenses, but you must have the right to use the font unless it’s for personal usage.
How to get a typeface font
There are many ways of getting fonts in that format. First, you can convert your font with converters like this one: https://gero3.github.io/facetype.js/. You have to provide a file and click on the convert button.
You can also find fonts in the Three.js examples located in the /node_modules/three/examples/fonts/ folder. You can take those fonts and put them in the /static/ folder, or you can import them directly in your JavaScript file because they are json and .json files are supported just like .js files in Webpack:
import typefaceFont from 'three/examples/fonts/helvetiker_regular.typeface.json'
JavaScript
Copy
We will mix those two techniques by opening the /node_modules/three/examples/fonts/ , taking the helvetiker_regular.typeface.json and LICENSE files, and putting these in the /static/fonts/ folder (that you need to create).
The font is now accessible just by writing /fonts/helvetiker_regular.typeface.json at the end of the base URL.
Load the font
To load the font, we must use a new loader class called FontLoader. This loader works just like the TextureLoader. Add the following code after the textureLoader part (if you are using another font, don’t forget to change the path):
/**
 * Fonts
 */
const fontLoader = new THREE.FontLoader()

fontLoader.load(
    '/fonts/helvetiker_regular.typeface.json',
    (font) =>
    {
        console.log('loaded')
    }
)
JavaScript
Copy
You should get 'loaded' in you console. If not, check the previous steps and search for potential errors in the console.
We now have access to the font by using the font variable inside the function. Unlike the TextureLoader, we have to write the rest of our code inside that success function.
Create the geometry
As we said earlier, we are going to use TextBufferGeometry. Be careful with the example code on the documentation page; the values are much bigger than those in our scene.
Make sure to write your code inside the success function:
fontLoader.load(
    '/fonts/helvetiker_regular.typeface.json',
    (font) =>
    {
        const textGeometry = new THREE.TextBufferGeometry(
            'Hello Three.js',
            {
                font: font,
                size: 0.5,
                height: 0.2,
                curveSegments: 12,
                bevelEnabled: true,
                bevelThickness: 0.03,
                bevelSize: 0.02,
                bevelOffset: 0,
                bevelSegments: 5
            }
        )
        const textMaterial = new THREE.MeshBasicMaterial()
        const text = new THREE.Mesh(textGeometry, textMaterial)
        scene.add(text)
    }
)
JavaScript
Copy

You should get a white 3D text that needs improvements.
First, get rid of the cube. Its purpose was to make sure that everything is working.

If you want to see something cool, add wireframe: true to your material.
const textMaterial = new THREE.MeshBasicMaterial({ wireframe: true })
JavaScript
Copy
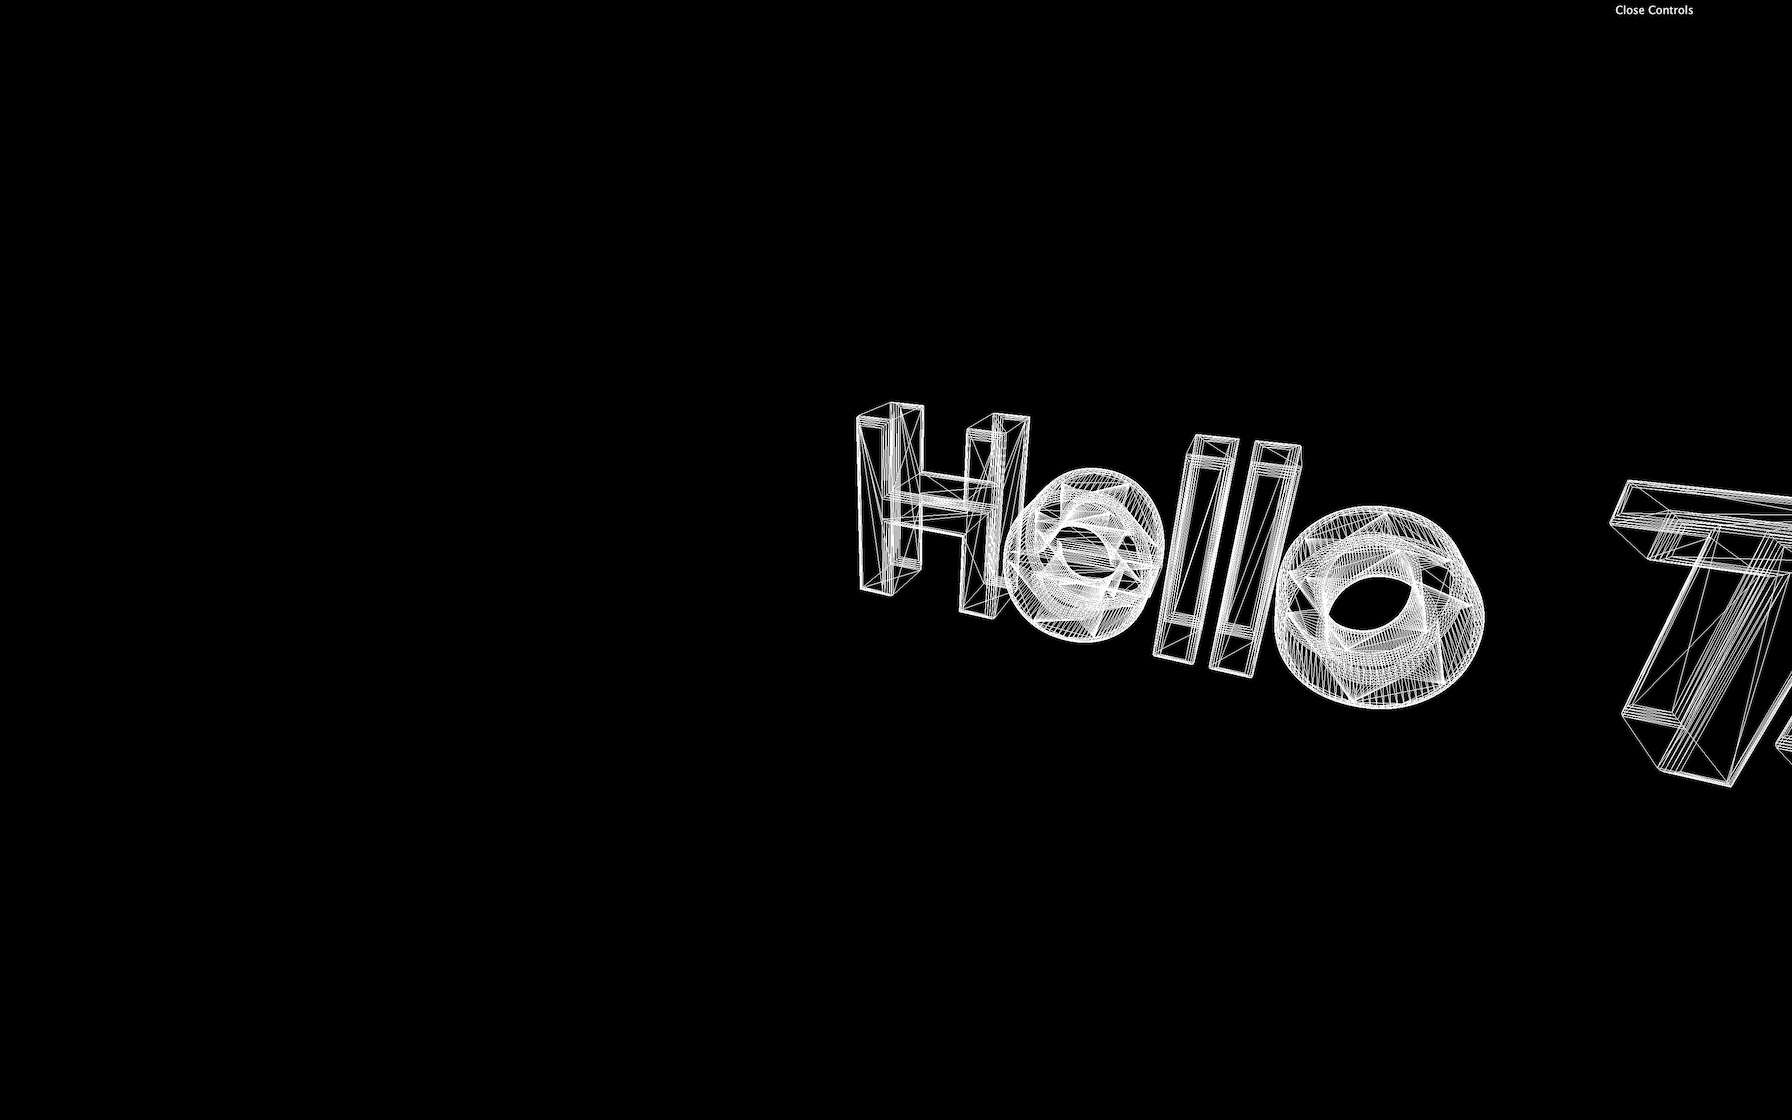
You can now see how the geometry is generated, and there are a lot of triangles. Creating a text geometry is long and hard for the computer. Avoid doing it too many times and keep the geometry as low poly as possible by reducing the curveSegments and bevelSegments properties.
Remove the wireframe once you’re happy with the level of details.
Center the text
There are several ways to center the text. One way of doing it is by using bounding. The bounding is the information associated with the geometry that tells what space is taken by that geometry. It can be a box or a sphere.

You cannot actually see those boundings, but it helps Three.js easily calculate if the object is on the screen, and if not, the object won’t even be rendered. That is called frustum culling, but it’s not the subject of this lesson.
What we want is to use this bounding to know the size of the geometry and recenter it. By default, Three.js is using sphere bounding. What we want is a box bounding, to be more precise. To do so, we can ask Three.js to calculate this box bounding by calling computeBoundingBox() on the geometry:
textGeometry.computeBoundingBox()
JavaScript
Copy
And we can check this box with the boundingBox property on the geometry.
console.log(textGeometry.boundingBox)
JavaScript
Copy
The result is an object called Box3 that has a min property and a max property. The min property isn’t at 0 as we could have expected. That is due to the bevelThickness and bevelSize , but we can ignore this for now.
Now that we have the measures, we can move the object. Instead of moving the mesh, we are going to move the whole geometry. This way, the mesh will still be in the center of the scene, but the text geometry will also be centered inside our mesh.
To do this, we can use the translate(...) method on our geometry right after the computeBoundingBox() method:
textGeometry.translate(
    - textGeometry.boundingBox.max.x * 0.5,
    - textGeometry.boundingBox.max.y * 0.5,
    - textGeometry.boundingBox.max.z * 0.5
)
JavaScript
Copy

The text should be centered but if you want to be very precise, you should also subtract the bevelSize which is 0.02 :
textGeometry.translate(
    - (textGeometry.boundingBox.max.x - 0.02) * 0.5, // Subtract bevel size
    - (textGeometry.boundingBox.max.y - 0.02) * 0.5, // Subtract bevel size
    - (textGeometry.boundingBox.max.z - 0.03) * 0.5  // Subtract bevel thickness
)
JavaScript
Copy
What we did here can actually be done much faster by calling the center() method on the geometry:
textGeometry.center()
GLSL
Copy
So much easier, isn’t it? The point of doing it ourselves was to learn about boundings and frustum culling.
Add a matcap material
It’s time to add a cool material to our text. We are going to use a MeshMatcapMaterial because it looks cool, and it has great performance.
First, let’s choose a matcap texture. We are going to use the matcaps located in the /static/textures/matcaps/ folder but feel free to use your own matcaps.
You can also download one from this repository https://github.com/nidorx/matcaps. Don’t spend too much time choosing it! If it’s not for personal usage, make sure you have the right to use it. You don’t need a high-resolution texture and 256x256 should be more than enough.
We can now load the texture by using the TextureLoader already in the code:
const matcapTexture = textureLoader.load('/textures/matcaps/1.png')
JavaScript
Copy
We can now replace our ugly MeshBasicMaterial by a beautiful MeshMatcapMaterial and use our matcapTexture variable with the matcap property:
const textMaterial = new THREE.MeshMatcapMaterial({ matcap: matcapTexture })
JavaScript
Copy
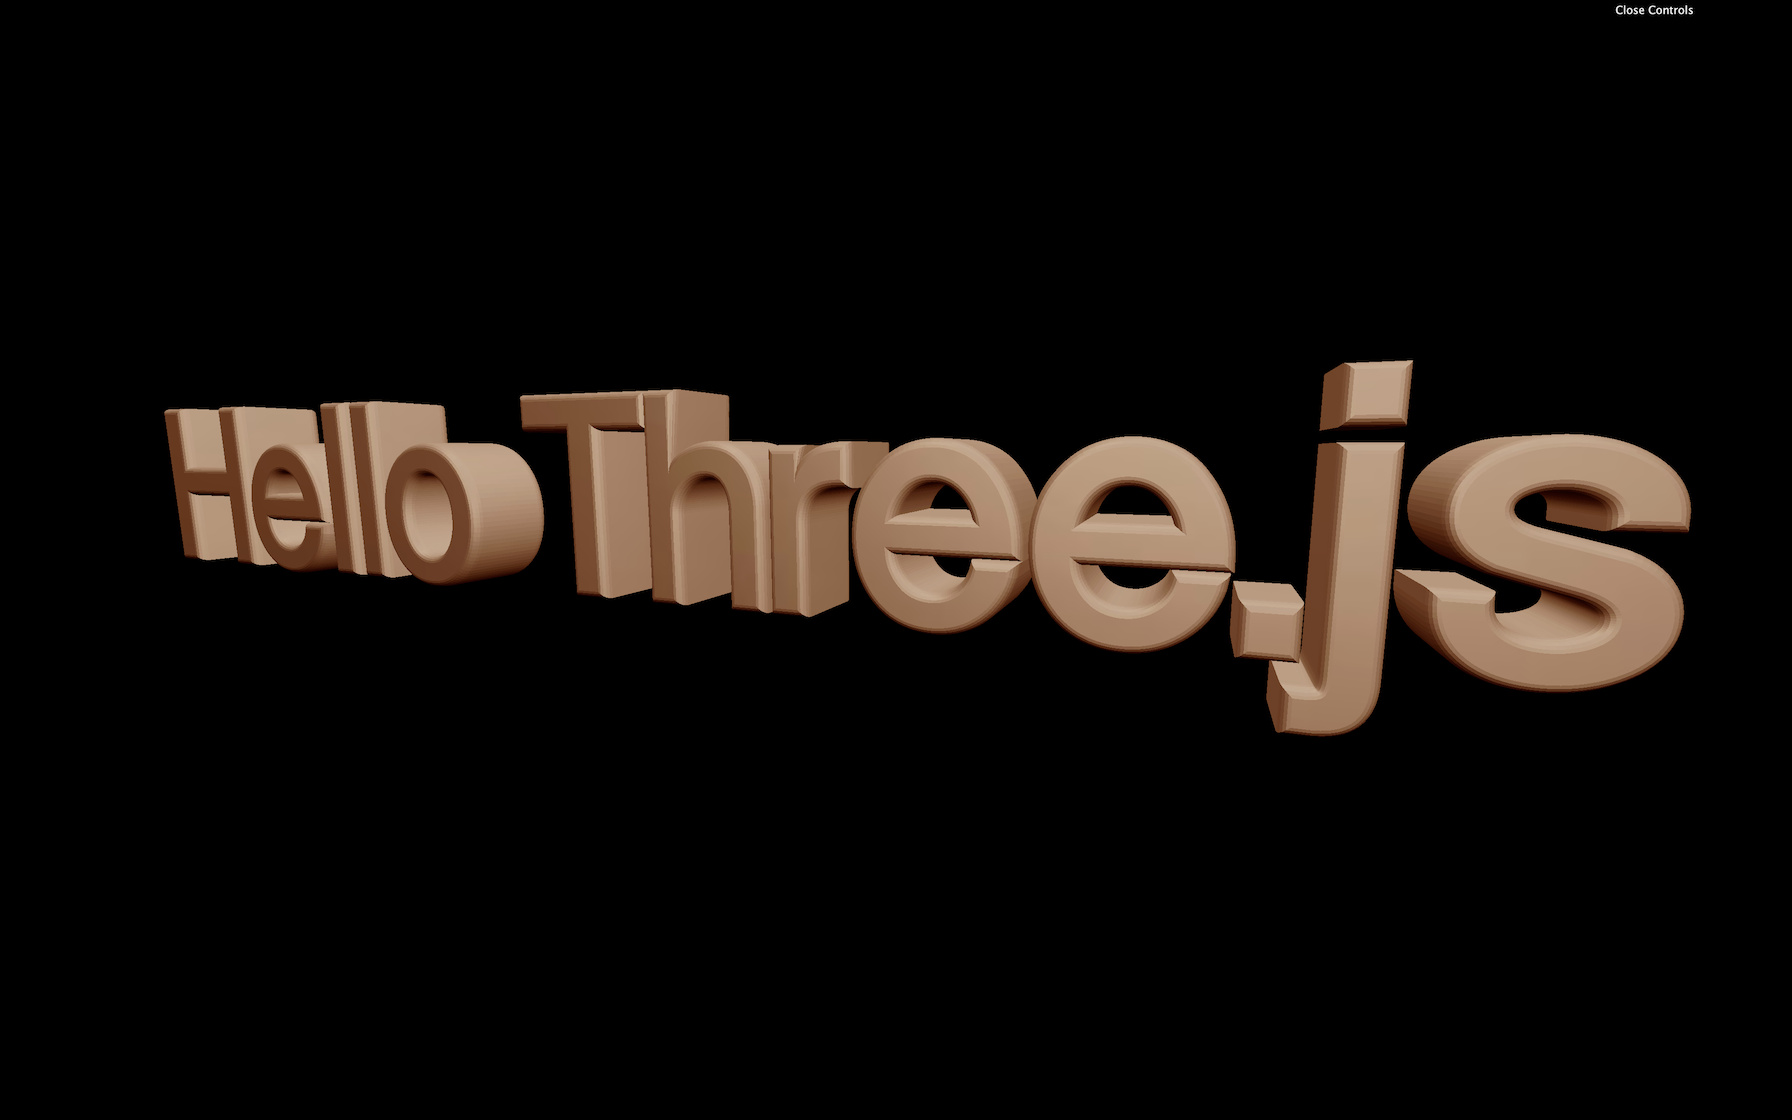
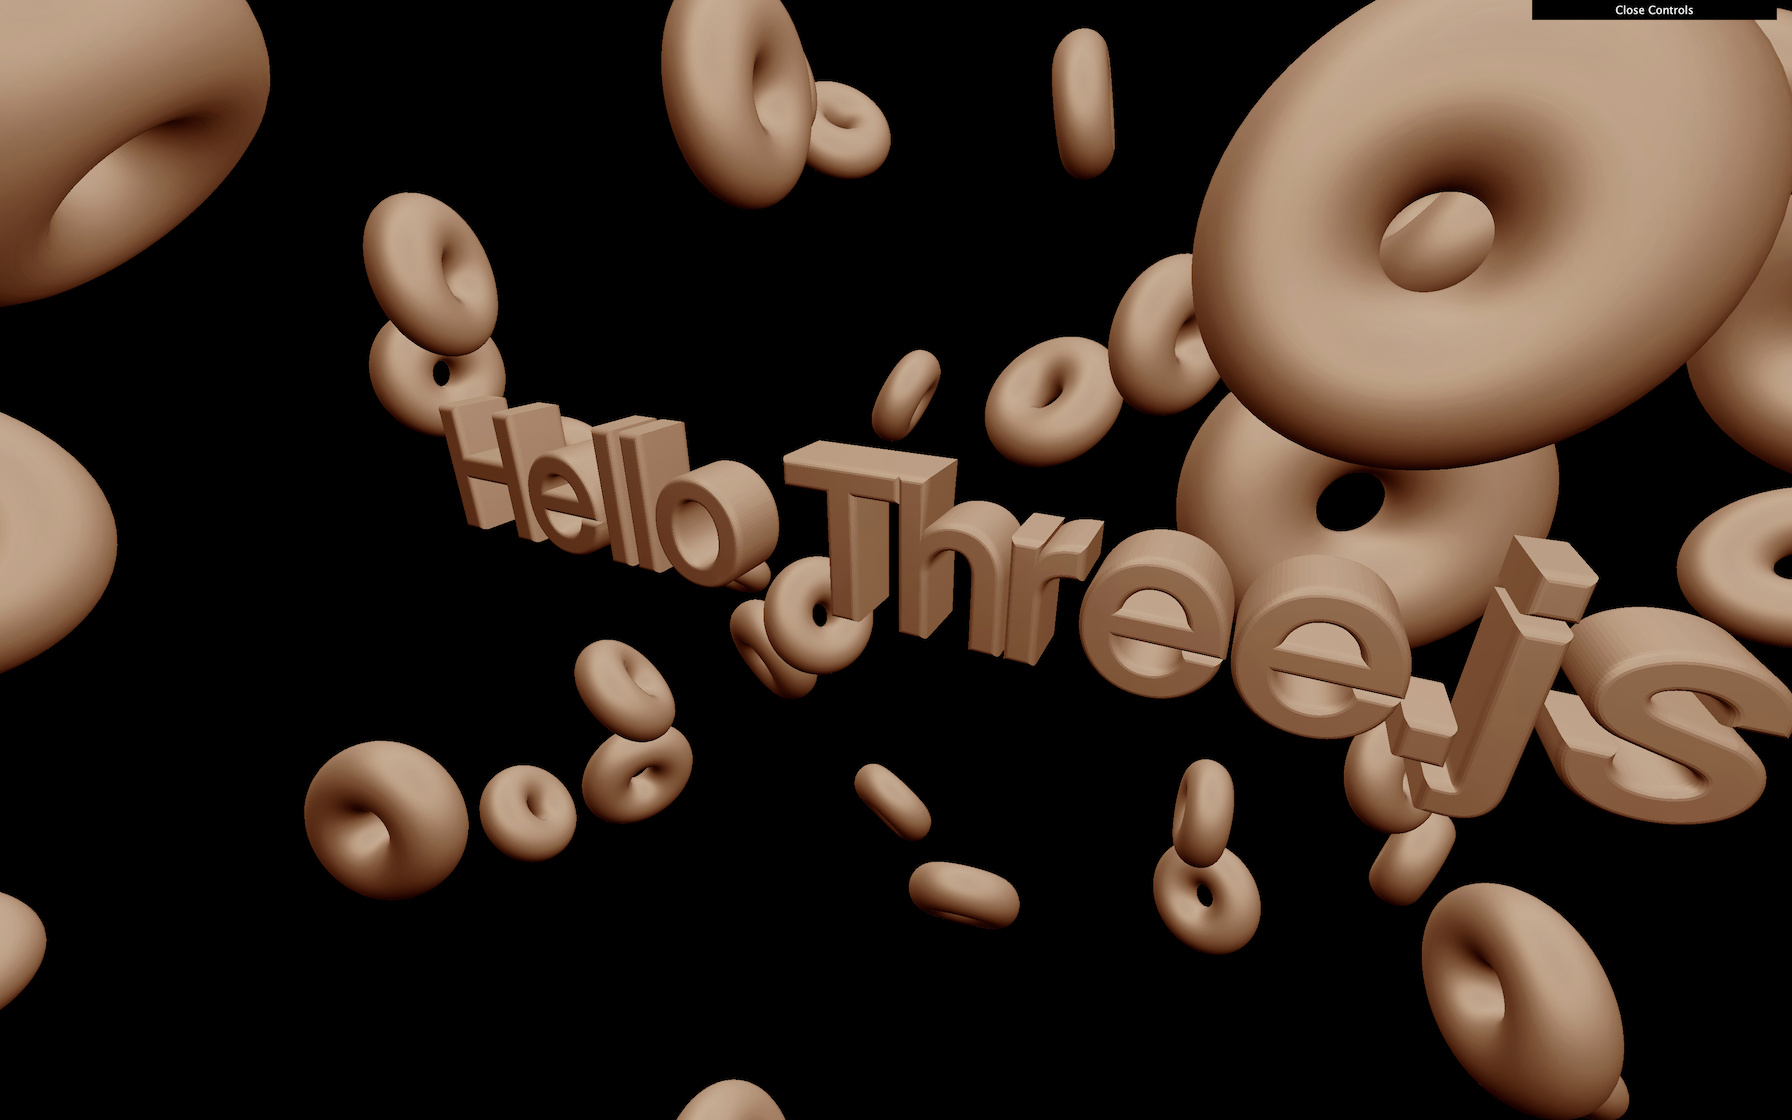
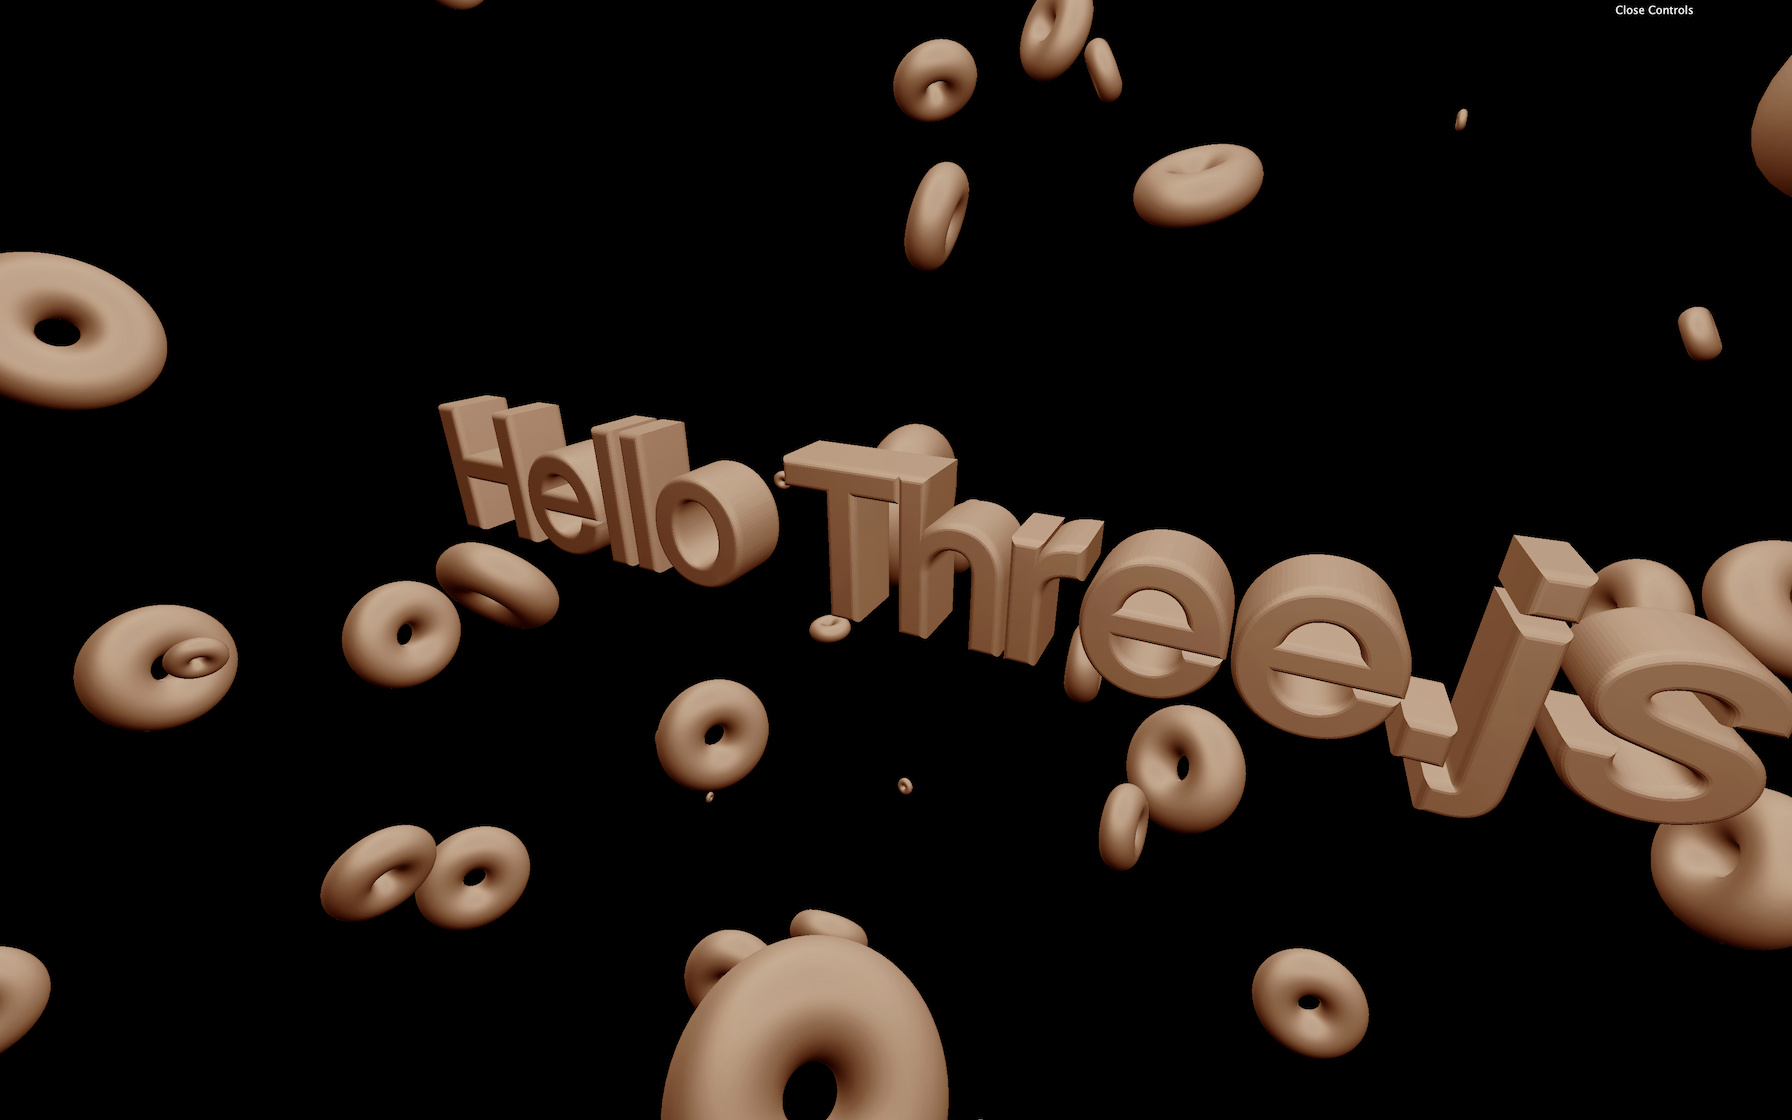
You should have a lovely text with a cool looking material on it.
Add objects
Let’s add objects floating around. To do that, we will create one donut but inside a loop function.
In the success function, right after the text part, add the loop function:
for(let i = 0; i < 100; i++)
{

}
JavaScript
Copy
We could have done this outside of the success function but we are going to need the text and the objects being created together for a good reason that you’ll see a little later.
In this loop, create a TorusBufferGeometry (such a technical name for a donut), the same material as for the text and the Mesh:
for(let i = 0; i < 100; i++)
{
    const donutGeometry = new THREE.TorusBufferGeometry(0.3, 0.2, 20, 45)
    const donutMaterial = new THREE.MeshMatcapMaterial({ matcap: matcapTexture })
    const donut = new THREE.Mesh(donutGeometry, donutMaterial)
    scene.add(donut)
}
JavaScript
Copy
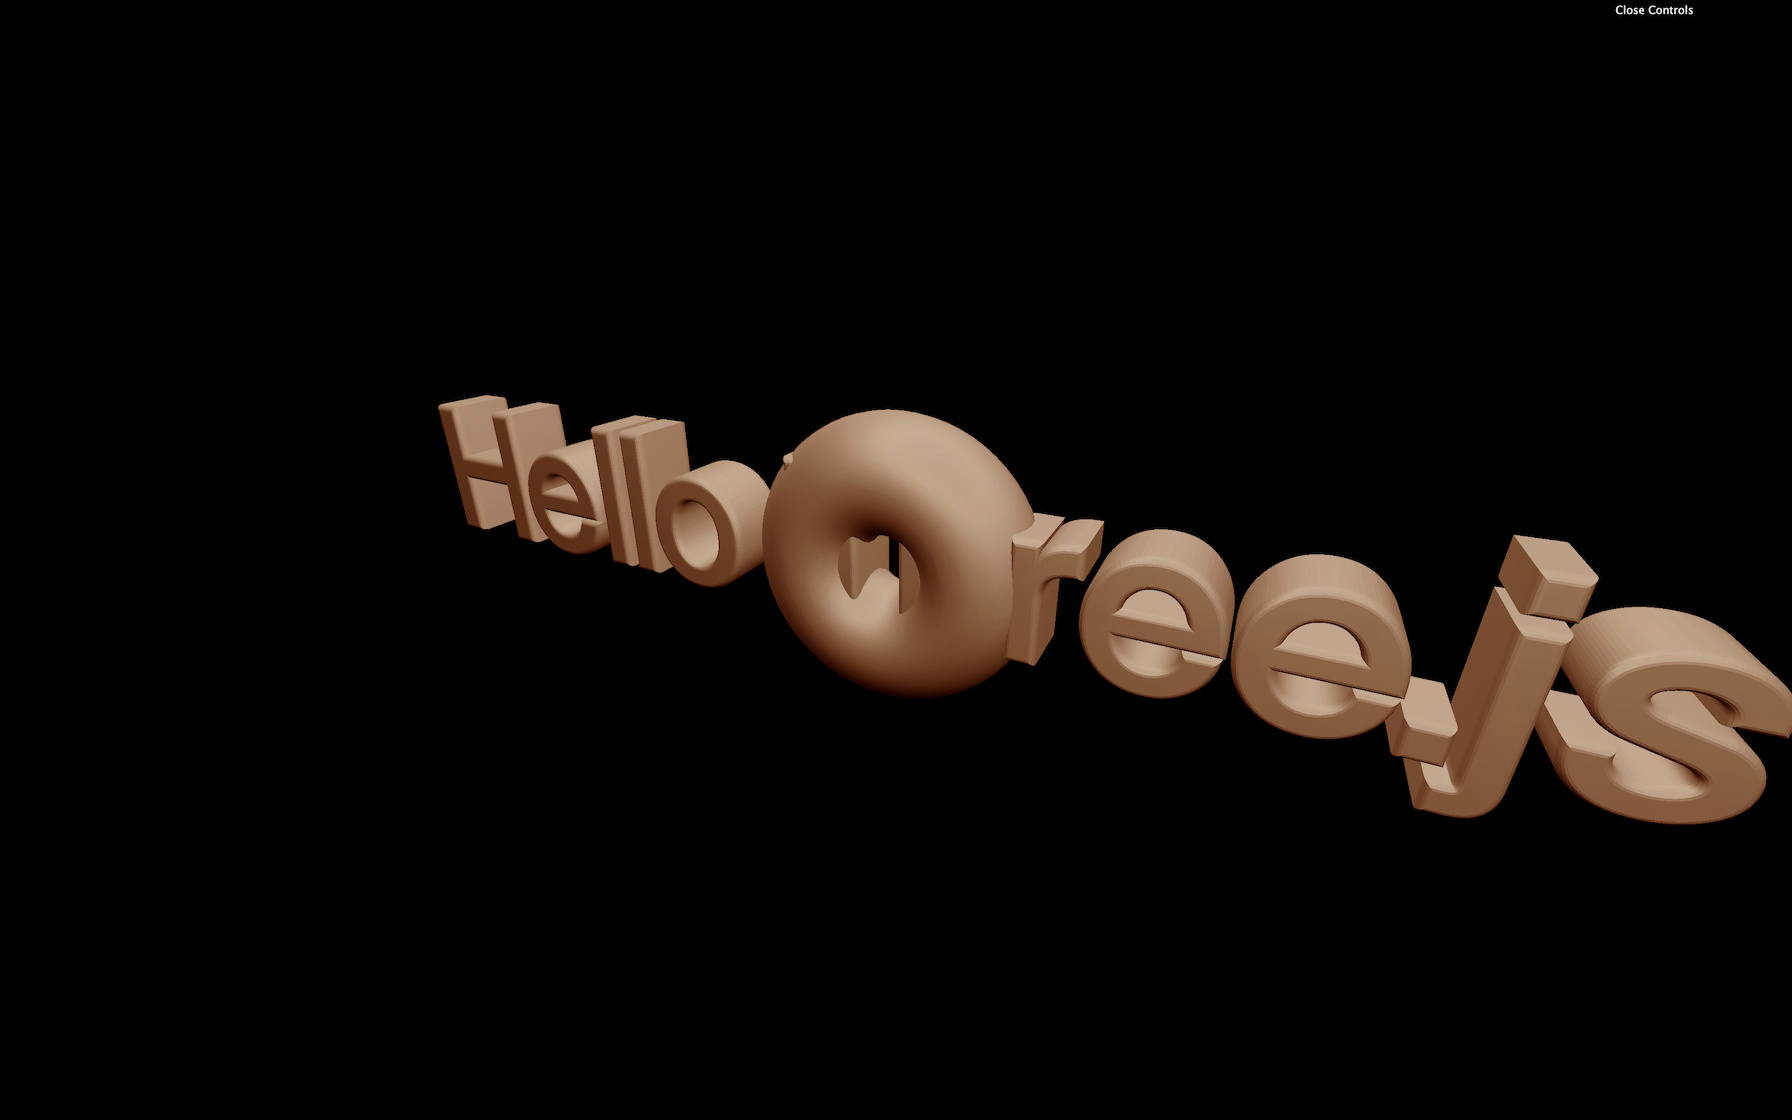
You should get 100 donuts all in the same place.
Let’s add some randomness for their position:
donut.position.x = (Math.random() - 0.5) * 10
donut.position.y = (Math.random() - 0.5) * 10
donut.position.z = (Math.random() - 0.5) * 10
JavaScript
Copy
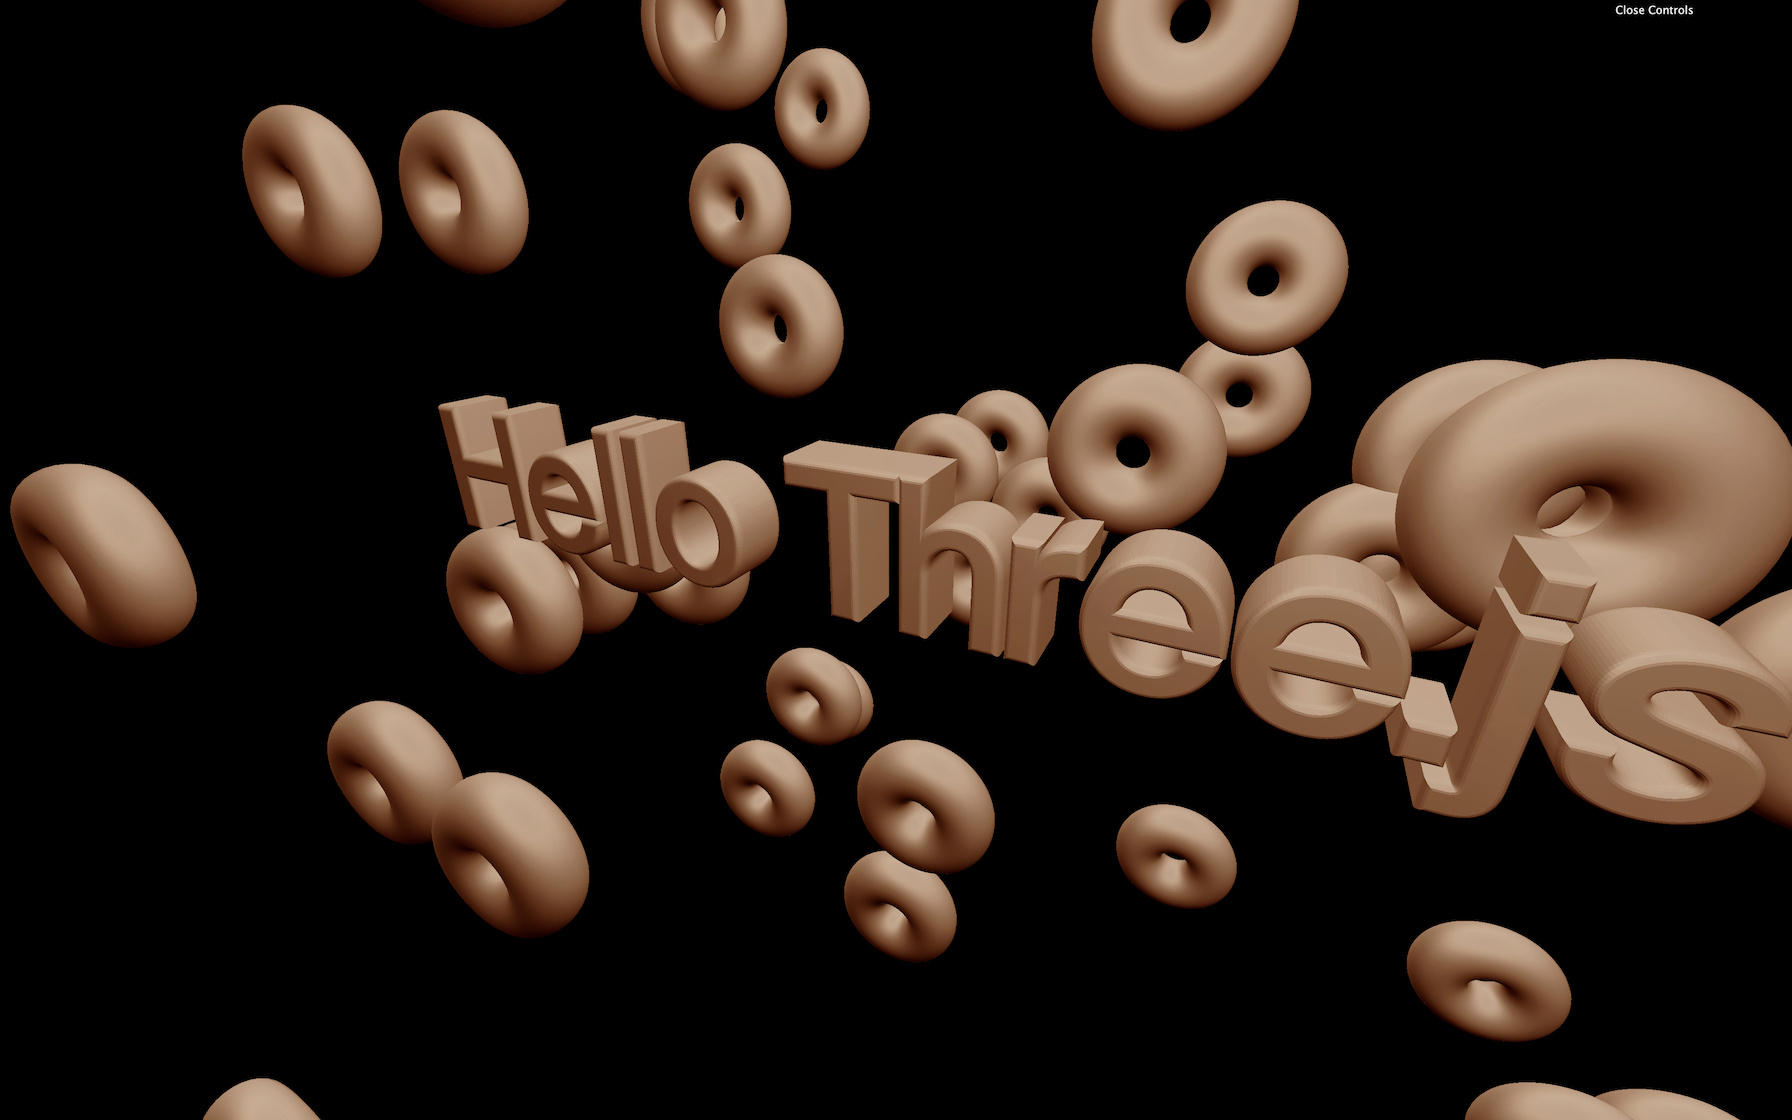
You should get the 100 donuts dispersed on the scene.
Add randomness to the rotation. No need to rotate all 3 axes, and because the donut is symmetric, half of a revolution is enough:
donut.rotation.x = Math.random() * Math.PI
donut.rotation.y = Math.random() * Math.PI
JavaScript
Copy
The donuts should have rotate in all directions.
Finally, we can add randomness to the scale. Be careful, though; we need to use the same value for all 3 axes ( x , y , z ):
const scale = Math.random()
donut.scale.set(scale, scale, scale)
JavaScript
Copy
Optimize
Our code isn’t very optimized. As we saw in a previous lesson, we can use the same material on multiple Meshes, but we can also use the same geometry.
Move the donutGeometry and the donutMaterial out of the loop:
const donutGeometry = new THREE.TorusBufferGeometry(0.3, 0.2, 20, 45)
const donutMaterial = new THREE.MeshMatcapMaterial({ matcap: matcapTexture })

for(let i = 0; i < 100; i++)
{
    // ...
}
JavaScript
Copy
You should get the same result, but we can go even further. The material of the text is the same as for the donut .
Let’s remove the donutMaterial , rename the textMaterial by material and use it for both the text and the donut :
const material = new THREE.MeshMatcapMaterial({ matcap: matcapTexture })

// ...

const text = new THREE.Mesh(textGeometry, material)

// ...

for(let i = 0; i < 100; i++)
{
    const donut = new THREE.Mesh(donutGeometry, material)

    // ...
}
JavaScript
Copy
We could go even further, but there is a dedicated lesson about optimizations.
Go further
If you want, you can add more shapes, animate them and even try other matcaps.

14 Lights
Difficulty Medium
Introduction
As we saw in the previous lesson, adding lights is as simple as adding meshes. You instantiate a light using the proper class, and you add it to the scene.
There are multiple types of lights, and we already discovered the AmbientLight and the PointLight.
In this lesson, we will see all the different classes in detail and how to use them.
Setup
A scene is already set up in the starter (complete with a sphere, a cube, a torus, and a plane as the floor), but feel free to try this yourself if you want to practice.
Because we are going to use lights, we must use a material that reacts to lights. We could have used MeshLambertMaterial, MeshPhongMaterialor MeshToonMaterial, but instead we will use the MeshStandardMaterial because it’s the most realistic one as we saw in the previous lesson. We also reduced the roughness of the material to 0.4 to see the reflections of the lights.
Once the starter is working remove the AmbientLight and the PointLight to start from scratch. You should get a black render with nothing visible in it.
AmbientLight
The AmbientLight applies omnidirectional lighting on all geometries of the scene. The first parameter is the color and the second parameter is the intensity . As for the materials, you can set the properties directly when instantiating or you can change them after:
const ambientLight = new THREE.AmbientLight(0xffffff, 0.5)
scene.add(ambientLight)

// Equals
const ambientLight = new THREE.AmbientLight()
ambientLight.color = new THREE.Color(0xffffff)
ambientLight.intensity = 0.5
scene.add(ambientLight)
JavaScript
Copy
And like we did for the materials, you can add the properties to the Debug UI. We won’t do that in the rest of the lesson but feel free to add tweaks if you want to ease the testing:
gui.add(ambientLight, 'intensity').min(0).max(1).step(0.001)
JavaScript
Copy
If all you have is an AmbientLight you’ll have the same effect as for a MeshBasicMaterial because all faces of the geometries will be lit equally.
In real life, when you light up an object, the sides of the objects at the opposite of the light won’t be totally black because light bounces on the walls and other objects. Light bouncing is not supported in Three.js for performance reasons, but you can use a dim AmbientLight to fake this light bounce.
DirectionalLight
The DirectionalLight will have a sun-like effect as if the sun rays were traveling in parallel. The first parameter is the color and the second parameter is the intensity :
const directionalLight = new THREE.DirectionalLight(0x00fffc, 0.3)
scene.add(directionalLight)
JavaScript
Copy

By default, the light will seems to come from above. To change that, you must move the whole light by using the position property like if it were a normal object.
directionalLight.position.set(1, 0.25, 0)
JavaScript
Copy
The distance of the light doesn’t matter for now. The rays come from an infinite space and travel in parallel to the infinite opposite.
HemisphereLight
The HemisphereLight is similar to the AmbientLight but with a different color from the sky than the color coming from the ground. Faces facing the sky will be lit by one color while another color will lit faces facing the ground.
The first parameter is the color corresponding to the sky color, the second parameter is the groundColor and the third parameter is the intensity :
const hemisphereLight = new THREE.HemisphereLight(0xff0000, 0x0000ff, 0.3)
scene.add(hemisphereLight)
JavaScript
Copy
PointLight
The PointLight is almost like a lighter. The light source is infinitely small, and the light spreads uniformly in every direction. The first parameter is the color and the second parameter is the intensity :
const pointLight = new THREE.PointLight(0xff9000, 0.5)
scene.add(pointLight)
JavaScript
Copy
We can move it like any object:
pointLight.position.set(1, - 0.5, 1)
JavaScript
Copy
By default, the light intensity doesn’t fade. But you can control that fade distance and how fast it is fading using the distance and decay properties. You can set those in the parameters of the class as the third and fourth parameters, or in the properties of the instance:
const pointLight = new THREE.PointLight(0xff9000, 0.5, 10, 2)
JavaScript
Copy

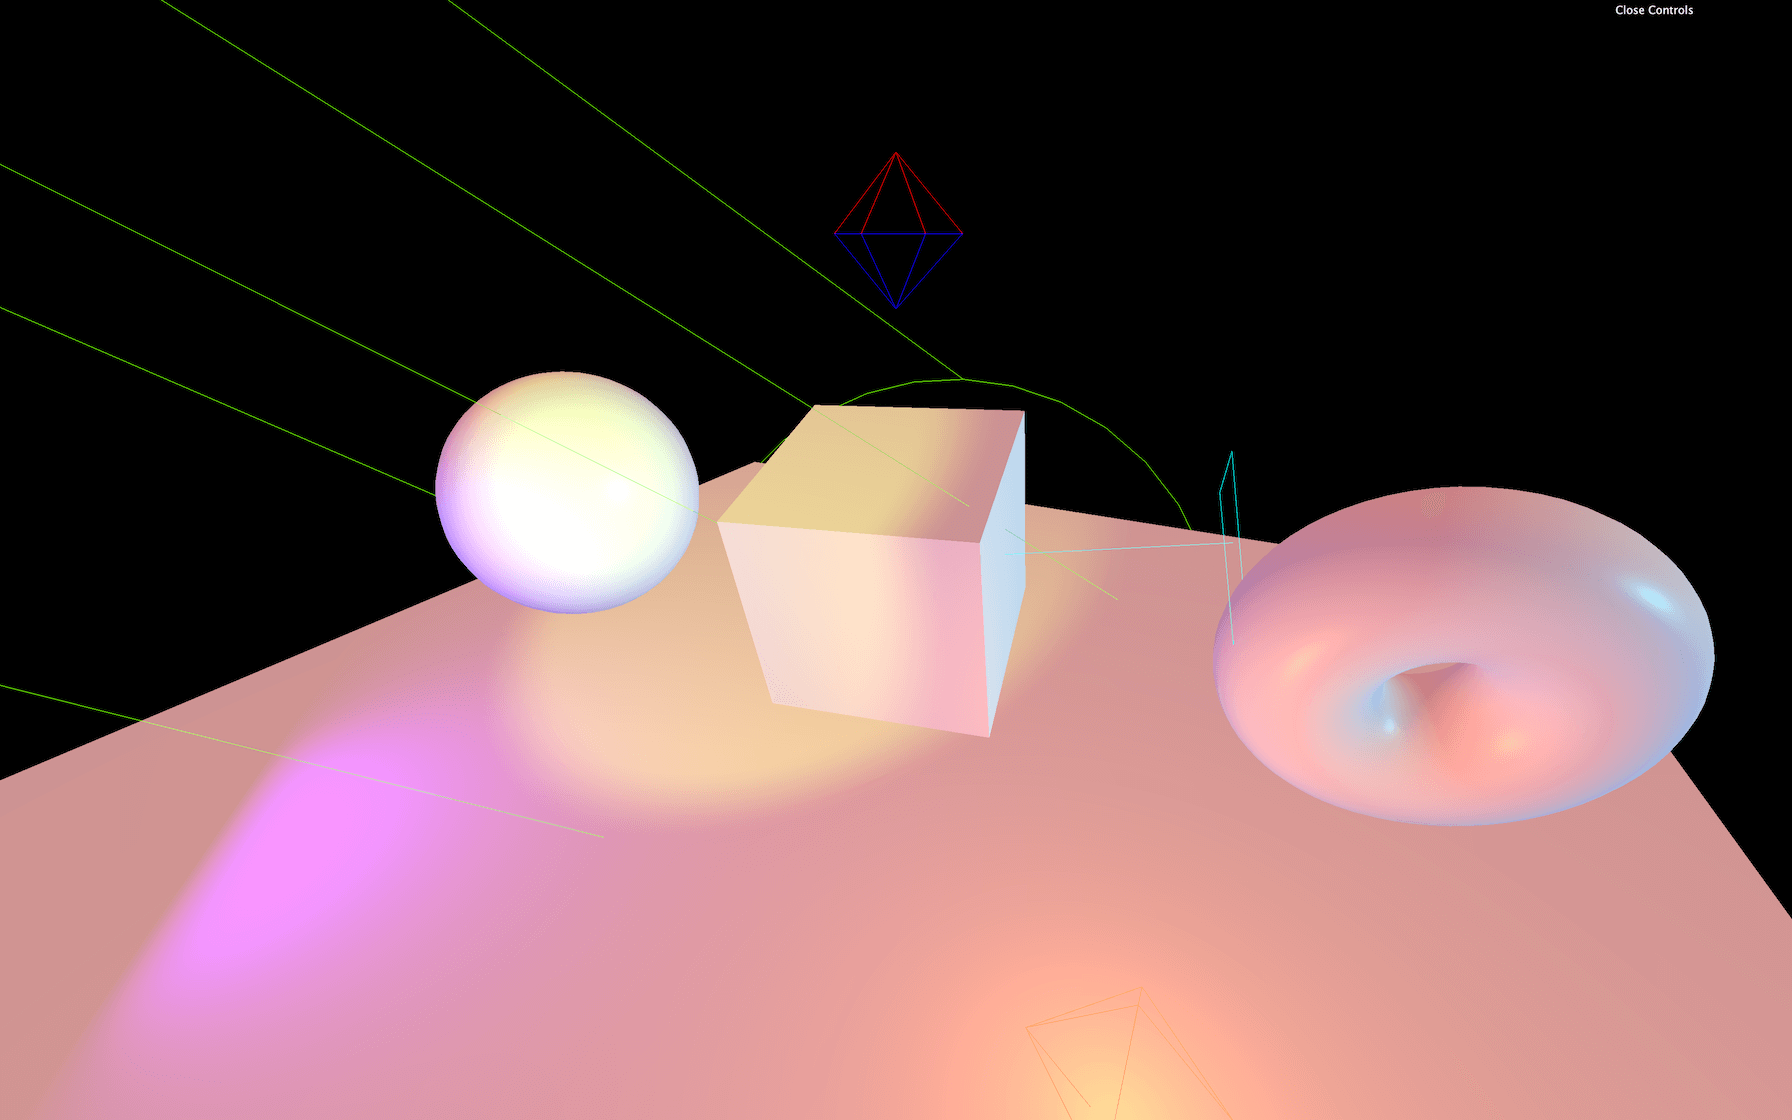
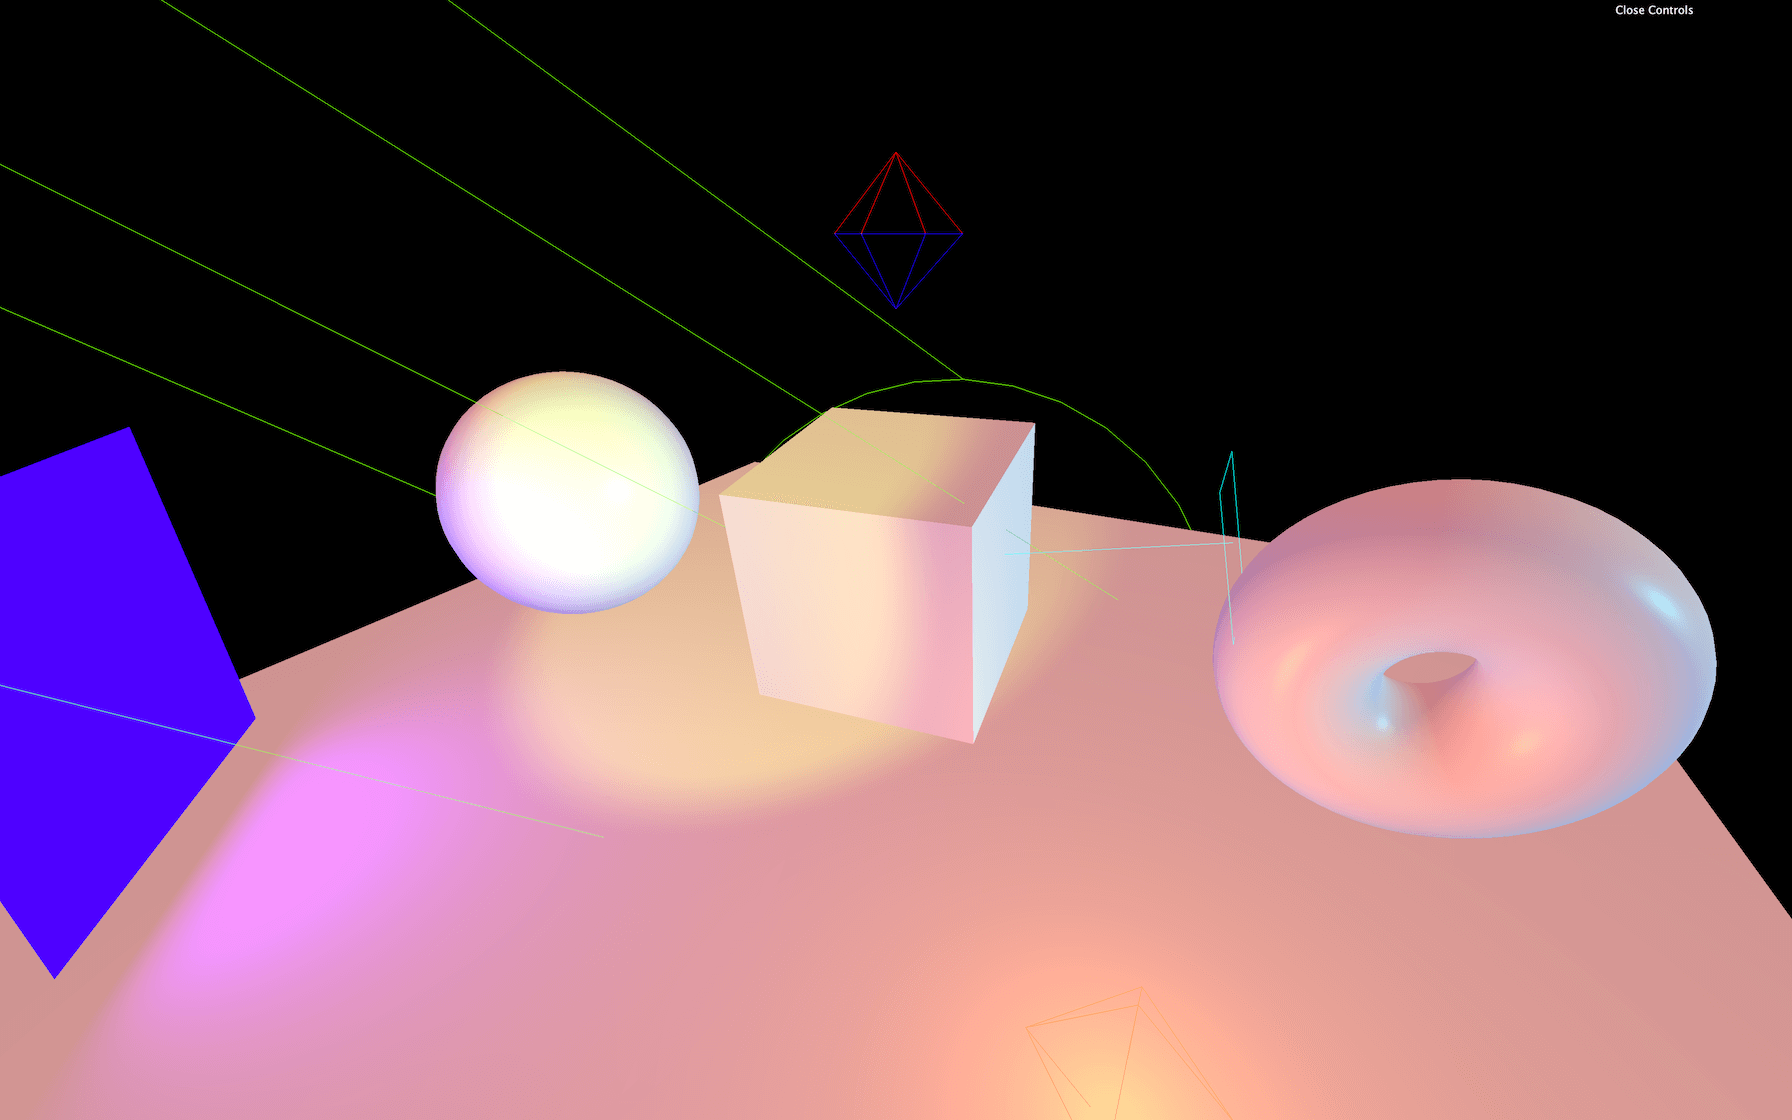
RectAreaLight
The RectAreaLight works like the big rectangle lights you can see on the photoshoot set. It’s a mix between a directional light and a diffuse light. The first parameter is the color , the second parameter is the intensity , the third parameter is width of the rectangle, and the fourth parameter is its height :
const rectAreaLight = new THREE.RectAreaLight(0x4e00ff, 2, 1, 1)
scene.add(rectAreaLight)
JavaScript
Copy
The RectAreaLight only works with MeshStandardMaterial and MeshPhysicalMaterial.
You can then move the light and rotate it. To ease the rotation, you can use the lookAt(...) method that we saw in a previous lesson:
rectAreaLight.position.set(- 1.5, 0, 1.5)
rectAreaLight.lookAt(new THREE.Vector3())
JavaScript
Copy
A Vector3 without any parameter will have its x , y , and z to 0 (the center of the scene).
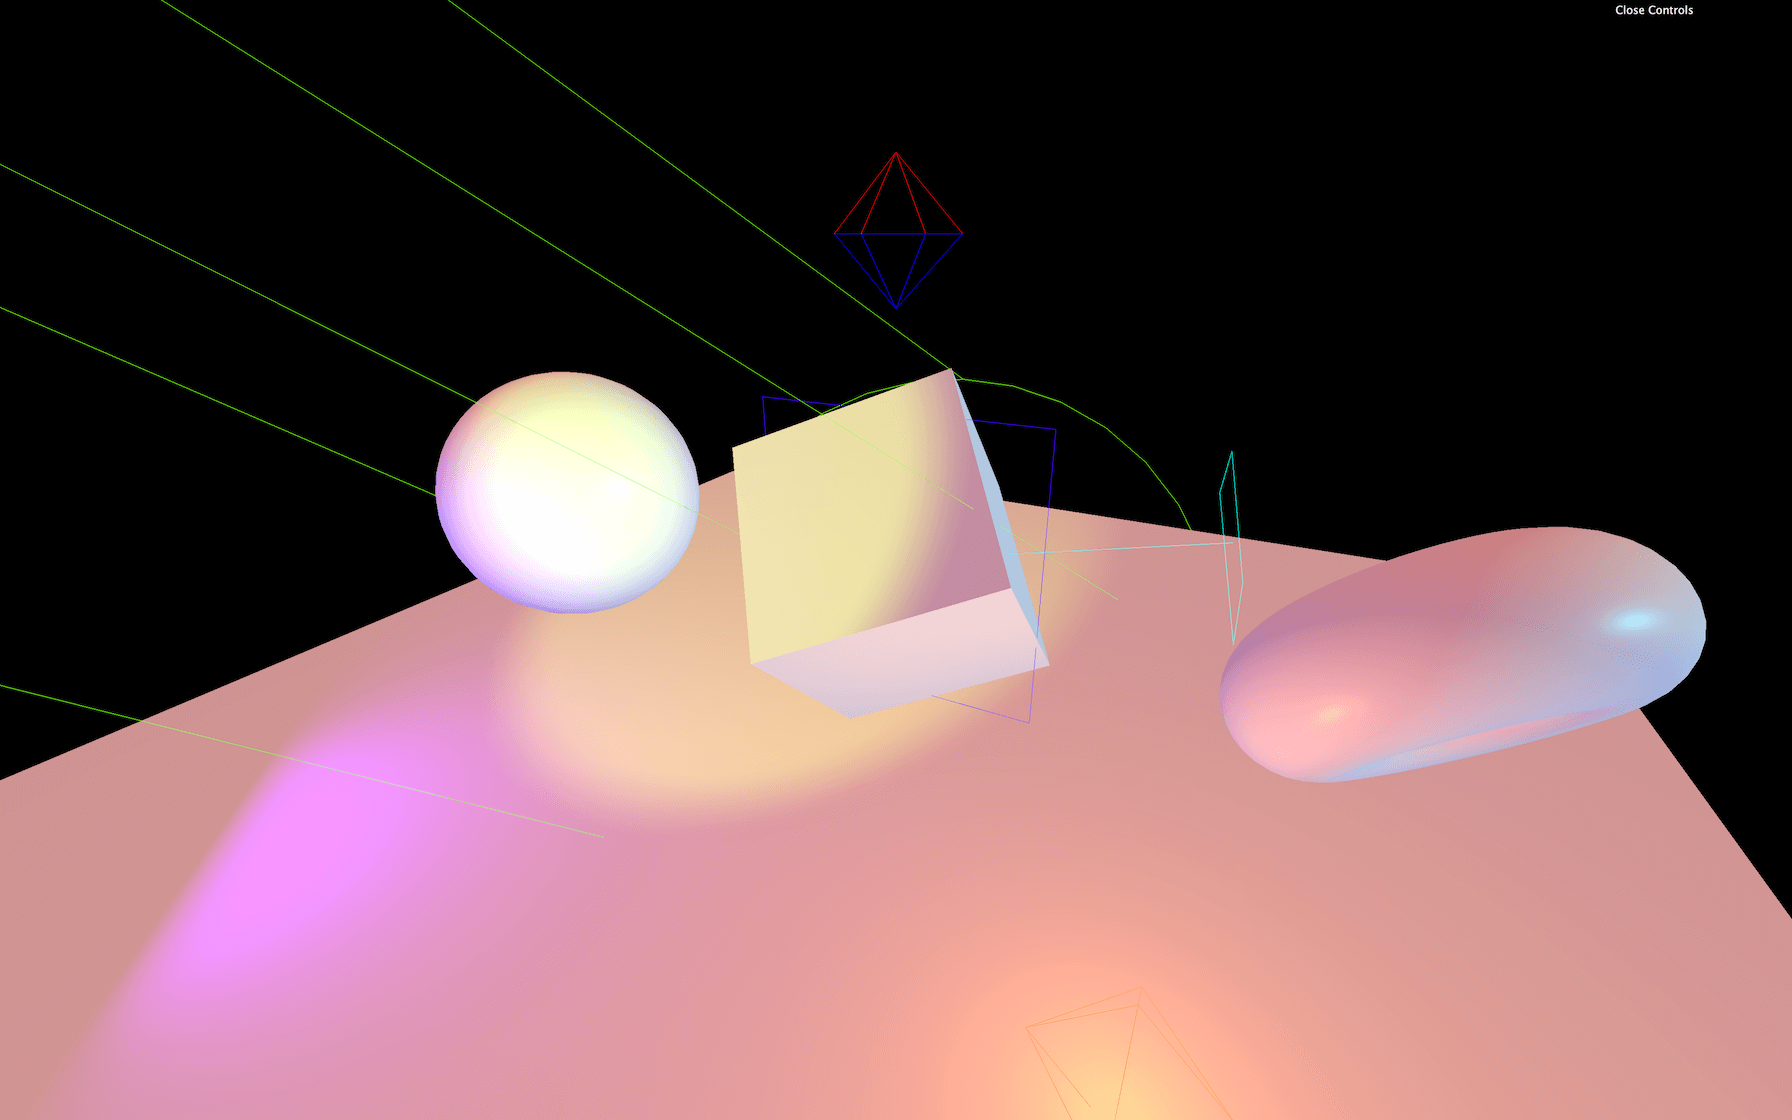
SpotLight
The SpotLight works like a flashlight. It’s a cone of light starting at a point and oriented in a direction. Here the list of its parameters:
-
color: the color -
intensity: the strength -
distance: the distance at which the intensity drops to0 -
angle: how large is the beam -
penumbra: how diffused is the contour of the beam -
decay: how fast the light dims
const spotLight = new THREE.SpotLight(0x78ff00, 0.5, 10, Math.PI * 0.1, 0.25, 1)
spotLight.position.set(0, 2, 3)
scene.add(spotLight)
JavaScript
Copy

Rotating our SpotLight is a little harder. The instance has a property named target , which is an Object3D. The SpotLight is always looking at that target object. But if you try to change its position, the SpotLight won’t budge:
spotLight.target.position.x = - 0.75
JavaScript
Copy
That is due to our target not being in the scene. Simply add the target to the scene, and it should work:
scene.add(spotLight.target)
JavaScript
Copy

Performance
Lights are great and can be realistic if well used. The problem is that lights can cost a lot when it comes to performance. The GPU will have to do many calculations like the distance from the face to the light, how much that face is facing the light, if the face is in the spot light cone, etc.
Try to add as few lights as possible and try to use the lights that cost less.
Minimal cost:
- AmbientLight
- HemisphereLight
Moderate cost:
- DirectionalLight
- PointLight
High cost:
- SpotLight
- RectAreaLight
Baking
A good technique for lighting is called baking. The idea is that you bake the light into the texture. This can be done in a 3D software. Unfortunately, you won’t be able to move the lights, because there are none and you’ll probably need a lot of textures.
A good example is Three.js Journey home page
Helpers
Positioning and orienting the lights is hard. To assist us, we can use helpers. Only the following helpers are supported:
To use them, simply instantiate those classes. Use the corresponding light as a parameter, and add them to the scene. The second parameter enables you to change the helper’s size :
const hemisphereLightHelper = new THREE.HemisphereLightHelper(hemisphereLight, 0.2)
scene.add(hemisphereLightHelper)

const directionalLightHelper = new THREE.DirectionalLightHelper(directionalLight, 0.2)
scene.add(directionalLightHelper)

const pointLightHelper = new THREE.PointLightHelper(pointLight, 0.2)
scene.add(pointLightHelper)
JavaScript
Copy

For the SpotLightHelper, there is no size parameter. Also, after moving the target, you need to call the update(...) method but on the next frame:
const spotLightHelper = new THREE.SpotLightHelper(spotLight)
scene.add(spotLightHelper)
window.requestAnimationFrame(() =>
{
    spotLightHelper.update()
})
JavaScript
Copy
The RectAreaLightHelper is even harder to use. Right now, the class isn’t part of the THREE variable. You must import it from the examples dependencies as we did with OrbitControls:
import { RectAreaLightHelper } from 'three/examples/jsm/helpers/RectAreaLightHelper.js'
JavaScript
Copy
Then you can use it:
const rectAreaLightHelper = new RectAreaLightHelper(rectAreaLight)
scene.add(rectAreaLightHelper)
JavaScript
Copy
Regrettably, like for the SpotLightHelper, you must update it on the next frame and also update its position and rotation manually:
window.requestAnimationFrame(() =>
{
    rectAreaLightHelper.position.copy(rectAreaLight.position)
    rectAreaLightHelper.quaternion.copy(rectAreaLight.quaternion)
    rectAreaLightHelper.update()
})
JavaScript
Copy
That’s a little complicated for something that is supposed to “help”.
15 Shadows
Difficulty Hard
Introduction
Now that we have lights, we want shadows. The back of the objects are indeed in the dark, and this is called the core shadow . What we are missing is the drop shadow , where objects create shadows on the other objects.
Shadows have always been a challenge for real-time 3D rendering, and developers must find tricks to display realistic shadows at a reasonable frame rate.
There are many ways of implementing them, and Three.js has a built-in solution. Be aware, this solution is convenient, but it’s far from perfect.
How it works
We won’t detail how shadows are working internally, but we will try to understand the basics.
When you do one render, Three.js will first do a render for each light supposed to cast shadows. Those renders will simulate what the light sees as if it was a camera. During these lights renders, MeshDepthMaterial replaces all meshes materials.
The results are stored as textures and named shadow maps.
You won’t see those shadow maps directly, but they are used on every material supposed to receive shadows and projected on the geometry.
Here’s an excellent example of what the directional light and the spotlight see: https://threejs.org/examples/webgl_shadowmap_viewer.html
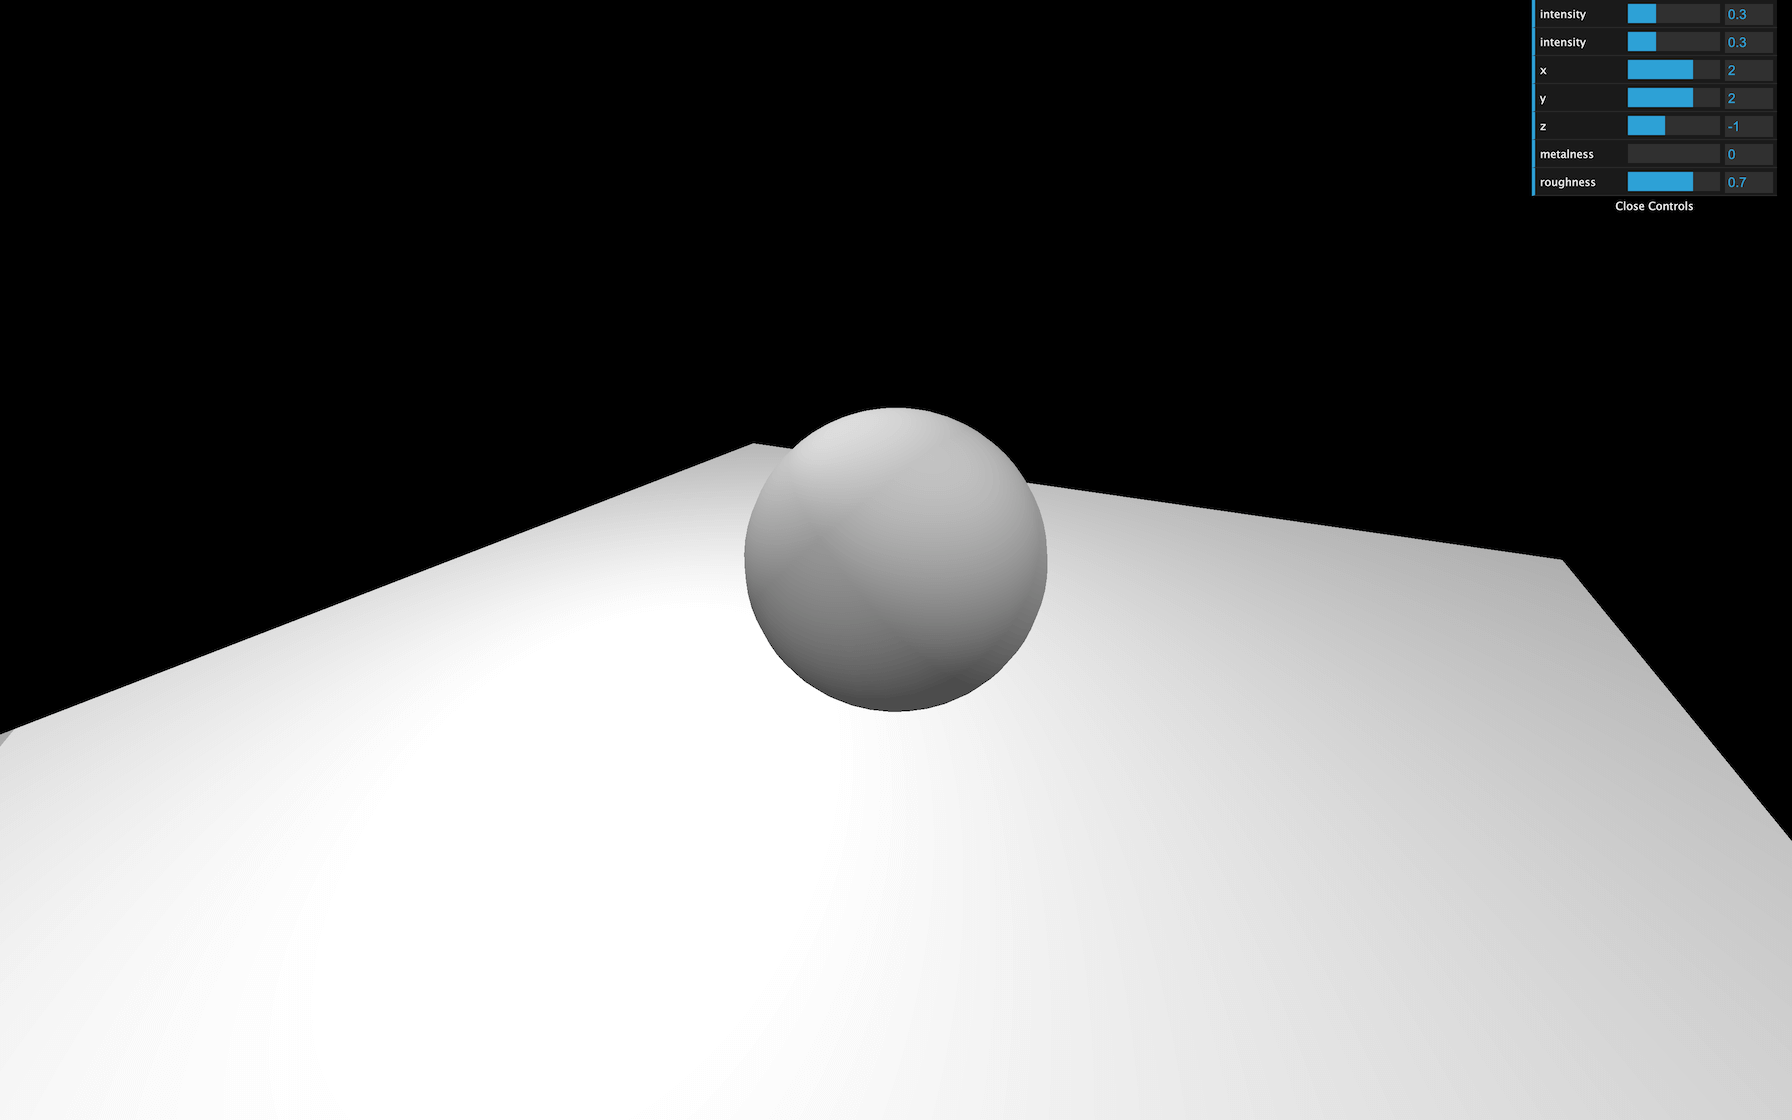
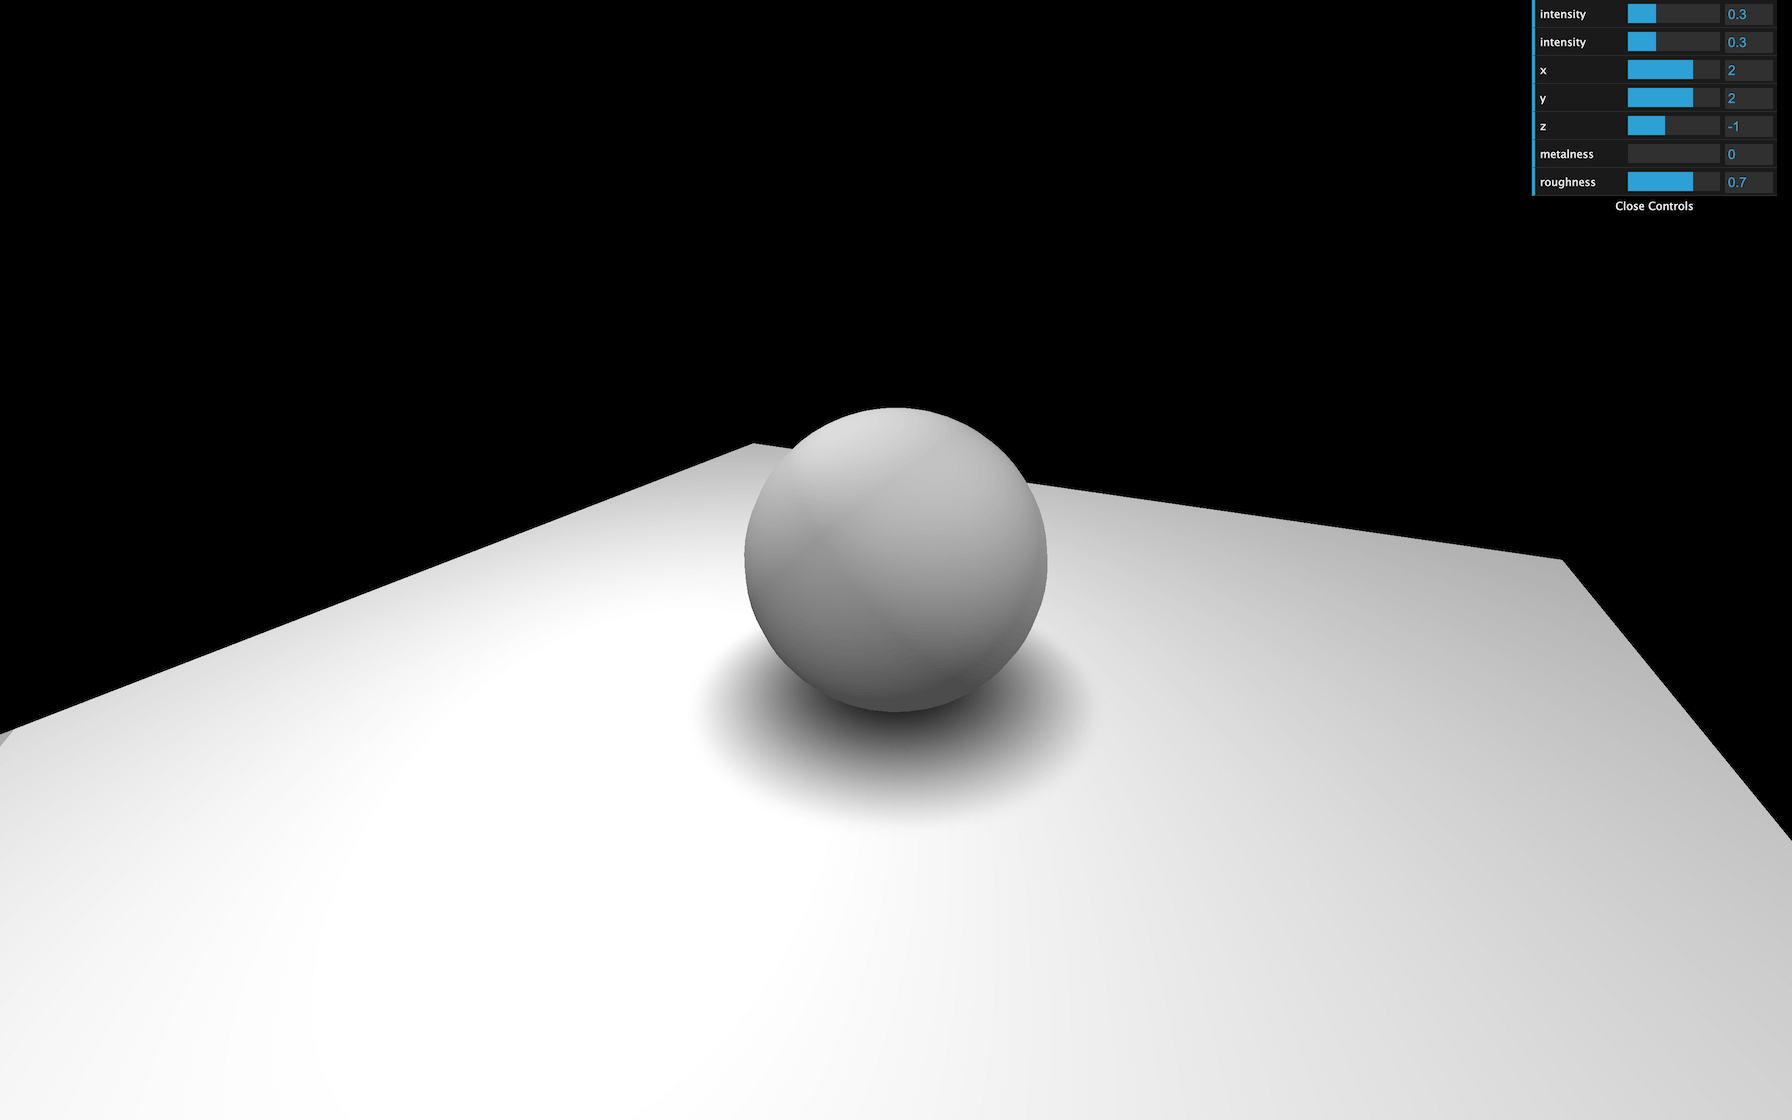
Setup
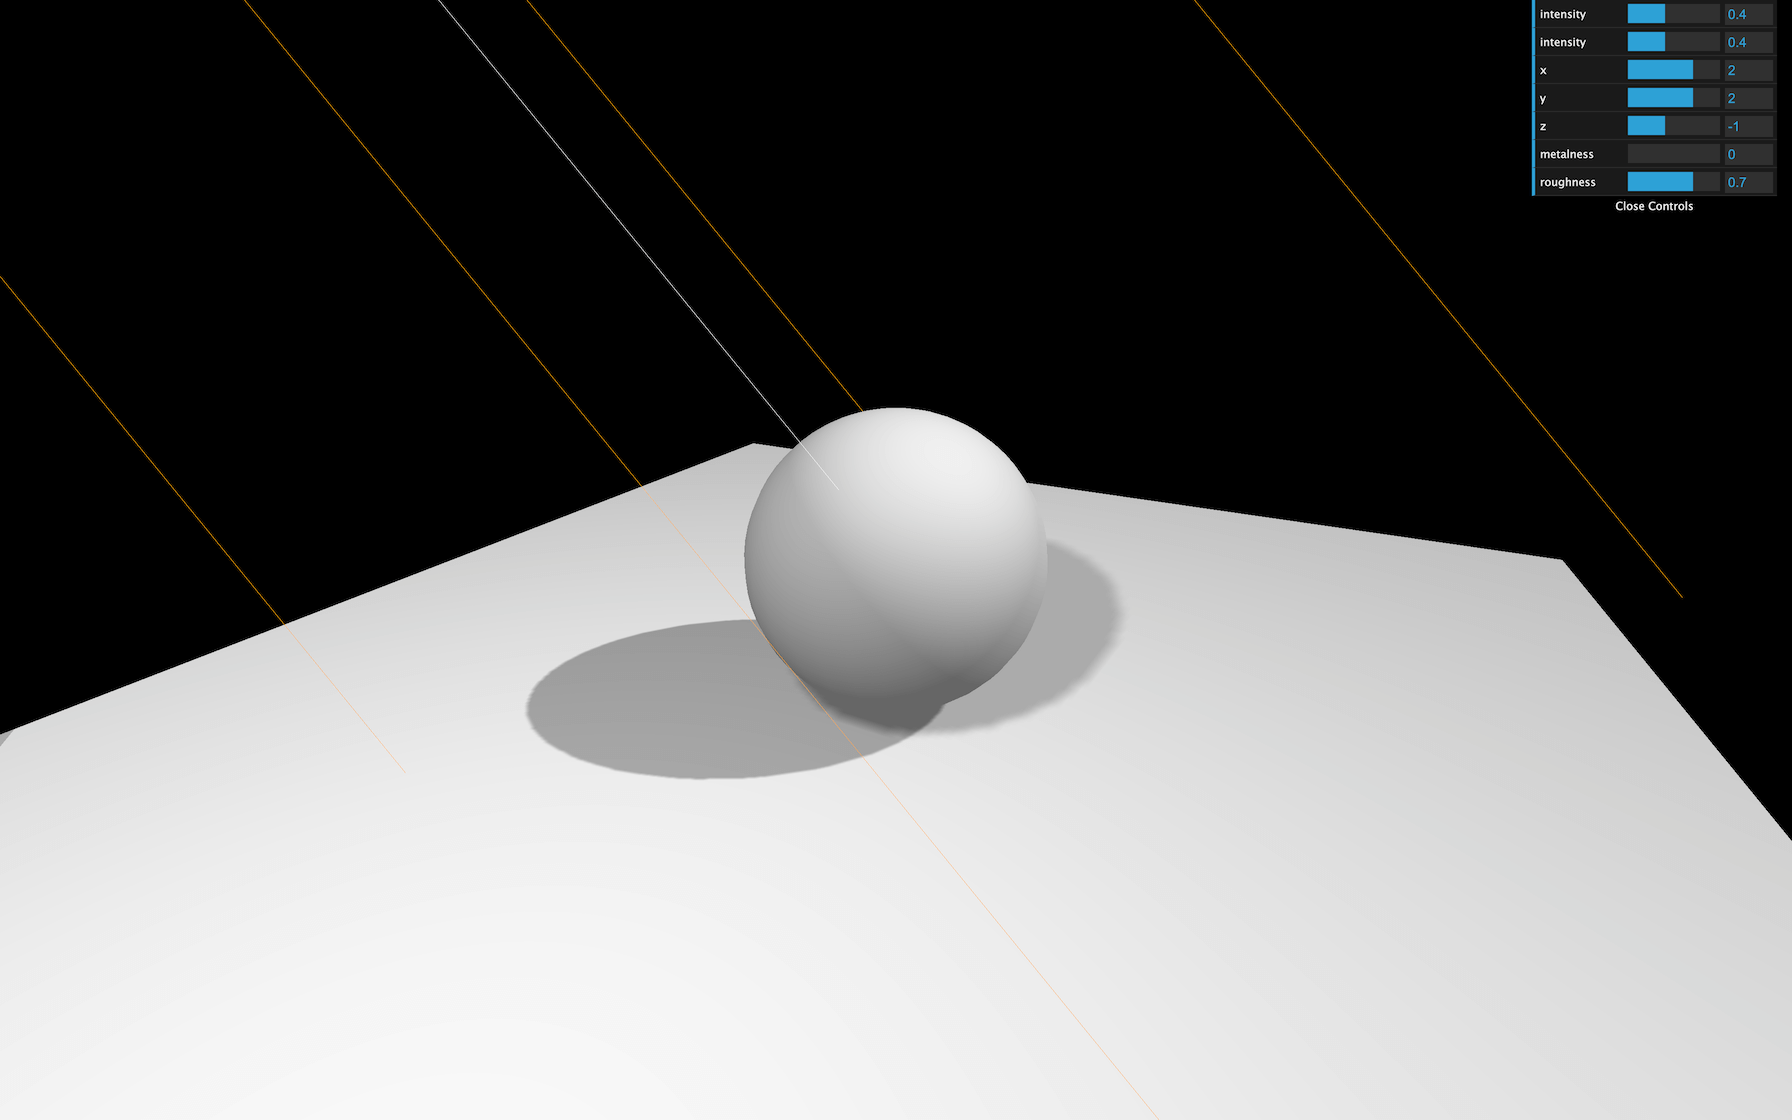
Our starter is composed of one simple sphere on a plane with one directional light and one ambient light.
You can control these lights and the material metalness and roughness in Dat.GUI.
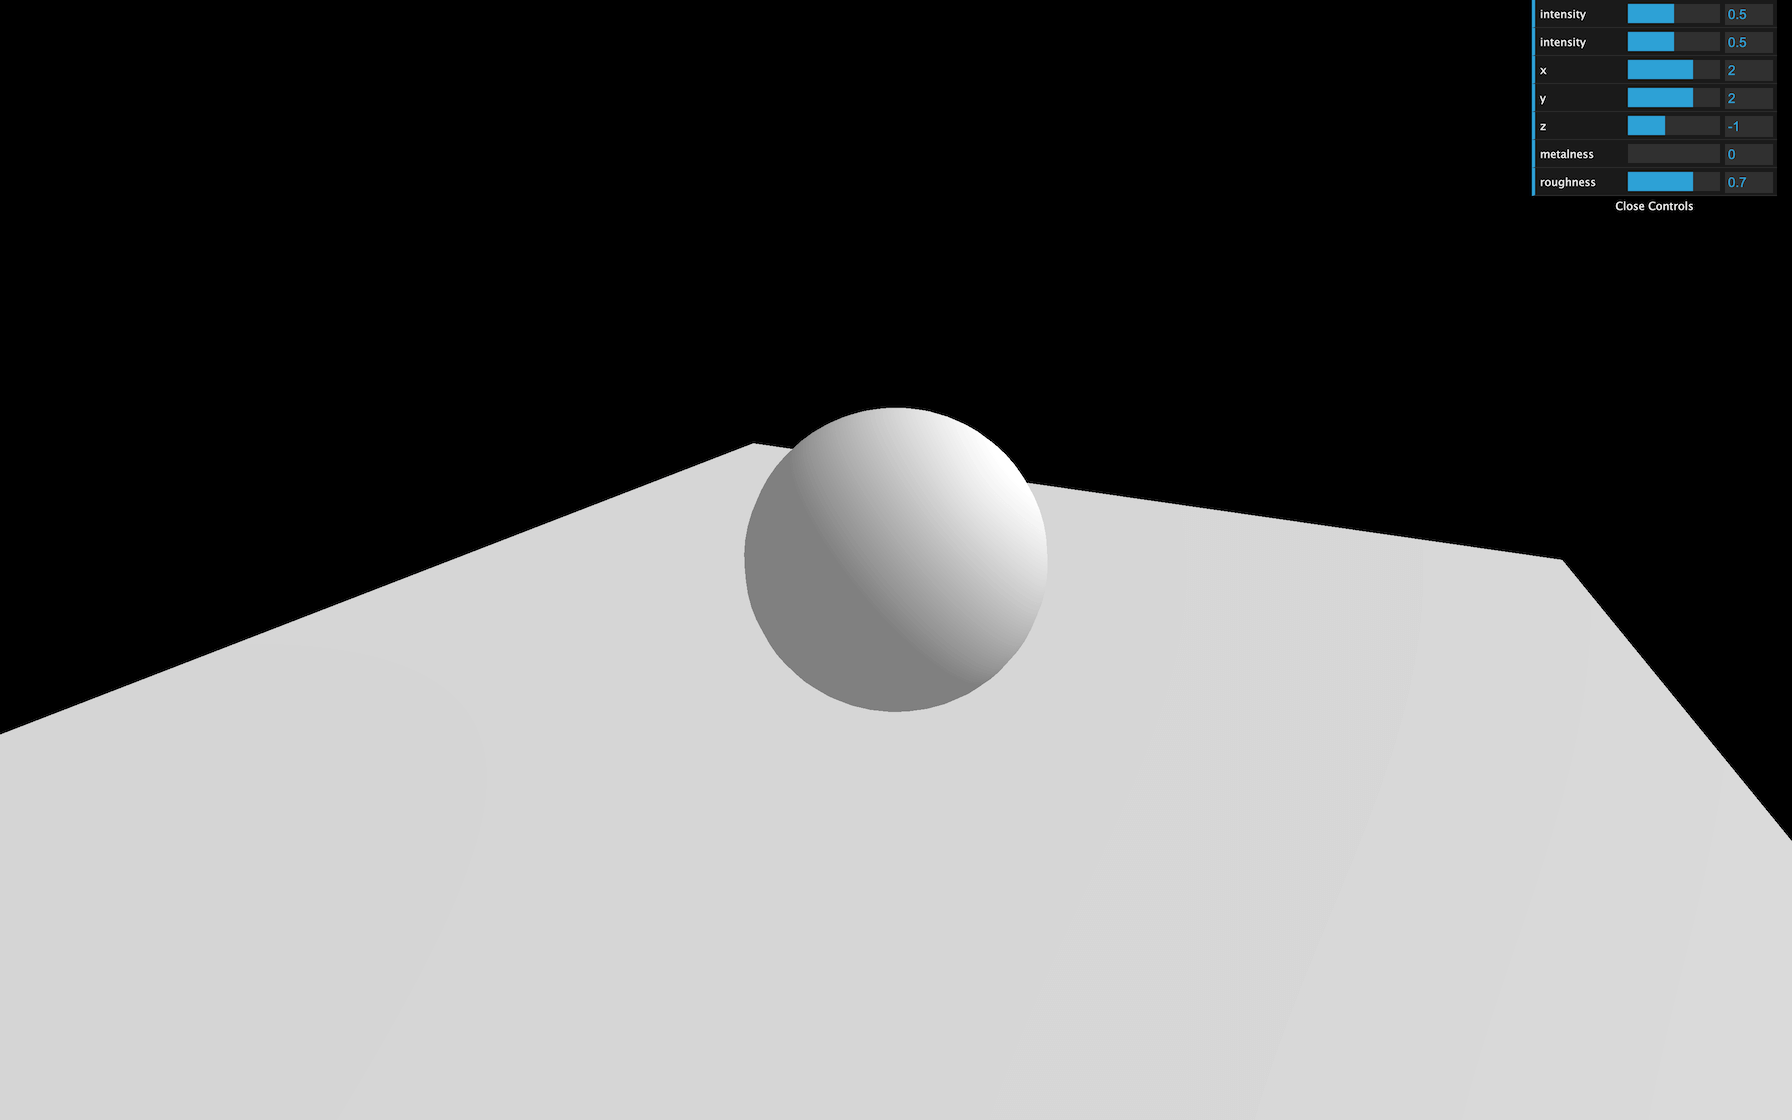
How to activate shadows
First, we need to activate the shadow maps on the renderer :
renderer.shadowMap.enabled = true
JavaScript
Copy
Then, we need to go through each object of the scene and decide if the object can cast a shadow with the castShadow property, and if the object can receive shadow with the receiveShadow property.
Try to activate these on as few objects as possible:
sphere.castShadow = true

// ...
plane.receiveShadow = true
JavaScript
Copy
Finally, activate the shadows on the light with the castShadow property.
Only the following types of lights support shadows:
And again, try to activate shadows on as few lights as possible:
directionalLight.castShadow = true
JavaScript
Copy
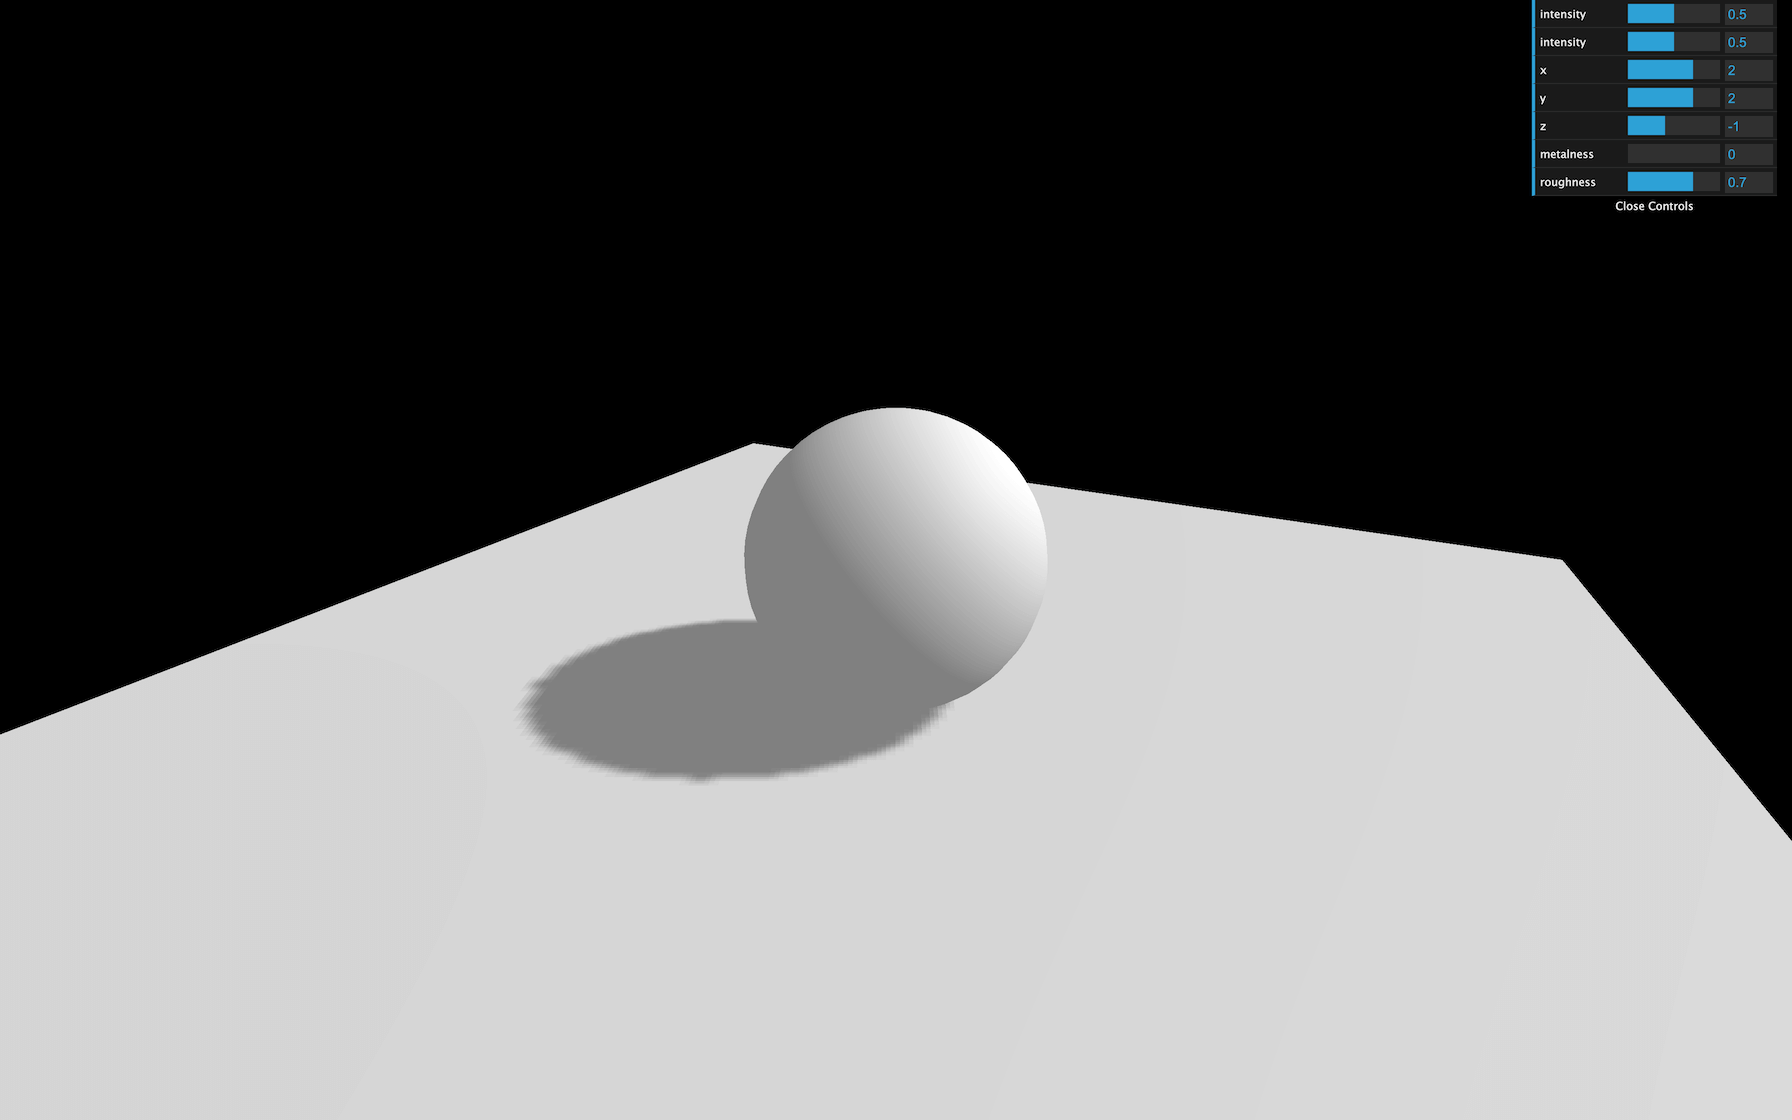
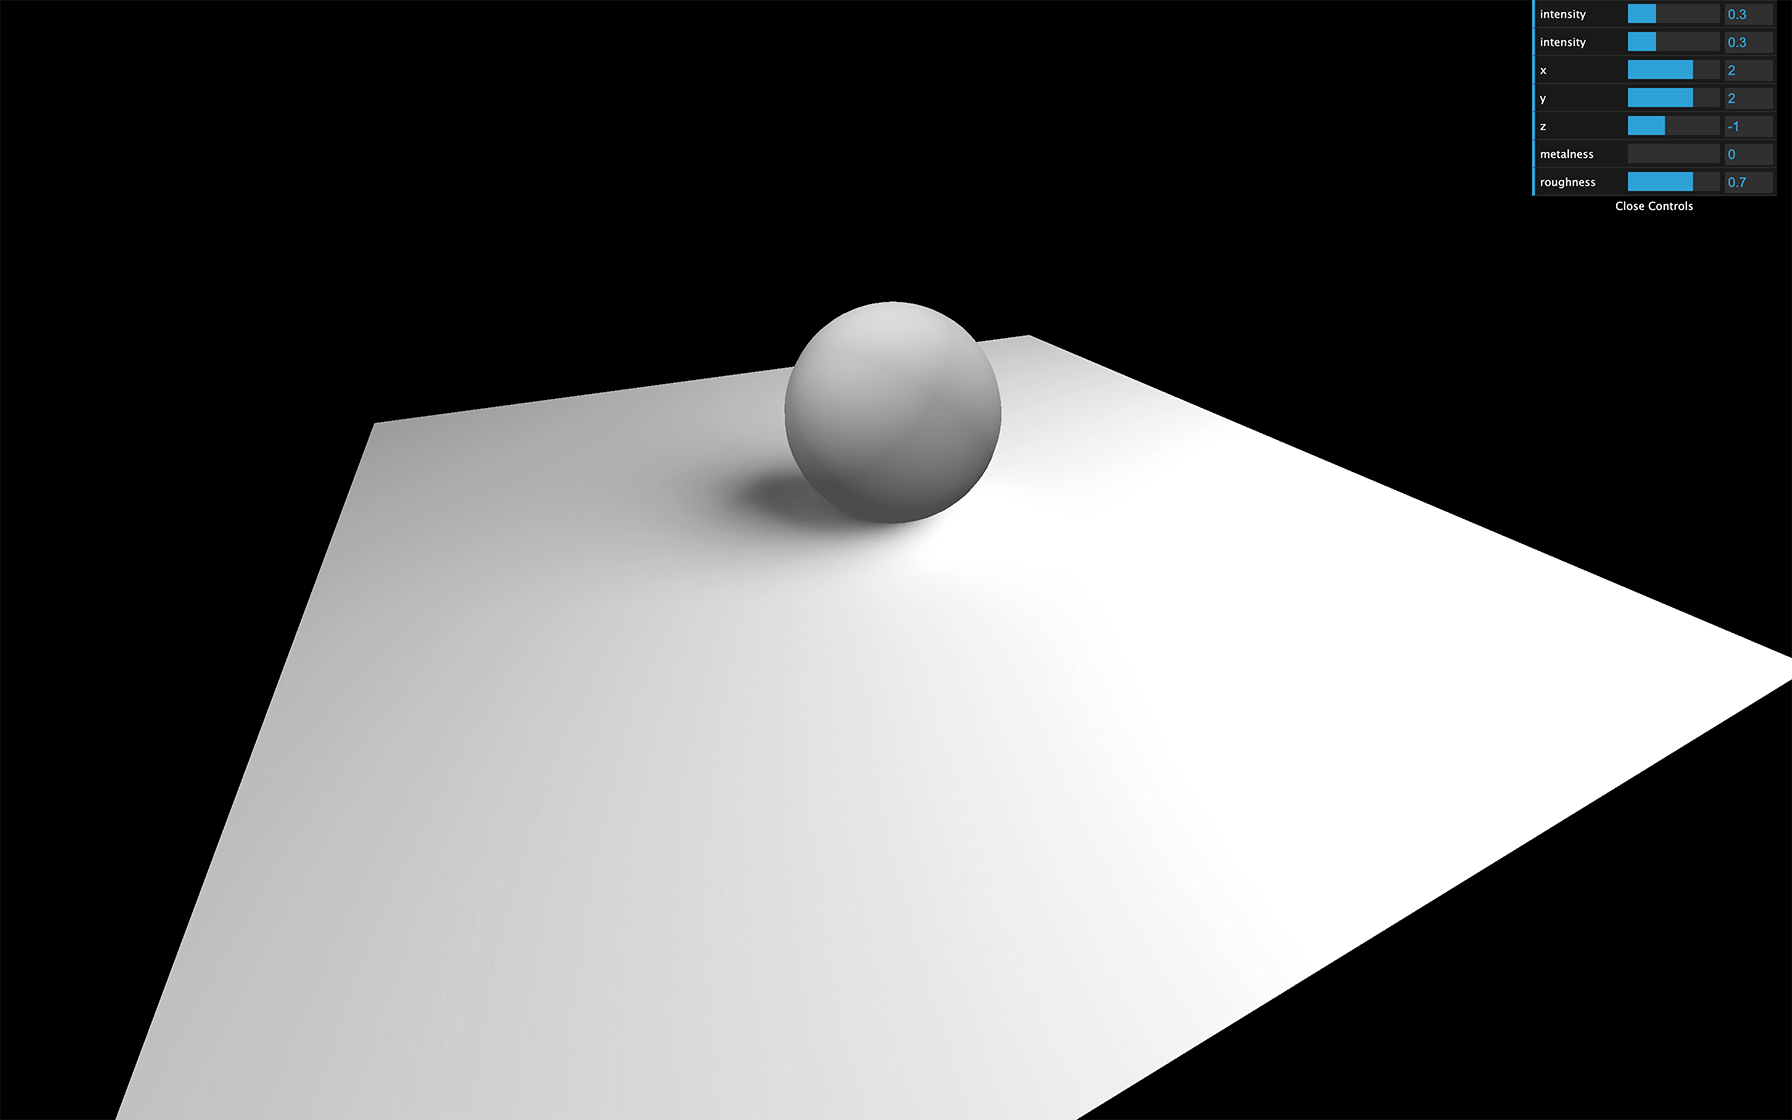
You should get a shadow of the sphere on the plane.
Sadly, that shadow looks terrible. Let’s try to improve it.
Shadow map optimizations
Render size
As we said at the start of the lesson, Three.js is doing renders called shadow maps for each light. You can access this shadow map (and many other things) using the shadow property on the light:
console.log(directionalLight.shadow)
JavaScript
Copy
As for our render, we need to specify a size. By default, the shadow map size is only 512x512 for performance reasons. We can improve it but keep in mind that you need a power of 2 value for the mipmapping:
directionalLight.shadow.mapSize.width = 1024
directionalLight.shadow.mapSize.height = 1024
JavaScript
Copy

The shadow should already look better.
Near and far
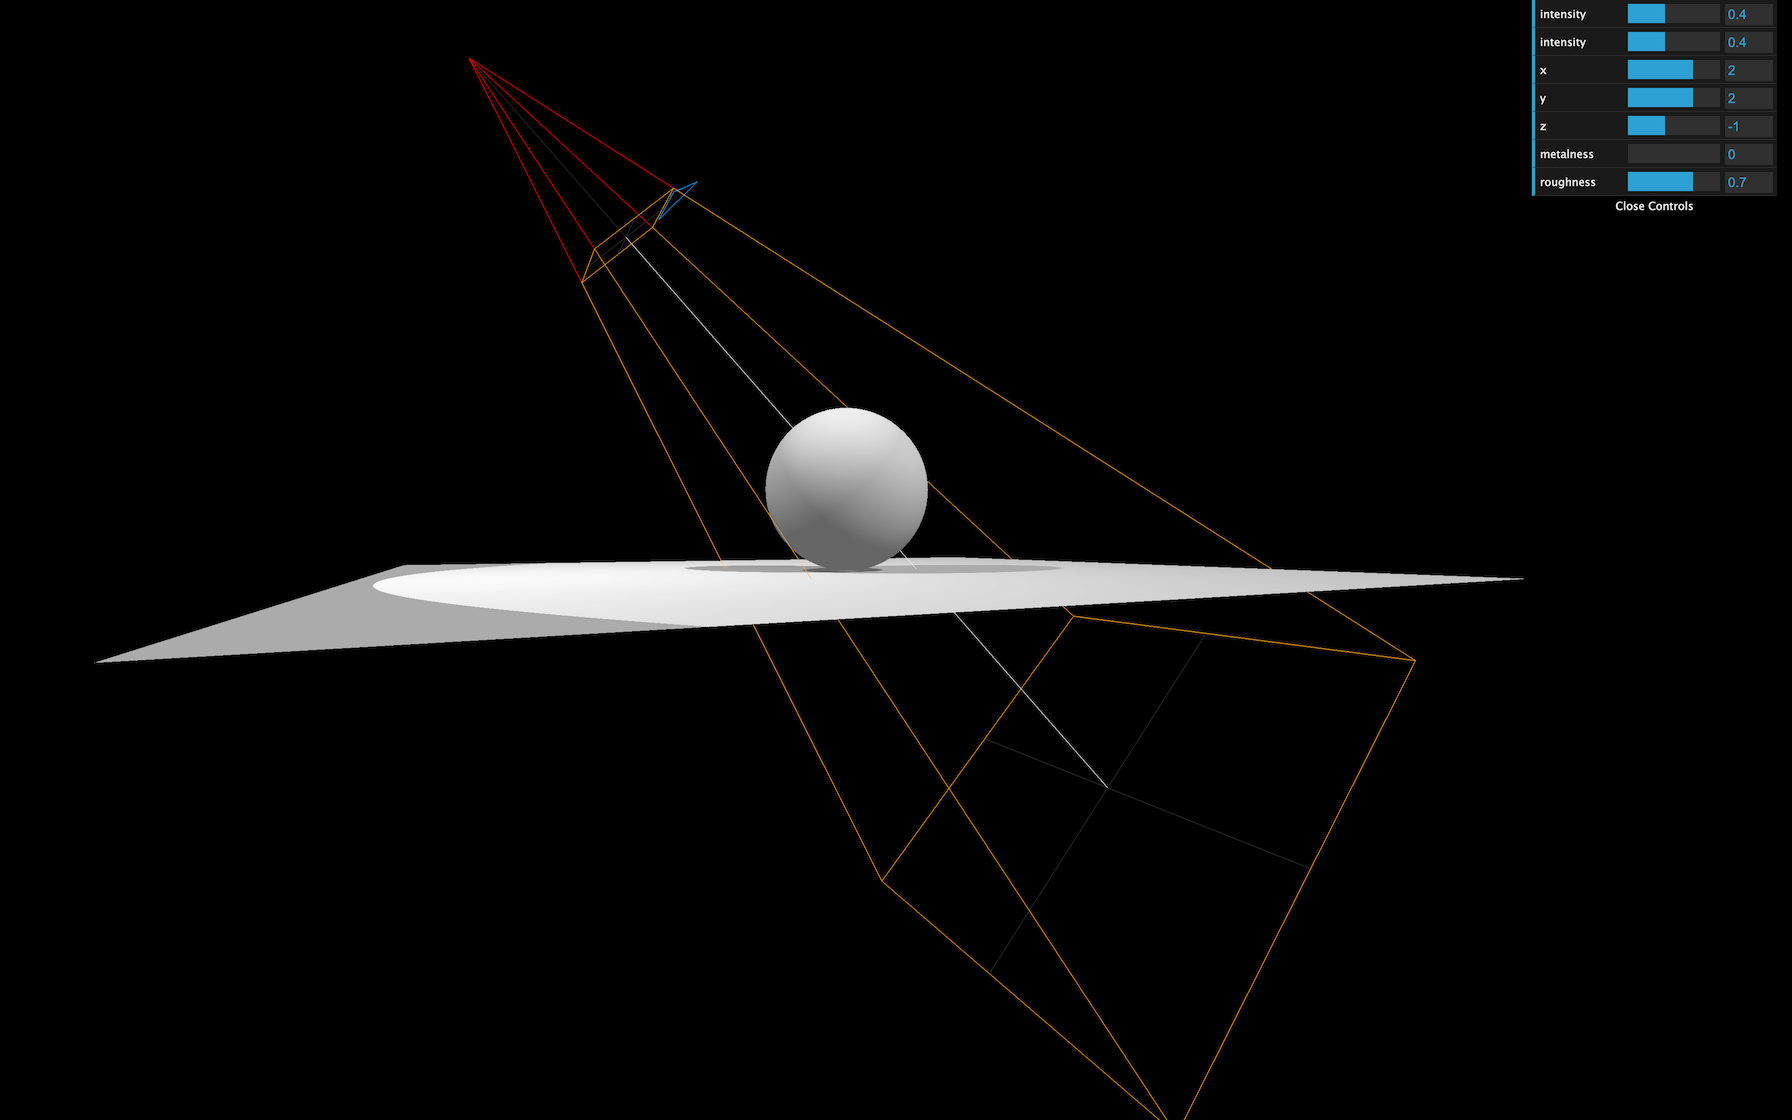
Three.js is using cameras to do the shadow maps renders. Those cameras have the same properties as the cameras we already used. This means that we must define a near and a far . It won’t really improve the shadow’s quality, but it might fix bugs where you can’t see the shadow or where the shadow appears suddenly cropped.
To help us debug the camera and preview the near and far , we can use a CameraHelper with the camera used for the shadow map located in the directionalLight.shadow.camera property:
const directionalLightCameraHelper = new THREE.CameraHelper(directionalLight.shadow.camera)
scene.add(directionalLightCameraHelper)
JavaScript
Copy
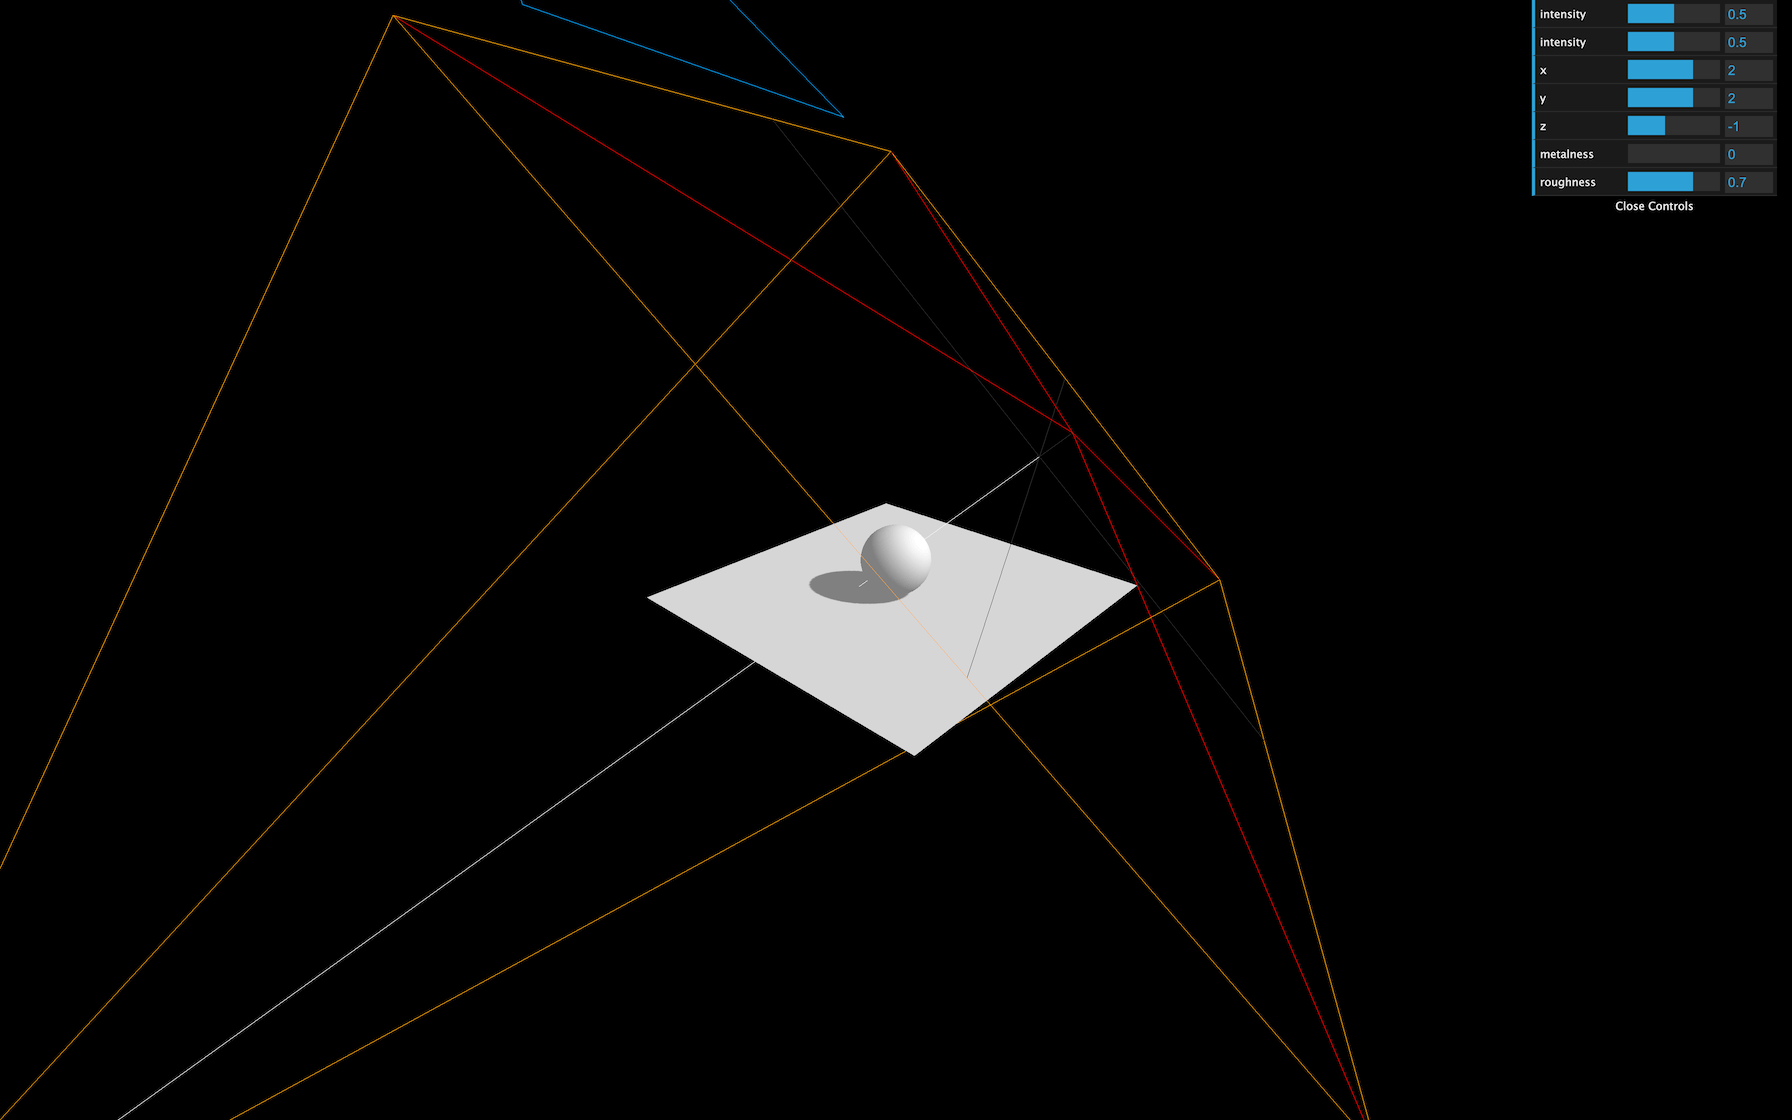
Now you can visually see the near and far of the camera. Try to find a value that fits the scene:
directionalLight.shadow.camera.near = 1
directionalLight.shadow.camera.far = 6
JavaScript
Copy
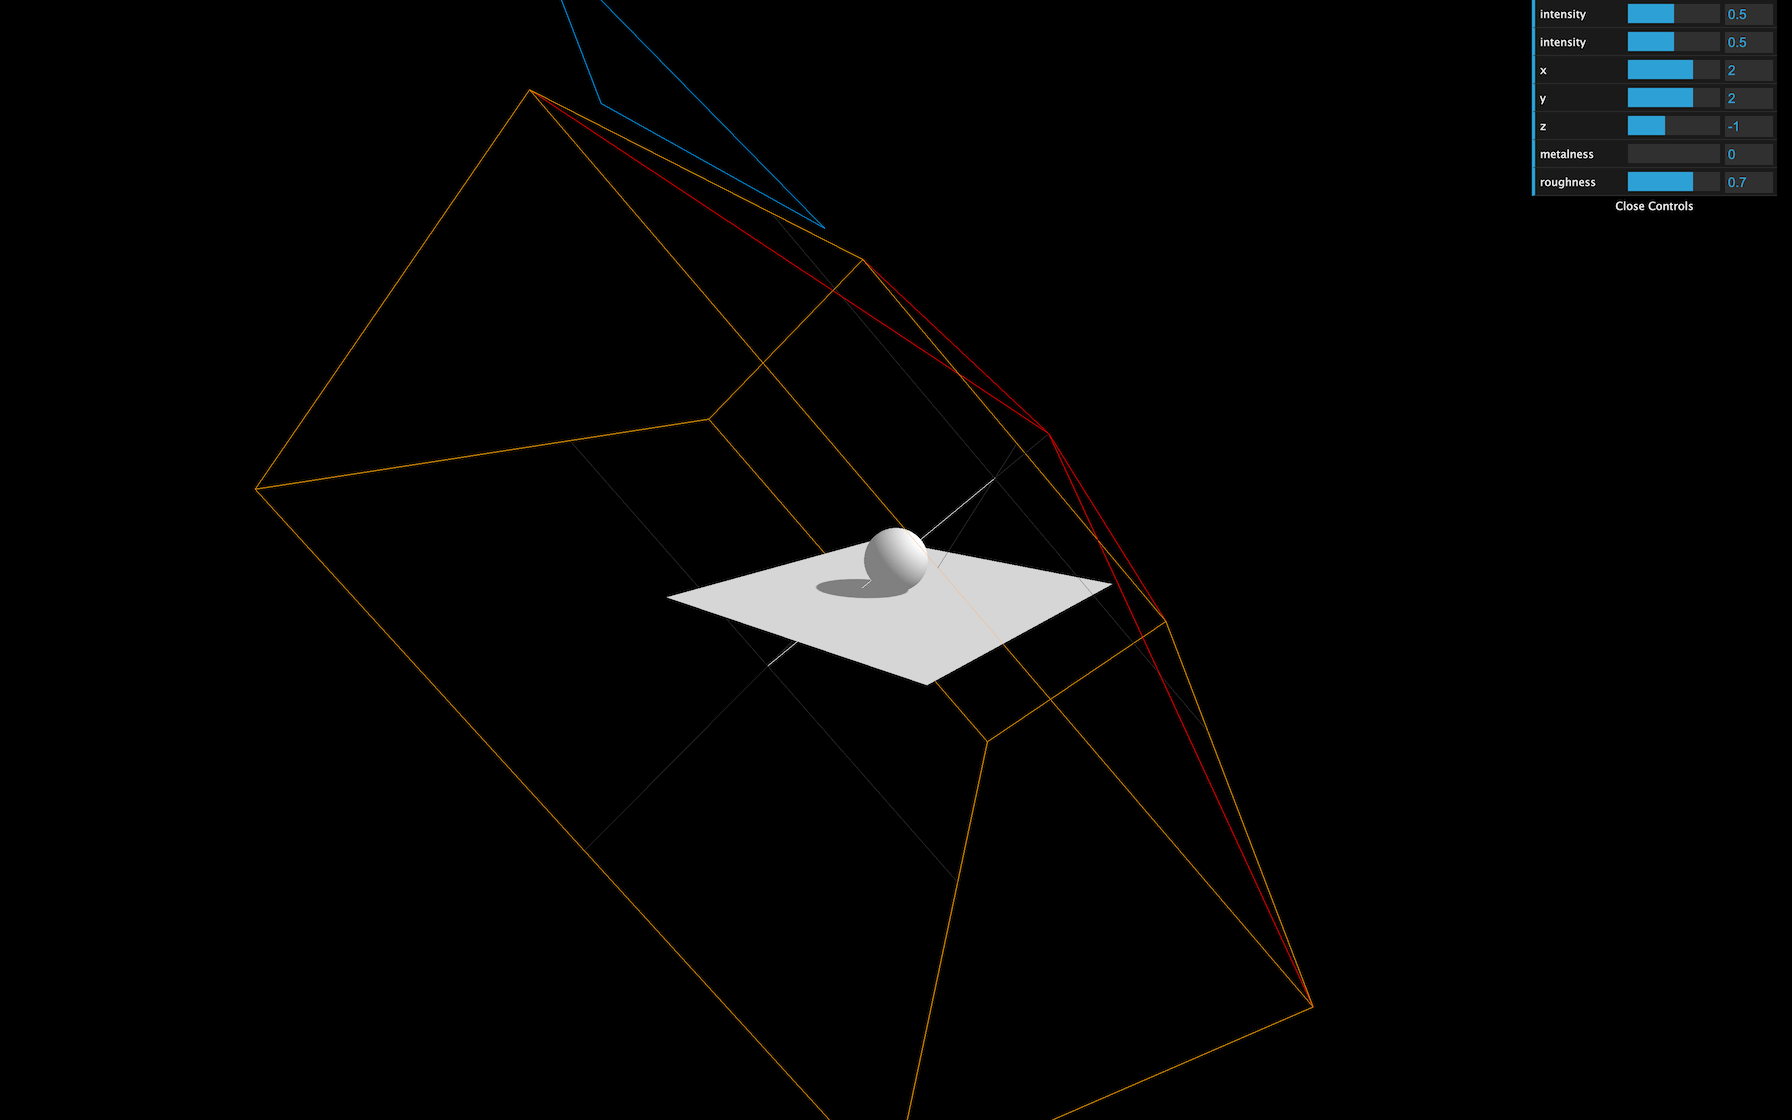
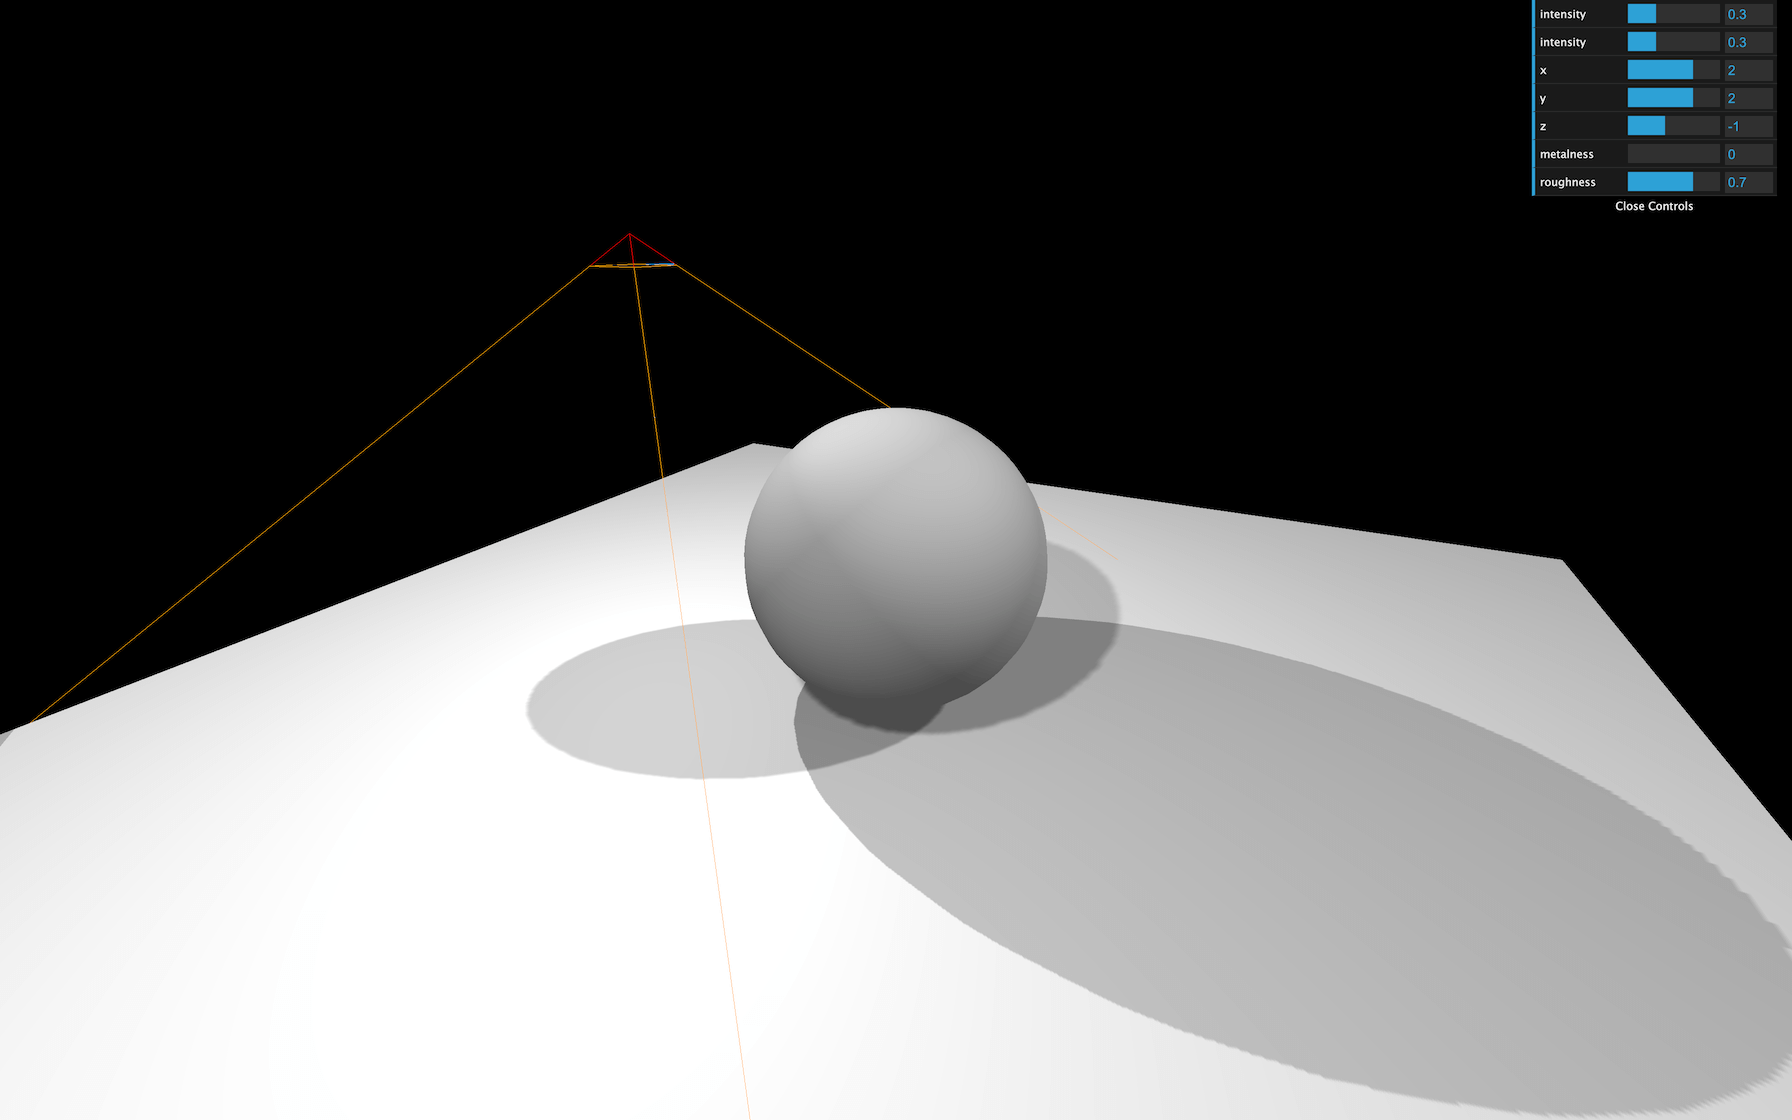
Amplitude
With the camera helper we just added, we can see that the camera’s amplitude is too large.
Because we are using a DirectionalLight, Three.js is using an OrthographicCamera. If you remember from the Cameras lesson, we can control how far on each side the camera can see with the top , right , bottom , and left properties. Let’s reduce those properties:
directionalLight.shadow.camera.top = 2
directionalLight.shadow.camera.right = 2
directionalLight.shadow.camera.bottom = - 2
directionalLight.shadow.camera.left = - 2
JavaScript
Copy
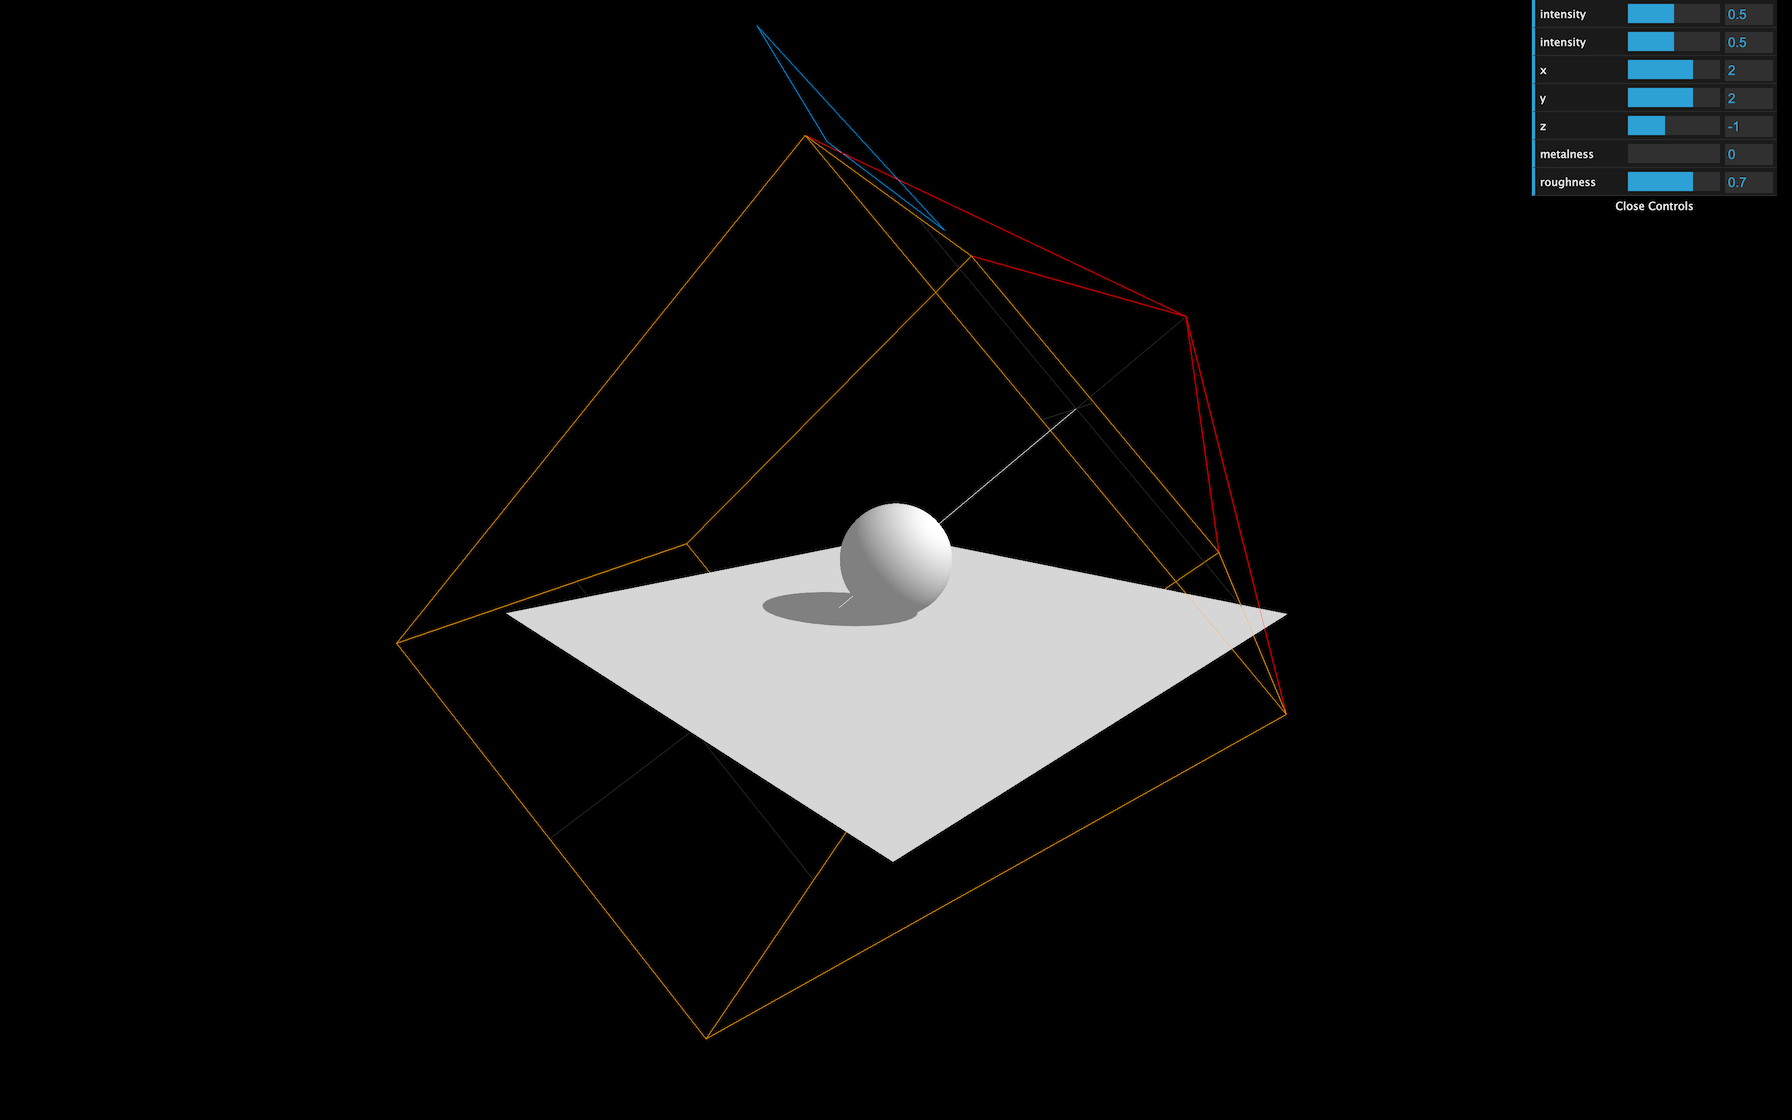
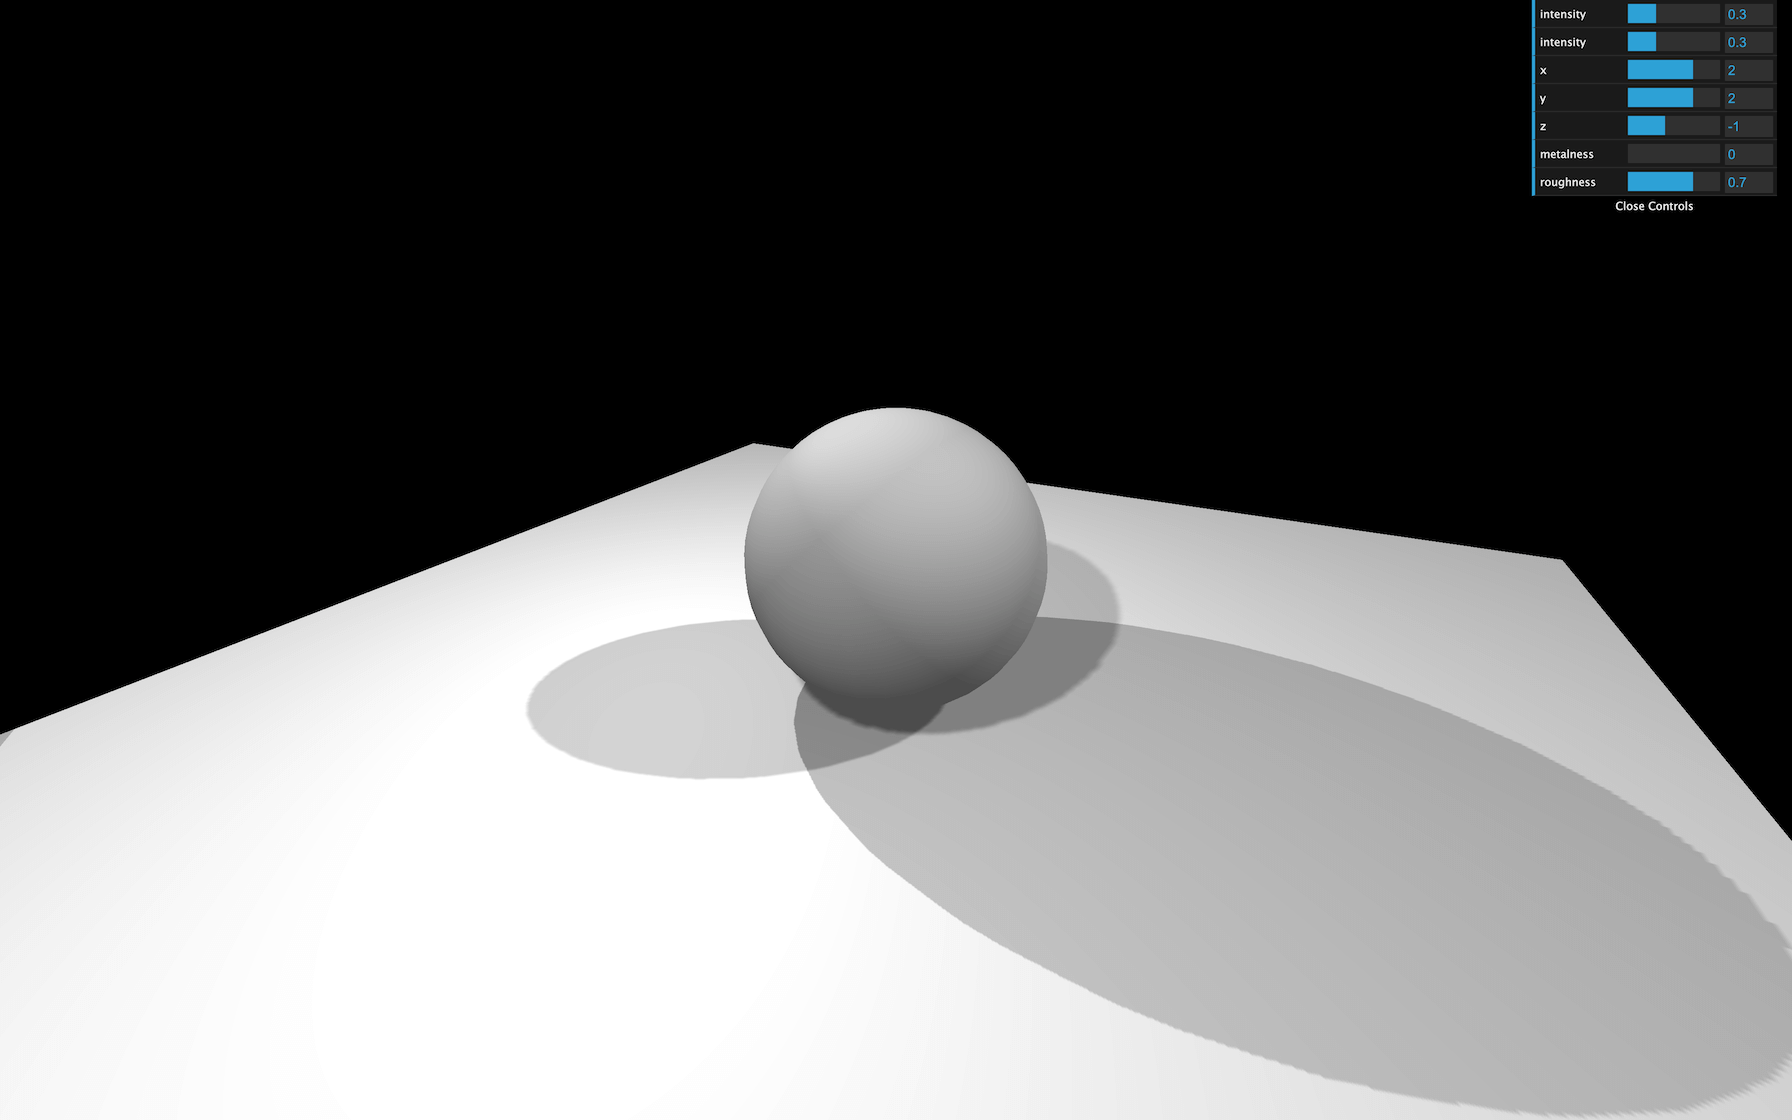
The smaller the values, the more precise the shadow will be. But if it’s too small, the shadows will just be cropped.
You can hide the camera helper once you’re done:
directionalLightCameraHelper.visible = false
JavaScript
Copy

Blur
You can control the shadow blur with the radius property:
directionalLight.shadow.radius = 10
JavaScript
Copy

This technique doesn’t use the proximity of the camera with the object. It’s just a general and cheap blur.
Shadow map algorithm
Different types of algorithms can be applied to shadow maps:
- THREE.BasicShadowMap Very performant but lousy quality
- THREE.PCFShadowMap Less performant but smoother edges
- THREE.PCFSoftShadowMap Less performant but even softer edges
- THREE.VSMShadowMap Less performant, more constraints, can have unexpected results
To change it, update the renderer.shadowMap.type property. The default is THREE.PCFShadowMap but you can use THREE.PCFSoftShadowMap for better quality.
renderer.shadowMap.type = THREE.PCFSoftShadowMap
JavaScript
Copy

Be aware that the radius property doesn’t work with THREE.PCFSoftShadowMap . You’ll have to choose.
SpotLight
Let’s try to add a SpotLight like we did in the Lights lesson and add the castShadow property to true . Don’t forget to add the target property to the scene .
We will also add a camera helper:
// Spot light
const spotLight = new THREE.SpotLight(0xffffff, 0.4, 10, Math.PI * 0.3)

spotLight.castShadow = true

spotLight.position.set(0, 2, 2)
scene.add(spotLight)
scene.add(spotLight.target)

const spotLightCameraHelper = new THREE.CameraHelper(spotLight.shadow.camera)
scene.add(spotLightCameraHelper)
JavaScript
Copy
You can reduce the other lights intensity if the scene is too bright:
const ambientLight = new THREE.AmbientLight(0xffffff, 0.4)

// ...

const directionalLight = new THREE.DirectionalLight(0xffffff, 0.4)
JavaScript
Copy
As you can see, shadows don’t merge nicely. They are handled independently, and, unfortunately, there is not much to do about it.
But we can improve the shadow quality using the same techniques that we used for the directional light.
Change the shadow.mapSize :
spotLight.shadow.mapSize.width = 1024
spotLight.shadow.mapSize.height = 1024
JavaScript
Copy

Because we are now using a SpotLight, internally, Three.js is using a PerspectiveCamera. That means that instead of the top , right , bottom , and left properties, we must change the fov property. Try to find an angle as small as possible without having the shadows cropped:
spotLight.shadow.camera.fov = 30
JavaScript
Copy

Change the near and far values:
spotLight.shadow.camera.near = 1
spotLight.shadow.camera.far = 6
JavaScript
Copy
You can hide the camera helper once you’re done:
spotLightCameraHelper.visible = false
JavaScript
Copy

PointLight
Let’s try the last light supporting shadows, the PointLight:
// Point light
const pointLight = new THREE.PointLight(0xffffff, 0.3)

pointLight.castShadow = true

pointLight.position.set(- 1, 1, 0)
scene.add(pointLight)

const pointLightCameraHelper = new THREE.CameraHelper(pointLight.shadow.camera)
scene.add(pointLightCameraHelper)
JavaScript
Copy
You can reduce the other lights intensity if the scene is too bright:
const ambientLight = new THREE.AmbientLight(0xffffff, 0.3)

// ...

const directionalLight = new THREE.DirectionalLight(0xffffff, 0.3)

// ...

const spotLight = new THREE.SpotLight(0xffffff, 0.3, 10, Math.PI * 0.3)
JavaScript
Copy

As you can see, the camera helper is a PerspectiveCamera (like for the SpotLight) but facing downward. That is due to how Three.js handles shadow maps for the PointLight.
Because the point light illuminates in every direction, Three.js will have to render each of the 6 directions to create a cube shadow map. The camera helper you see is the camera’s position in the last of those 6 renders (which is downward).
Doing all those renders can generate performance issues. Try to avoid having too much PointLight with shadows enabled.
The only properties you can tweak here are the mapSize , near and far :
pointLight.shadow.mapSize.width = 1024
pointLight.shadow.mapSize.height = 1024

pointLight.shadow.camera.near = 0.1
pointLight.shadow.camera.far = 5
JavaScript
Copy
You can hide the camera helper once you’re done:
pointLightCameraHelper.visible = false
JavaScript
Copy
Baking shadows
Three.js shadows can be very useful if the scene is simple, but it might otherwise become messy.
A good alternative is baked shadows. We talk about baked lights in the previous lesson and it is exactly the same thing. Shadows are integrated into textures that we apply on materials.
Instead of commenting all the shadows related lines of code, we can simply deactivate them in the renderer:
renderer.shadowMap.enabled = false
JavaScript
Copy
Now we can load a shadow texture located in /static/textures/backedShadow.jpg using the classic TextureLoader.
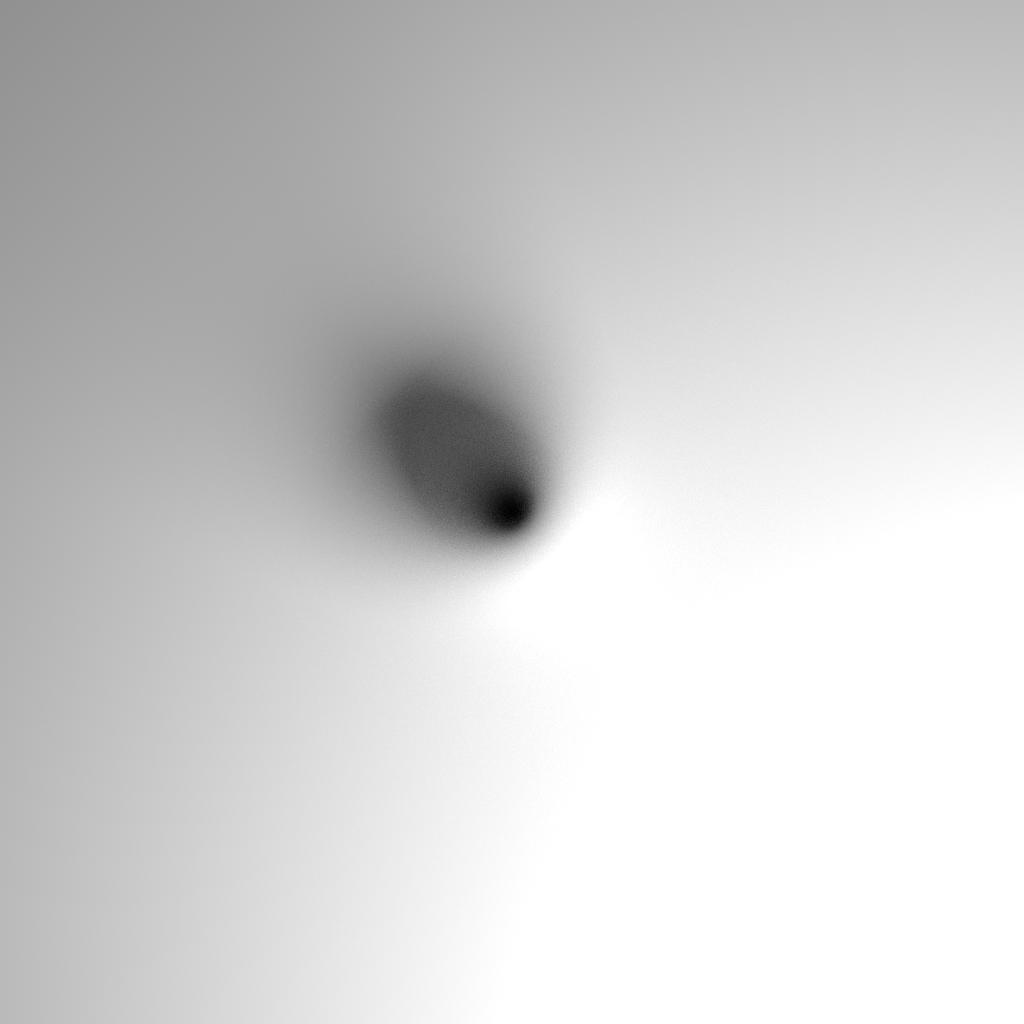
Add the following code before creating the objects and lights:
/**
 * Textures
 */
const textureLoader = new THREE.TextureLoader()
const bakedShadow = textureLoader.load('/textures/bakedShadow.jpg')
JavaScript
Copy
And finally, instead of using a MeshStandardMaterial on the plane, we’ll use a simple MeshBasicMaterial with the bakedShadow as map :
const plane = new THREE.Mesh(
    new THREE.PlaneBufferGeometry(5, 5),
    new THREE.MeshBasicMaterial({
        map: bakedShadow
    })
)
JavaScript
Copy
You should see a nice blurred, and realistic fake shadow. The main problem is that it’s not dynamic, and if the sphere or the lights moves, the shadows won’t.

Baking shadows alternative
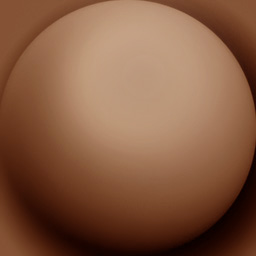
A less realistic but more dynamic solution would be to use a more simple shadow under the sphere and slightly above the plane.
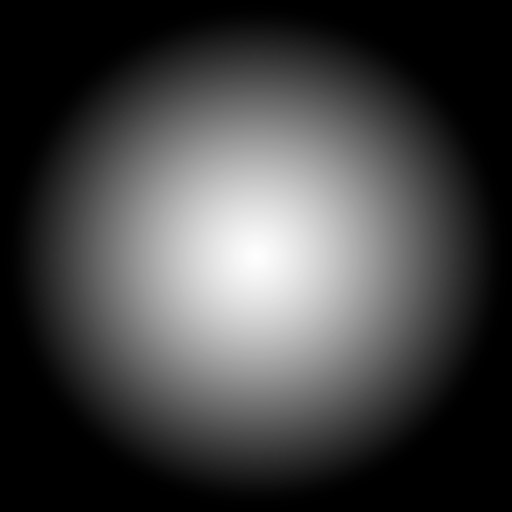
The texture is a simple halo. The white part will be visible and the black part will be invisible.
Then, we move that shadow with the sphere.
First, let’s remove the previous baked shadow by putting back the MeshStandardMaterial on the plane:
const plane = new THREE.Mesh(
    new THREE.PlaneBufferGeometry(5, 5),
    material
)
JavaScript
Copy
Then, we can load a basic shadow texture located in /static/textures/backedShadow.jpg .
const simpleShadow = textureLoader.load('/textures/simpleShadow.jpg')
JavaScript
Copy
We can create the shadow by using a simple plane that we rotate and place slightly above the floor. The material must be black but with the shadow texture as the alphaMap . Don’t forget to change transparent to true , and to add the mesh to the scene :
const sphereShadow = new THREE.Mesh(
    new THREE.PlaneBufferGeometry(1.5, 1.5),
    new THREE.MeshBasicMaterial({
        color: 0x000000,
        transparent: true,
        alphaMap: simpleShadow
    })
)
sphereShadow.rotation.x = - Math.PI * 0.5
sphereShadow.position.y = plane.position.y + 0.01

scene.add(sphere, sphereShadow, plane)
JavaScript
Copy
There you go, a not so realistic but very performant shadow.
If you’re going to animate the sphere, you can simply animate the shadow accordingly and change its opacity depending on the elevation of the sphere:
const clock = new THREE.Clock()

const tick = () =>
{
    const elapsedTime = clock.getElapsedTime()

    // Update the sphere
    sphere.position.x = Math.cos(elapsedTime) * 1.5
    sphere.position.z = Math.sin(elapsedTime) * 1.5
    sphere.position.y = Math.abs(Math.sin(elapsedTime * 3))

    // Update the shadow
    sphereShadow.position.x = sphere.position.x
    sphereShadow.position.z = sphere.position.z
    sphereShadow.material.opacity = (1 - sphere.position.y) * 0.3

    // ...
}

tick()
JavaScript
Copy
Which technique to use
Finding the right solution to handle shadows is up to you. It depends on the project, the performances and the techniques you know. You can also combine them.