Docker
Part 2, Chapter 8
Docker
Before we set up the new components, let’s wire up Docker to simplify communication between each of our four services:
- Django
- PostgreSQL
- React
- Redis
You’ll need the latest version of Docker.
Docker in 30 Seconds or Less
Docker allows you to package software in a container that includes everything it needs to run. Remember how we used a virtual environment on our local machine to hold all of our Python dependencies? Docker containers are like virtual environments that include code, runtime, system tools, and libraries. Your Docker container is a machine within your local machine. Everything you need to run your software exists within the boundaries of the container. Learn more here.
Server
From your “server” directory, and add a Dockerfile with the following code.
FROM python:3.7.5-alpine

RUN apk update && apk add build-base python-dev py-pip jpeg-dev zlib-dev openssl-dev gcc libffi-dev postgresql-dev
ENV LIBRARY_PATH=/lib:/usr/lib

WORKDIR /usr/src/app

COPY ./requirements.txt /usr/src/app

RUN pip install --upgrade pip
RUN pip install -r requirements.txt

COPY . /usr/src/app
The Dockerfile tells Docker how to build the image that your container will invoke during runtime. The FROM python:3.7.5-alpine command tells Docker to start with a Linux Alpine base image that has Python 3.7.5 installed on it.
The next commands tell Docker to:
- Install system-level dependencies
- Make a new “/usr/src/app” directory in the container
- Set that directory as the working directory (similar to using
cdto step inside it) - Copy the requirements.txt file from your local machine’s “server” directory to the new working directory in the container
- Run
pip installto install the latest version ofpipalong with any Python dependencies - Copy over the rest of the files and folders
Next, add a .dockerignore file with the following code.
# server/.dockerignore

.DS_Store
.dockerignore
*.pyc
__pycache__
env
The .dockerignore file tells Docker to ignore all of the files and directories listed within. These files will not be copied into the Docker container. For example, we don’t need the “env” directory in the Docker container because we install Python dependencies directly onto the container’s machine.
Add a requirements.txt file to the “server” directory as well:
# server/requirements.txt

channels==2.3.1
channels-redis==2.4.1
Django==2.2.8
djangorestframework==3.10.3
djangorestframework-simplejwt==4.4.0
Pillow==6.2.1
psycopg2-binary==2.8.4
pytest-asyncio==0.10.0
pytest-django==3.7.0
Change directories up one level, so that you are at your project’s root. Create a new docker-compose.yml file with the following code.
# docker-compose.yml

version: '3.7'

services:
  taxi-redis:
    container_name: taxi-redis
    image: redis:5.0.7-alpine

  taxi-server:
    build:
      context: ./server
    command: python taxi/manage.py runserver 0.0.0.0:8000
    container_name: taxi-server
    depends_on:
      - taxi-redis
    environment:
      - REDIS_URL=redis://taxi-redis:6379/0
    ports:
      - 8001:8000
While the Dockerfile defines how to build an image that a single container will use, the docker-compose.yml file describes how multiple containers will interact with each other.
Learn more about Docker Compose here.
Our docker-compose.yml file defines two services – taxi-redis and taxi-server . You can give the services and the containers any names you want, but we chose these to make their intentions clear. The taxi-redis service will use the Redis software (via an Alpine image) right out of the box – no extra configuration necessary. The taxi-server service will run the Django app server. Django will run on port 8000 within the Docker container and will expose port 8001 for our local machine to access the service. When the container starts, it will run the runserver Django management commands. The Django server depends on Redis to be running so we pass in a REDIS_URL environment variable with the Redis server’s address.
Database
Let’s edit our docker-compose.yml file to add a new database service.
# docker-compose.yml

version: '3.7'

services:
  taxi-redis:
    container_name: taxi-redis
    image: redis:5.0.7-alpine

  # new
  taxi-database:
    container_name: taxi-database
    image: postgres:12.1
    ports:
      - 5433:5432
    volumes:
      - taxi-database:/var/lib/postgresql/data

  taxi-server:
    build:
      context: ./server
    command: python taxi/manage.py runserver 0.0.0.0:8000
    container_name: taxi-server
    depends_on:
      - taxi-redis
      - taxi-database # new
    environment:
      - REDIS_URL=redis://taxi-redis:6379/0
    ports:
      - 8001:8000

# new
volumes:
  taxi-database:
Note that we are choosing to use the base postgres image without adding any new commands to it, so we don’t need a database directory or a Dockerfile . The docker-compose.yml file changes introduce a new volumes structure at the same level as services . Typically, the code in your container only exists as long as the container is running. When you stop the Docker container and start it again, everything is recreated from scratch from the image. Volumes let you store data outside of the container lifecycle. By adding the taxi-database volume, all of the data we write to PostgreSQL will persist as the Docker container is started and stopped.
From the project’s root directory, build the Docker container again.
$ docker-compose up -d --build
Start the psql tool in the taxi-database Docker container with the following command:
$ docker-compose exec taxi-database psql -U postgres
You should see something like the following in your terminal:
psql (12.1 (Debian 12.1-1.pgdg100+1))
Type "help" for help.

postgres=#
In the psql CLI, run the following commands one at a time.
CREATE USER taxi WITH SUPERUSER CREATEDB CREATEROLE PASSWORD 'taxi';
CREATE DATABASE taxi OWNER taxi;
CREATE DATABASE test OWNER taxi;
These commands create a new user and two databases for our Django app to use.
Quit the psql CLI with \q .
Bring down the Docker container with docker-compose down .
Edit the docker-compose.yml file again to make the following changes:
# docker-compose.yml

version: '3.7'

services:
  taxi-redis:
    container_name: taxi-redis
    image: redis:5.0.7-alpine

  taxi-database:
    container_name: taxi-database
    image: postgres:12.1
    ports:
      - 5433:5432
    volumes:
      - taxi-database:/var/lib/postgresql/data

  taxi-server:
    build:
      context: ./server
    command: python taxi/manage.py runserver 0.0.0.0:8000
    container_name: taxi-server
    depends_on:
      - taxi-redis
      - taxi-database
    environment:
      - PGDATABASE=taxi # new
      - PGUSER=taxi # new
      - PGPASSWORD=taxi # new
      - PGHOST=taxi-database # new
      - REDIS_URL=redis://taxi-redis:6379/0
    ports:
      - 8001:8000

volumes:
  taxi-database:
Note that the PGHOST variable references the taxi-database Docker container name.
Bring the containers up again with docker-compose up -d and run the migrate command one more time to create the database tables.
$ docker-compose exec taxi-server python taxi/manage.py migrate
Let’s refactor our code so that we store our environment variables in a file instead of in the docker-compose.yml directly.
Create a dev.env file in the server directory and copy the following contents into it:
# server/dev.env

PGDATABASE=taxi
PGUSER=taxi
PGPASSWORD=taxi
PGHOST=taxi-database
REDIS_URL=redis://taxi-redis:6379/0
Remove the environment object from docker-compose.yml and replace it with the following:
# docker-compose.yml

taxi-server:
  build:
    context: ./server
  command: python taxi/manage.py runserver 0.0.0.0:8000
  container_name: taxi-server
  depends_on:
    - taxi-redis
    - taxi-database
  # new
  env_file:
    - ./server/dev.env
  ports:
    - 8001:8000
Bring the containers up again.
$ docker-compose up -d --build
Run migrations.
$ docker-compose exec taxi-server python taxi/manage.py migrate
If no migrations are applied, then that tells us that the database is already migrated.
Operations to perform:
  Apply all migrations: admin, auth, contenttypes, sessions, trips
Running migrations:
  No migrations to apply.
Create a test.env file in the same directory. This file will identify the test database that we should use when running Cypress tests.
# server/test.env

PGDATABASE=test
PGUSER=taxi
PGPASSWORD=taxi
PGHOST=taxi-database
REDIS_URL=redis://taxi-redis:6379/0
Swap the server/dev.env with the new server/test.env in the docker-compose.yml .
# docker-compose.yml

taxi-server:
  build:
    context: ./server
  command: python taxi/manage.py runserver 0.0.0.0:8000
  container_name: taxi-server
  depends_on:
    - taxi-redis
    - taxi-database
  env_file:
    - ./server/test.env # changed
  ports:
    - 8001:8000
And rebuild the Docker container.
$ docker-compose down && docker-compose build taxi-server
Bring the containers up.
$ docker-compose up -d
And run the migrate command again.
$ docker-compose exec taxi-server python taxi/manage.py migrate
This time migrations should run.
Feel free to swap back and forth between your dev database and your test database, but be careful which one you use when you run Cypress tests, because the tests can delete your data.
Now we’re ready to start our Docker container. You should be able to view the app at http://localhost:8001/. Test out the DRF Browsable API as well:
Ensure the tests still pass:
$ docker-compose exec taxi-server python taxi/manage.py test trips.tests
Bring the Docker containers down by running the following command in your terminal.
$ docker-compose down
Client
Add a new Dockerfile to the “client” directory:
# client/Dockerfile

# base image
FROM node:13.3.0-alpine

# set working directory
RUN mkdir -p /usr/src/app
WORKDIR /usr/src/app

# add `/usr/src/app/node_modules/.bin` to $PATH
ENV PATH /usr/src/app/node_modules/.bin:$PATH

# install app dependencies
COPY package.json /usr/src/app/package.json
COPY package-lock.json /usr/src/app/package-lock.json
RUN npm install --production

# copy the client directory into the container
COPY . /usr/src/app
Add a .dockerignore file:
.DS_Store
.dockerignore
.gitignore
README.md
cypress
cypress.json
node_modules
Finally, add the service to the Docker Compose file:
taxi-client:
  build:
    context: ./client
  command: npm start
  container_name: taxi-client
  depends_on:
    - taxi-server
  ports:
    - 3001:3000
Spin up the containers:
$ docker-compose up -d --build
Test each of the routes:
Change the baseUrl value in the cypress.json file to the point to the server running in Docker.
// cypress.json

{
  "baseUrl": "http://localhost:3001",
  "env": {
    "credentials": {
      "username": "gary.cole@example.com",
      "password": "pAssw0rd"
    }
  }
}
Run the full test suite again and confirm that all of the tests still pass.

Volumes
For this course, we won’t be using Docker for local development. Instead, we’ll continue to build out the application locally and then when we want to test that the React application communicates with the Django server, we’ll build a new image and spin up the containers.
If you do want to develop using Docker on your own it’s recommended that you add volumes to mount the local code into the container in order to take advantage of live-reload.
version: '3.7'

services:

  taxi-redis:
    container_name: taxi-redis
    image: redis:5.0.7-alpine

  taxi-database:
    container_name: taxi-database
    image: postgres:12.1
    ports:
      - 5433:5432
    volumes:
      - taxi-database:/var/lib/postgresql/data

  taxi-server:
    build:
      context: ./server
    command: python taxi/manage.py runserver 0.0.0.0:8000
    container_name: taxi-server
    depends_on:
      - taxi-redis
      - taxi-database
    env_file:
      - ./server/test.env
    ports:
      - 8001:8000
    volumes: # new
      - ./server:/usr/src/app

  taxi-client:
    build:
      context: ./client
    command: npm start
    container_name: taxi-client
    depends_on:
      - taxi-server
    ports:
      - 3001:3000
    volumes:  # new
      - ./client:/usr/src/app

volumes:
  taxi-database:
Whenever a change is made to the source code, the container is updated. Without volumes, you would have to re-build the image after each code change.
Nginx
You might have noticed this anomaly: our client is running on port 3000 and our server is running on port 8000. Every time our UI makes a request to our backend, it is attempting to retrieve a resource that has a different origin than its own. This is called Cross-Origin Resource Sharing or CORS. Browsers and servers that don’t implement CORS protections are subject to Man-In-the-Middle attacks. Luckily, modern browsers and the Django framework have safeguards in place to prevent these types of attacks.
You might be wondering how we’re able to sign up for an account or log in when our site is protected against CORS requests. Simple requests are handled differently. Read more about them here.
What are our options for handling CORS requests? We could use software to whitelist specific origins and allow them to access our server APIs. But we don’t need any external domains to access our APIs. We just need two internal domains to be allowed to talk to each other.
Also, up to this point, we’ve been using Django’s development server. This works fine in a local environment, but it’s inadequate to support traffic from multiple sources on production. We need to use a reverse proxy with an ASGI server to properly handle incoming HTTP requests. Nginx is a popular reverse proxy that plays nicely with the Daphne ASGI server and Django Channels. Let’s add Nginx and refactor our code to use the Daphne web server instead of Django’s development server.
Edit the Dockerfile in the “server” directory to update the working directory:
FROM python:3.7.5-alpine

RUN apk update && apk add build-base python-dev py-pip jpeg-dev zlib-dev
ENV LIBRARY_PATH=/lib:/usr/lib

WORKDIR /usr/src/app

COPY ./requirements.txt /usr/src/app

RUN pip install --upgrade pip
RUN pip install -r requirements.txt

COPY . /usr/src/app

# new
WORKDIR /usr/src/app/taxi

# new
RUN python manage.py collectstatic --noinput
Next update the command in docker-compose.yml 
taxi-server:
  build:
    context: ./server
  command: daphne --bind 0.0.0.0 --port 8000 taxi.asgi:application # changed
  container_name: taxi-server
  depends_on:
    - taxi-redis
    - taxi-database
  env_file:
    - ./server/test.env
  ports:
    - 8001:8000
  volumes:
    - ./server:/usr/src/app
Test this out:
$ docker-compose up -d --build
Both http://localhost:8001/api/sign_up/ and http://localhost:8001/api/log_in/ should work.
Edit your docker-compose.yml file again.
# docker-compose.yml

version: '3.7'

services:

  taxi-redis:
    container_name: taxi-redis
    image: redis:5.0.7-alpine

  taxi-database:
    container_name: taxi-database
    image: postgres:12.1
    ports:
      - 5433:5432
    volumes:
      - taxi-database:/var/lib/postgresql/data

  taxi-server:
    build:
      context: ./server
    volumes:  # new
      - media:/usr/src/app/media
      - static:/usr/src/app/static
    command: daphne --bind 0.0.0.0 --port 8000 taxi.asgi:application
    container_name: taxi-server
    depends_on:
      - taxi-redis
      - taxi-database
    env_file:
      - ./server/test.env
    ports:
      - 8001:8000

  taxi-client:
    build:
      context: ./client
    command: npm start
    container_name: taxi-client
    depends_on:
      - taxi-server
    ports:
      - 30001:3000

  # new
  taxi-nginx:
    build:
      context: ./nginx
    container_name: taxi-nginx
    depends_on:
      - taxi-server
      - taxi-client
    ports:
      - 8080:80
    restart: always
    volumes:
      - media:/usr/src/app/media
      - static:/usr/src/app/static


volumes:
  taxi-database:
  media: # new
  static: # new
Here, we’re adding a new taxi-nginx service and two new shared volumes, so that both the taxi-server and the taxi-nginx services can access the same “media” and “static” directories. The tax-server service needs to access “static” to run collectstatic . It also needs to access “media” to store user-uploaded files. The nginx service needs to access “media” and “static” too, in order to delegate the appropriate incoming HTTP requests to load directly from those directories.
One more thing to note – we are mapping the host port 8080 to the nginx container port 80. Now we will access our app via http://localhost:8080.
Serving media and static files from a separate directories is a technique used in production. For performance reasons, media files and static assets are typically handled by a service (like AWS S3) outside of the app server. The web server has a limited number of resources that it uses to process incoming requests. Worker threads pull requests off a queue and invoke business logic on the app server. Using this system to stream files that rarely change pollutes the thread pool and slows down the app.
Create a new “nginx” directory at the root of your project.
$ mkdir nginx && cd nginx
Then, create a base nginx configuration file dev.conf in the new folder.
$ touch dev.conf
# nginx/dev.conf

server {

  # Listen on port 80
  listen 80;

  # Redirect all media requests to a directory on the server
  location /media {
    alias /usr/src/app/media;
  }

  # Redirect all static requests to a directory on the server
  location /staticfiles {
    alias /usr/src/app/static;
  }

  # Redirect any requests to admin, api, or taxi
  # to the Django server
  location ~ ^/(admin|api|taxi) {
    proxy_pass http://taxi-server:8000;
    proxy_redirect default;
    include /etc/nginx/app/include.websocket;
    include /etc/nginx/app/include.forwarded;
  }

  # Redirect any other requests to the React server
  location / {
    proxy_pass http://taxi-client:3000;
    proxy_redirect default;
    include /etc/nginx/app/include.websocket;
    include /etc/nginx/app/include.forwarded;
  }

}
Next, create two new files in the same directory – include.forwarded and include.websocket .
# nginx/include.forwarded

proxy_set_header Host $http_host;
proxy_set_header X-Real-IP $remote_addr;
proxy_set_header X-Forwarded-For $proxy_add_x_forwarded_for;
proxy_set_header X-Forwarded-Host $server_name;
# nginx/include.websocket

proxy_http_version 1.1;
proxy_set_header Upgrade $http_upgrade;
proxy_set_header Connection "upgrade";
Create the Dockerfile alongside the other files we just added.
# nginx/Dockerfile

FROM nginx:1.17.6-alpine

RUN rm /etc/nginx/conf.d/default.conf

COPY /include.websocket /etc/nginx/app/include.websocket
COPY /include.forwarded /etc/nginx/app/include.forwarded
COPY /dev.conf /etc/nginx/conf.d
We’re almost done.
Change directories to “server” and create a “static” directory inside it.
We need to make some changes to the settings.py file. Change ALLOWED_HOSTS to the following.
# taxi/settings.py

ALLOWED_HOSTS = ['*']
In a real production environment,
ALLOWED_HOSTSwould be set to something explicit. Never set the value to*in a live product.
Replace STATIC_URL with the following code.
STATIC_URL = '/staticfiles/'

STATIC_ROOT = os.path.join(BASE_DIR, '../static')
The last line of code tells Django to copy all static assets from the installed app directories to a single directory located at STATIC_ROOT .
Both Django and React use a
/static/URL by default, so we’re changing Django’s static URL to/staticfiles/to avoid collisions.
Now that we are using Nginx to serve our static files, we no longer need to tell the Django development server to do it. Remove the static() function from the urlpatterns in taxi/urls.py .
# taxi/urls.py

from django.contrib import admin
from django.urls import include, path
from rest_framework_simplejwt.views import TokenRefreshView

from trips.views import SignUpView, LogInView


urlpatterns = [
    path('admin/', admin.site.urls),
    path('api/sign_up/', SignUpView.as_view(), name='sign_up'),
    path('api/log_in/', LogInView.as_view(), name='log_in'),
    path('api/token/refresh/', TokenRefreshView.as_view(),
         name='token_refresh'),
    path('api/trip/', include('trips.urls', 'trip',)),
]
Project Structure
The project structure should now look like:
.
├── client
│   ├── Dockerfile
│   ├── README.md
│   ├── cypress
│   │   ├── fixtures
│   │   │   └── images
│   │   │       └── photo.jpg
│   │   ├── integration
│   │   │   ├── authentication.spec.js
│   │   │   └── navigation.spec.js
│   │   ├── plugins
│   │   ├── support
│   │   │   └── index.js
│   │   └── tsconfig.json
│   ├── cypress.json
│   ├── package-lock.json
│   ├── package.json
│   ├── public
│   │   ├── favicon.ico
│   │   ├── index.html
│   │   └── manifest.json
│   ├── src
│   │   ├── App.css
│   │   ├── App.js
│   │   ├── App.test.js
│   │   ├── components
│   │   │   ├── LogIn.js
│   │   │   └── SignUp.js
│   │   ├── index.css
│   │   ├── index.js
│   │   └── serviceWorker.js
│   └── yarn.lock
├── docker-compose.yaml
├── nginx
│   ├── Dockerfile
│   ├── dev.conf
│   ├── include.forwarded
│   └── include.websocket
├── pytest.ini
└── server
    ├── Dockerfile
    ├── media
    │   └── test.txt
    ├── requirements.txt
    ├── static
    └── taxi
        ├── manage.py
        ├── taxi
        │   ├── __init__.py
        │   ├── asgi.py
        │   ├── routing.py
        │   ├── settings.py
        │   ├── urls.py
        │   └── wsgi.py
        └── trips
            ├── __init__.py
            ├── admin.py
            ├── apps.py
            ├── consumers.py
            ├── migrations
            │   ├── 0001_initial.py
            │   ├── 0002_trip.py
            │   ├── 0003_trip_driver_rider.py
            │   ├── 0004_user_photo.py
            │   └── __init__.py
            ├── models.py
            ├── serializers.py
            ├── tests
            │   ├── __init__.py
            │   ├── test_http.py
            │   └── test_websockets.py
            ├── urls.py
            └── views.py
Commands
Build the images and run the containers:
$ docker-compose up -d --build
Try the following routes in your browser:
- http://localhost:8080/#/
- http://localhost:8080/#/log-in
- http://localhost:8080/#/sign-up
- http://localhost:8080/api/sign_up/
- http://localhost:8080/api/log_in/
- http://localhost:8080/admin
Test:
$ docker-compose exec taxi-server python manage.py test trips.tests

$ npx cypress open
Refactor
Go back into your cypress.json file and change the baseUrl value to http://localhost:8080 .
// cypress.json

{
  "baseUrl": "http://localhost:8080",
  "env": {
    "credentials": {
      "username": "gary.cole@example.com",
      "password": "pAssw0rd"
    }
  }
}
Now when we run our Cypress tests, they’ll visit our app being served on Docker.
Next, let’s refactor our authentication, so that they don’t impede traffic to the actual server. Our goal is to remove the stubbing, but to still track the requests so we know when they complete. One thing to note – from this point forward our tests will be manipulating the data in our database. If you want to roll the database back to the state it was in before the tests ran, you’ll have to manually refresh the data or develop an automated system on your own.
Open the cypress/integration/authentication.spec.js file and make sure that the “Can sign up.” scenario is first in the test suite. If it’s not, then move it to the top. Once we run the sign up test, the data will be inserted in the database and we can log in using those credentials.
Next, remove the stubbed data so that the server calls look like the following for the “Can sign up.” test and the login() function, respectively.
// cypress/integration/authentication.spec.js

// "Can sign up." test
cy.route('POST', '**/api/sign_up/**').as('signUp');

// login() function
cy.route('POST', '**/api/log_in/**').as('logIn');
Rerun all of the tests now and confirm that they still pass.

Now that our tests are hitting the actual database, if you try to run the test suite more than once, the “Can sign up.” test will fail because it will try to create a user that already exists.
To reset the database, start by running the following command in your terminal, while your Docker containers are running:
$ docker-compose exec taxi-database psql -U taxi -d testThen run the following command to delete the users and their related data:TRUNCATE trips_user CASCADE;If you truncate thetrips_userdatabase, you’ll need to runpython manage.py createsuperuseragain if you want to access your admin.
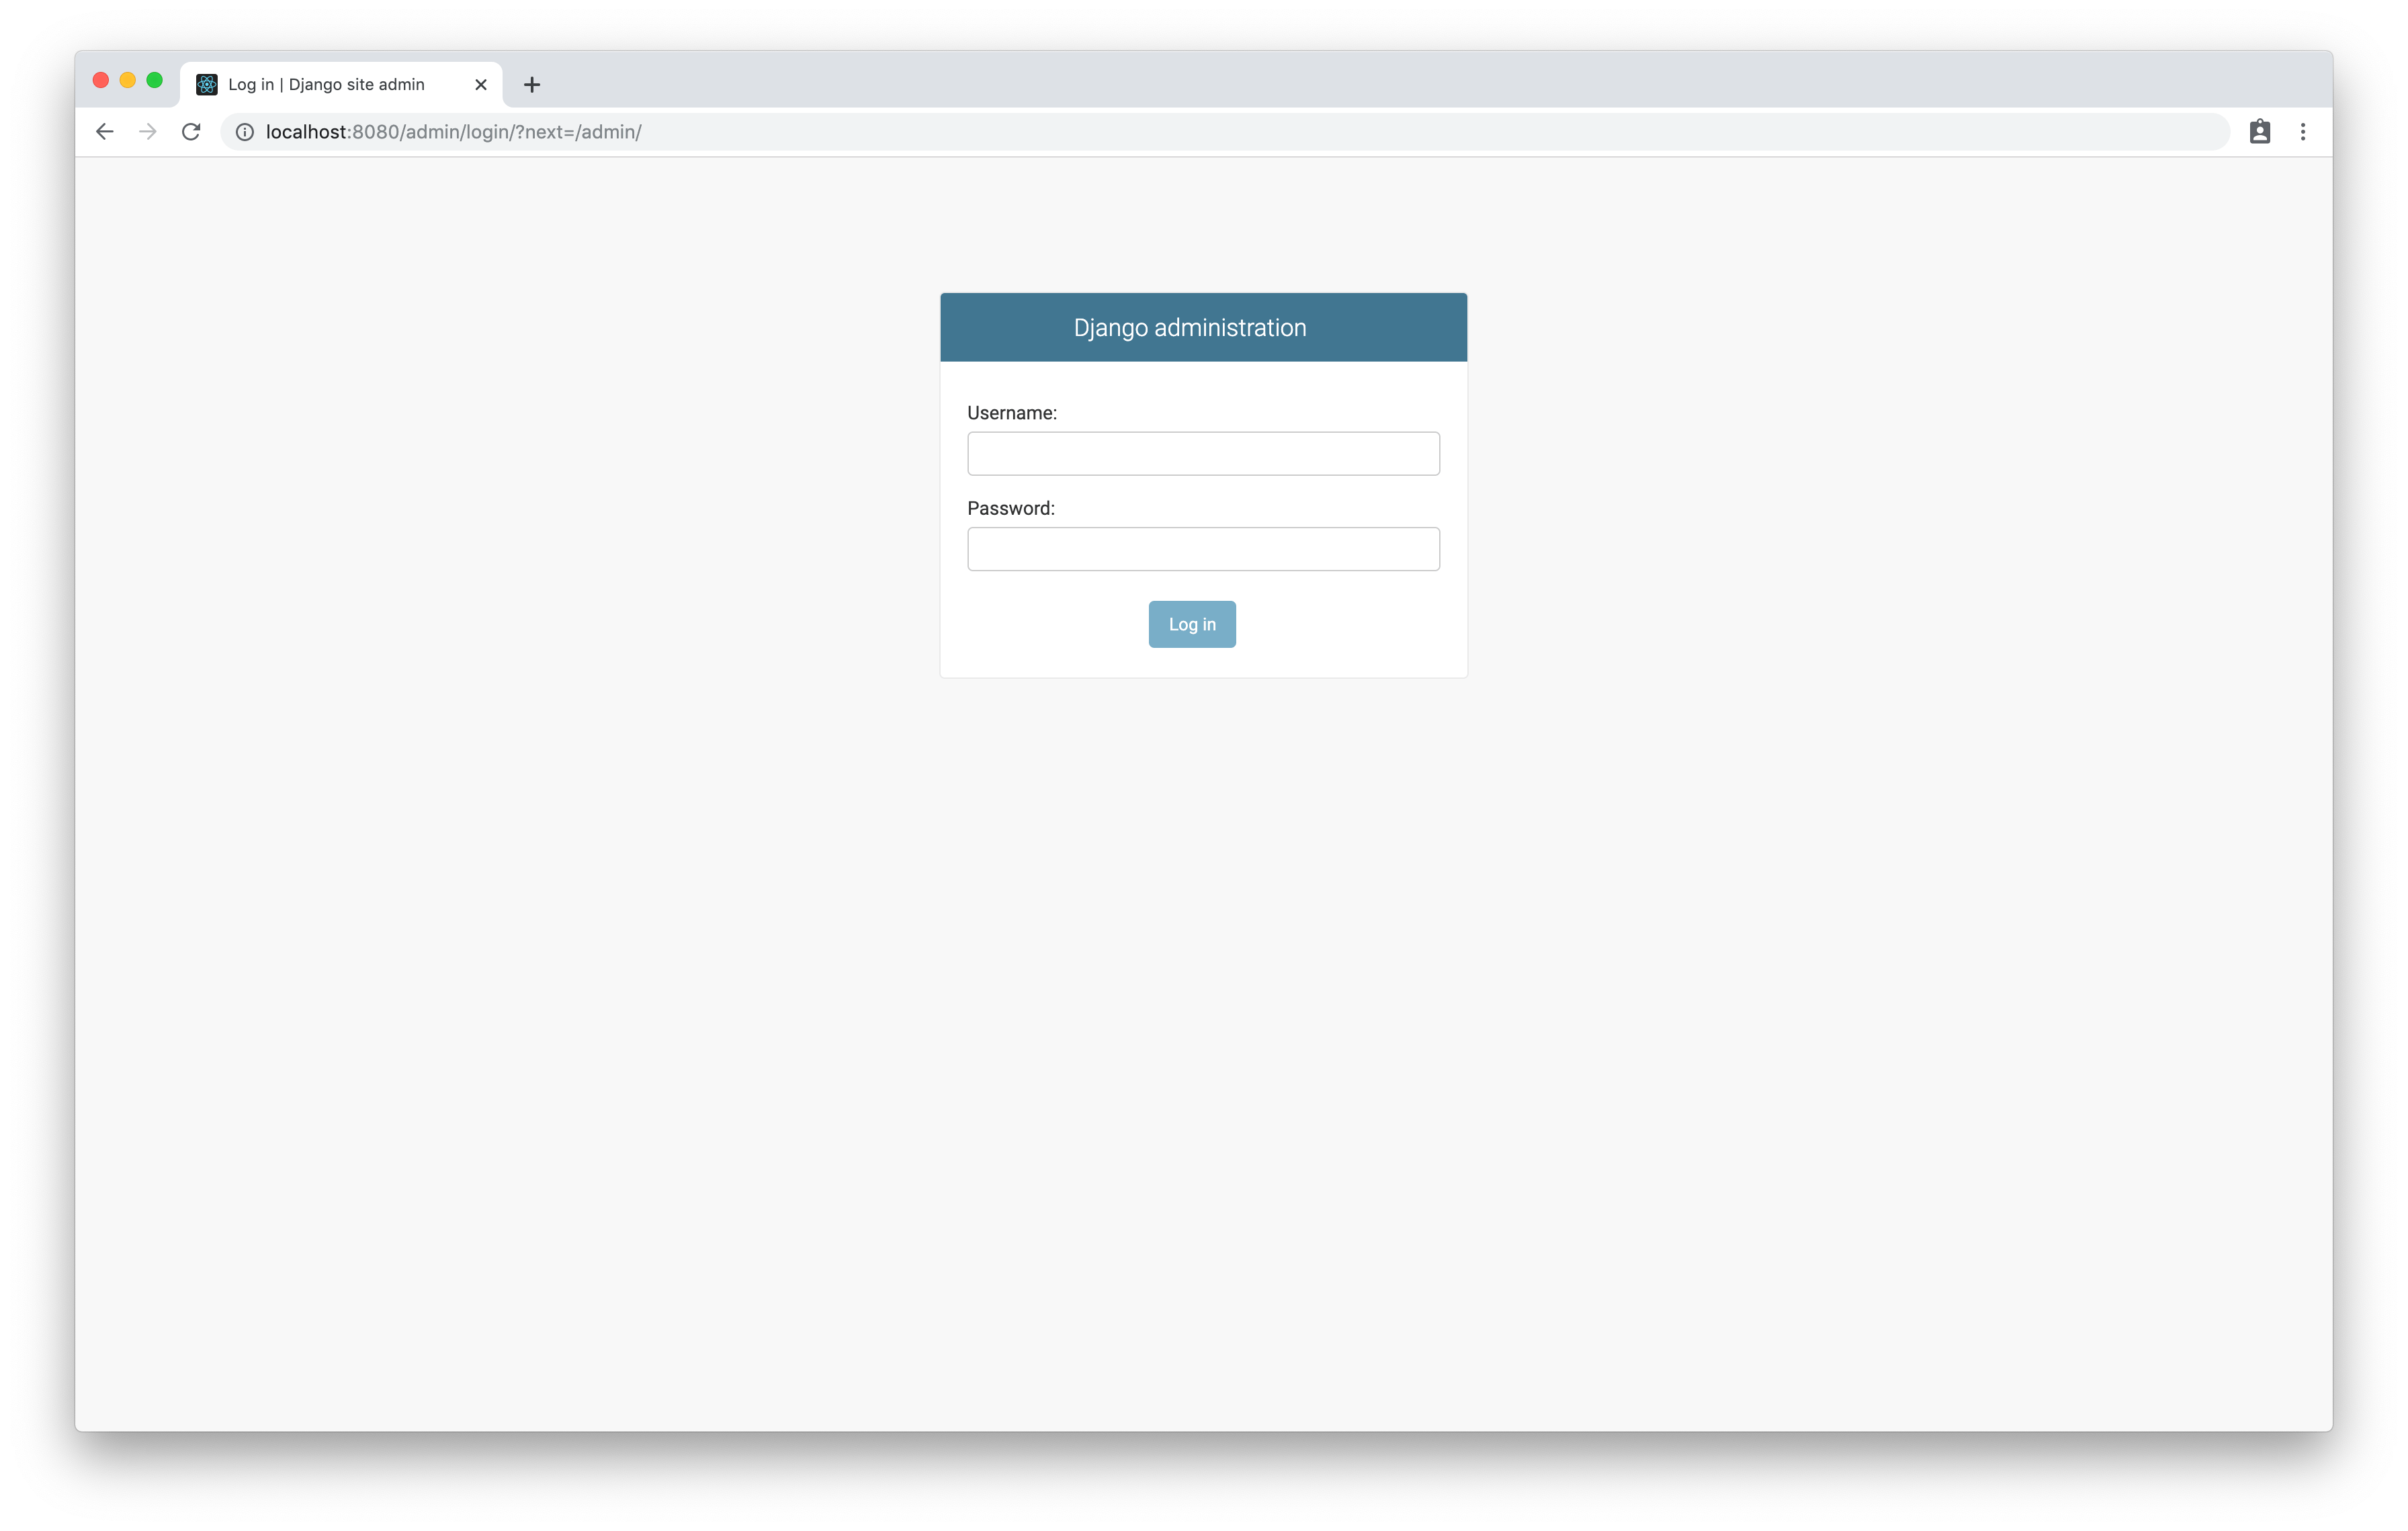
If you log into the Django admin page, you should see the user that was created by the tests.
Conclusion
Part 2, Chapter 9
With the conclusion of this part, you should now be able to:
- Fire up the server and the client UI and run through basic authentication scenarios.
- Sign up for an account and log into an existing one.
- Log out and navigate between all of the views.
In the next Part, we will add more UI components, tests, and functionality to support the full feature set of the Taxi app, including WebSocket support.