Updating Trips
Part 3, Chapter 7
Once the rider and the driver have attached themselves to a trip, the driver can start sending messages to the server to update the trip’s status. The server will broadcast those status updates to the rider.
Receiving Updates
Let’s start by testing the ability of the rider to receive status updates. Add a new test to the rider.spec.js file in the “when there are trips” context with the following code:
// integration/rider.spec.js

import { webSocket } from 'rxjs/webSocket';

it('Can receive trip status updates', function () {
  cy.server();
  cy.route('GET', '**/api/trip/').as('getTrips');

  logIn();

  cy.visit('/#/rider');
  cy.wait('@getTrips');

  // Current trips.
  cy.get('[data-cy=trip-card]')
    .eq(0)
    .contains('STARTED');

  // Make trip request as rider.
  cy.request({
    method: 'POST',
    url: '/api/log_in/',
    body: Cypress.env('rider')
  }).then((response) => {
    const token = response.body.access;
    const ws = webSocket(`ws://localhost:8080/taxi/?token=${token}`);
    ws.subscribe();
    ws.next({
      type: 'update.trip',
      data: {
        id: "676cb20b-d51d-44b5-951a-3e3c72a42668",
        pick_up_address: "231 Oak Ridge Ln",
        drop_off_address: "8746 Spring Hill Rd",
        status: "IN_PROGRESS",
        rider_id: 2,
        driver_id: 1
      }
    });
  });

  // Current trips.
  cy.get('[data-cy=trip-card]')
    .eq(0)
    .contains('IN_PROGRESS');
});
In this test, we log into the app as a rider and then we simulate a driver sending a status update. Our rider’s current trip has a beginning status of STARTED , which changes to IN_PROGRESS after the client receives the status update from the server.
This test will fail, of course, until we add the necessary code in our RiderDashboard component:
// components/RiderDashboard.js

import { webSocket } from 'rxjs/webSocket';
import { getAccessToken } from '../services/AuthService';

useEffect(() => {
  const token = getAccessToken();
  const ws = webSocket(`ws://localhost:8080/taxi/?token=${token}`);
  const subscription = ws.subscribe((message) => {
    setTrips(prevTrips => [
      ...prevTrips.filter(trip => trip.id !== message.data.id),
      message.data
    ]);
  });
  return () => {
    subscription.unsubscribe();
  }
}, []);
We leverage the useEffect() hook to establish a WebSocket connection with the server and we subscribe to all incoming messages. Whenever our app receives a message, it updates the trips state to reflect the changes. We need to import the webSocket and getAccessToken functions add the top of the file for our client code to compile.
Sending Updates
Now that we’ve programmed the riders’ dashboard to receive updates, let’s add the functionality to send the updates from the driver. Again, let’s start with a test. Add the following code to the driver.spec.js in the “when there are trips” context:
// integration/driver.spec.js

it('Can update a trip', function () {
  const tripId = '676cb20b-d51d-44b5-951a-3e3c72a42668';

  cy.server();
  cy.route('GET', '**/api/trip/*/').as('getTrip');

  logIn();

  cy.visit(`/#/driver/${tripId}`);
  cy.wait('@getTrip');

  cy.get('[data-cy=trip-card]')
    .should('have.length', 1)
    .and('contain.text', 'Hugh Wells')
    .and('contain.text', 'STARTED');

  cy.get('[data-cy=status-button]').click();

  cy.get('[data-cy=trip-card]')
    .should('have.length', 1)
    .and('contain.text', 'Hugh Wells')
    .and('contain.text', 'IN_PROGRESS');
});
In this test, we log into the app as a driver, make a status update, and see it reflected in the UI.
Here’s the code that will get the test passing:
// components/DriverDetail.js

import { webSocket } from 'rxjs/webSocket';
import { getAccessToken, getUser } from '../services/AuthService';

const updateTripStatus = (status) => {
  const driver = getUser();
  const updatedTrip = {...trip, driver, status};
  const token = getAccessToken();
  const ws = webSocket(`ws://localhost:8080/taxi/?token=${token}`);
  ws.subscribe();
  ws.next({
    type: 'update.trip',
    data: {
      ...updatedTrip,
      driver: updatedTrip.driver.id,
      rider: updatedTrip.rider.id
    }
  });
  setTrip(updatedTrip);
};
Our updateTripStatus() function accepts a status argument, updates the targeted trip, creates a WebSocket connection with the server, and sends a message with the updated trip over the wire. (As we saw in the previous section, the server will receive the driver’s message and will broadcast it to the appropriate rider.) We need to update the imports in the DriverDetail component to include the webSocket , getAccessToken , and getUser functions.
We’re not done yet. We still need to add the controls to trigger our new updateTripStatus() function. Still in the DriverDetail.js file, add the Button component to the current list of react-bootstrap components and then add a Card.Footer to the existing Card component like so:
// components/DriverDetail.js

import {
  Breadcrumb, Button, Card, Col, Row // changed
} from 'react-bootstrap';

<Card.Footer>
  {
    trip !== null && trip.status === 'REQUESTED' && (
      <Button
        data-cy='status-button'
        block
        variant='primary'
        onClick={() => updateTripStatus('STARTED')}
      >Drive to pick up
      </Button>
    )
  }
  {
    trip !== null && trip.status === 'STARTED' && (
      <Button
        data-cy='status-button'
        block
        variant='primary'
        onClick={() => updateTripStatus('IN_PROGRESS')}
      >Drive to drop off
      </Button>
    )
  }
  {
    trip !== null && trip.status === 'IN_PROGRESS' && (
      <Button
        data-cy='status-button'
        block
        variant='primary'
        onClick={() => updateTripStatus('COMPLETED')}
      >Complete trip
      </Button>
    )
  }
  {
    trip !== null && !['REQUESTED', 'STARTED', 'IN_PROGRESS'].includes(trip.status) && (
      <span className='text-center'>Completed</span>
    )
  }
</Card.Footer>
Here, we create a footer with three buttons. Each one updates the trip’s status to something different. If the trip’s status is COMPLETED , then the UI displays a message to the driver and removes the ability to update the trip anymore.
With two browsers opened side-by-side, log in to each with a different user and test the real-time communication.
Pop-Up Alerts
Part 3, Chapter 8
At this point, we have all of our bi-directional communication working beautifully. Riders can request trips and drivers can accept them. Drivers can send status updates and riders can receive them. The next two chapters will be about adding bells and whistles to our app to improve the experience.
For our first enhancement, let’s add pop-up alerts (AKA toasts). We’re going to use React Toastify because it’s easy to use and well supported. From your client directory, open a terminal and install the react-toastify dependency.
$ npm install react-toastify --save
Next, add the ToastContainer component to the App.js file as shown below. Don’t forget to include the appropriate imports too.
// src/App.js

import React, { useState } from 'react';
import axios from 'axios';
import { Button, Container, Form, Nav, Navbar } from 'react-bootstrap';
import { LinkContainer } from 'react-router-bootstrap';
import { Link, Redirect, Route, Switch } from 'react-router-dom';
import { ToastContainer } from 'react-toastify'; // new

import { isDriver, isRider } from './services/AuthService';
import SignUp from './components/SignUp';
import LogIn from './components/LogIn';
import Driver from './components/Driver';
import Rider from './components/Rider';

import 'react-toastify/dist/ReactToastify.css'; // new
import './App.css';

function App () {
  // Other code hidden for clarity.

  return (
    <>
      {/* Other code hidden for clarity. */}
      <ToastContainer />
    </>
  );
}
Adding the ToastContainer will allow us to display pop-up alerts at the top of the page, overlaid on whatever is currently on the screen.
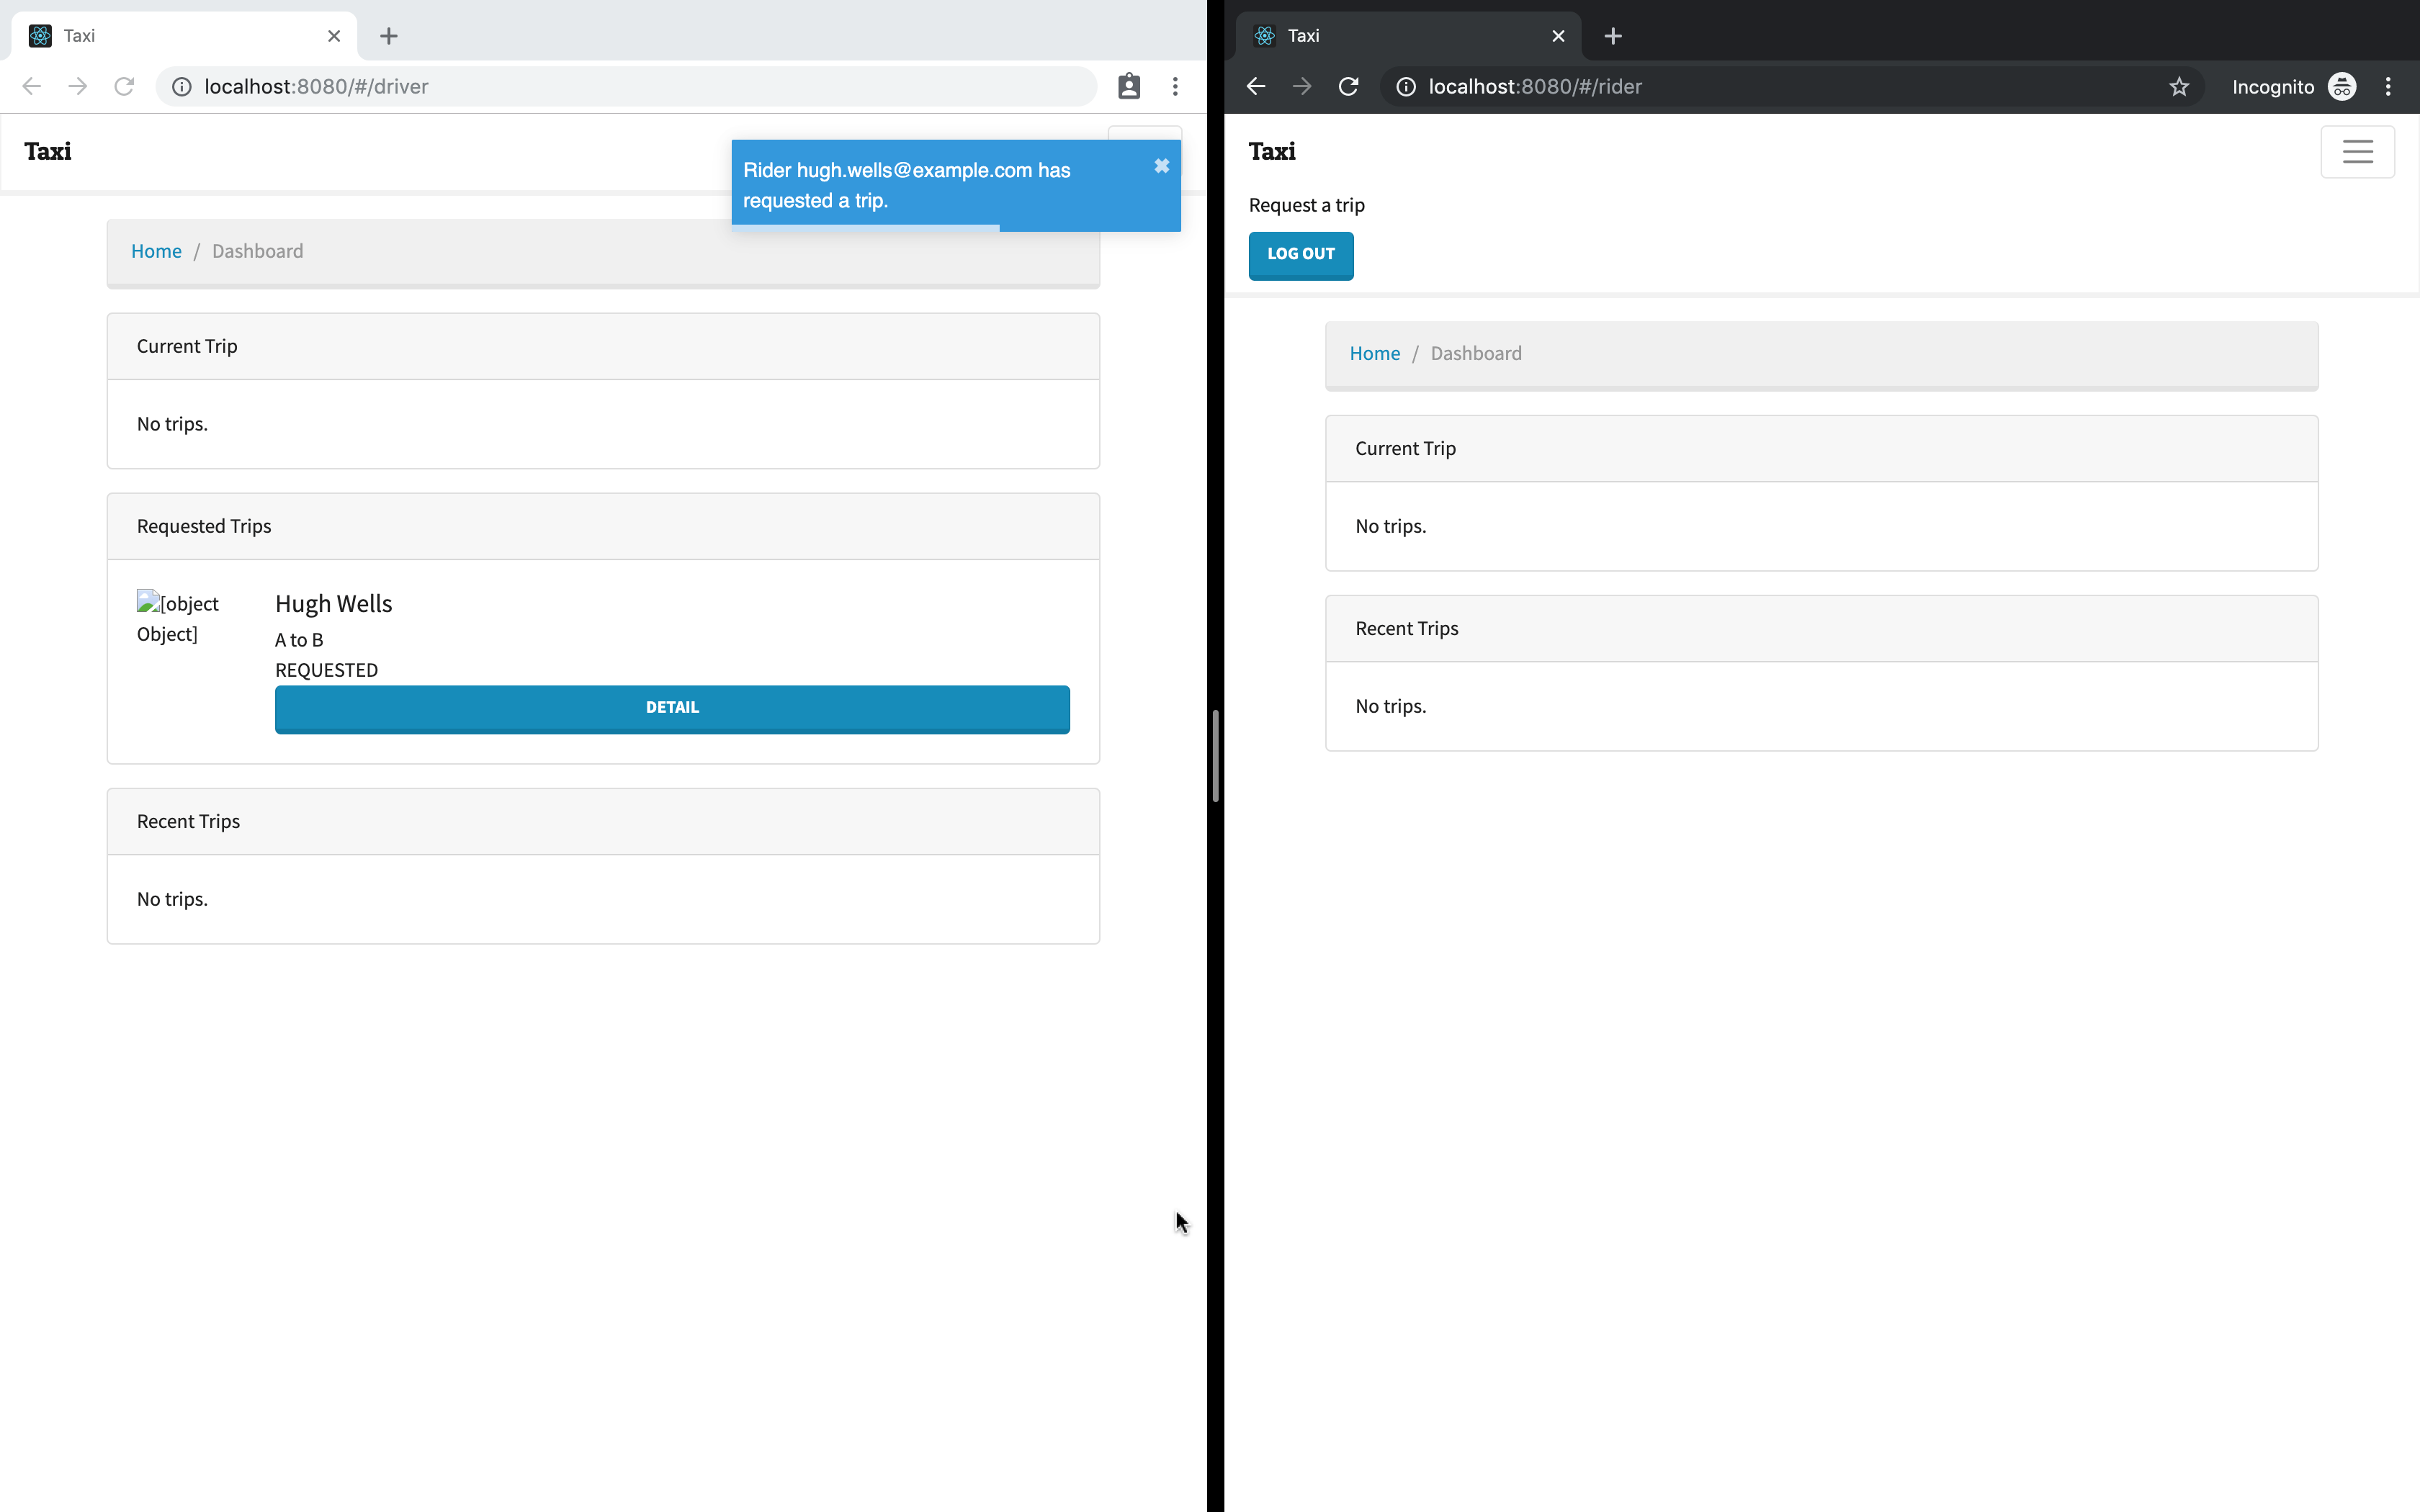
Next, we need to add code to trigger the messages. Let’s display a message on the driver’s screen whenever the rider requests a trip. Create an updateToast() function in the DriverDashboard component with the following code:
// components/DriverDashboard.js

import { toast } from 'react-toastify';

const updateToast = (trip) => {
  if (trip.driver === null) {
    toast.info(`Rider ${trip.rider.username} has requested a trip.`);
  }
};
Then, in the same component, update the useEffect() hook to trigger the toast:
// components/DriverDashboard.js

useEffect(() => {
  const token = getAccessToken();
  const ws = webSocket(`ws://localhost:8080/taxi/?token=${token}`);
  const subscription = ws.subscribe((message) => {
    setTrips(prevTrips => [
      ...prevTrips.filter(trip => trip.id !== message.data.id),
      message.data
    ]);
    updateToast(message.data); // new
  });
  return () => {
    subscription.unsubscribe();
  }
}, []);
On the riders’ dashoard, let’s display a message whenever the current trip’s status changes. Create an updateToast() function in the RiderDashboard component with the following code:
// components/RiderDashboard.js

import { toast } from 'react-toastify';

const updateToast = (trip) => {
  if (trip.status === 'STARTED') {
    toast.info(`Driver ${trip.driver.username} is coming to pick you up.`);
  } else if (trip.status === 'IN_PROGRESS') {
    toast.info(`Driver ${trip.driver.username} is headed to your destination.`);
  } else if (trip.status === 'COMPLETED') {
    toast.info(`Driver ${trip.driver.username} has dropped you off.`);
  }
};
Then, update the useEffect() hook to trigger the toast whenever the server broadcasts a message over the WebSocket connection.
// components/RiderDashboard.js

useEffect(() => {
  const token = getAccessToken();
  const ws = webSocket(`ws://localhost:8080/taxi/?token=${token}`);
  const subscription = ws.subscribe((message) => {
    setTrips(prevTrips => [
      ...prevTrips.filter(trip => trip.id !== message.data.id),
      message.data
    ]);
    updateToast(message.data); // new
  });
  return () => {
    subscription.unsubscribe();
  }
}, []);
With these changes in place, test the app to see the pop-up alerts in action.
Google Maps
Part 3, Chapter 9
One of the great things about ride-sharing apps is that they let you visualize your trips before you ever step into a car. You request a ride by telling drivers where you want to be picked up and where they should drop you off. Then the app plots your trip on a map. It’s a simple feature, but it gives riders confidence that the information they input is correct.
In this part of the course, we’ll add Google Maps to our RiderRequest component.
Google Cloud Platform
Before we can embed Google Maps in our application, we need to have a Google account. You can reuse a personal account if you have one, or you can create a new account for the purposes of app development. As soon as you’re ready to go, follow these steps to get started with the Google Cloud Platform.
NOTE : I had to set up billing to get my Google APIs to work. As long as you stay under the generous “credits” that Google provides you each month, you shouldn’t incur any costs. Also, Google will ask you before charging you any money.
Navigate to the Google Cloud Platform in your browser. (You’ll be prompted to log in with your Google account if you are not already authenticated. Accept the terms of service agreement if prompted.)

You should be on the Dashboard page. From here, create a new project by clicking the Select a project dropdown and then clicking NEW PROJECT . Alternatively, you can click the CREATE link on the information banner that appears on the Dashboard page itself.
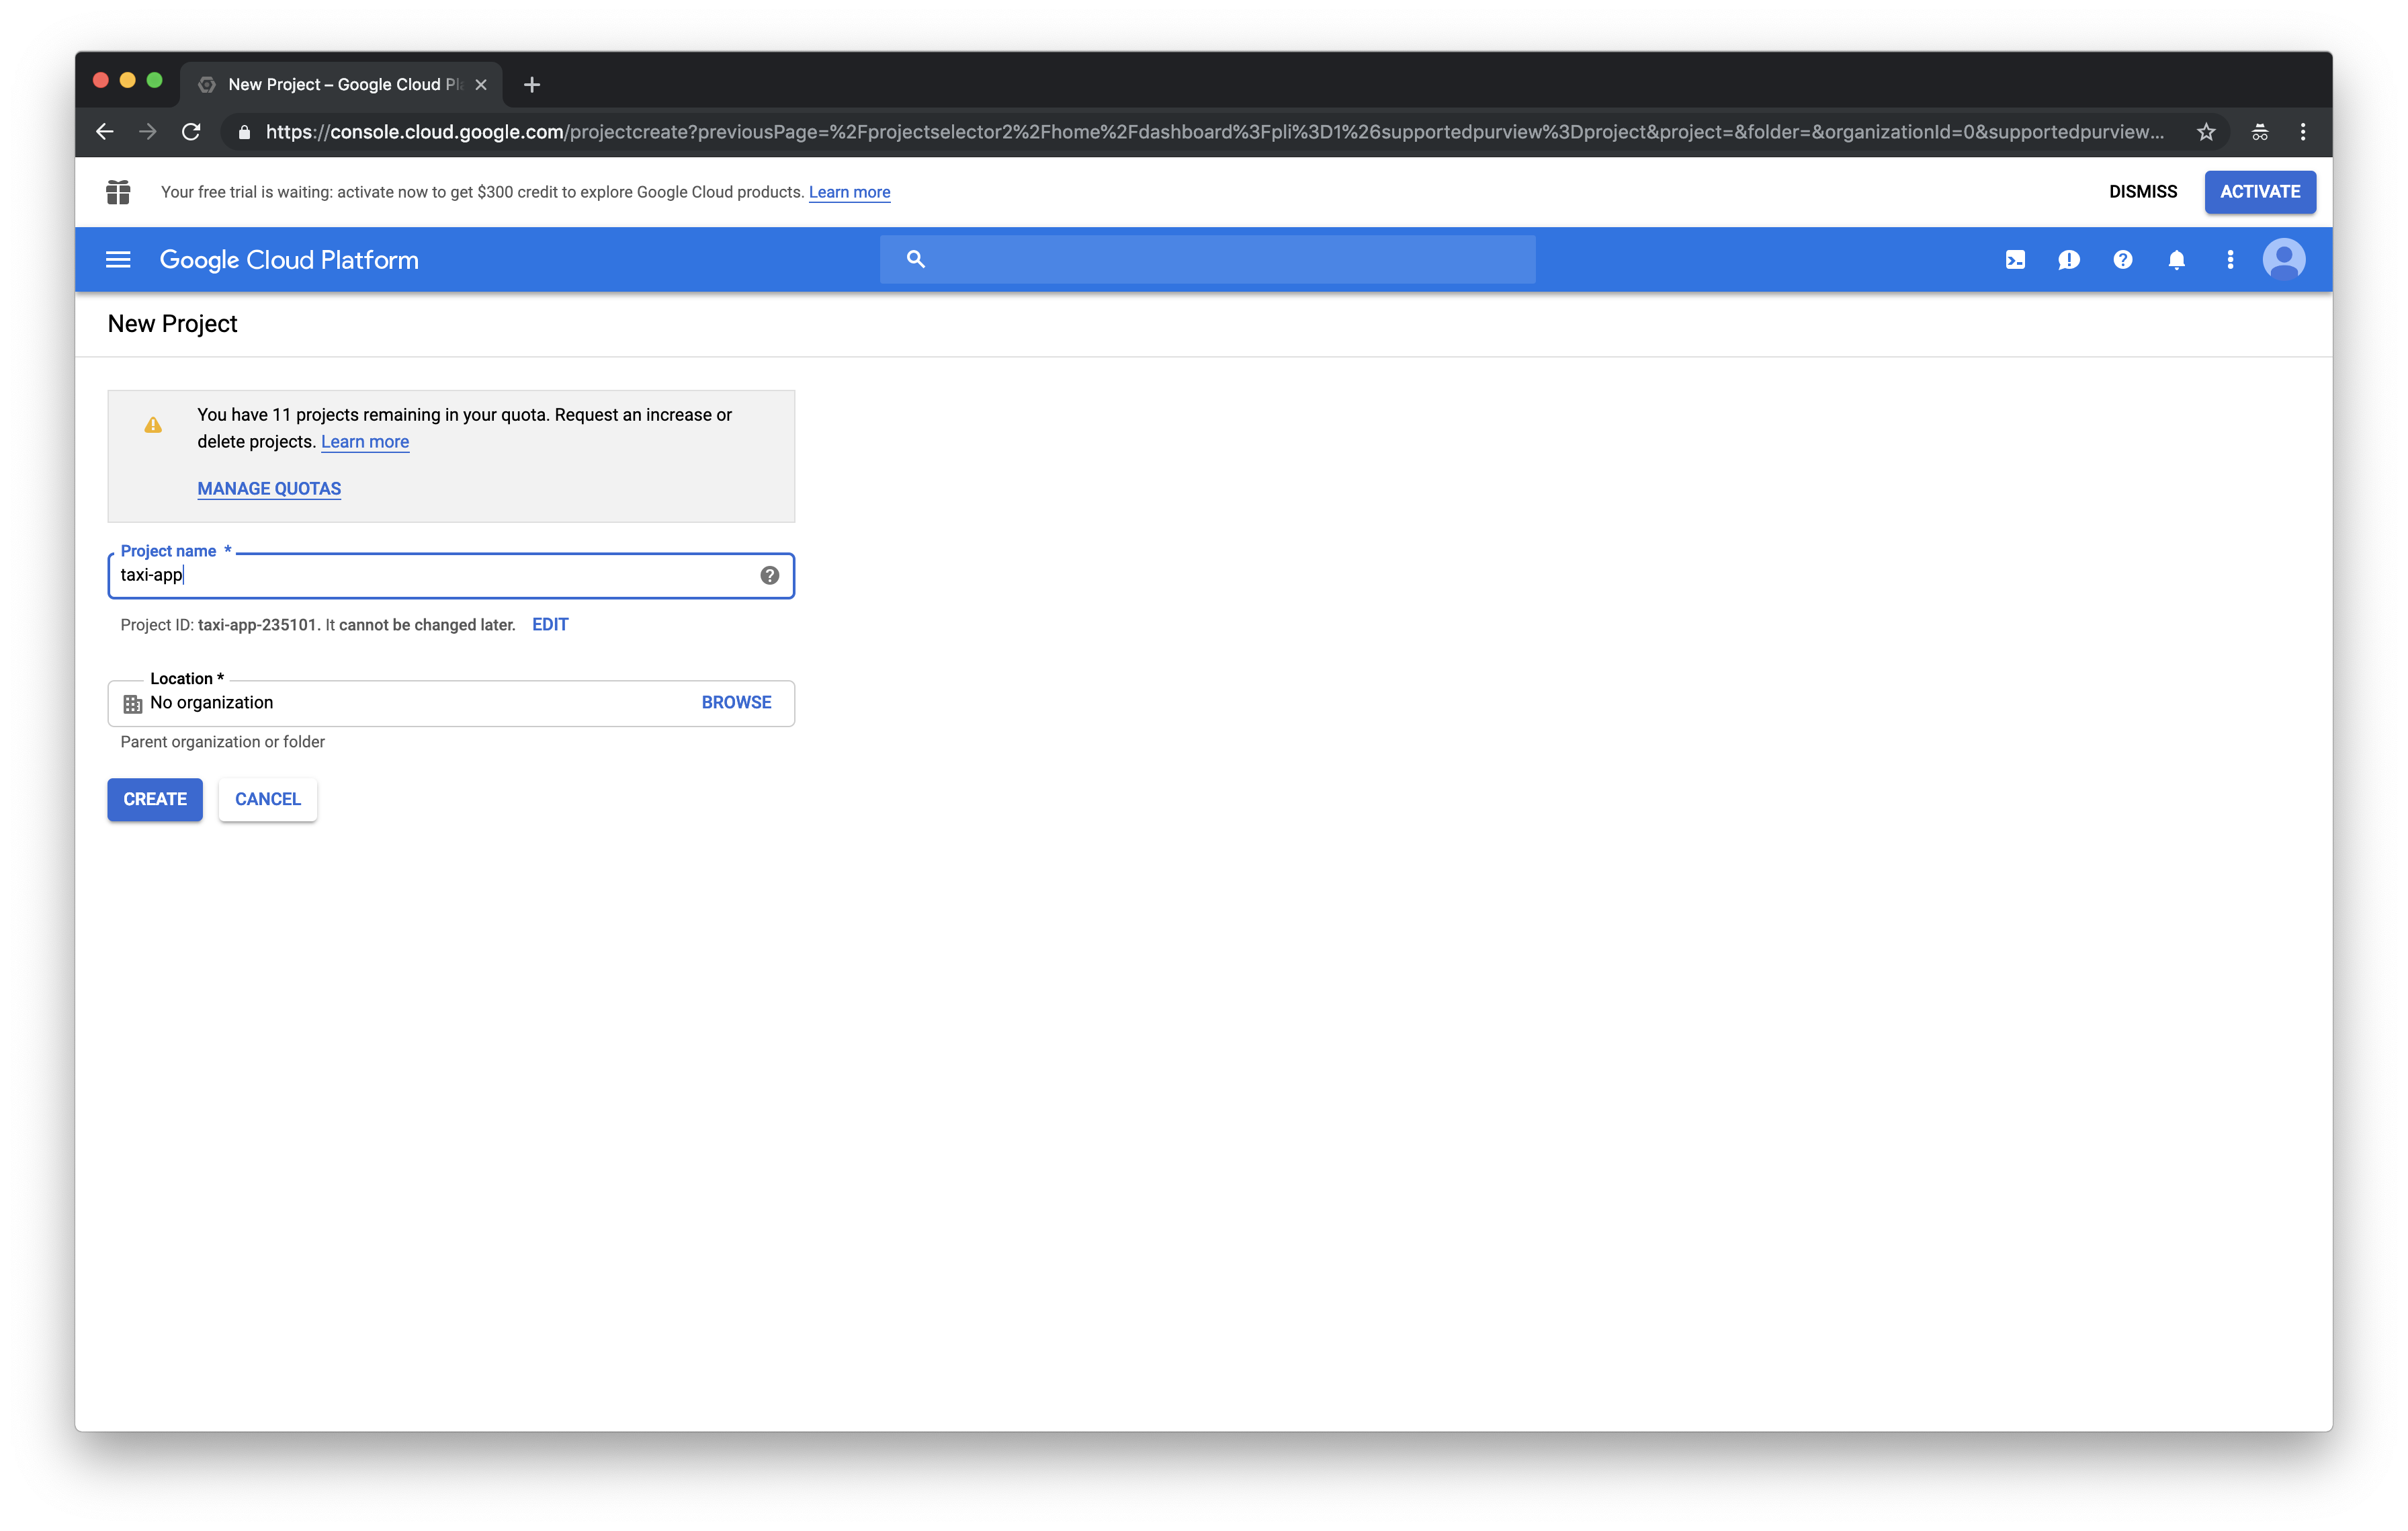
You should be brought to the New Project page. Enter taxi-app into the Project name field and press the CREATE button.
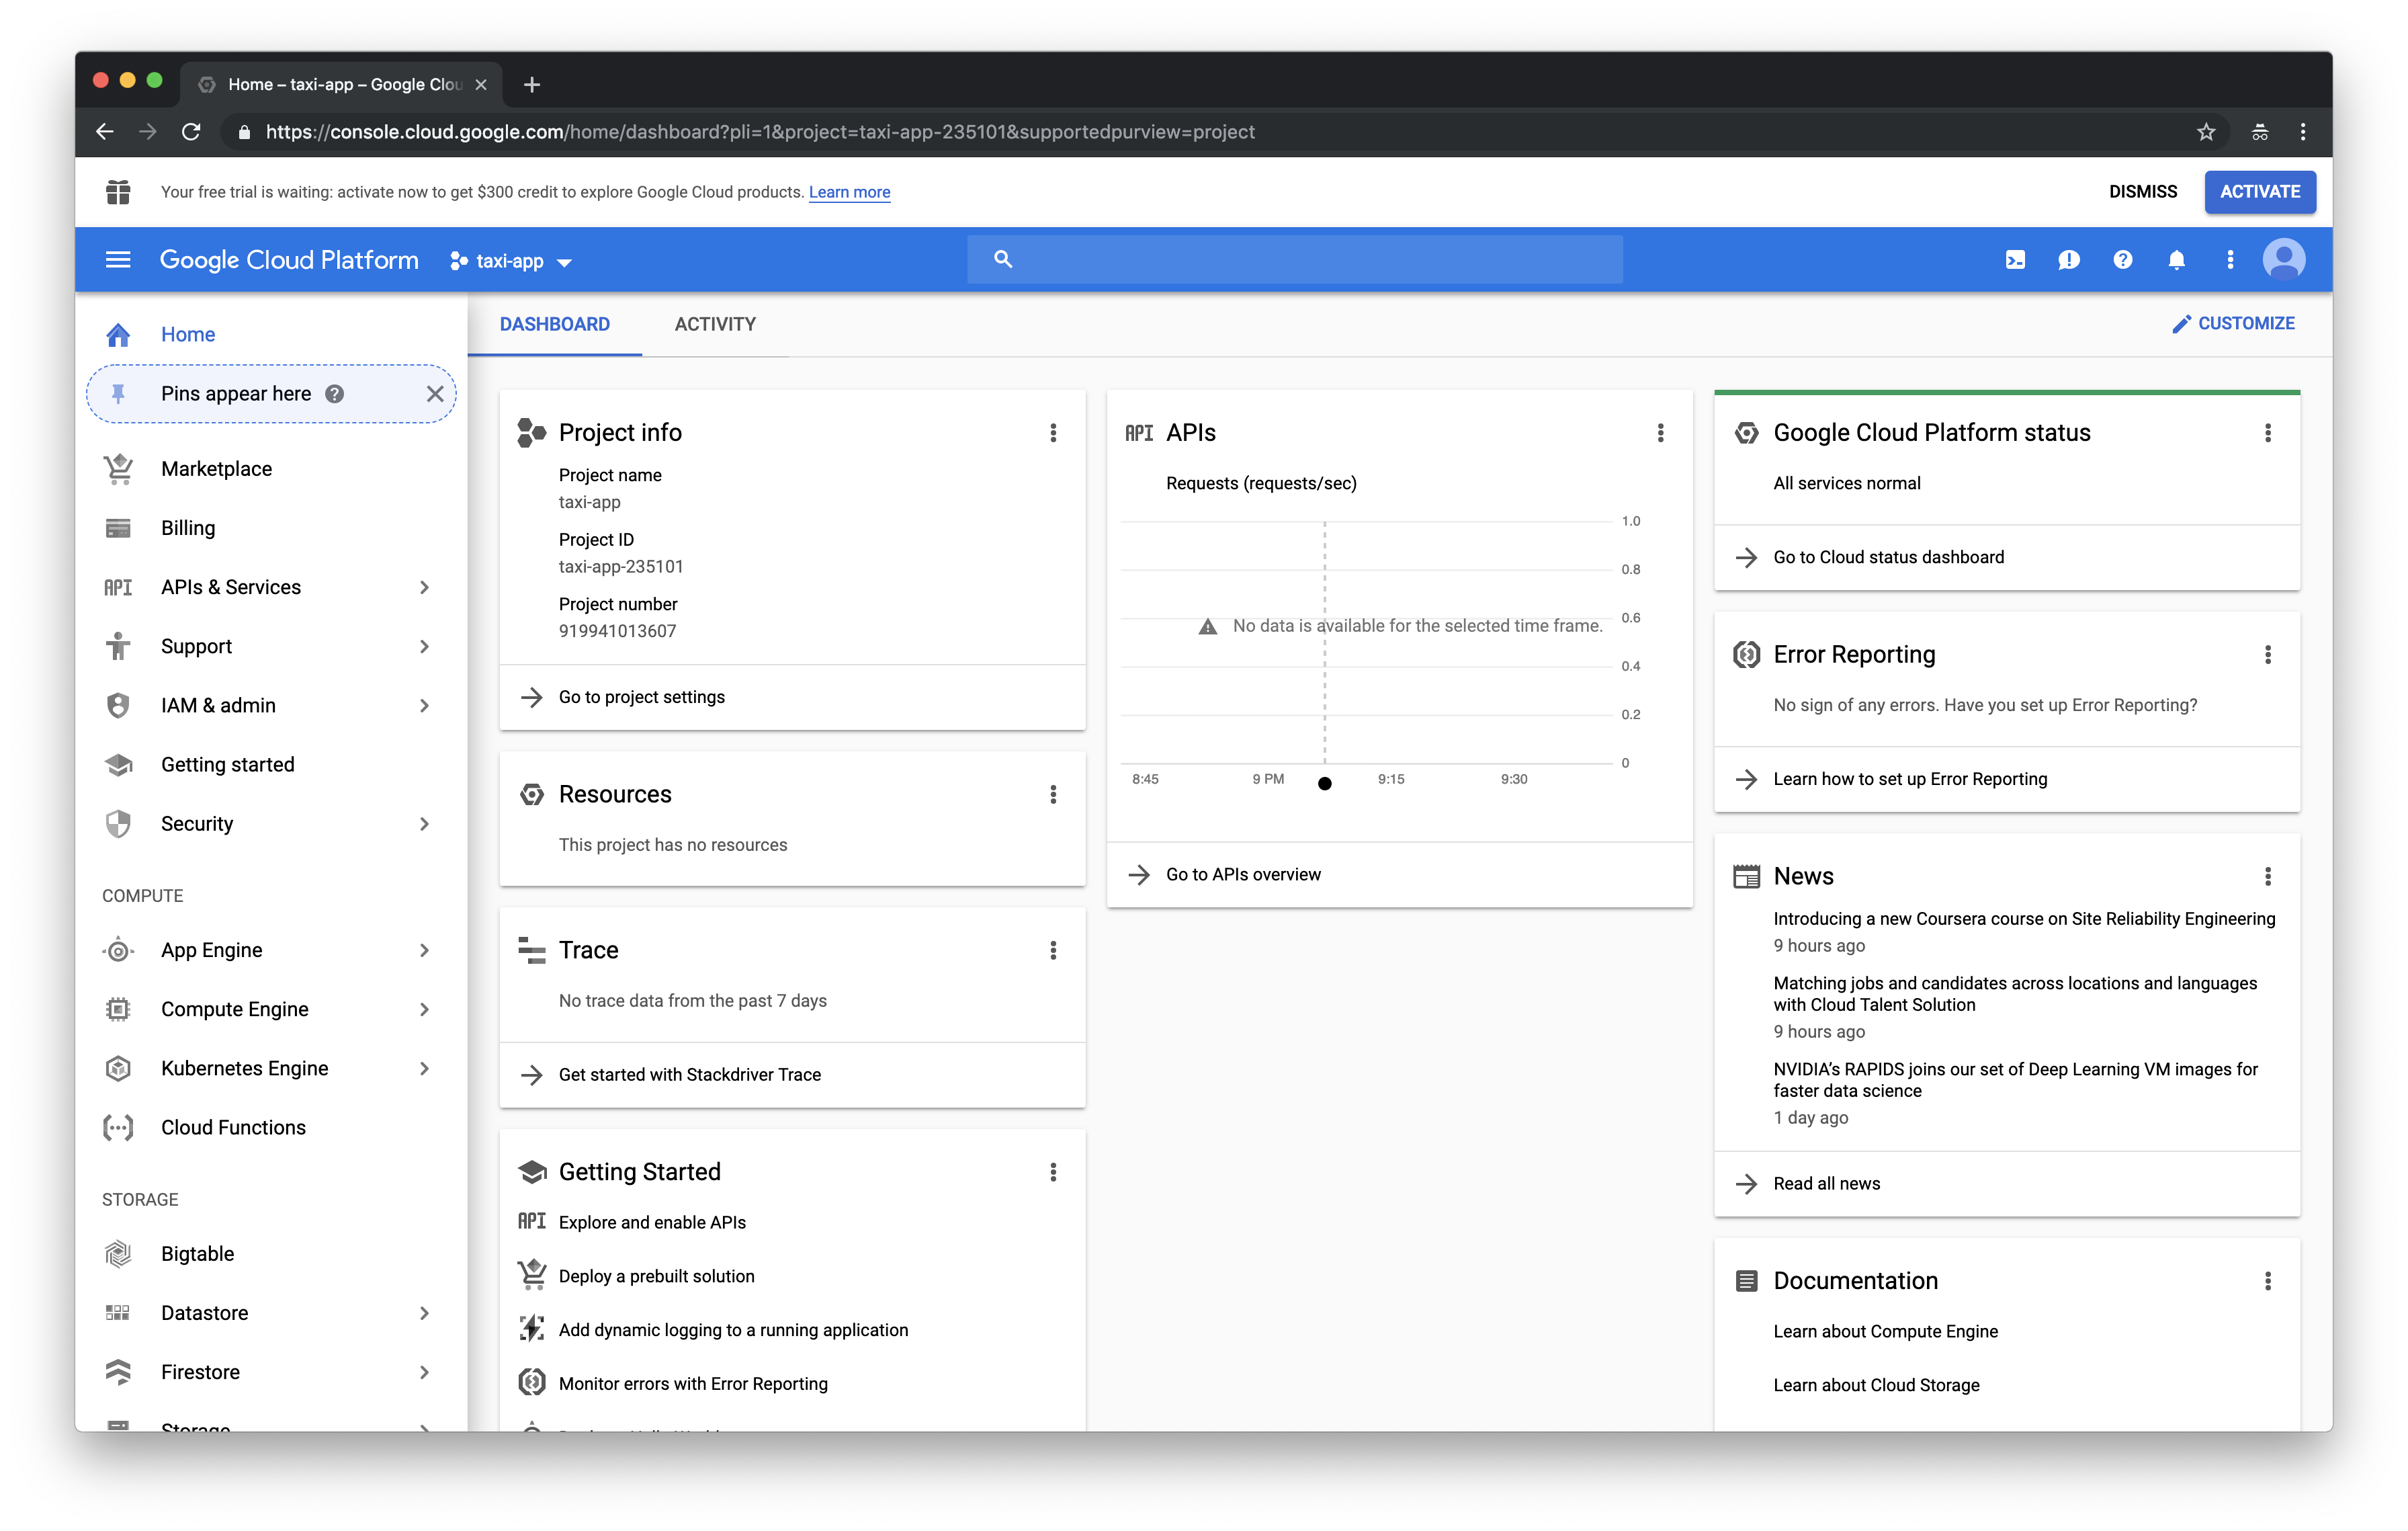
Your browser should redirect you back to the Dashboard page. After a view seconds, Google Cloud Platform should generate a dashboard of panels for your taxi-app project.
Click on APIs & Services from the menu on the left. (If you don’t see the menu, click the “hamburger menu” icon to the left of Google Cloud Platform .)
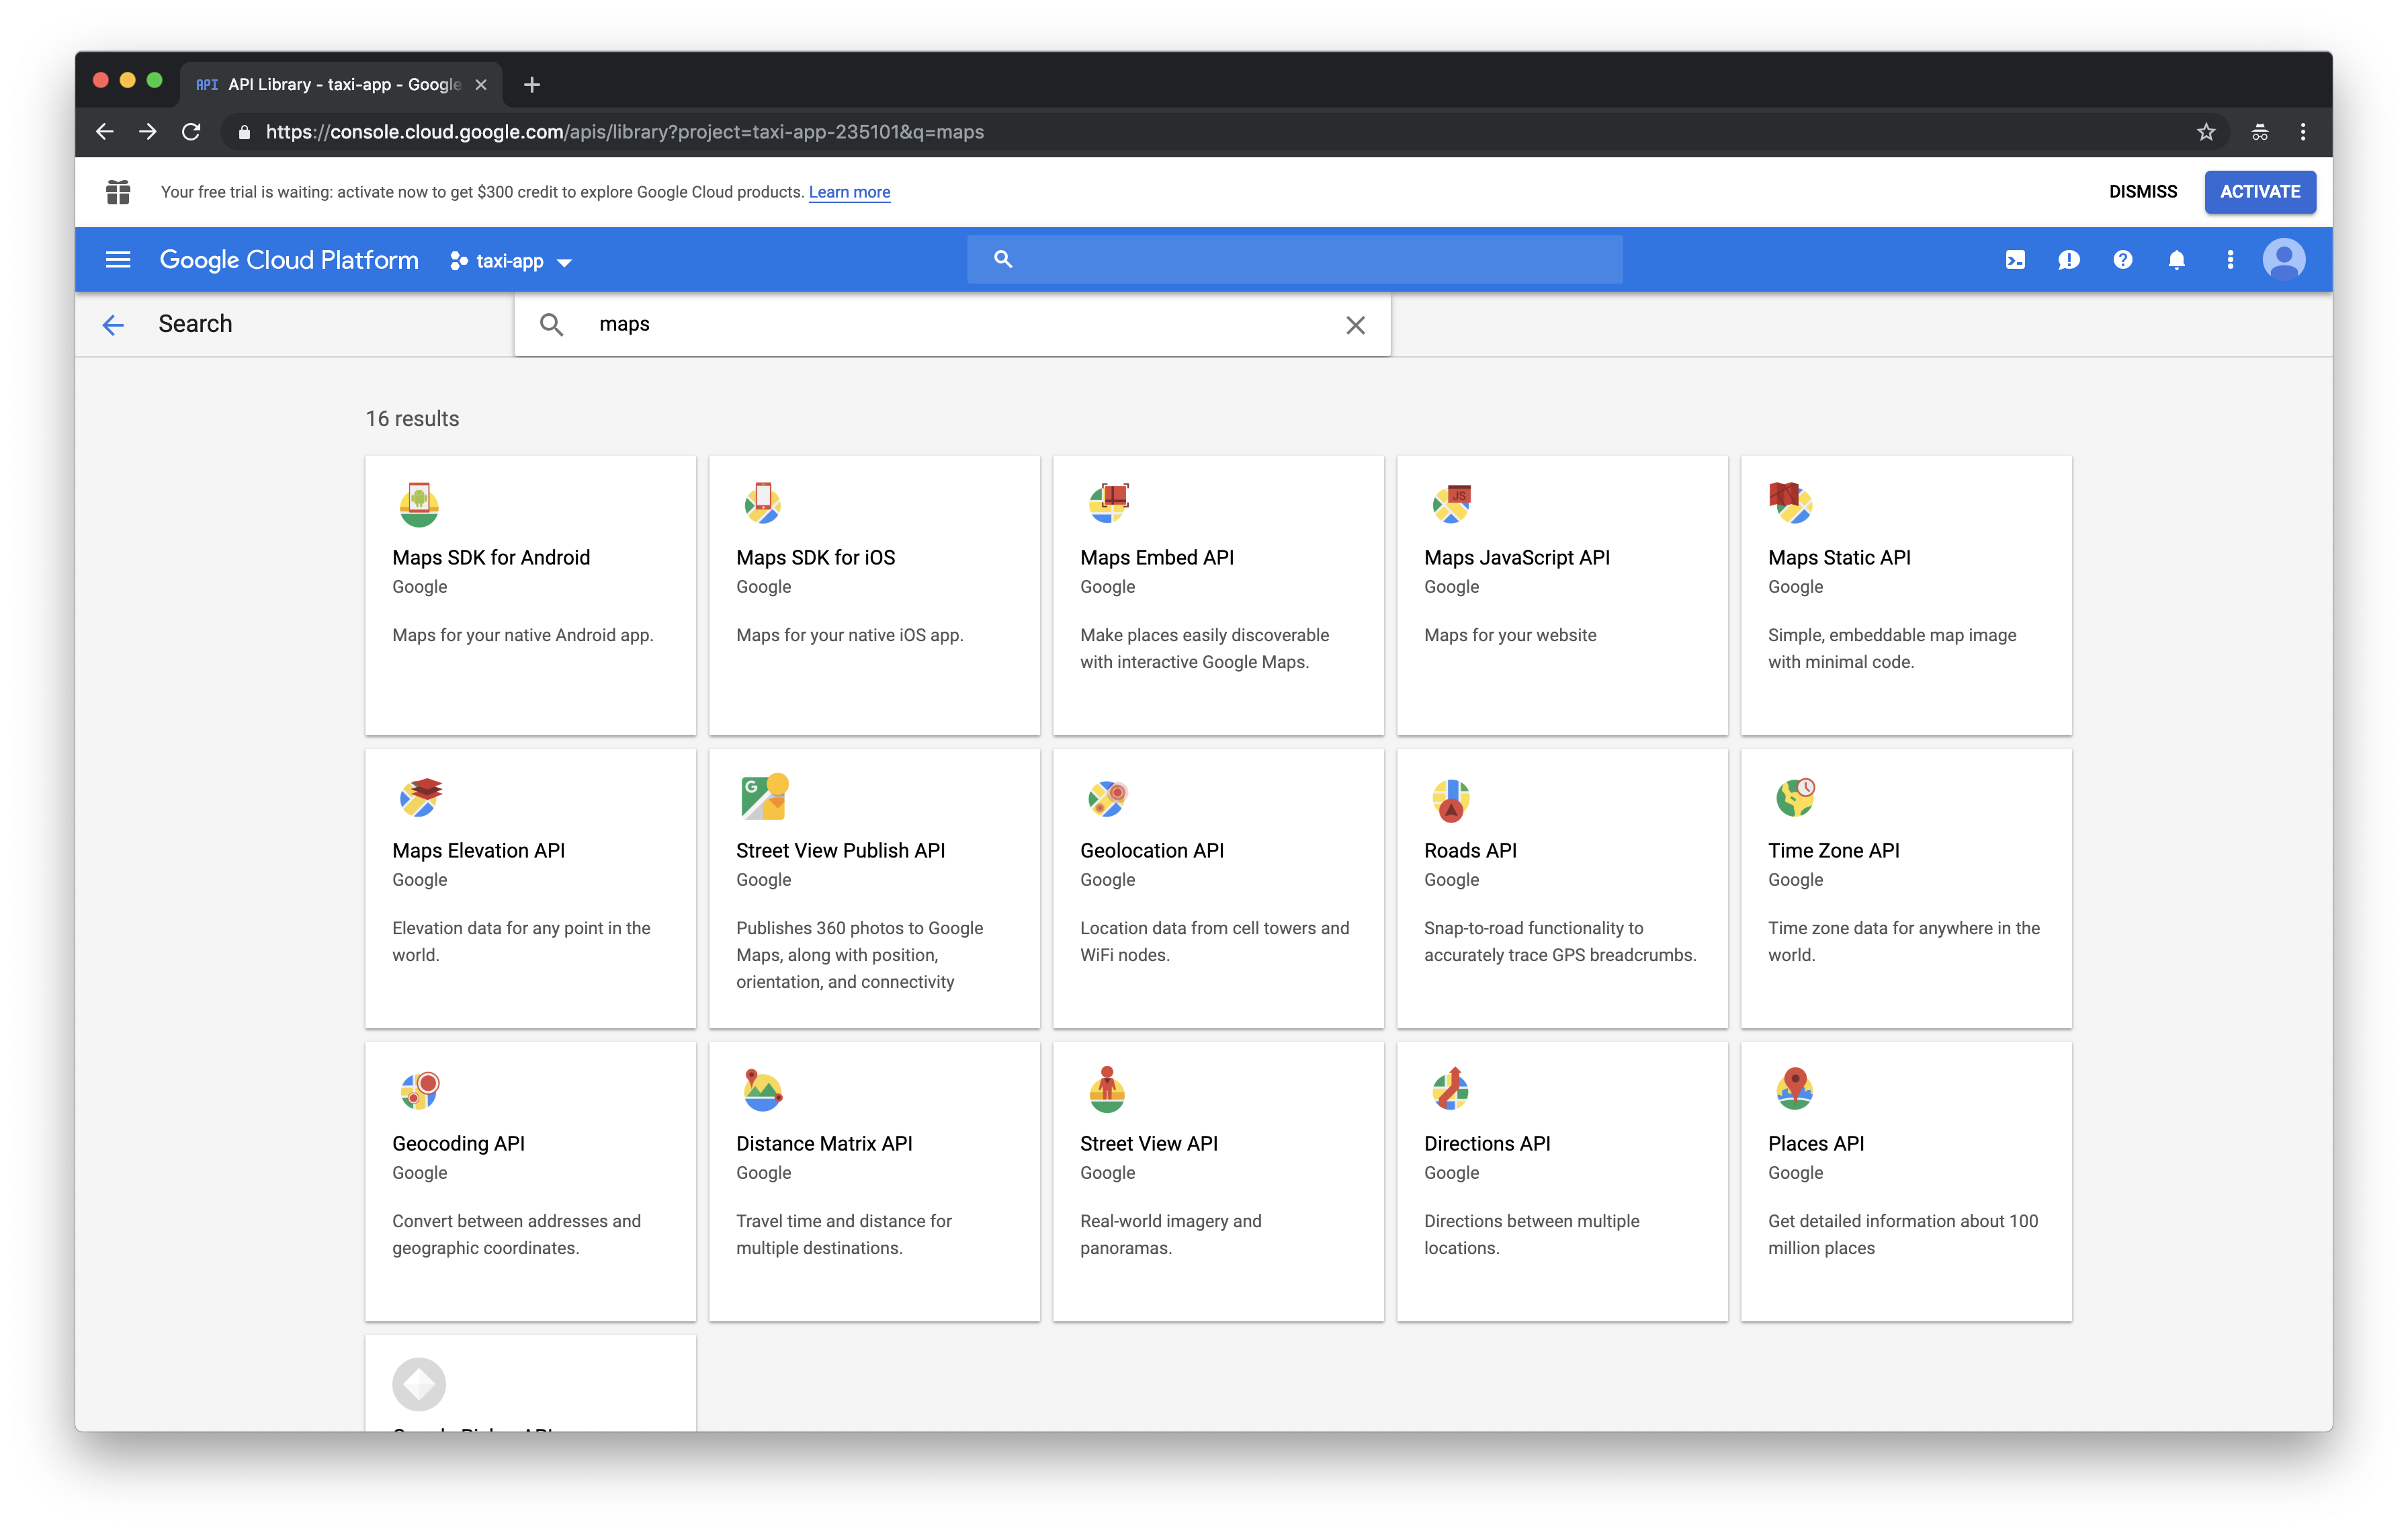
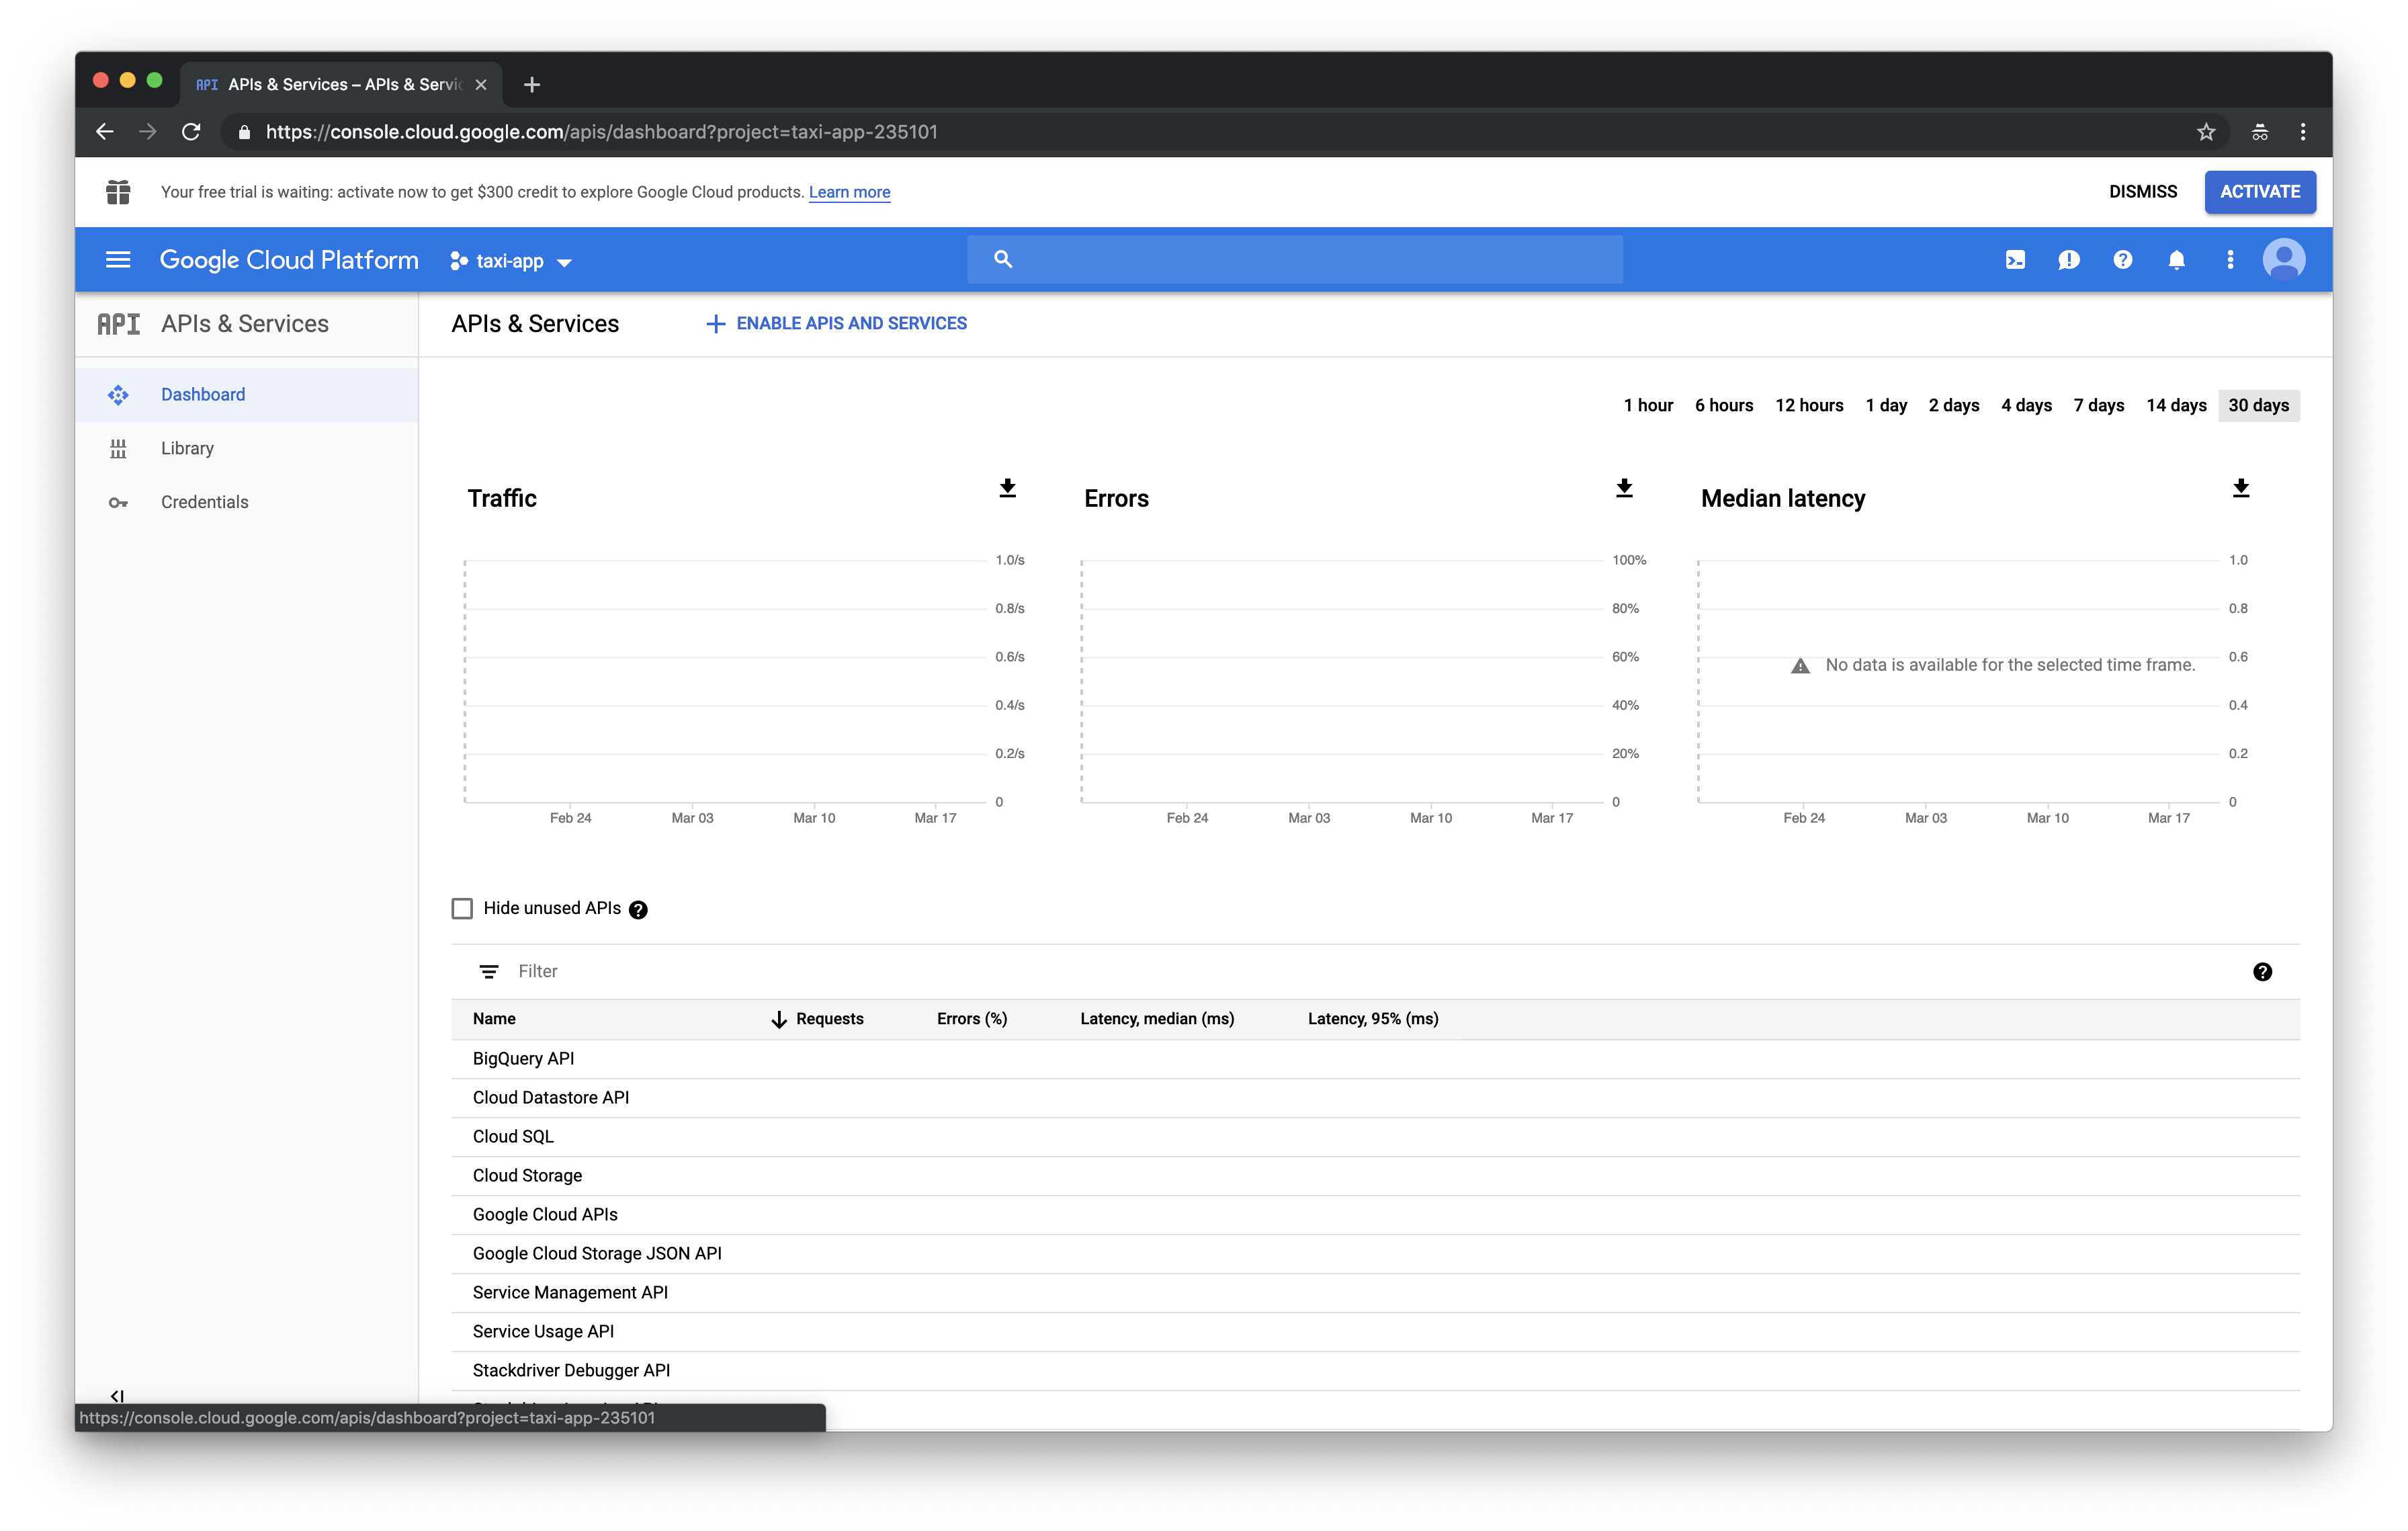
You should be brought to the APIs & Services page. Click on the ENABLE APIS AND SERVICES button and then type maps into the search field.
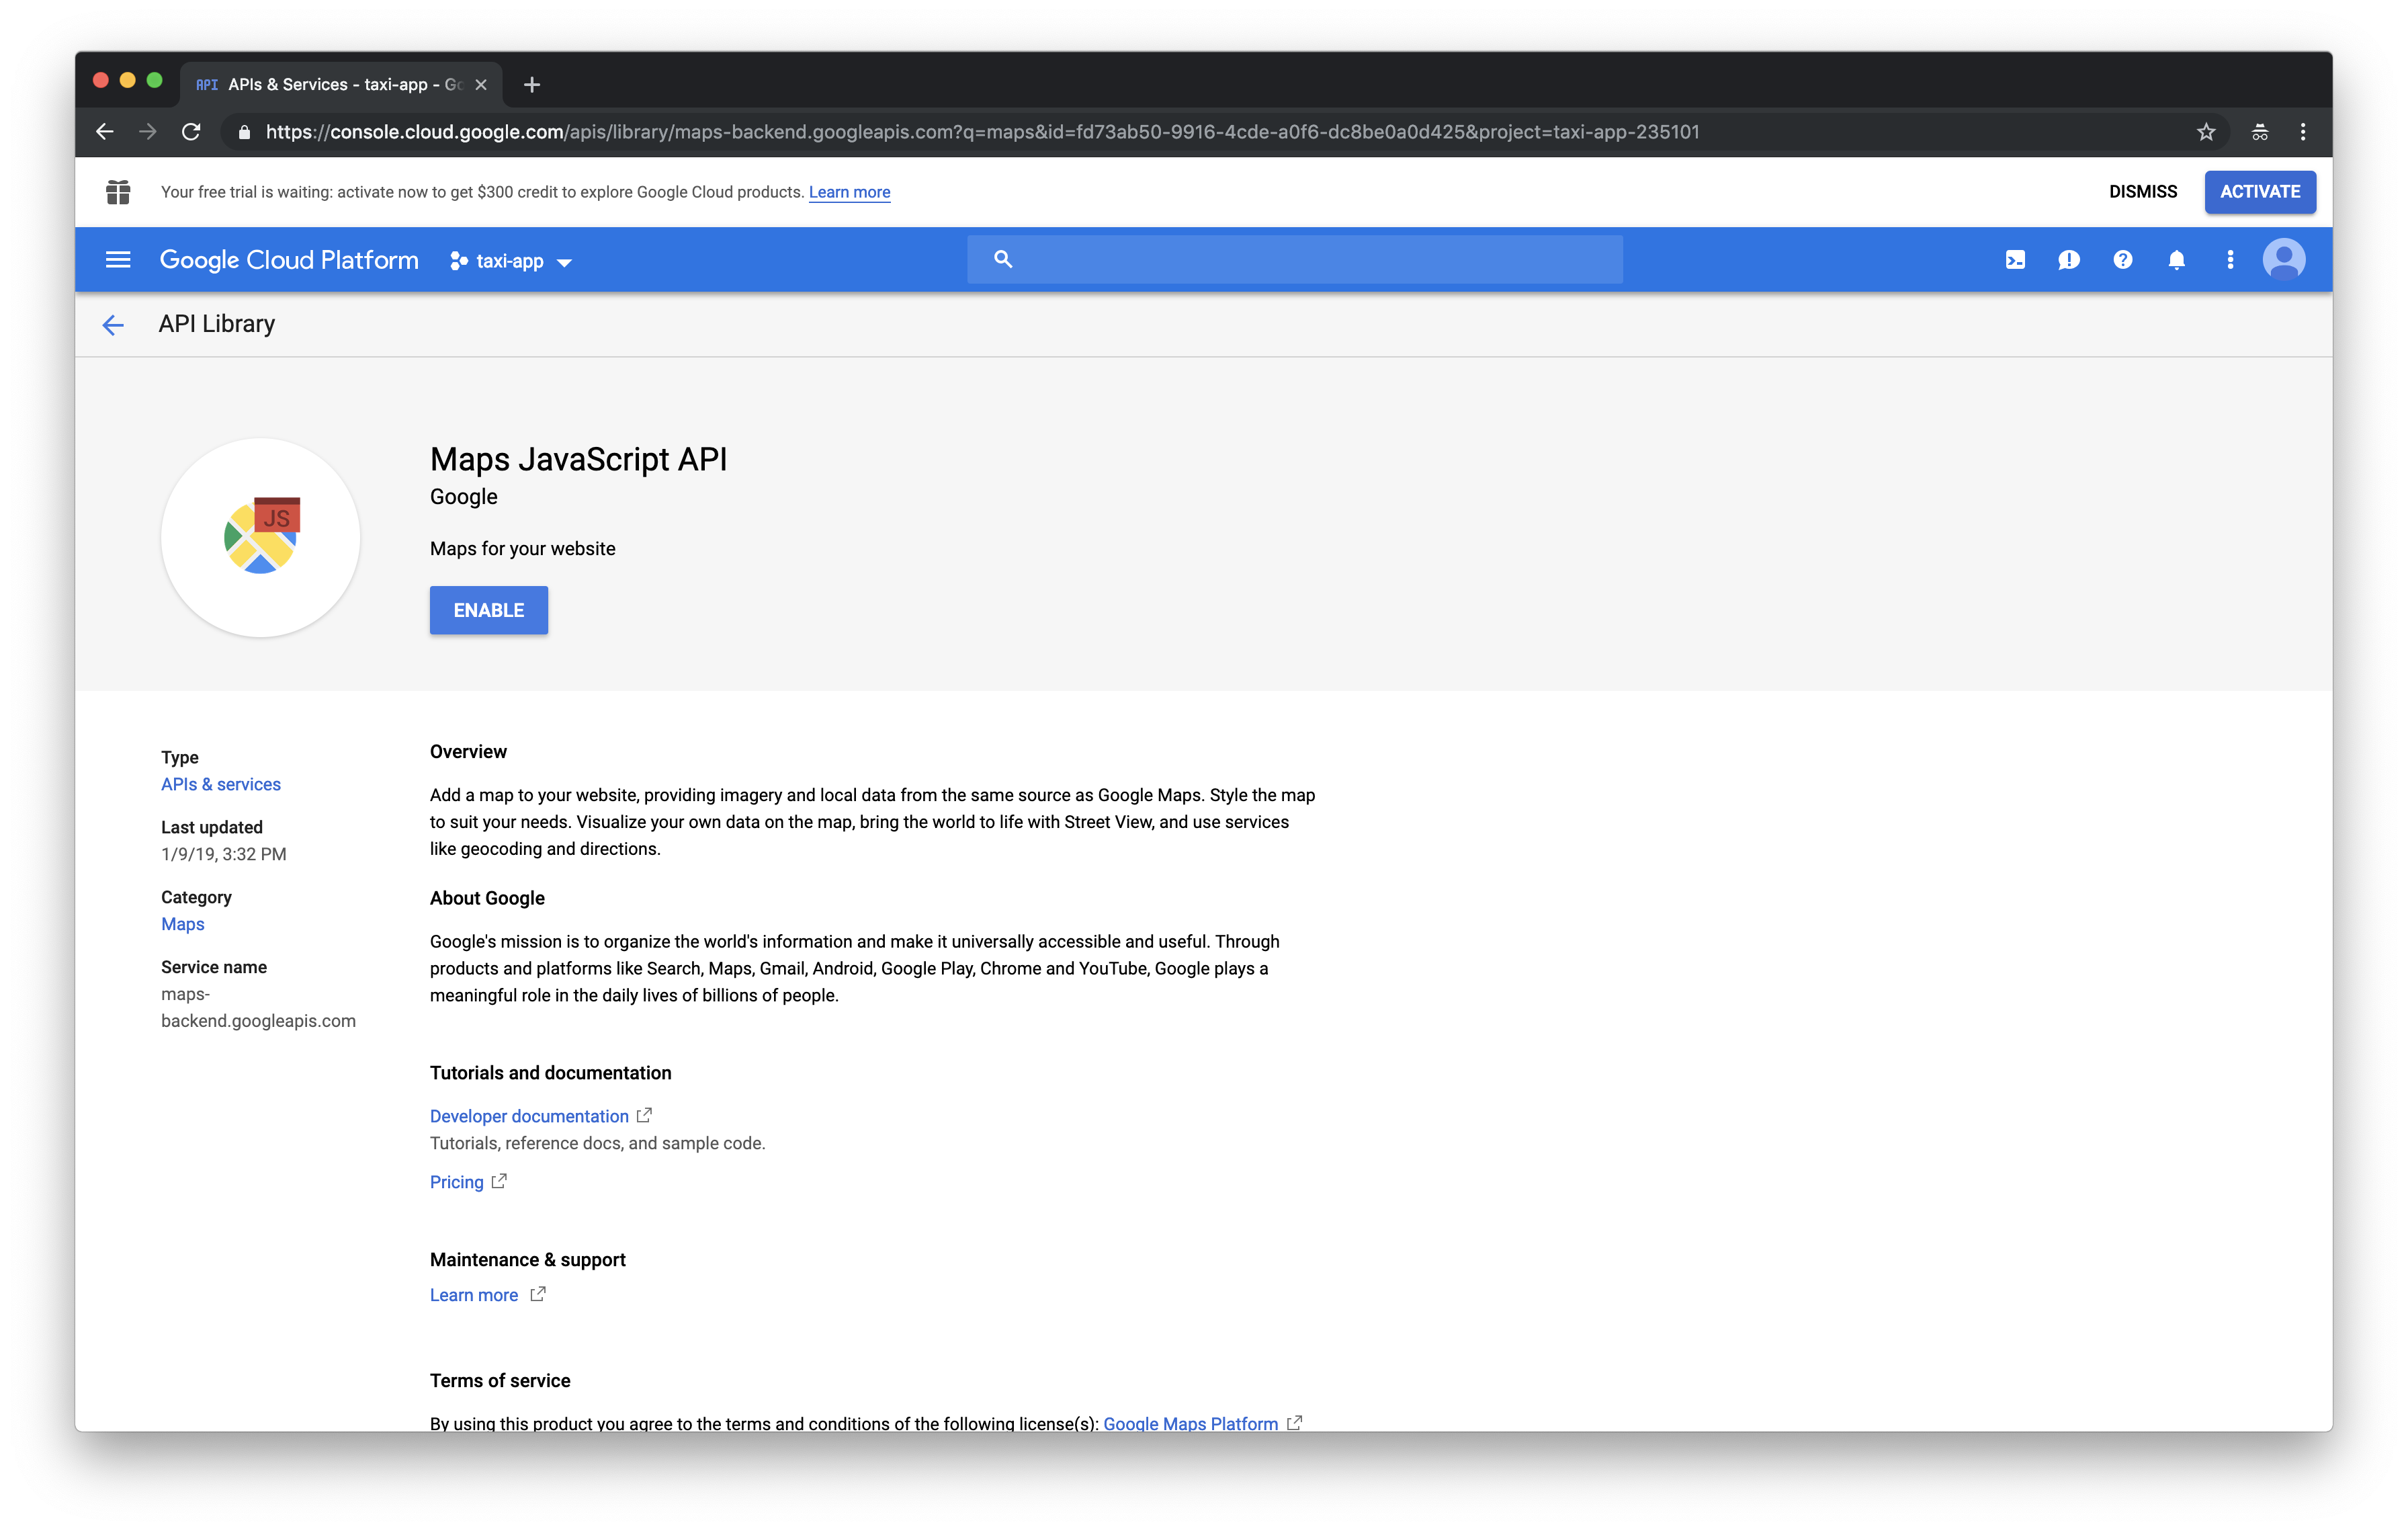
Click on Maps JavaScript API and then click the ENABLE button. You’ll be brought to a Google Maps subpage that shows some panels regarding API usage.
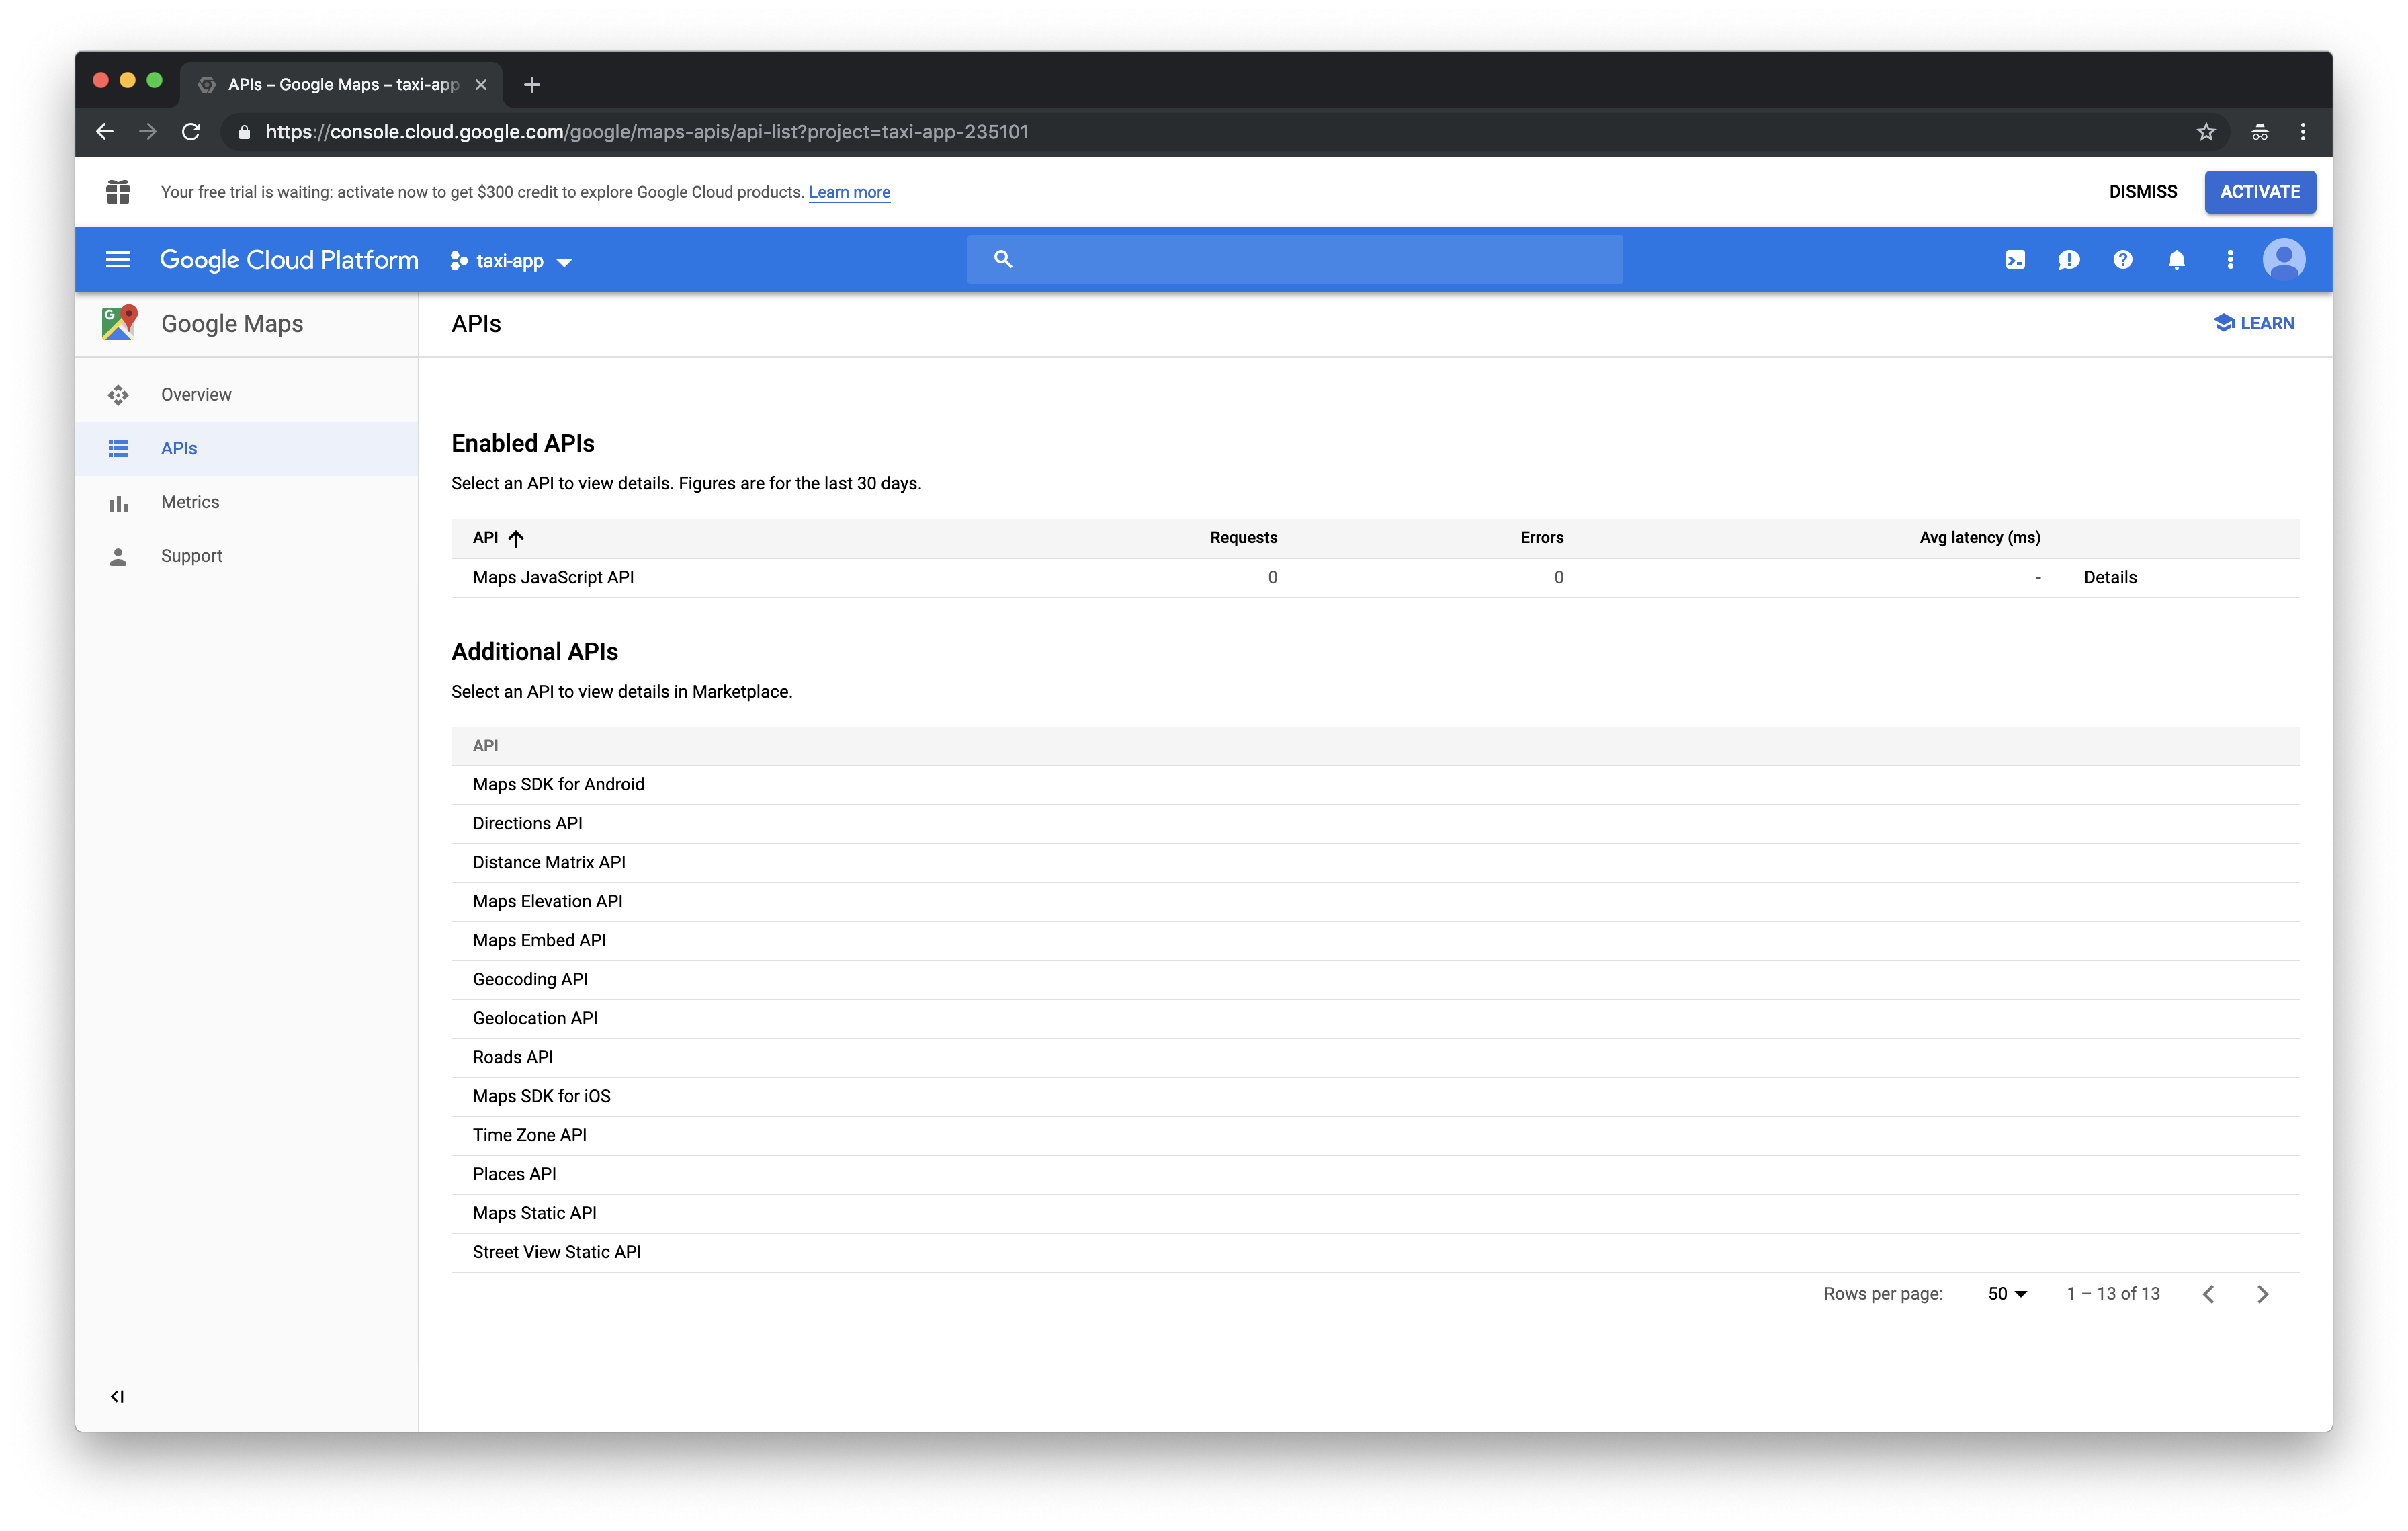
Click on the APIs item on the lefthand menu to see a list of Enabled APIs . Select the Directions API from the list of Additional APIs and then click the ENABLE button on the following page.
Click the “hamburger menu” icon, hover your cursor over APIs & Services , and click Credentials . Your browser should redirect you to the Credentials page. From here, click the Create credentials button and select API key from the dropdown menu. Select the RESTRICT KEY option on the modal window.
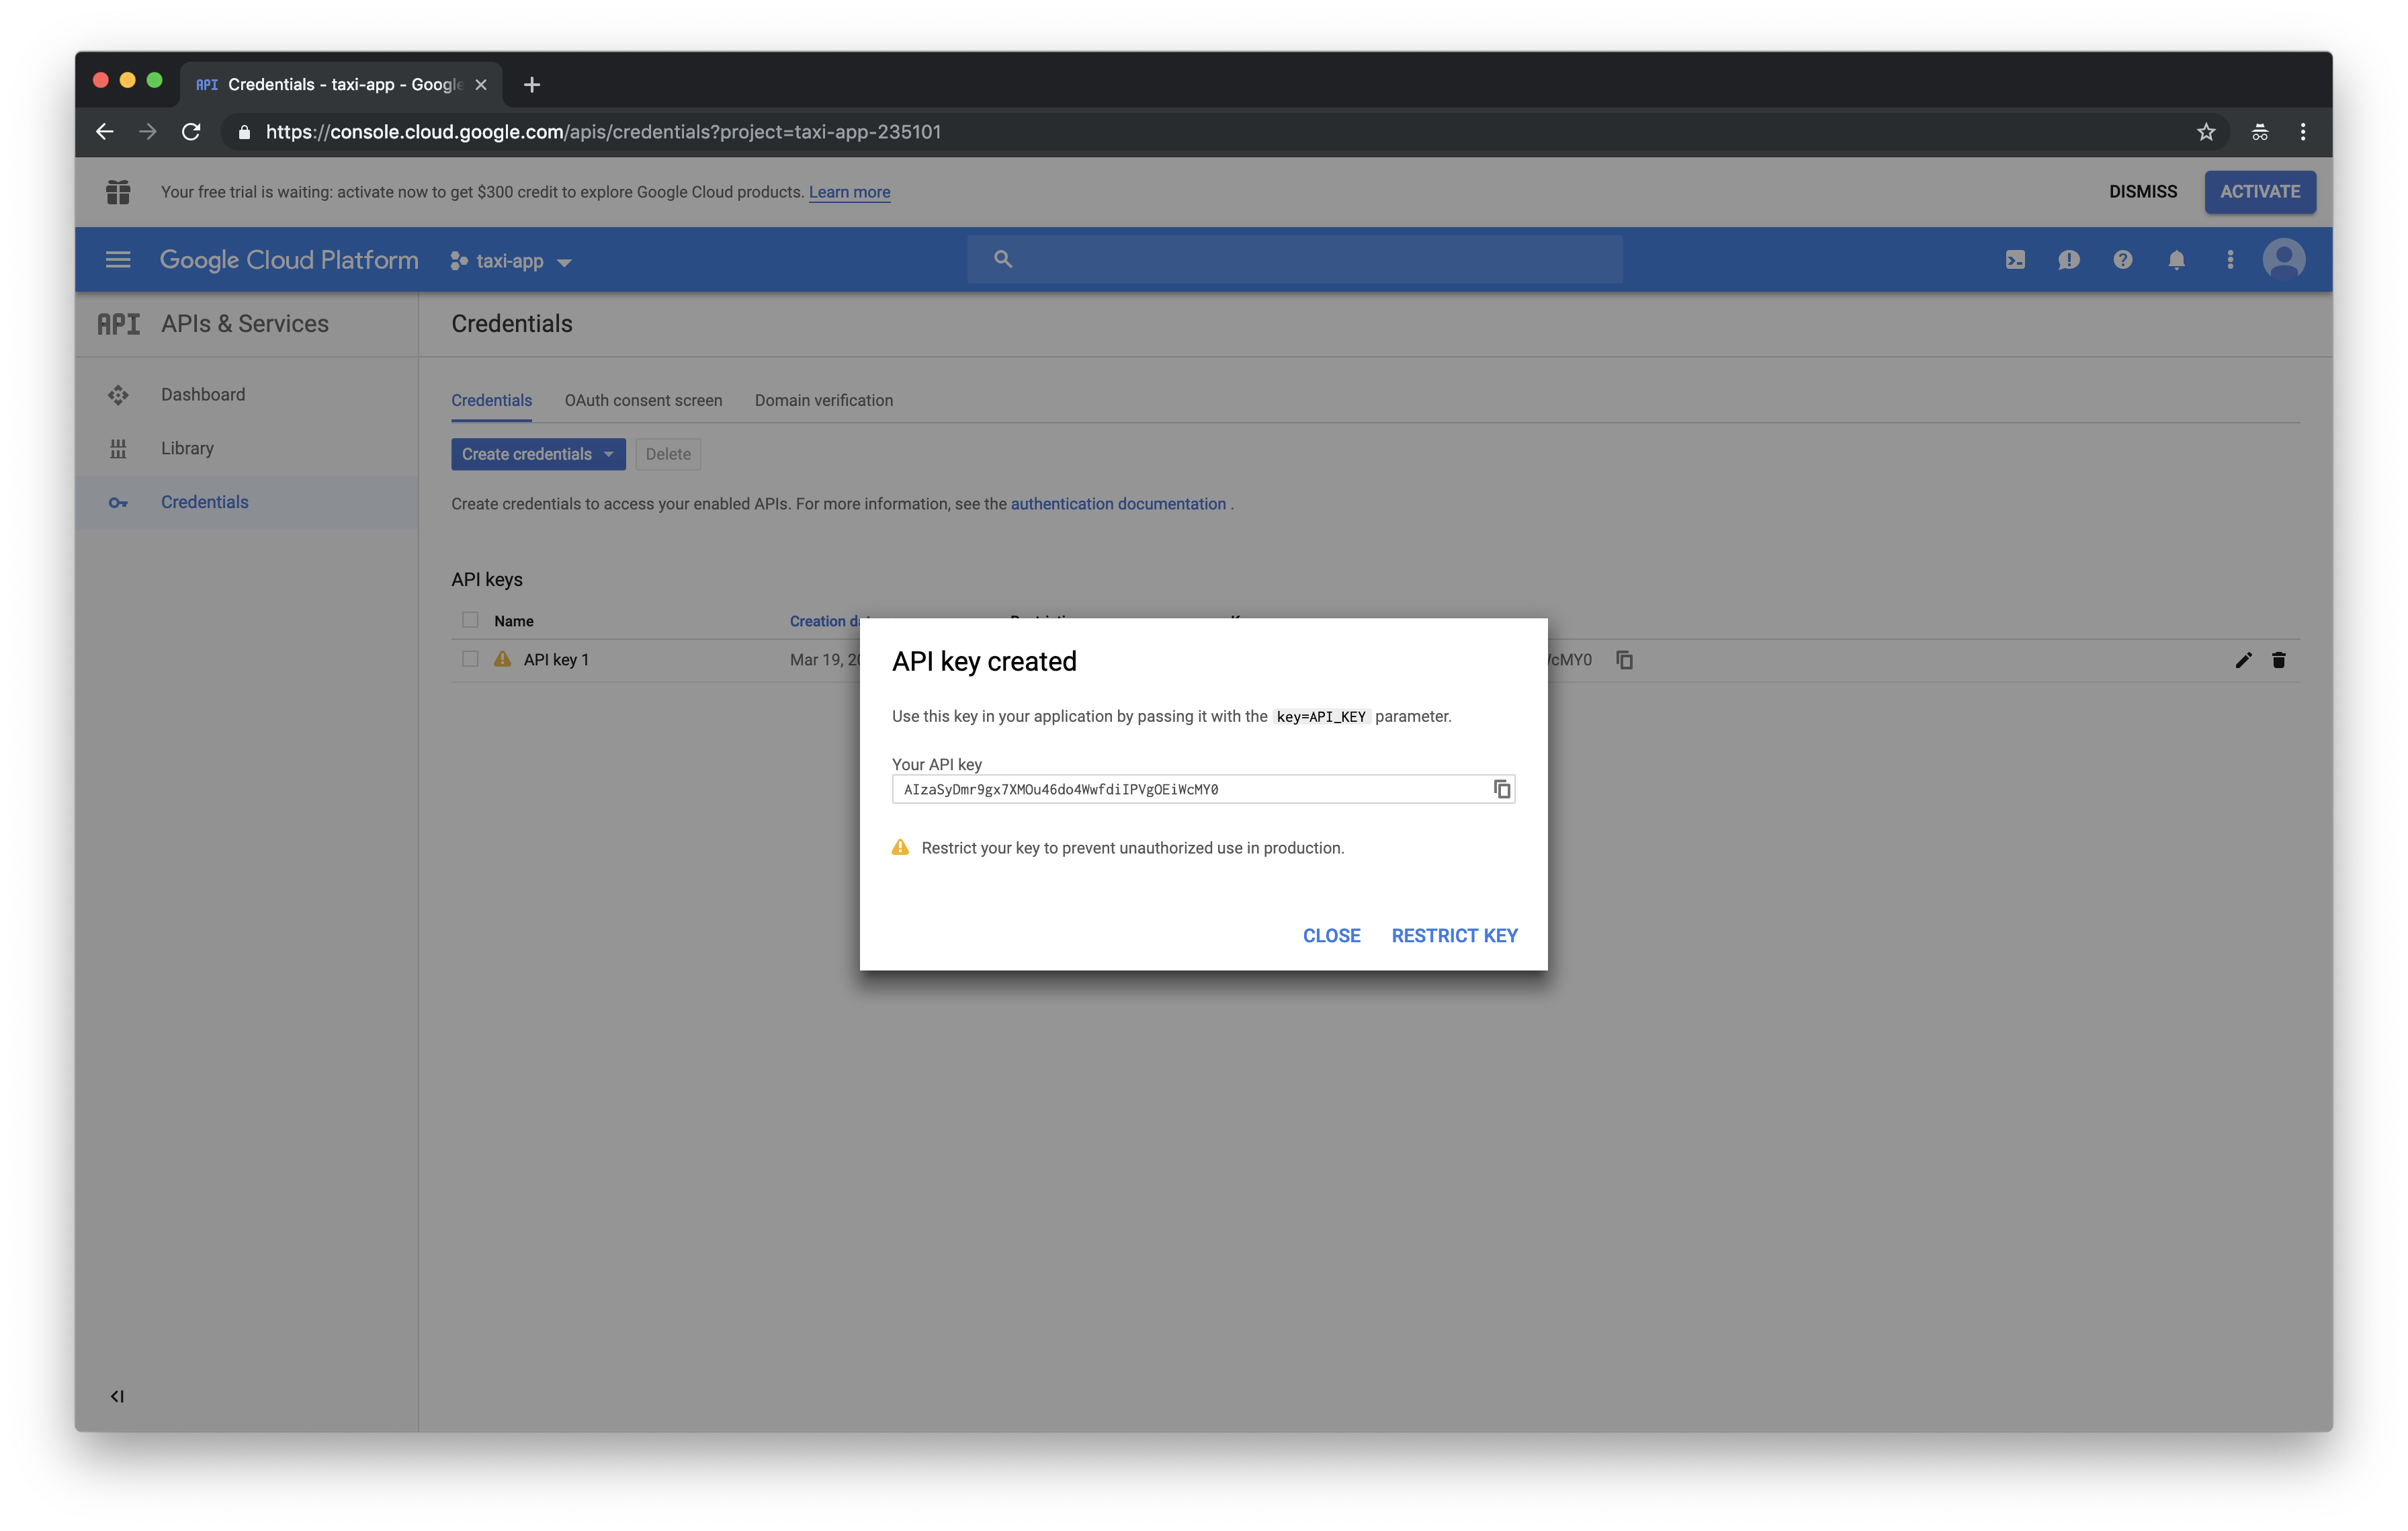
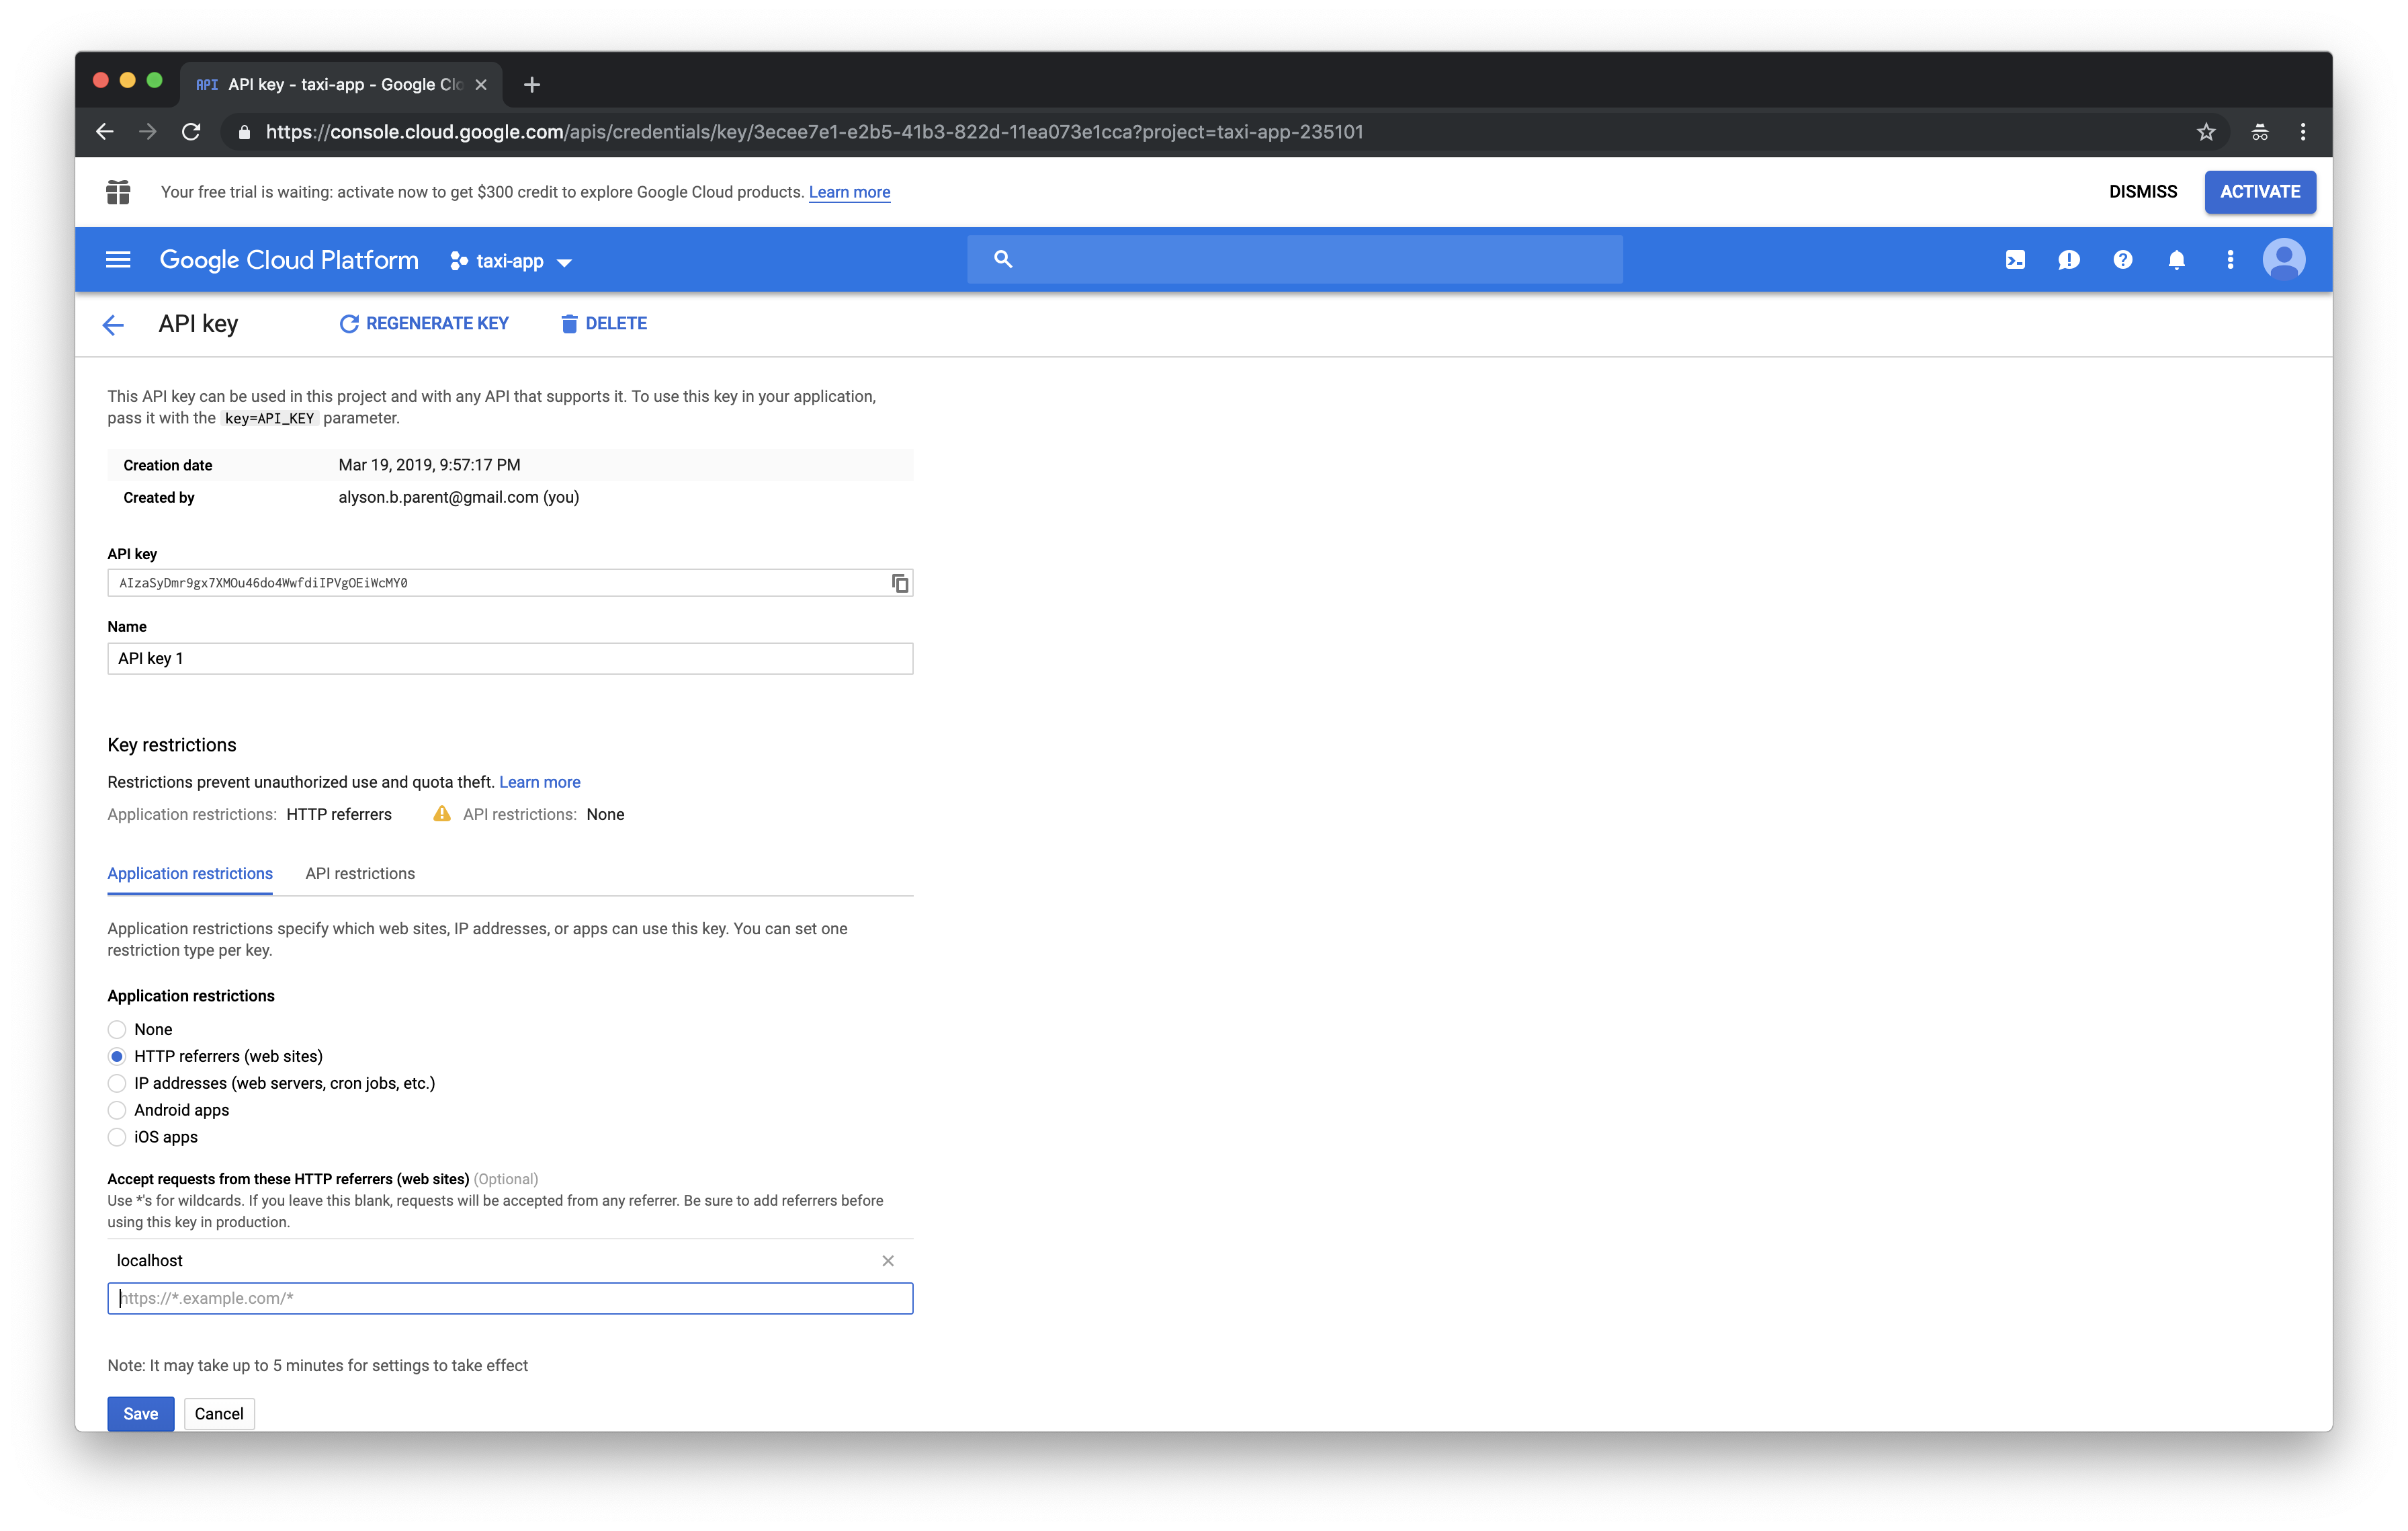
You should be on the API key page. Find the Application restrictions options and select HTTP referrers (web sites) . In the input field that appears, type localhost and then hit TAB on your keyboard. Click the Save button.
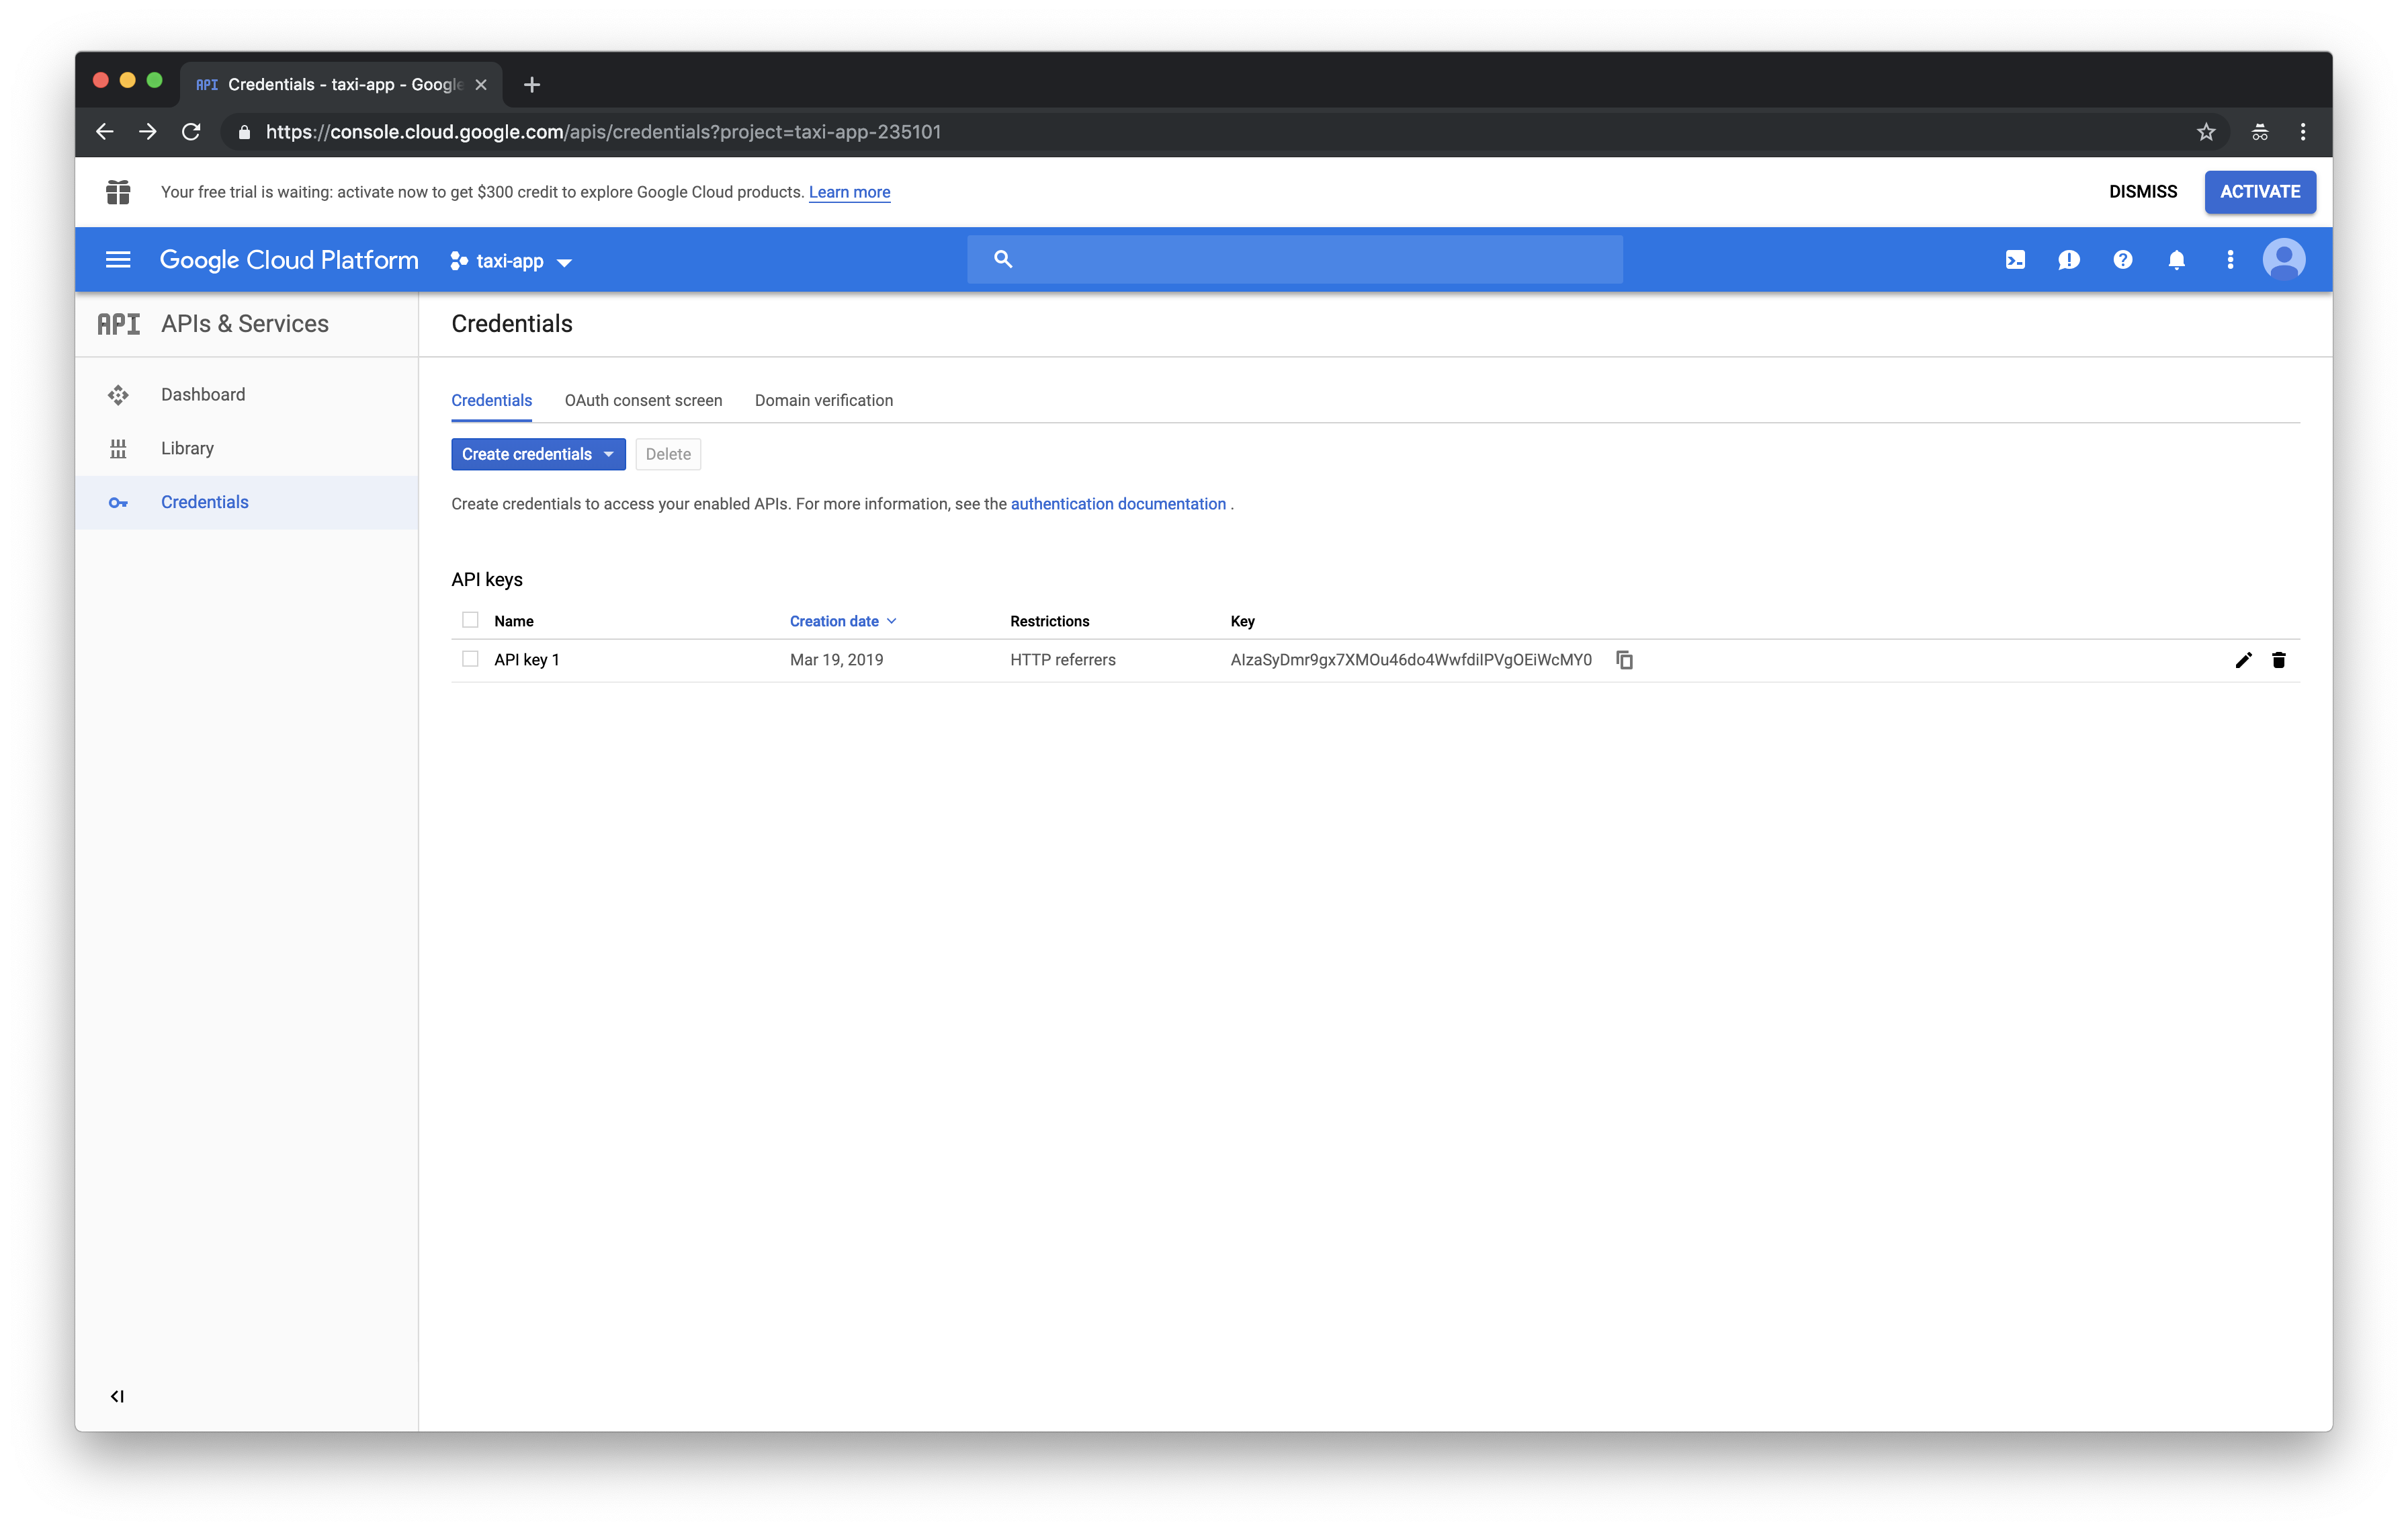
You should be back on the Credentials page. Under the API keys heading, find the Key column, and copy your API key.
Rider Request Map
Let’s start by installing React Google Maps Api as a project dependency.
$ npm install @react-google-maps/api --save
Next, let’s create a Map component to manage our Google Map. Make a new Map.js file in the components directory with the following code:
// components/Map.js

import React from 'react';
import { GoogleMap, LoadScript, Marker } from '@react-google-maps/api';

function Map ({ lat, lng, zoom }) {
  return (
    <LoadScript
      googleMapsApiKey='<YOUR_API_KEY>'
    >
      <GoogleMap
        center={{
          lat,
          lng
        }}
        mapContainerStyle={{
          width: '100%',
          height: '300px',
          'margin-bottom': '10px'
        }}
        zoom={zoom}
      >
        <Marker
          label='A'
          position={{
            lat,
            lng
          }}
        >
        </Marker>
      </GoogleMap>
    </LoadScript>
  );
}

export default Map;
We’re loading the Google APIs script with the LoadScript component and initializing the Google Map with the GoogleMap component. (Be sure to replace the googleMapsApiKey value with your own API key.) We expect the lat , lng , and zoom properties to be passed into the component, and we’re using them to position the map’s viewport. We’re giving the map some basic sizing parameters using CSS selectors and the mapContainerStyle property. For now, we’re placing a single marker right in the center of the map.
Next, let’s add the Map component onto the riders’ request form. Put it right between the pick up and drop off address form inputs. Open the RiderRequest.js file and add the following code:
// components/RiderRequest.js

<Row>
  <Col lg={12}>
    <Breadcrumb>
      <LinkContainer to='/rider'>
        <Breadcrumb.Item>Dashboard</Breadcrumb.Item>
      </LinkContainer>
      <Breadcrumb.Item active>Request</Breadcrumb.Item>
    </Breadcrumb>
    <Card className='mb-3'>
      <Card.Header>Request Trip</Card.Header>
      <Card.Body>
        <Formik
          initialValues={{
            pickUpAddress: '',
            dropOffAddress: ''
          }}
          onSubmit={onSubmit}
        >
          {({
            handleChange,
            handleSubmit,
            isSubmitting,
            values
          }) => (
            <Form noValidate onSubmit={handleSubmit}>
                <Form.Group controlId='pickUpAddress'>
                  <Form.Label>Pick up address:</Form.Label>
                  <Form.Control
                    data-cy='pick-up-address'
                    name='pickUpAddress'
                    onChange={handleChange}
                    values={values.pickUpAddress}
                    required
                  />
                </Form.Group>
                {/* new */}
                <Map
                  lat={lat}
                  lng={lng}
                  zoom={13}
                />
                <Form.Group controlId='dropOffAddress'>
                  <Form.Label>Drop off address:</Form.Label>
                  <Form.Control
                    data-cy='drop-off-address'
                    name='dropOffAddress'
                    onChange={handleChange}
                    values={values.dropOffAddress}
                  />
                </Form.Group>
                <Button
                  block
                  data-cy='submit'
                  disabled={isSubmitting}
                  type='submit'
                  variant='primary'
                >Submit</Button>
              </Form>
            )}
        </Formik>
      </Card.Body>
    </Card>
  </Col>
</Row>
Let’s add the code to make this work. Within the same RiderRequest.js file, define the following hooks:
// components/RiderRequest.js

import Map from './Map';

const [lat, setLat] = useState(38.897957);
const [lng, setLng] = useState(-77.036560);

useEffect(() => {
  if (window.navigator.geolocation) {
    window.navigator.geolocation.getCurrentPosition((position) => {
      setLat(position.coords.latitude);
      setLng(position.coords.longitude);
    });
  }
}, []);
We’re leveraging useState() hooks to set our lat and lng state. We’re also using a useEffect() hook to get the current location of the user. If the user has geolocation activated in their browser, then we reset the center of their map to their coordinates. (The initial values point to the White House in Washington, DC.)
Turning back to our Map component, let’s configure it to show the path that the driver will take to bring the rider from the pick up address to the drop off address. We’ll do this using the Google Directions Service, which becomes available to us when the Google Maps scripts load. Open the Map.js file and add the following code:
// components/Map.js

import React, { useState } from 'react'; // changed
import {
  DirectionsRenderer,
  DirectionsService,
  GoogleMap,
  LoadScript,
  Marker
} from '@react-google-maps/api'; // changed

function Map (props) {
  const [response, setResponse] = useState(null); // new

  // new
  const hasTwoAddresses = (
    props.pickUpAddress !== '' &&
    props.dropOffAddress !== ''
  );

  // new
  const directionsCallback = (response) => {
    if (response !== null && response.status === 'OK') {
      setResponse(response);
    }
  };

  return (
    <LoadScript
      googleMapsApiKey='<YOUR_API_KEY>'
    >
      <GoogleMap
        center={{
          lat: props.lat,
          lng: props.lng
        }}
        mapContainerStyle={{
          width: '100%',
          height: '300px',
          'margin-bottom': '10px'
        }}
        zoom={props.zoom}
      >
        {/* new */}
        {
          hasTwoAddresses && (
            <DirectionsService
              options={{
                origin: props.pickUpAddress,
                destination: props.dropOffAddress,
                travelMode: 'DRIVING'
              }}
              callback={directionsCallback}
            >
            </DirectionsService>
          )
        }
        {
          hasTwoAddresses && response !== null && (
            <DirectionsRenderer
              options={{
                directions: response
              }}
            />
          )
        }
        {
          !hasTwoAddresses && (
            <Marker
              label='A'
              position={{
                lat: props.lat,
                lng: props.lng
              }}
            >
            </Marker>
          )
        }
      </GoogleMap>
    </LoadScript>
  );
}

export default Map;
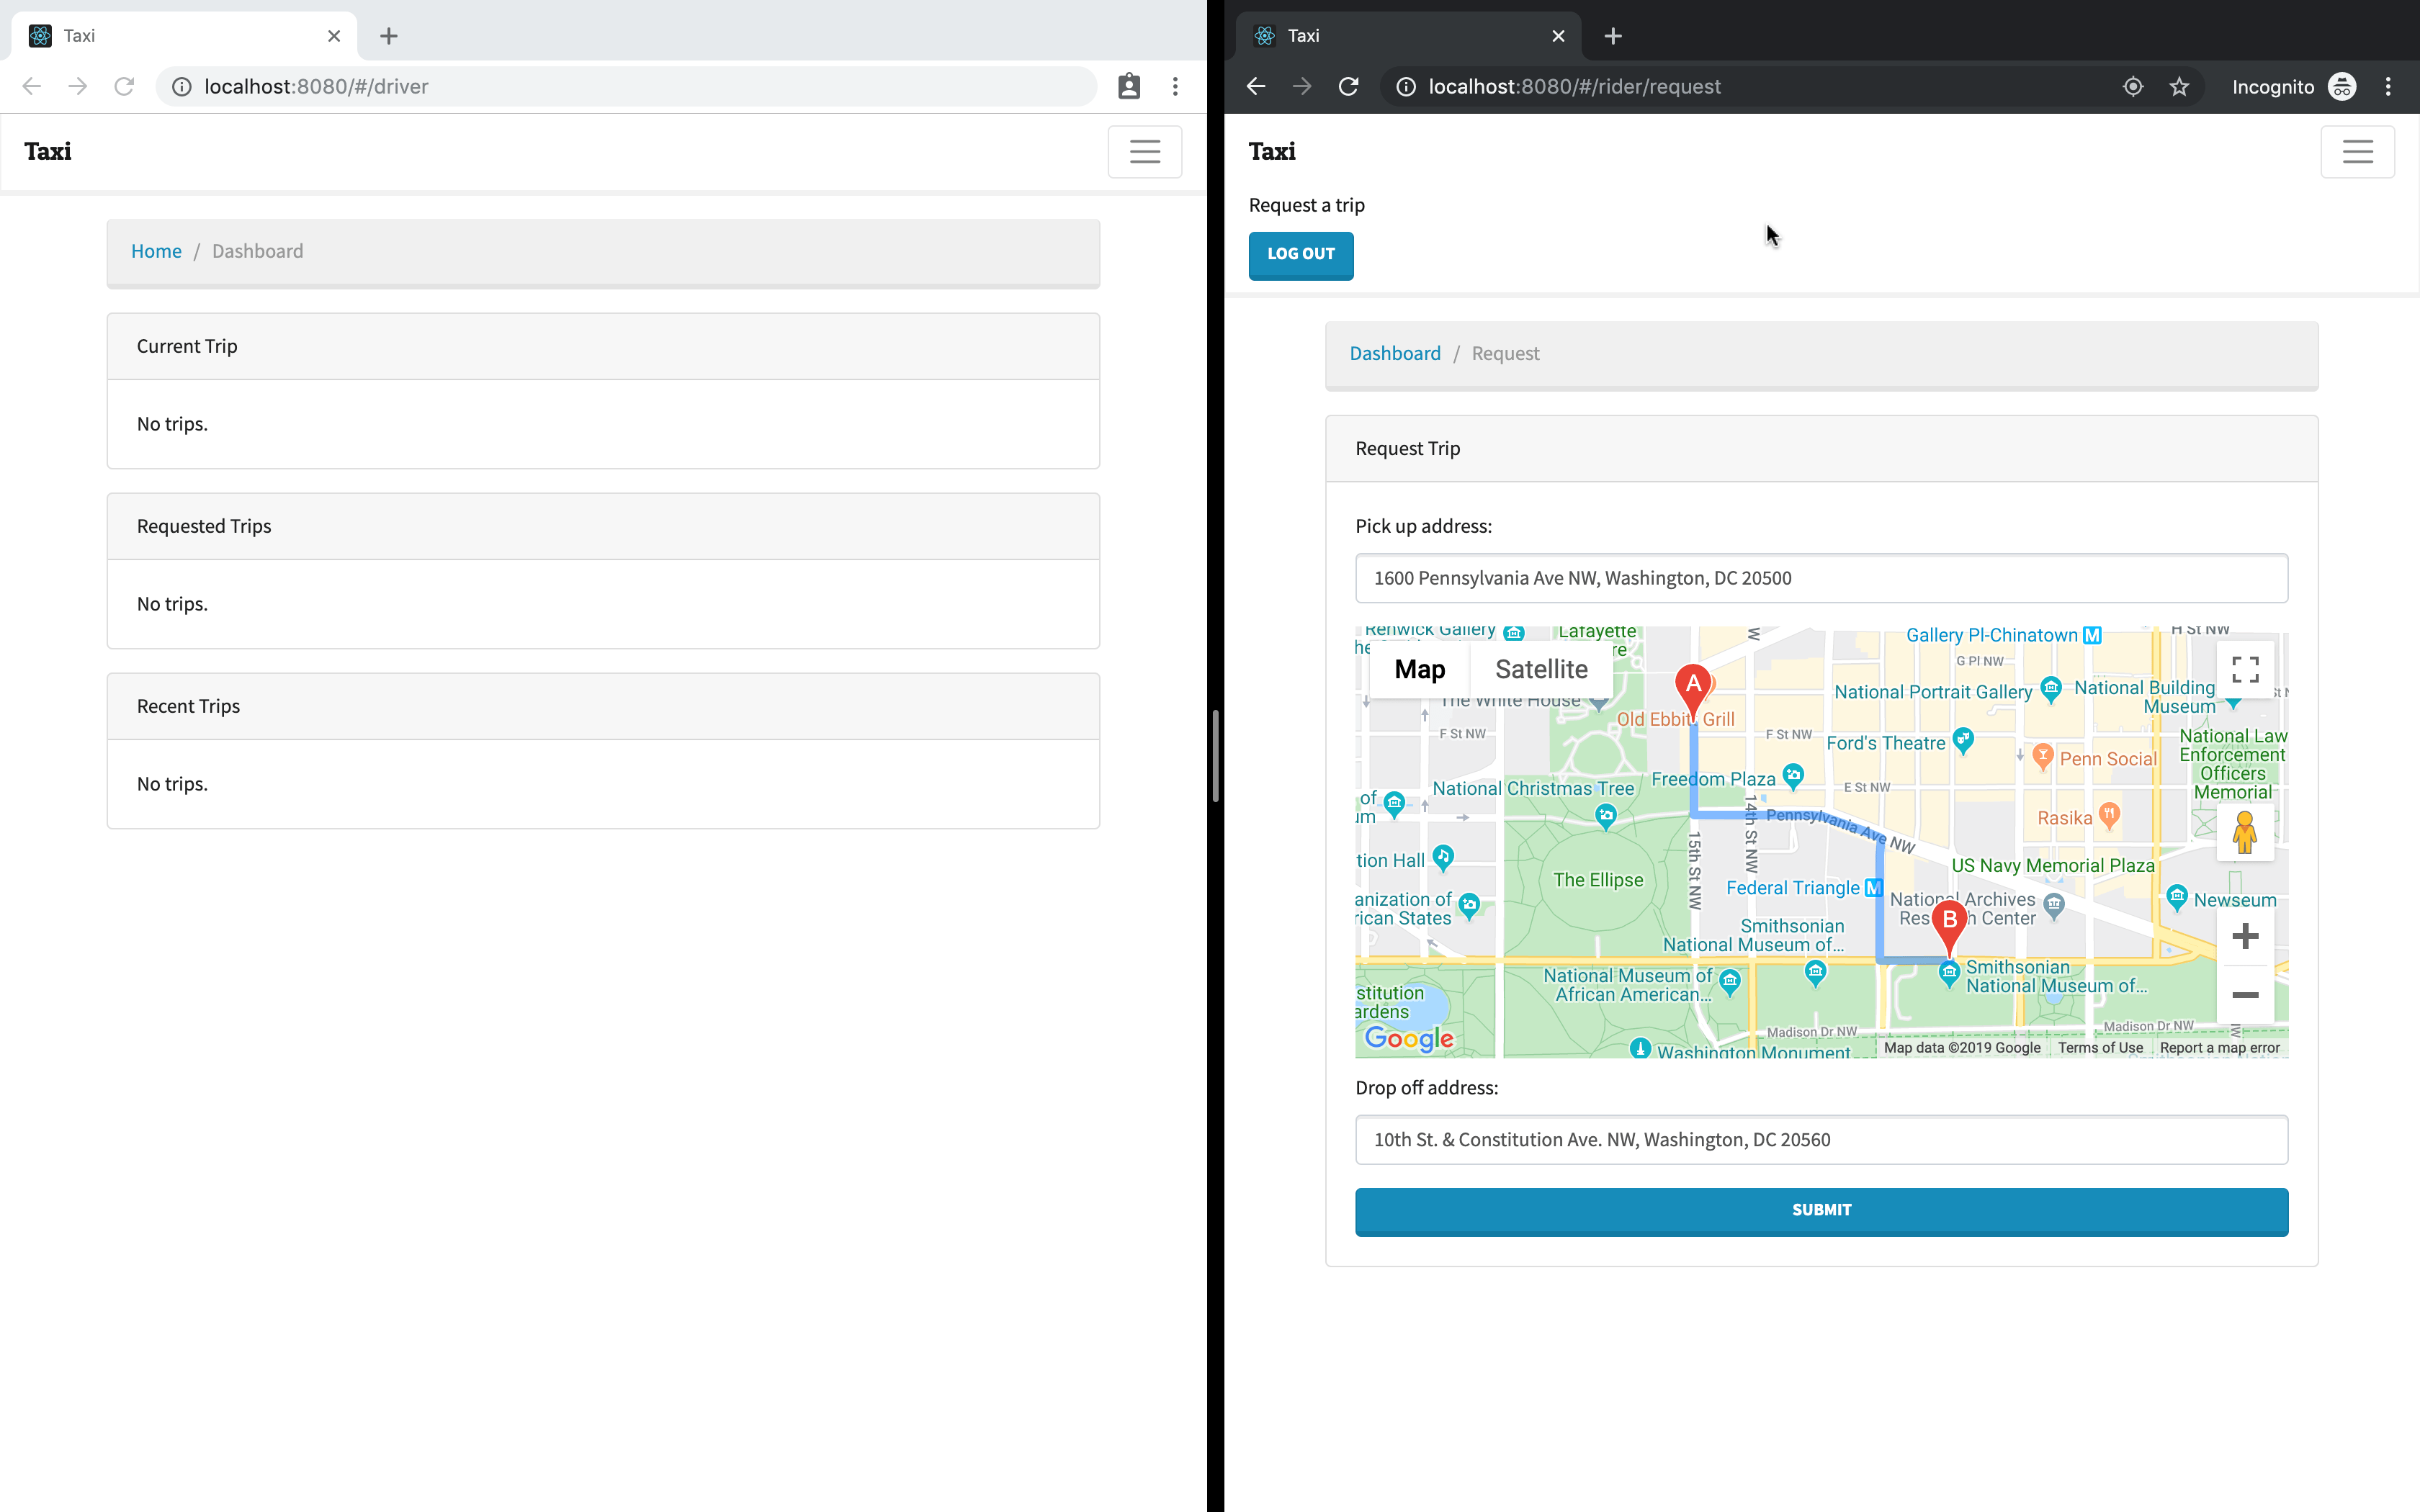
Whenever both the pick up address and the drop off address have been entered in the rider request form, we make a call to the Directions Service to get the route between the two coordinates. When the Directions Service loads successfully, we execute a simple callback function that sets the response state in our Map component. If the response is not null , then we render the route on the map using the DirectionsRenderer component. The effect looks like the following:
We have one more change to make to wire everything up correctly. Change the Map component in the RiderRequest.js file like so:
// components/RiderRequest.js

<Map
  lat={lat}
  lng={lng}
  zoom={13}
  pickUpAddress={values.pickUpAddress}
  dropOffAddress={values.dropOffAddress}
/>
With this change, every time the user enters data into the form controls, the data will be sent to the map. Test the updated rider request form and the new functionality.
Conclusion
Part 3, Chapter 10
Now that you have finished this course, you have the tools you need to build real-time web applications using React, Django Channels, and Docker. Having worked through these materials doesn’t make you an expert, but you should be able to recognize and implement common application features. Use what you have learned to create something great for your job or a personal project. Remember that you create good products when you research the problem you are trying to solve, follow programming best practices, and test every piece of code you write.