16 Haunted House
Difficulty Hard
Introduction
Let’s use what we’ve learned to create a haunted house. We will only use Three.js primitives as geometries, the textures in the /static/textures/ folder, and one or two new features.
We will create an elementary house composed of walls, a roof, a door, and some bushes. We will also produce graves in the garden. Instead of visible ghosts made of sheets, we will simply use multicolor lights floating around and passing through the walls and the floor.
Tips for measurements
One beginner mistake we always make when creating something using primitives is using random measures. One unit in Three.js can mean anything you want.
Suppose you are creating a considerable landscape to fly above. In that case, you might think of one unit as one kilometer. If you are building a house, you might think of one unit as one meter, and if you are making a marble game, you might think of one unit as one centimeter.
Having a specific unit ratio will help you create geometries. Let’s say you want to make the door. You know that a door is slightly taller than you, so it should reach around 2 meters.
For those using imperials units, you’ll have to do the conversion.
Setup
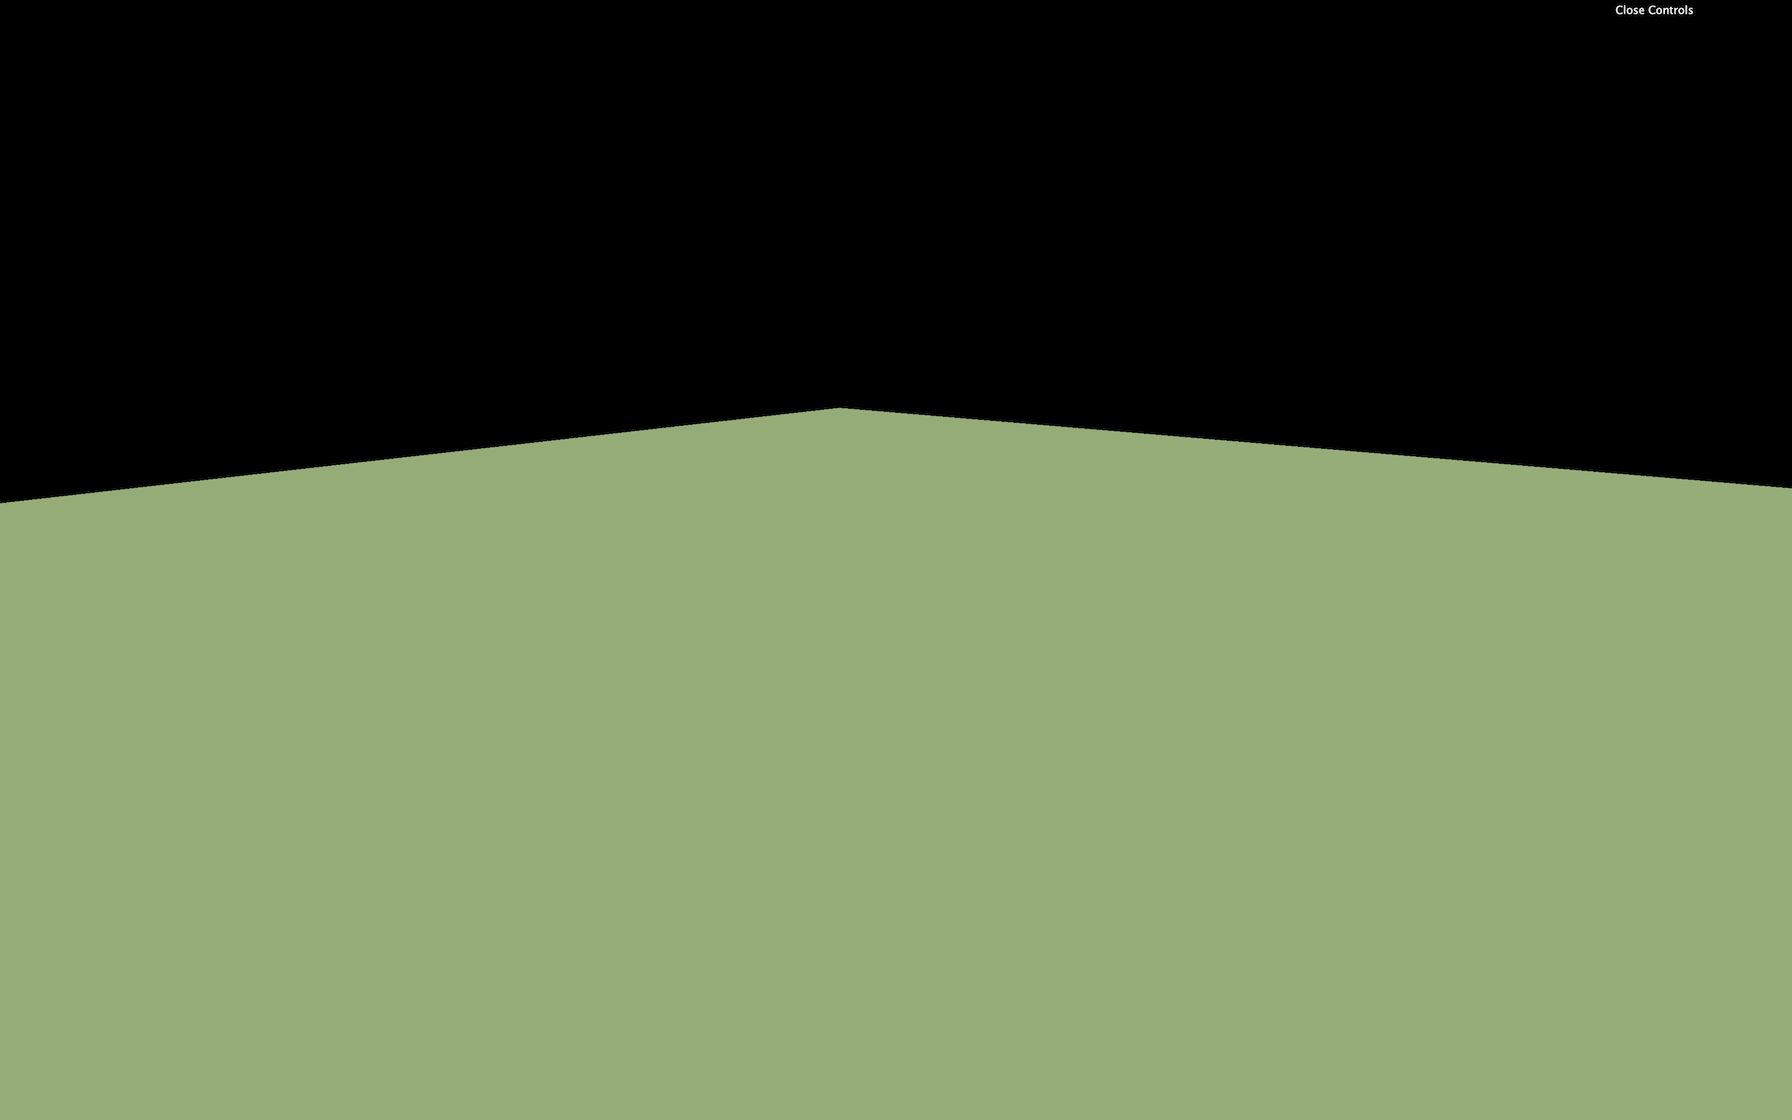
The starter is only composed of a floor, a sphere, some lights (way too intense for a haunted house), and shadows aren’t even working.
We will have to create the house all by ourselves, tweak the current lights for a better ambiance, add the shadows, and the rest.

The house
First, let’s remove the sphere and create a tiny house. We can leave the floor.
Instead of putting every object composing that house in the scene, we will first create a container just in case we want to move or scale the whole thing:
// House container
const house = new THREE.Group()
scene.add(house)
JavaScript
Copy
Then we can create the walls with a simple cube and add it to the house . Don’t forget to move the walls up on the y axis; otherwise it will be half inside the floor:
const walls = new THREE.Mesh(
    new THREE.BoxBufferGeometry(4, 2.5, 4),
    new THREE.MeshStandardMaterial({ color: '#ac8e82' })
)
walls.position.y = 1.25
house.add(walls)
JavaScript
Copy
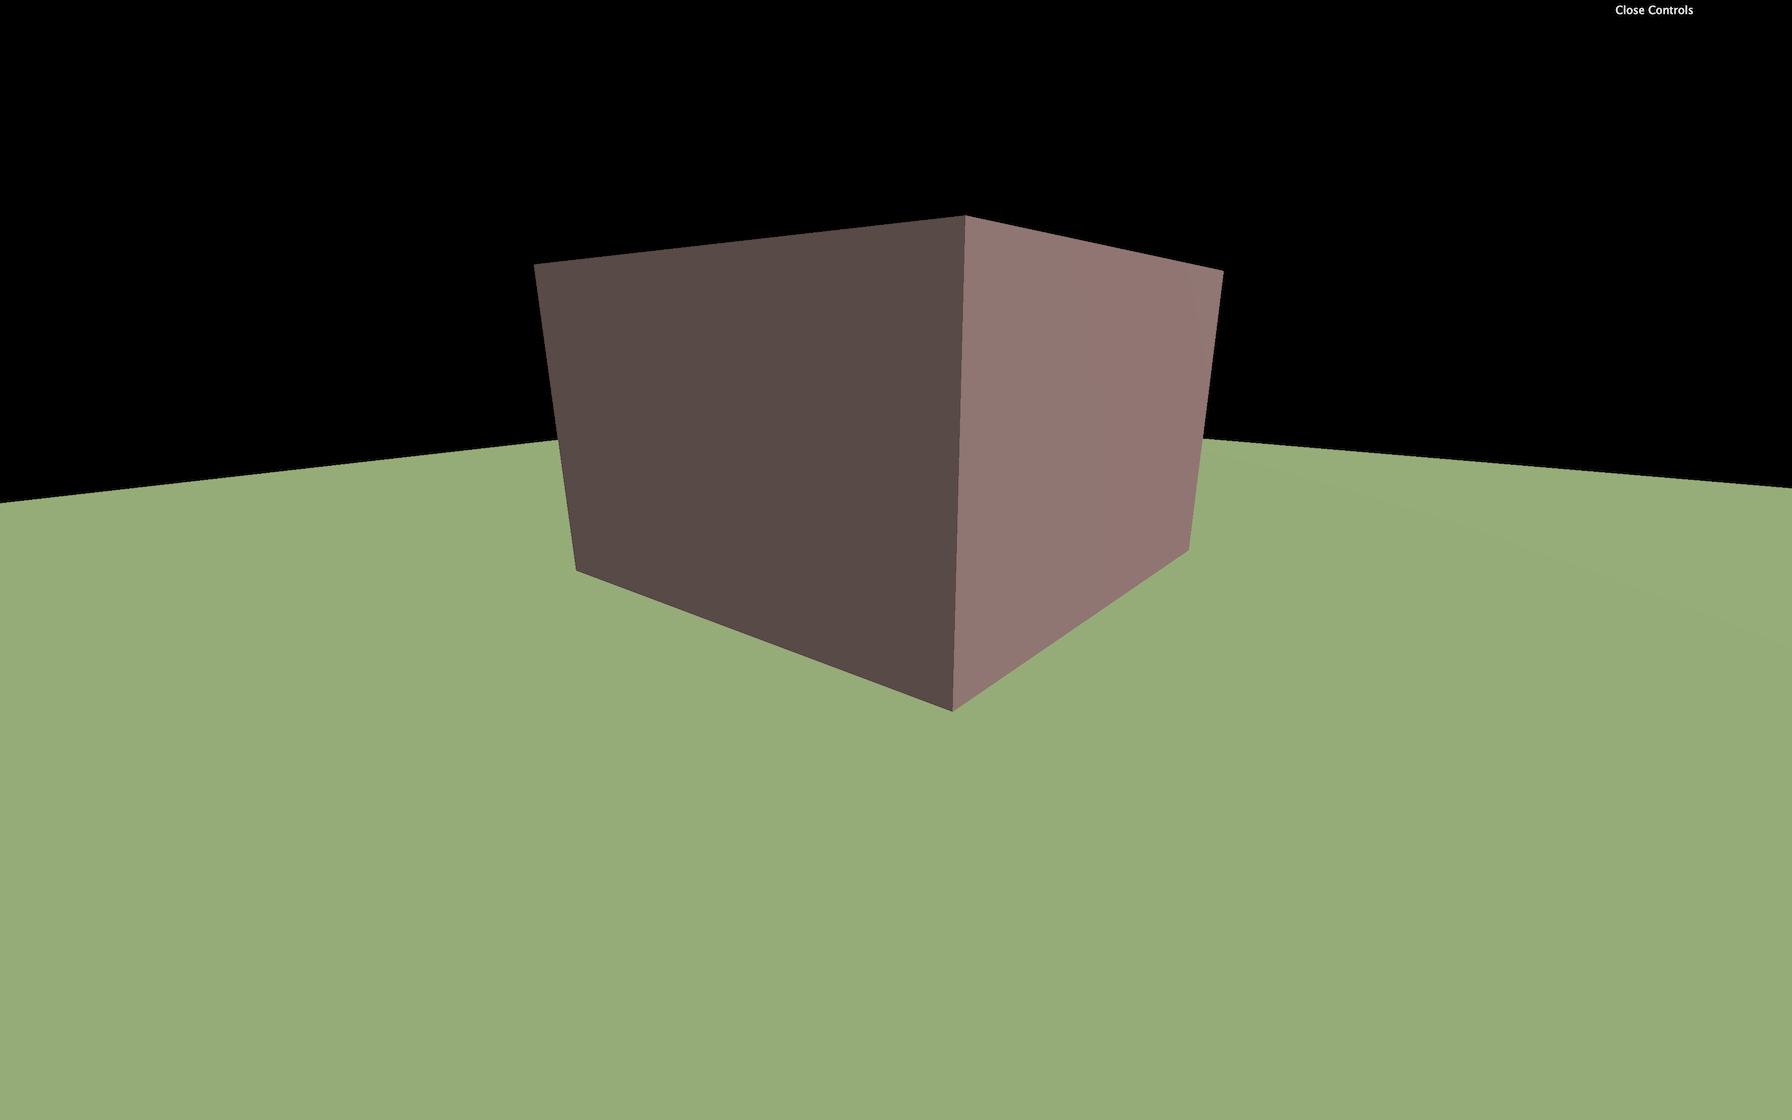
We chose 2.5 for the height because it would seem like a normal height for the ceiling. We also chose '#ac8e82' for the color, but it’s temporary, and we will replace those colors with textures later.
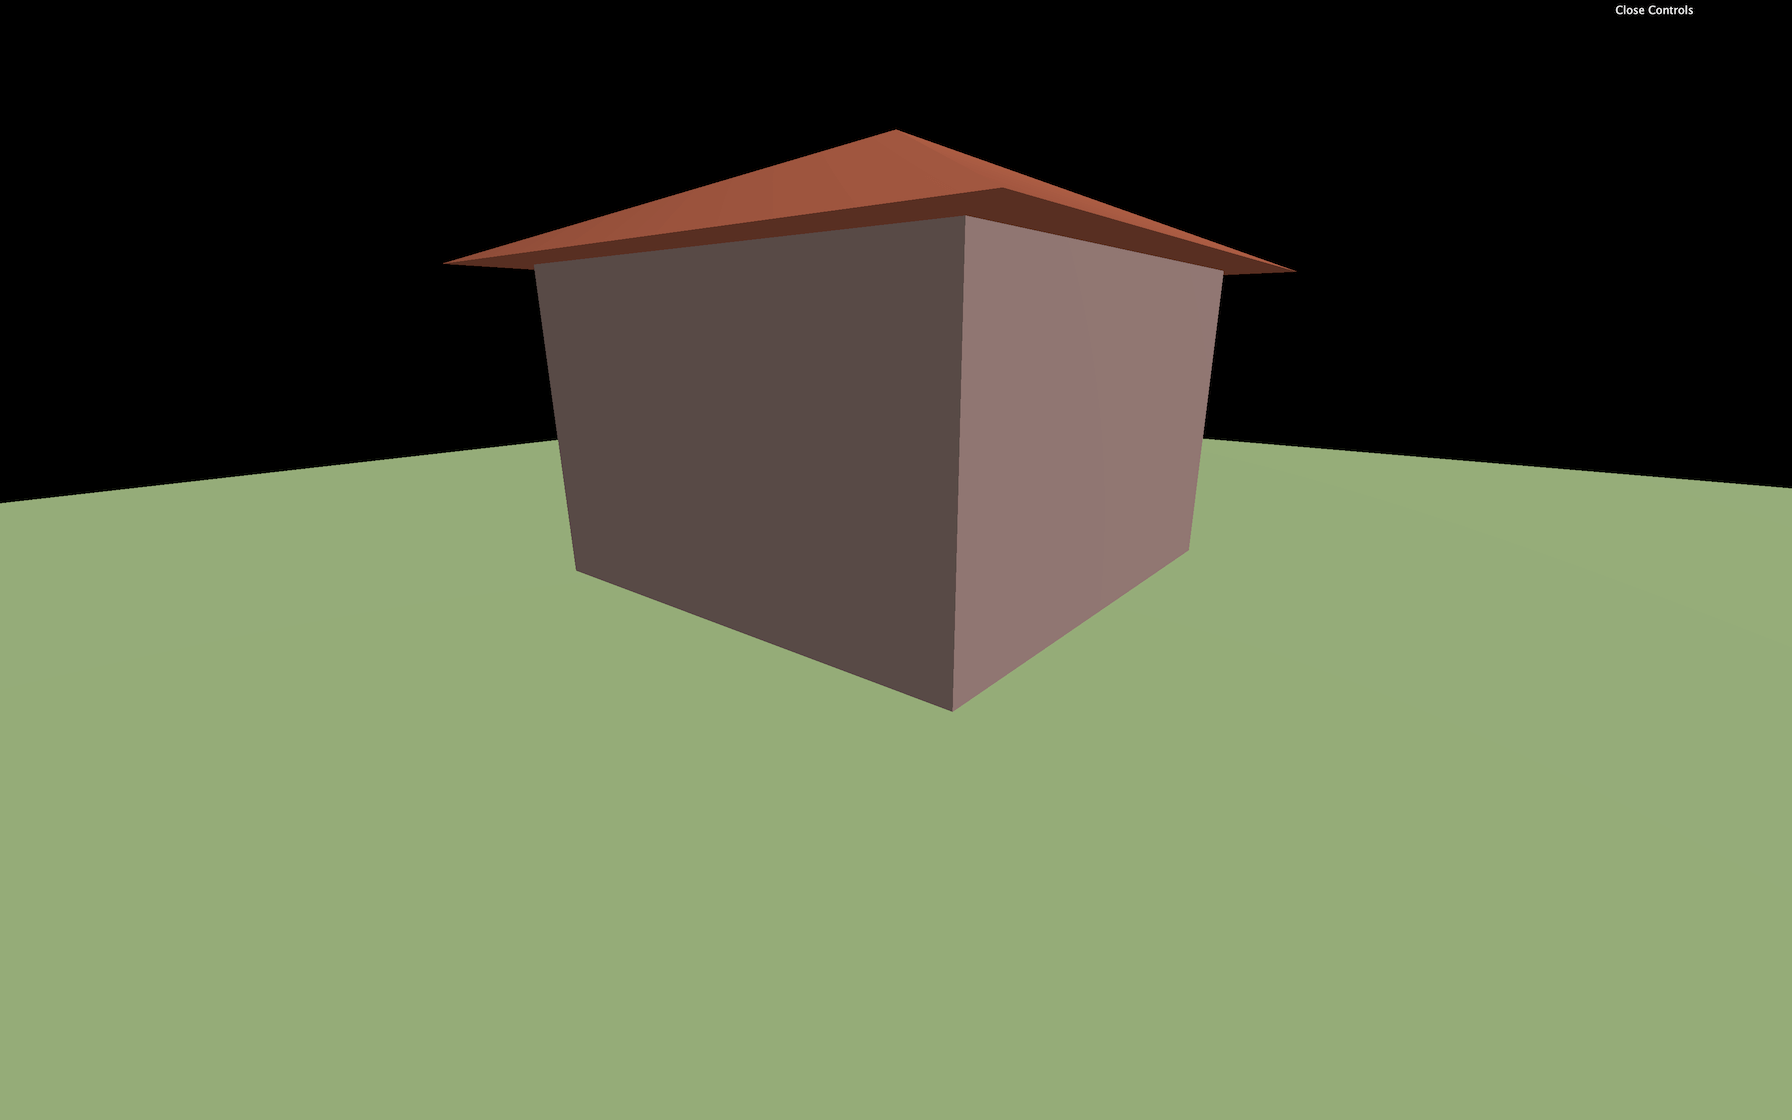
For the roof, we want to make a pyramid shape. The problem is that Three.js doesn’t have this kind of geometry. But if you start from a cone and reduce the number of sides to 4 , you’ll get a pyramid. Sometimes you just have to deflect basic features usages:
// Roof
const roof = new THREE.Mesh(
    new THREE.ConeBufferGeometry(3.5, 1, 4),
    new THREE.MeshStandardMaterial({ color: '#b35f45' })
)
roof.rotation.y = Math.PI * 0.25
roof.position.y = 2.5 + 0.5
house.add(roof)
JavaScript
Copy
Finding the right position and the right rotation might be a little hard. Take your time, try to figure out the logic behind the values, and don’t forget that Math.PI is your friend.
As you can see, we left 2.5 + 0.5 . We could have written 3 but it’s sometime better to visualize the logic behind the value. 2.5 , because the roof walls are 2.5 units high and 0.5 because the cone is 1 unit high (and we need to move it up to half its height).
We will use a simple plane for the door as we are going to use the beautiful door texture we used in a previous lesson.
// Door
const door = new THREE.Mesh(
    new THREE.PlaneBufferGeometry(2, 2),
    new THREE.MeshStandardMaterial({ color: '#aa7b7b' })
)
door.position.y = 1
door.position.z = 2 + 0.01
house.add(door)
JavaScript
Copy
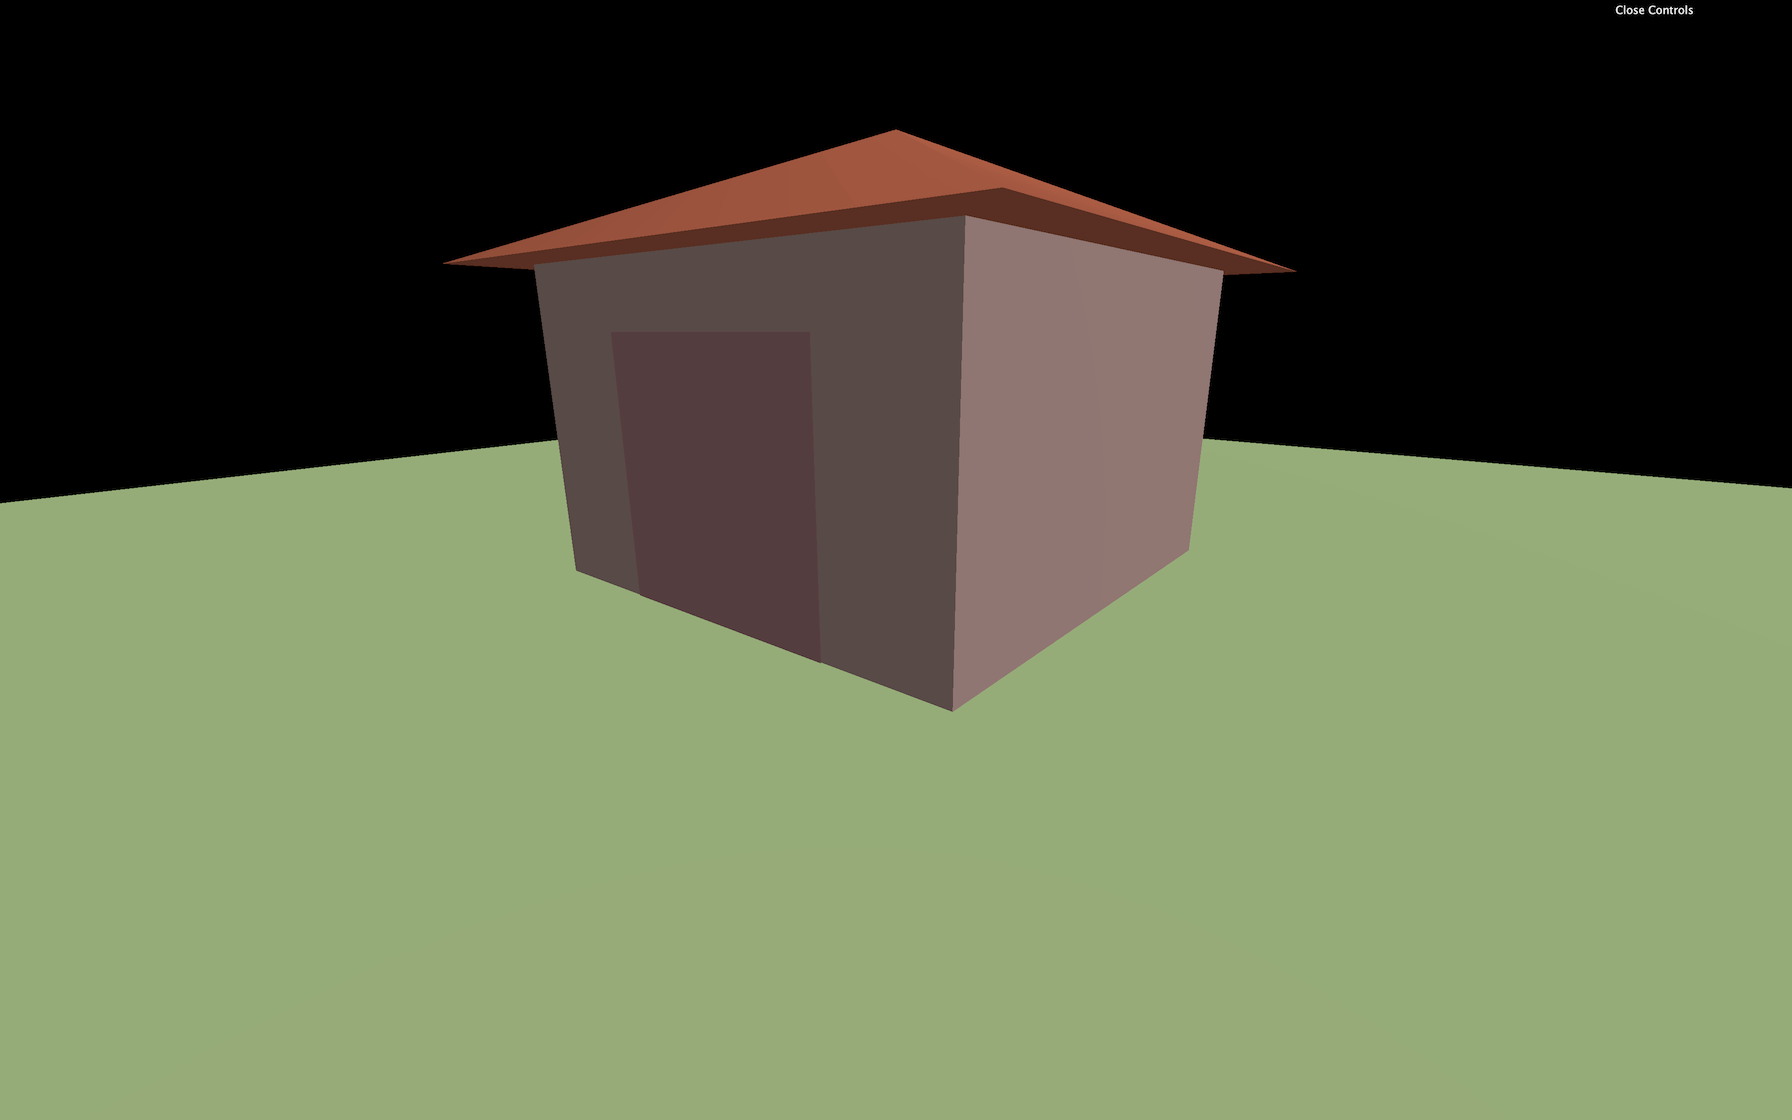
We don’t know yet if the plane has the right size, but we can fix that later when we have the textures working.
As you can see, we move the door on the z axis to stick it to the wall but we also added 0.01 units. If you don’t add this small value, you’ll have a bug we already saw in a previous lesson called z-fighting. Z-fighting happens when you have two faces in the same position (or very close). The GPU doesn’t know which one is closer than the other, and you get some strange visual pixel fighting.
Let’s add some bushes. Instead of creating one geometry for each bush, we will create only one, and all meshes will share it. The result will be visually the same, but we’ll get a performance improvement. We can do the same with the material.
// Bushes
const bushGeometry = new THREE.SphereBufferGeometry(1, 16, 16)
const bushMaterial = new THREE.MeshStandardMaterial({ color: '#89c854' })

const bush1 = new THREE.Mesh(bushGeometry, bushMaterial)
bush1.scale.set(0.5, 0.5, 0.5)
bush1.position.set(0.8, 0.2, 2.2)

const bush2 = new THREE.Mesh(bushGeometry, bushMaterial)
bush2.scale.set(0.25, 0.25, 0.25)
bush2.position.set(1.4, 0.1, 2.1)

const bush3 = new THREE.Mesh(bushGeometry, bushMaterial)
bush3.scale.set(0.4, 0.4, 0.4)
bush3.position.set(- 0.8, 0.1, 2.2)

const bush4 = new THREE.Mesh(bushGeometry, bushMaterial)
bush4.scale.set(0.15, 0.15, 0.15)
bush4.position.set(- 1, 0.05, 2.6)

house.add(bush1, bush2, bush3, bush4)
JavaScript
Copy
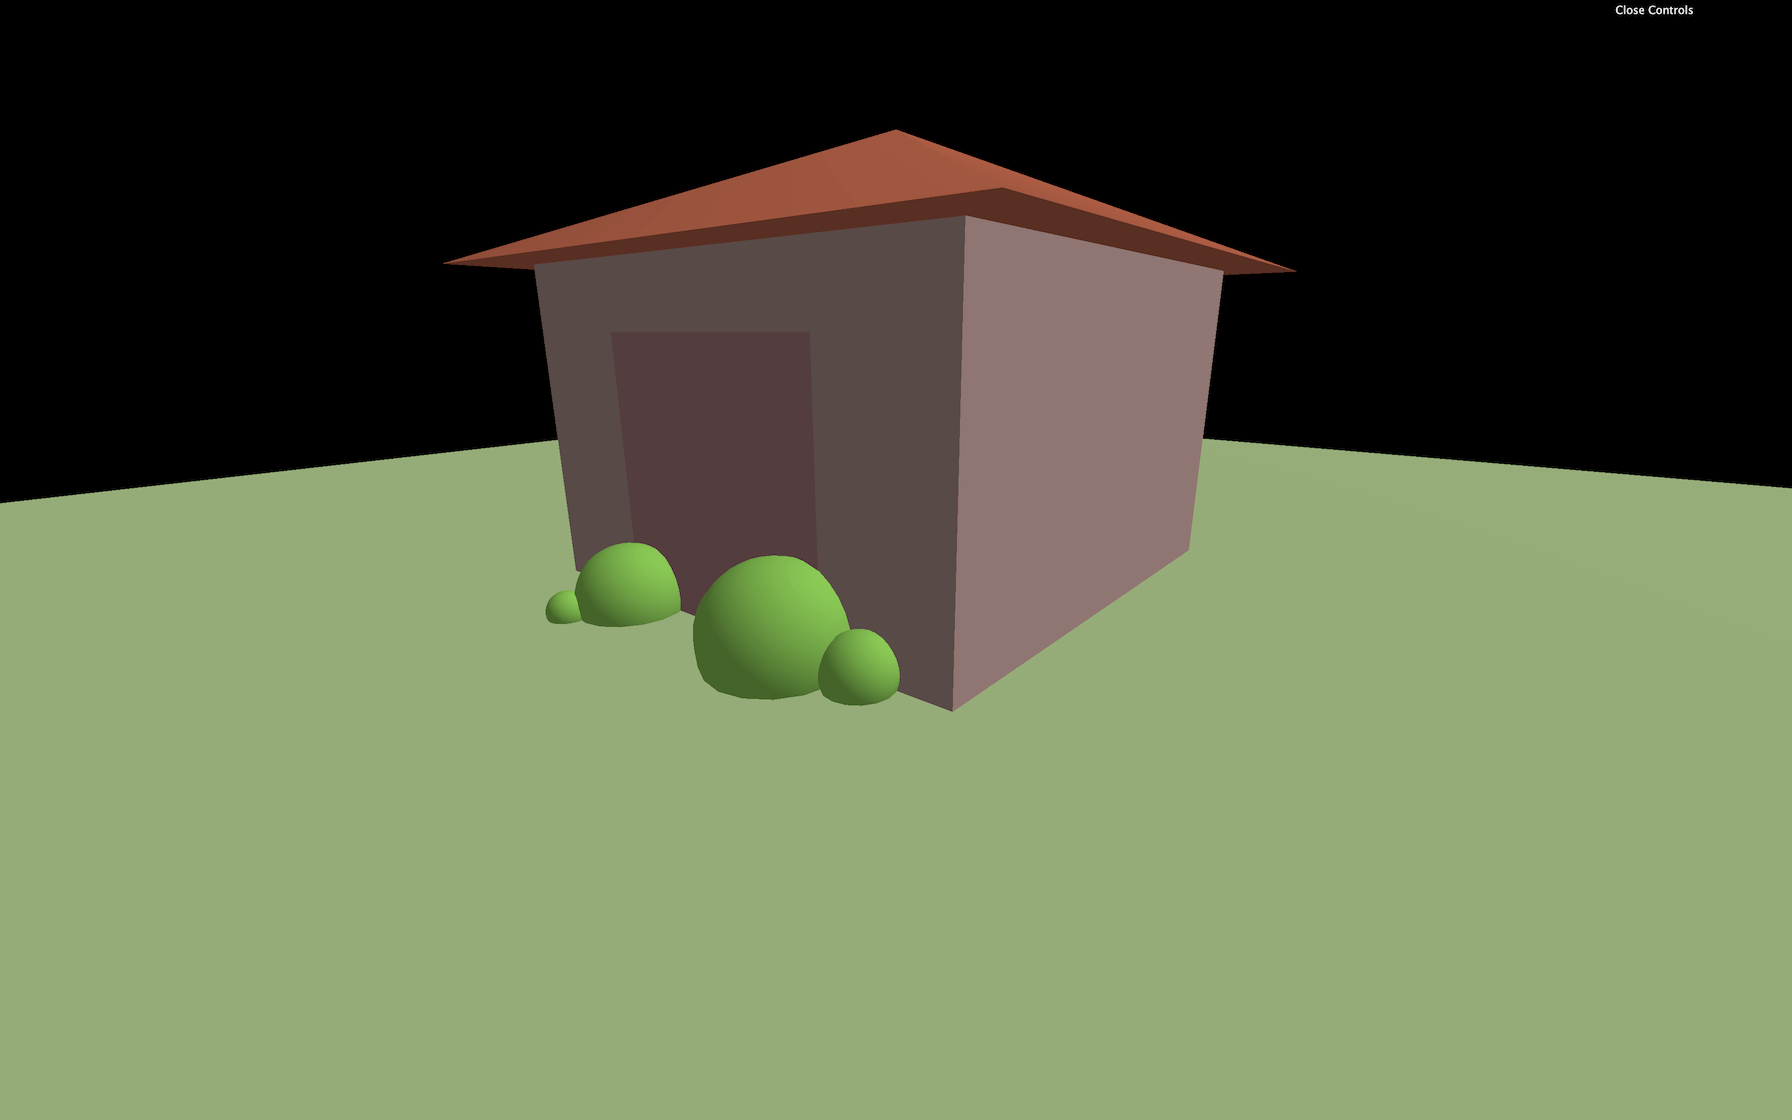
It does take too long to place and scale all these objects directly in the code. In a later lesson, we will learn how to use a 3D software to create all of this.
We won’t add too many details to the house because we must move forward, but feel free to pause and add anything you want like low walls, an alley, windows, a chimney, rocks, etc.
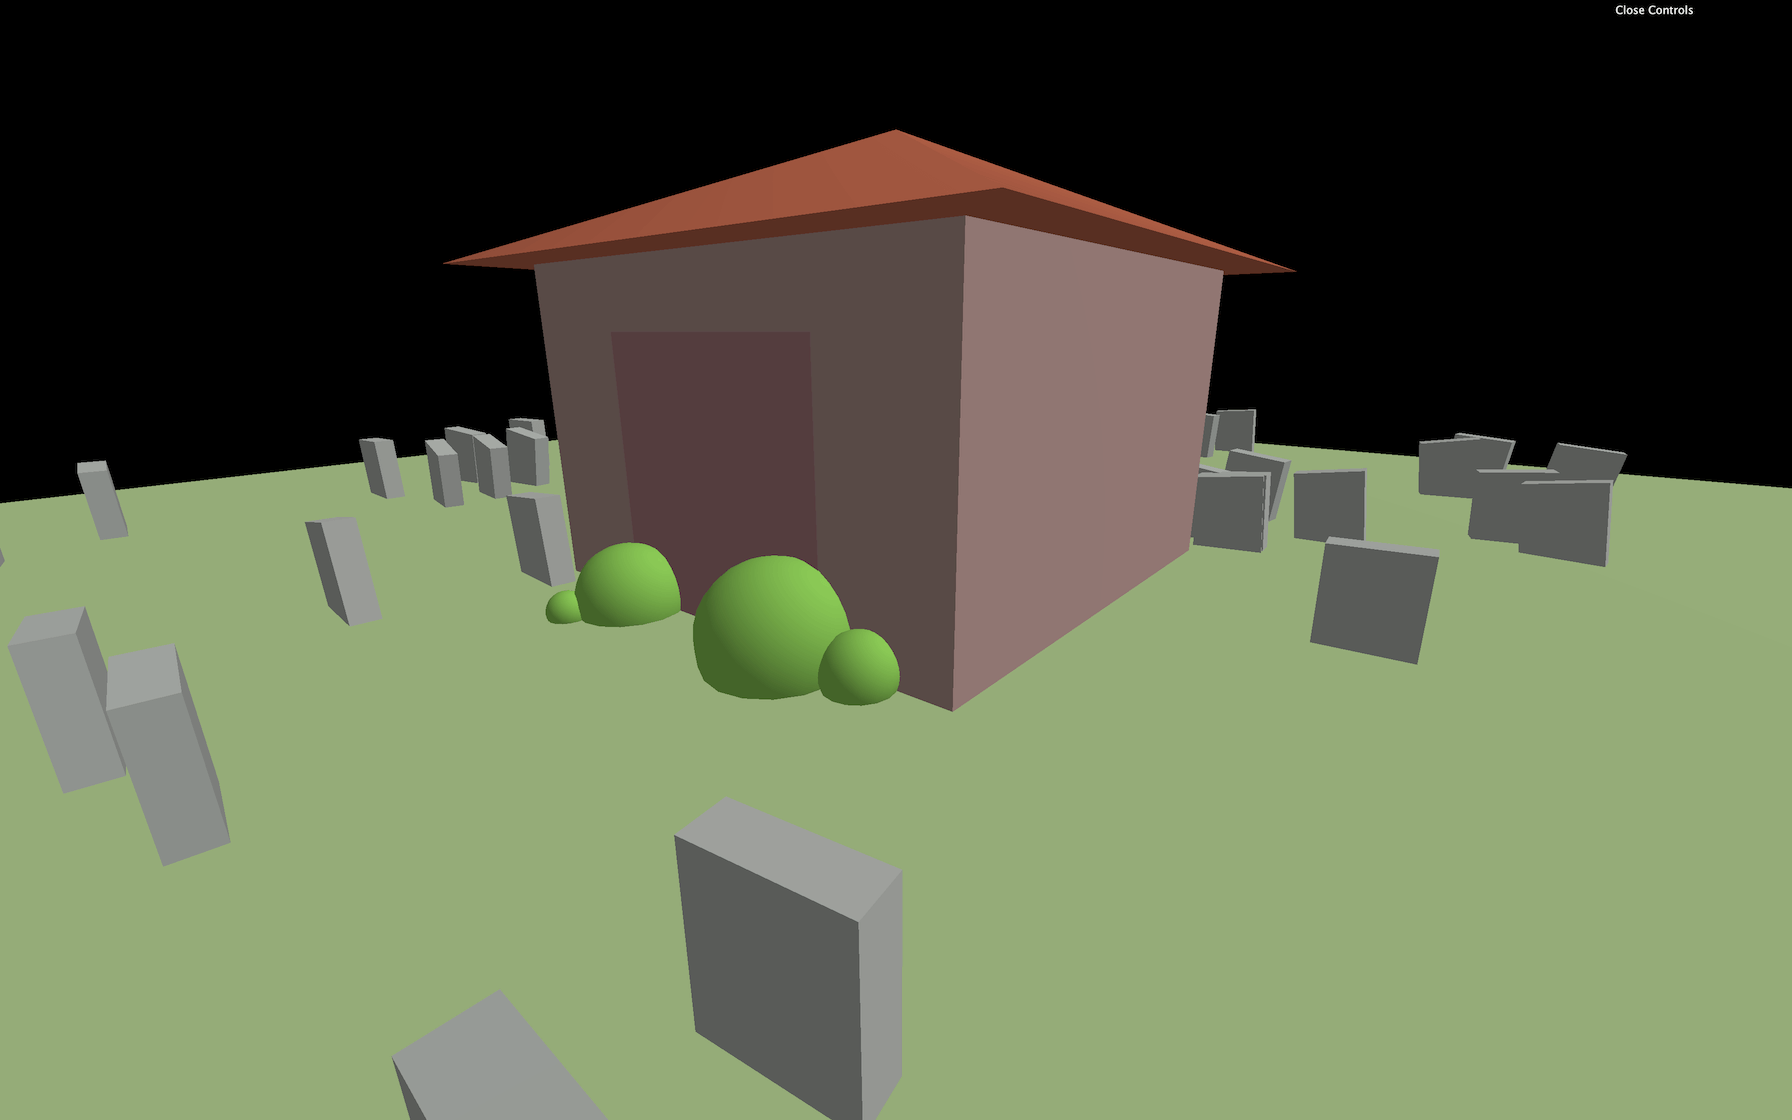
The graves
Instead of placing each grave manually, we are going to create and place them procedurally.
The idea is to place the graves randomly on a circle around the house.
First, let’s create a container just in case:
// Graves
const graves = new THREE.Group()
scene.add(graves)
JavaScript
Copy
Like in the 3D Text lesson where we created multiple donuts with one geometry and one material, we are going to create one BoxBufferGeometryand one MeshStandardMaterial that will be shared amongst every graves:
const graveGeometry = new THREE.BoxBufferGeometry(0.6, 0.8, 0.2)
const graveMaterial = new THREE.MeshStandardMaterial({ color: '#b2b6b1' })
JavaScript
Copy
Finally, let’s loop and do some mathematics to position a bunch of graves around the house.
We are going to create a random angle on a circle. Remember that a full revolution is 2 times π. Then we are going to use that angle on both a sin(...) and a cos(...) . This is how you position things on a circle when you have the angle. And finally we also multiply those sin(...) and cos(...) results by a random value because we don’t want the graves to be positioned on a perfect circle.
for(let i = 0; i < 50; i++)
{
    const angle = Math.random() * Math.PI * 2 // Random angle
    const radius = 3 + Math.random() * 6      // Random radius
    const x = Math.cos(angle) * radius        // Get the x position using cosinus
    const z = Math.sin(angle) * radius        // Get the z position using sinus

    // Create the mesh
    const grave = new THREE.Mesh(graveGeometry, graveMaterial)

    // Position
    grave.position.set(x, 0.3, z)

    // Rotation
    grave.rotation.z = (Math.random() - 0.5) * 0.4
    grave.rotation.y = (Math.random() - 0.5) * 0.4

    // Add to the graves container
    graves.add(grave)
}
JavaScript
Copy
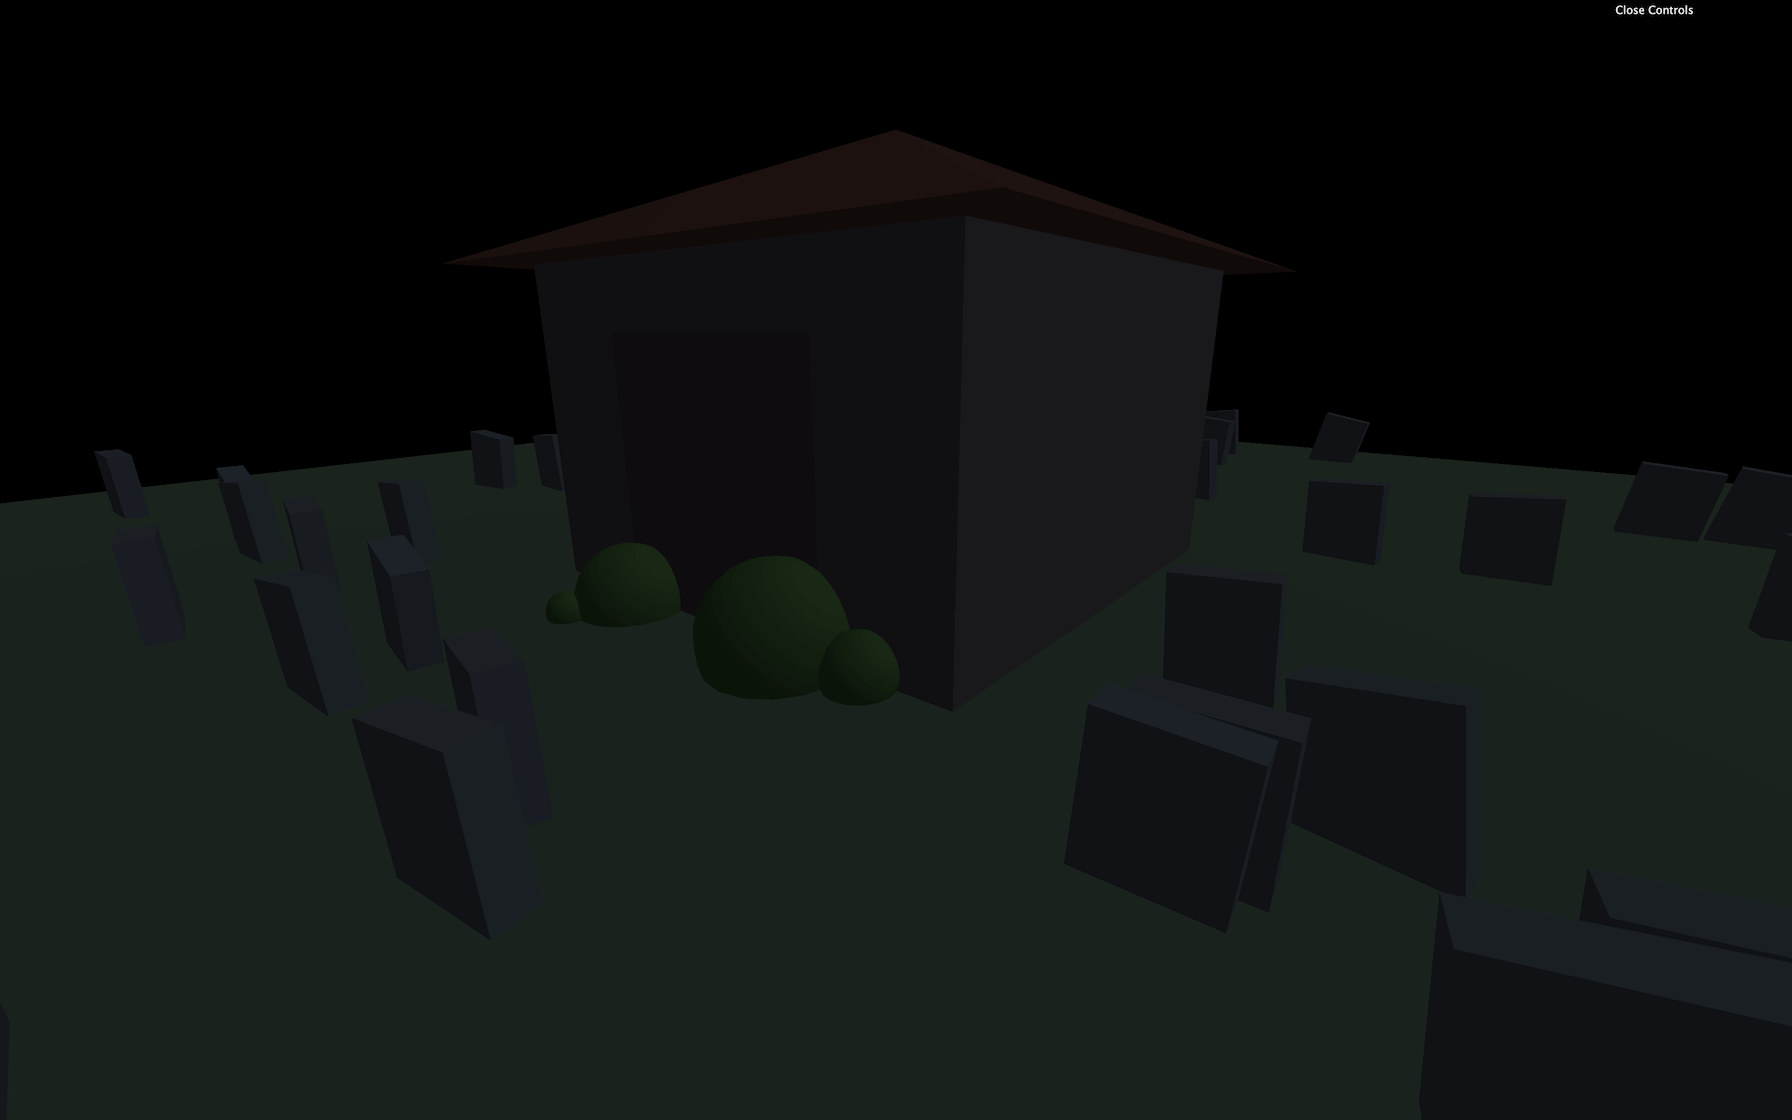
Lights
We have a pretty cool scene, but it’s not that scary yet.
First, let’s dim the ambient and moon lights and give those a more blue-ish color:
const ambientLight = new THREE.AmbientLight('#b9d5ff', 0.12)

// ...

const moonLight = new THREE.DirectionalLight('#b9d5ff', 0.12)
JavaScript
Copy
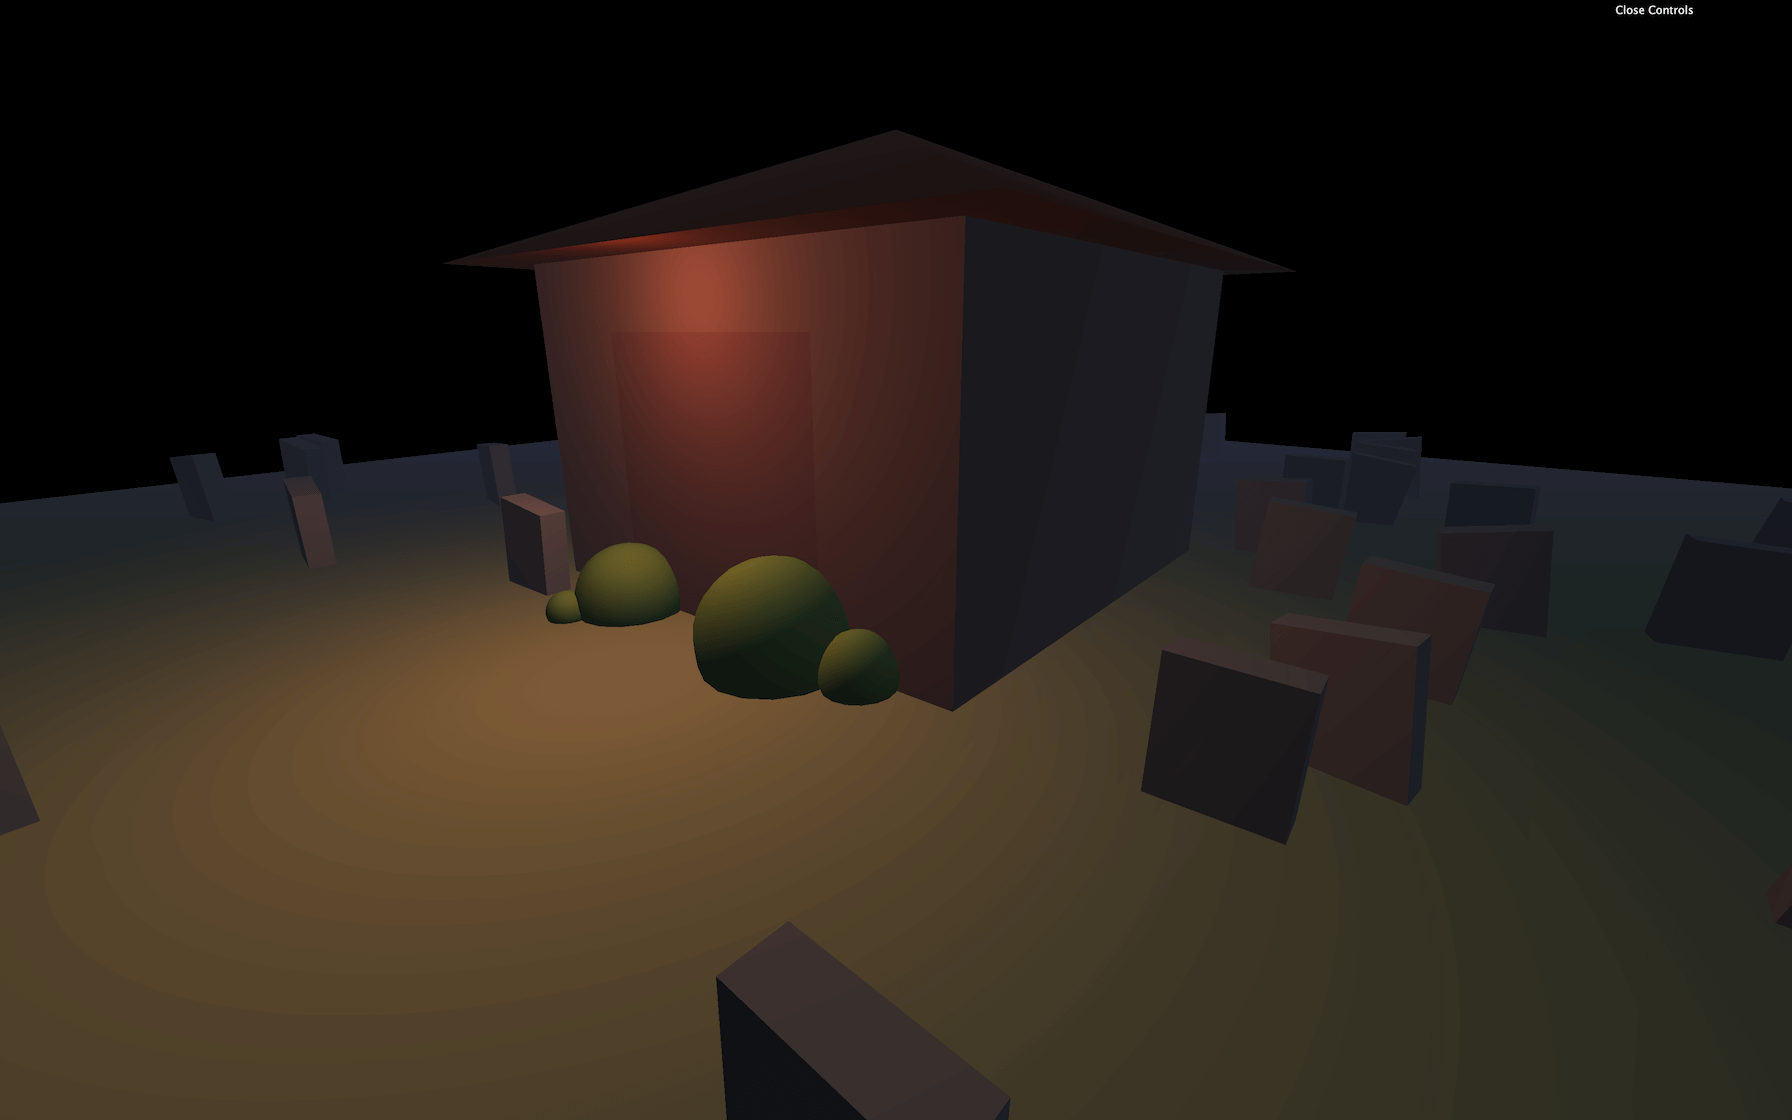
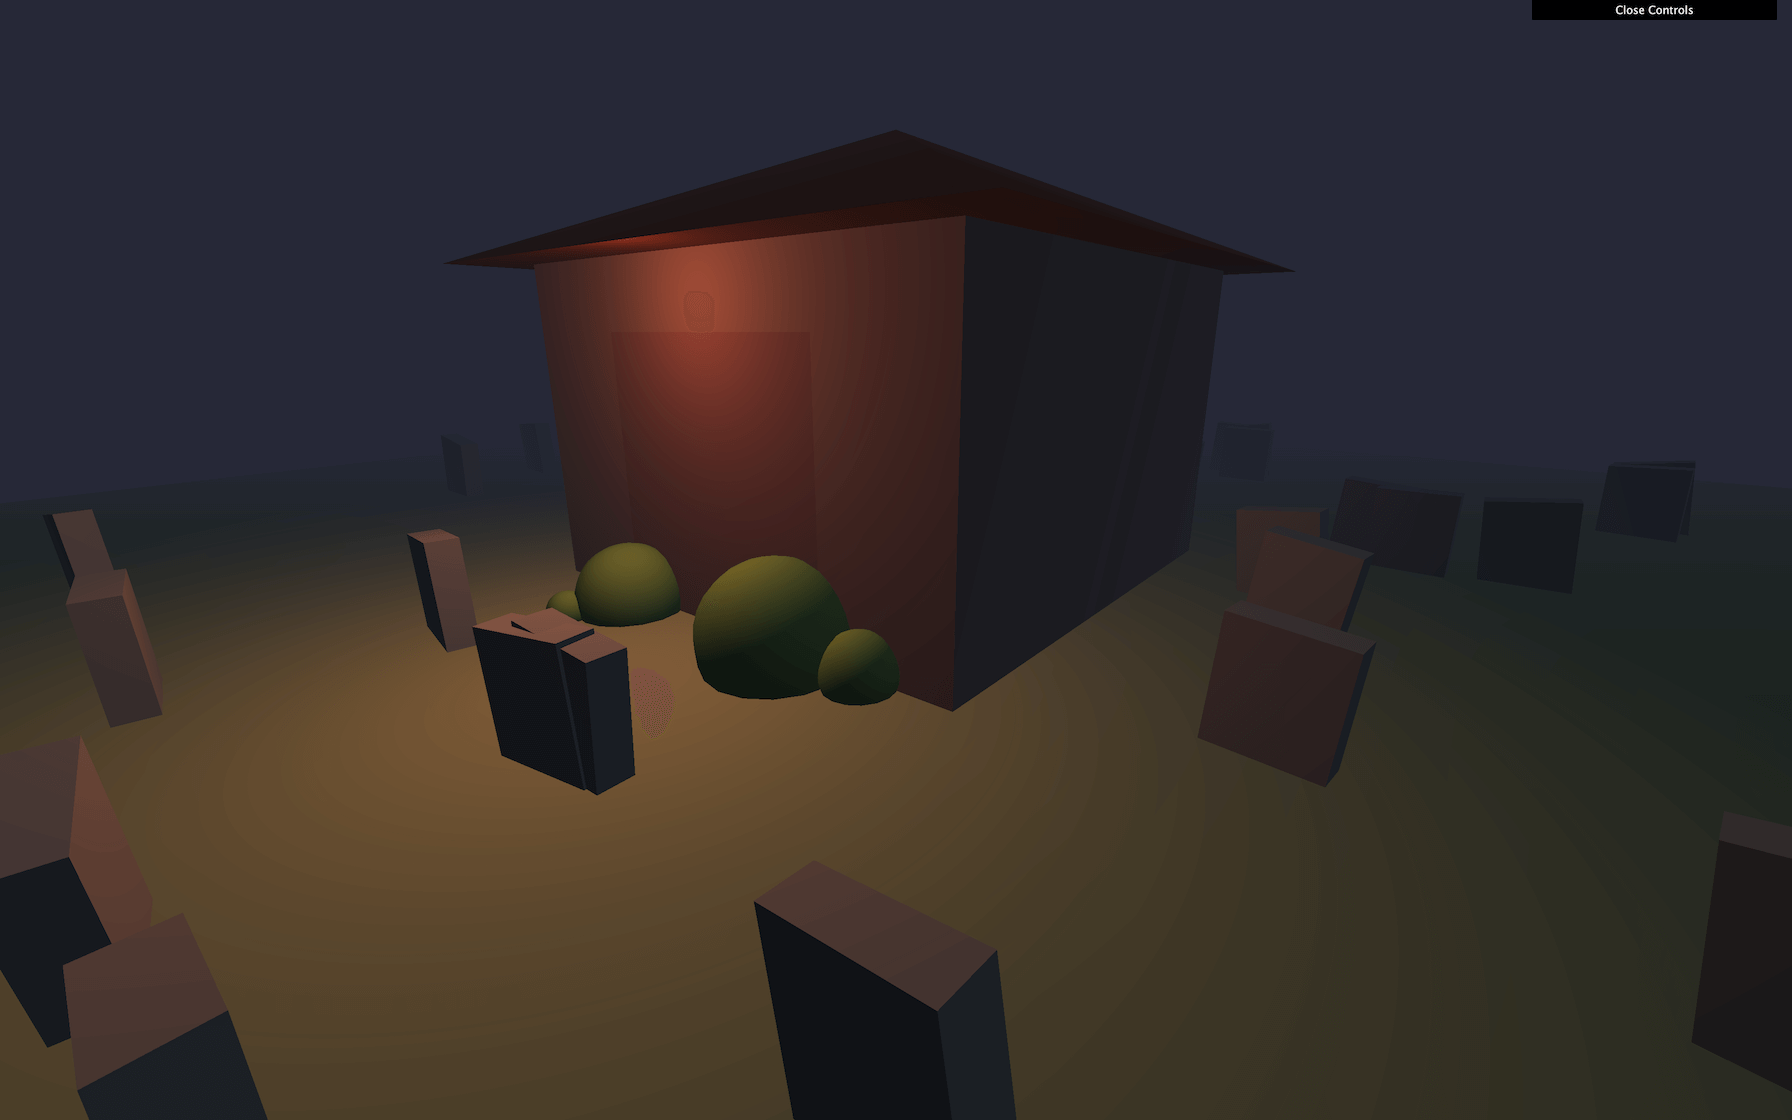
We can’t see much right now. Let’s also add a warm PointLight above the door. Instead of adding this light to the scene, we can add it to the house:
// Door light
const doorLight = new THREE.PointLight('#ff7d46', 1, 7)
doorLight.position.set(0, 2.2, 2.7)
house.add(doorLight)
JavaScript
Copy

Fog
In horror movies, they always use fog. The good news is that Three.js supports it already with the Fog class.
The first parameter is the color , the second parameter is the near (how far from the camera does the fog start), and the third parameter is the far (how far from the camera will the fog be fully opaque).
To activate the fog, add the fog property to the scene :
/**
 * Fog
 */
const fog = new THREE.Fog('#262837', 1, 15)
scene.fog = fog
JavaScript
Copy
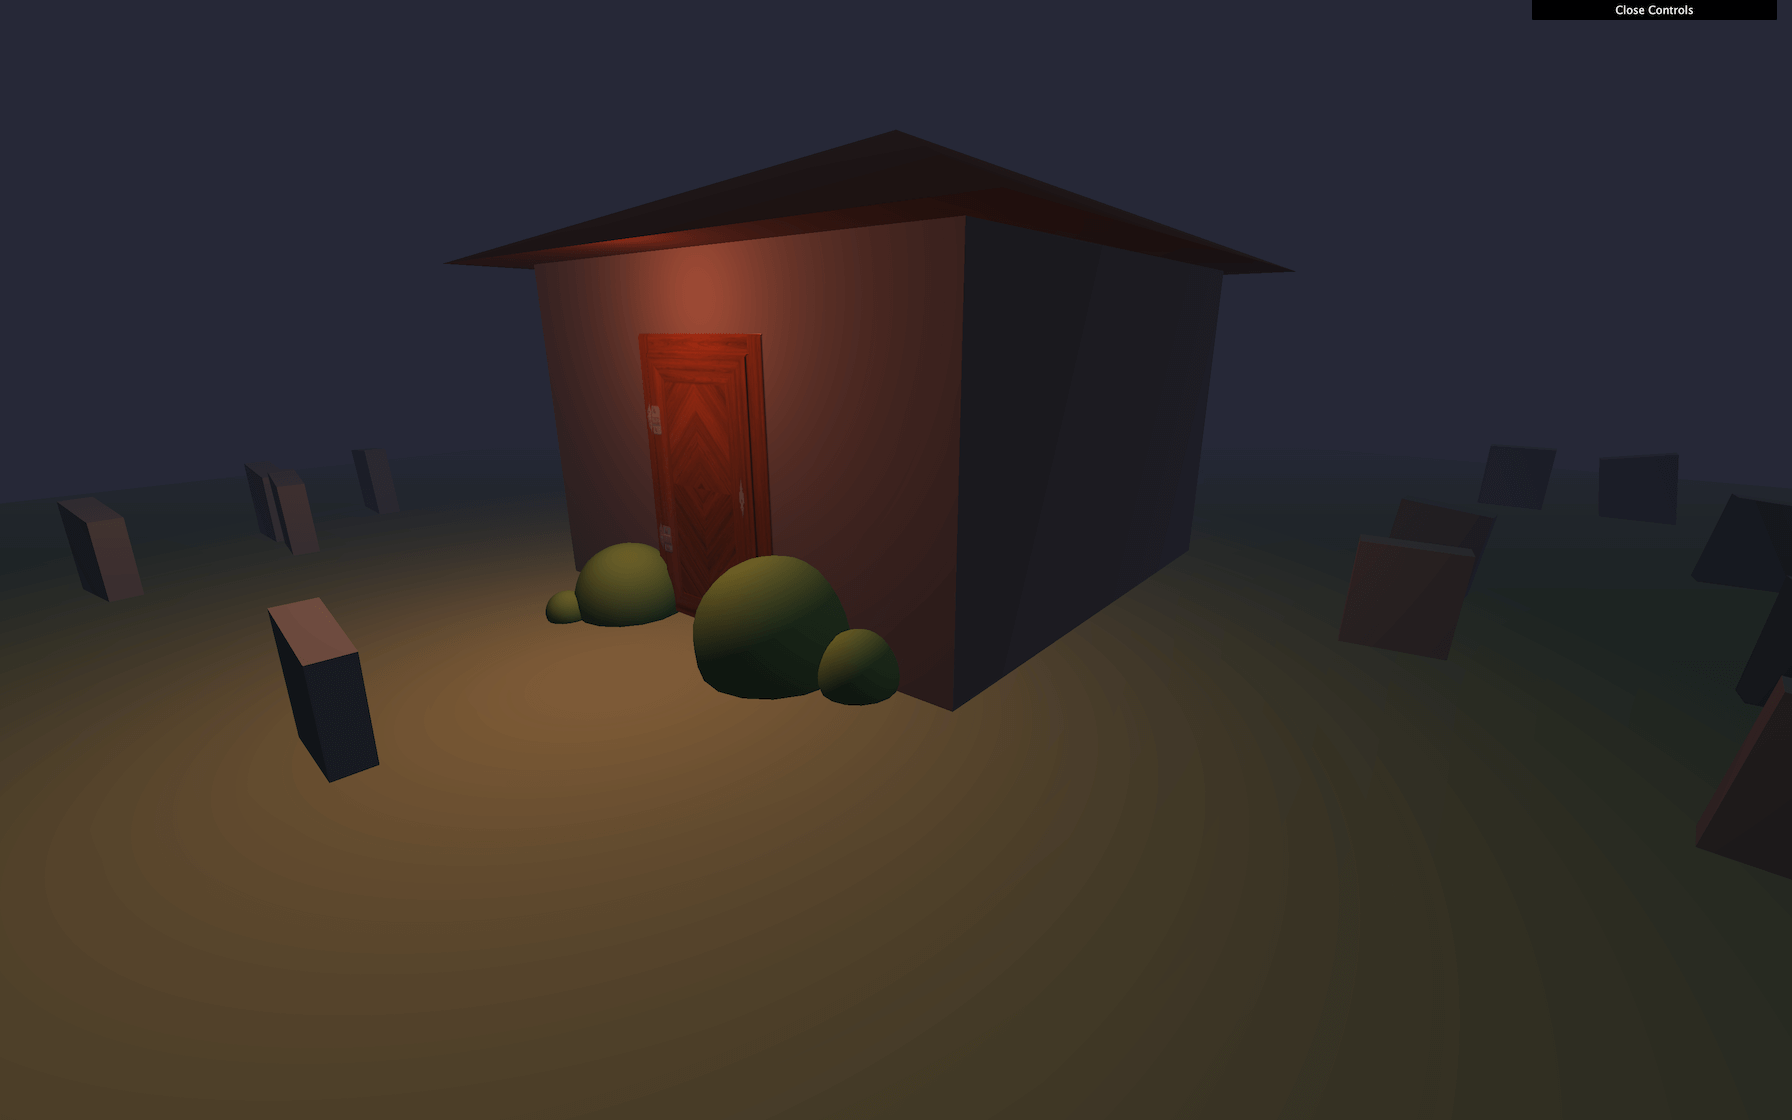
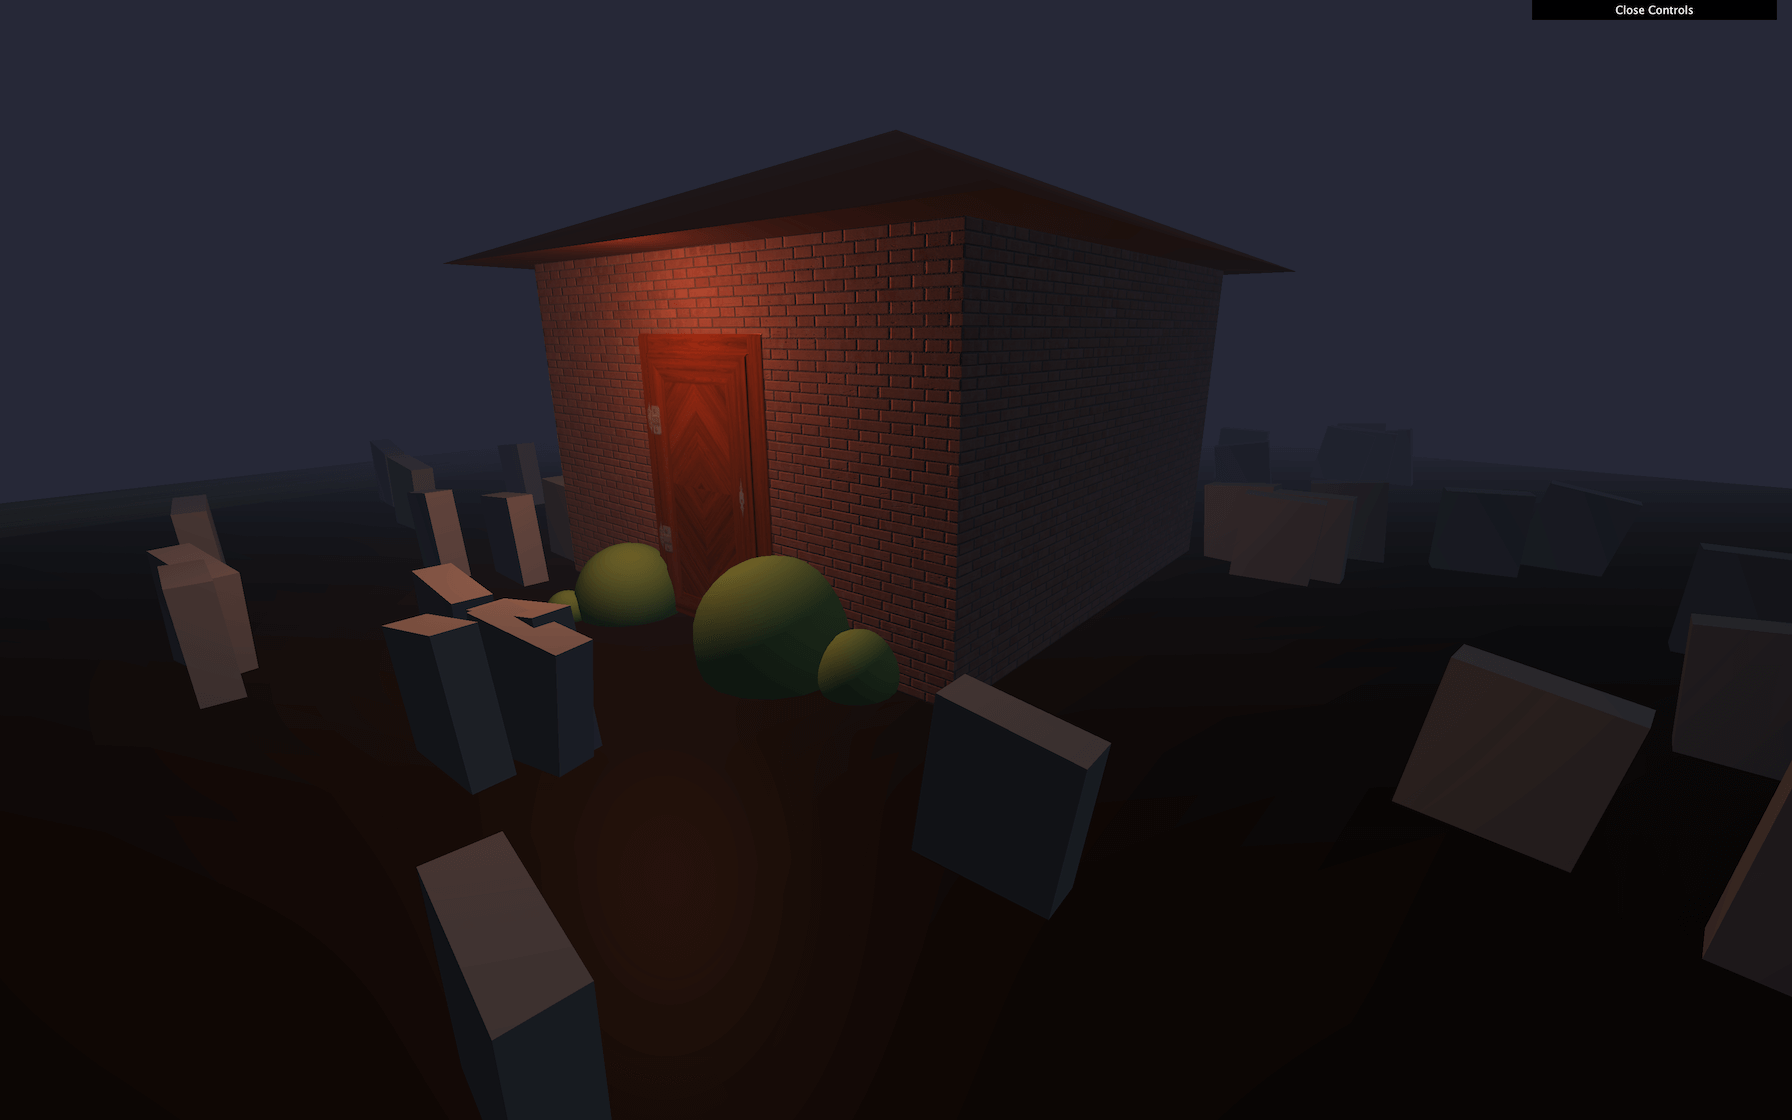
Not bad, but we can see a clean cut between the graves and the black background.
To fix that, we must change the clear color of the renderer and use the same color as the fog. Do that after instantiating the renderer :
renderer.setClearColor('#262837')
JavaScript
Copy
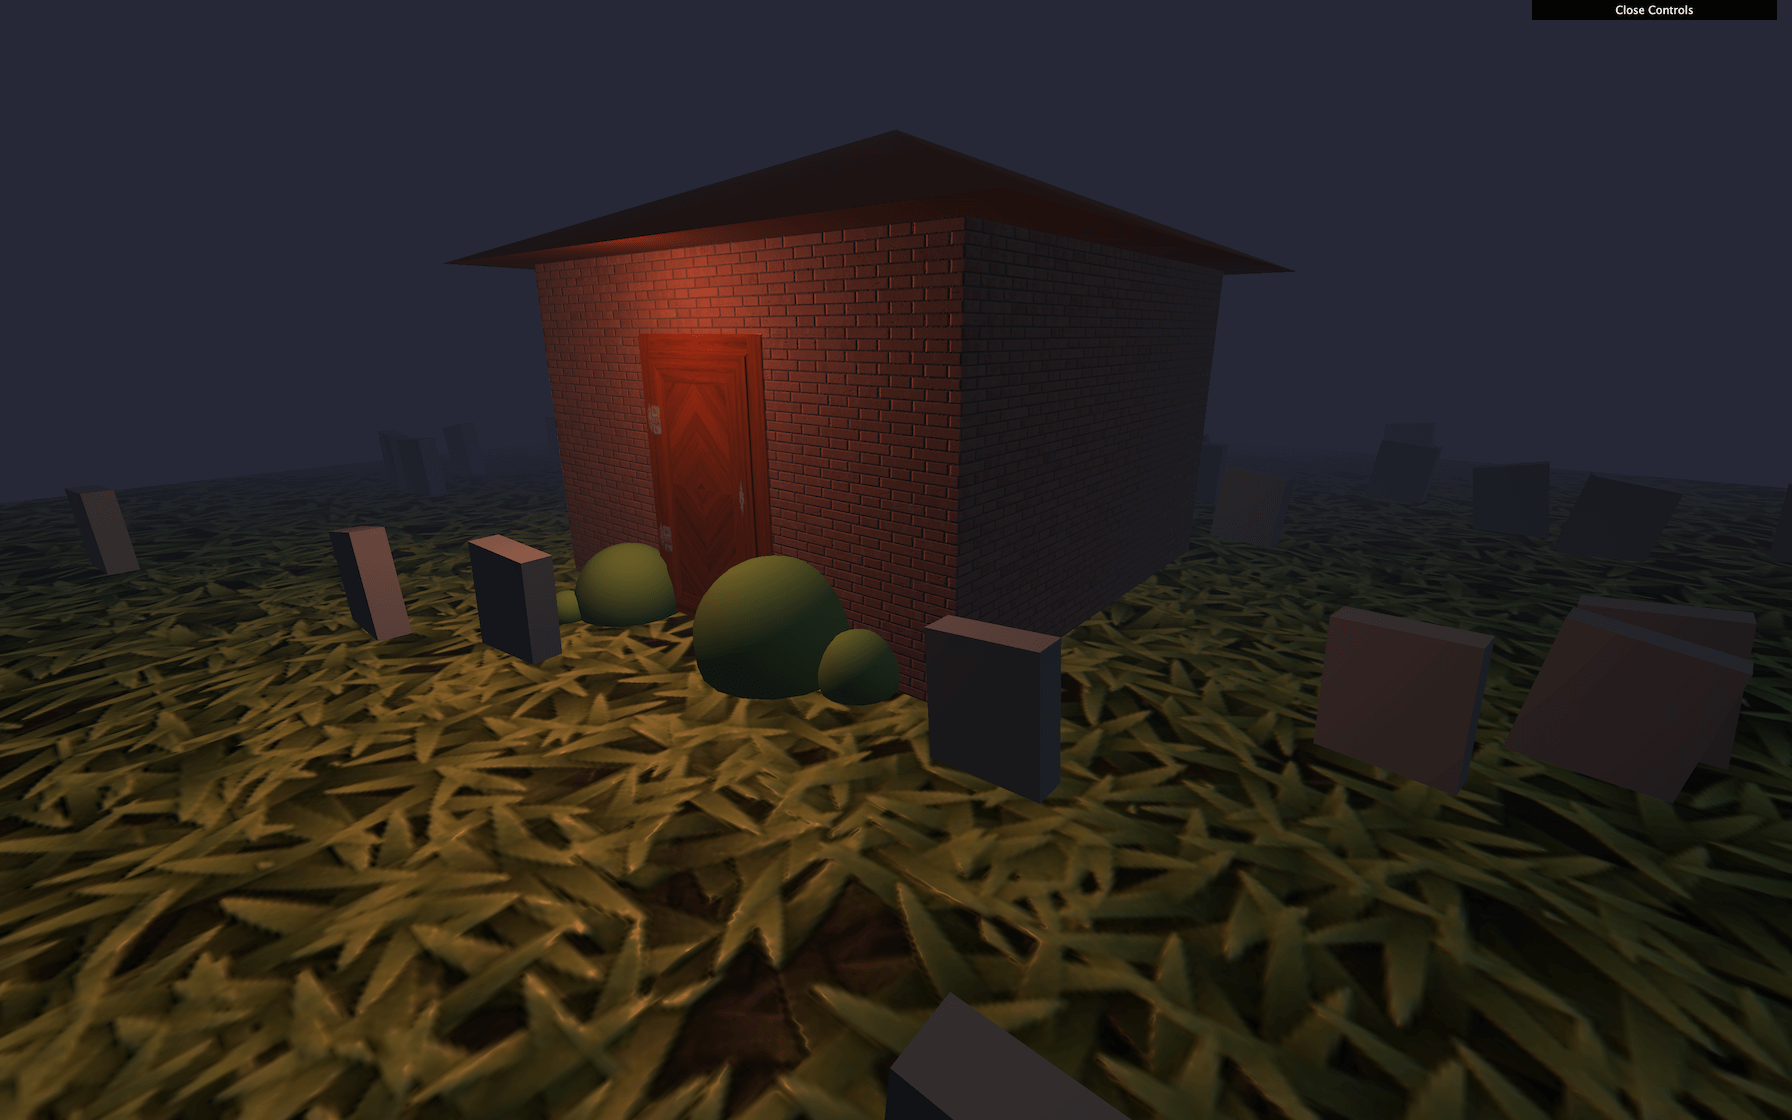
Here’s a slightly scarier scene.
Textures
For even more realism, we can add textures. The textureLoader is already in the code.
The door
Let’s start with something we already know and load all the door textures:
const doorColorTexture = textureLoader.load('/textures/door/color.jpg')
const doorAlphaTexture = textureLoader.load('/textures/door/alpha.jpg')
const doorAmbientOcclusionTexture = textureLoader.load('/textures/door/ambientOcclusion.jpg')
const doorHeightTexture = textureLoader.load('/textures/door/height.jpg')
const doorNormalTexture = textureLoader.load('/textures/door/normal.jpg')
const doorMetalnessTexture = textureLoader.load('/textures/door/metalness.jpg')
const doorRoughnessTexture = textureLoader.load('/textures/door/roughness.jpg')
JavaScript
Copy
Then we can apply all those textures to the door material. Don’t forget to add more subdivisions to the PlaneBufferGeometry, so the displacementMap has some vertices to move. Also, add the uv2 attribute to the geometry for the aoMap as we did in the Materials lesson.
You can access the door’s geometry by using mesh.geometry :
const door = new THREE.Mesh(
    new THREE.PlaneBufferGeometry(2, 2, 100, 100),
    new THREE.MeshStandardMaterial({
        map: doorColorTexture,
        transparent: true,
        alphaMap: doorAlphaTexture,
        aoMap: doorAmbientOcclusionTexture,
        displacementMap: doorHeightTexture,
        displacementScale: 0.1,
        normalMap: doorNormalTexture,
        metalnessMap: doorMetalnessTexture,
        roughnessMap: doorRoughnessTexture
    })
)
door.geometry.setAttribute('uv2', new THREE.Float32BufferAttribute(door.geometry.attributes.uv.array, 2))
JavaScript
Copy
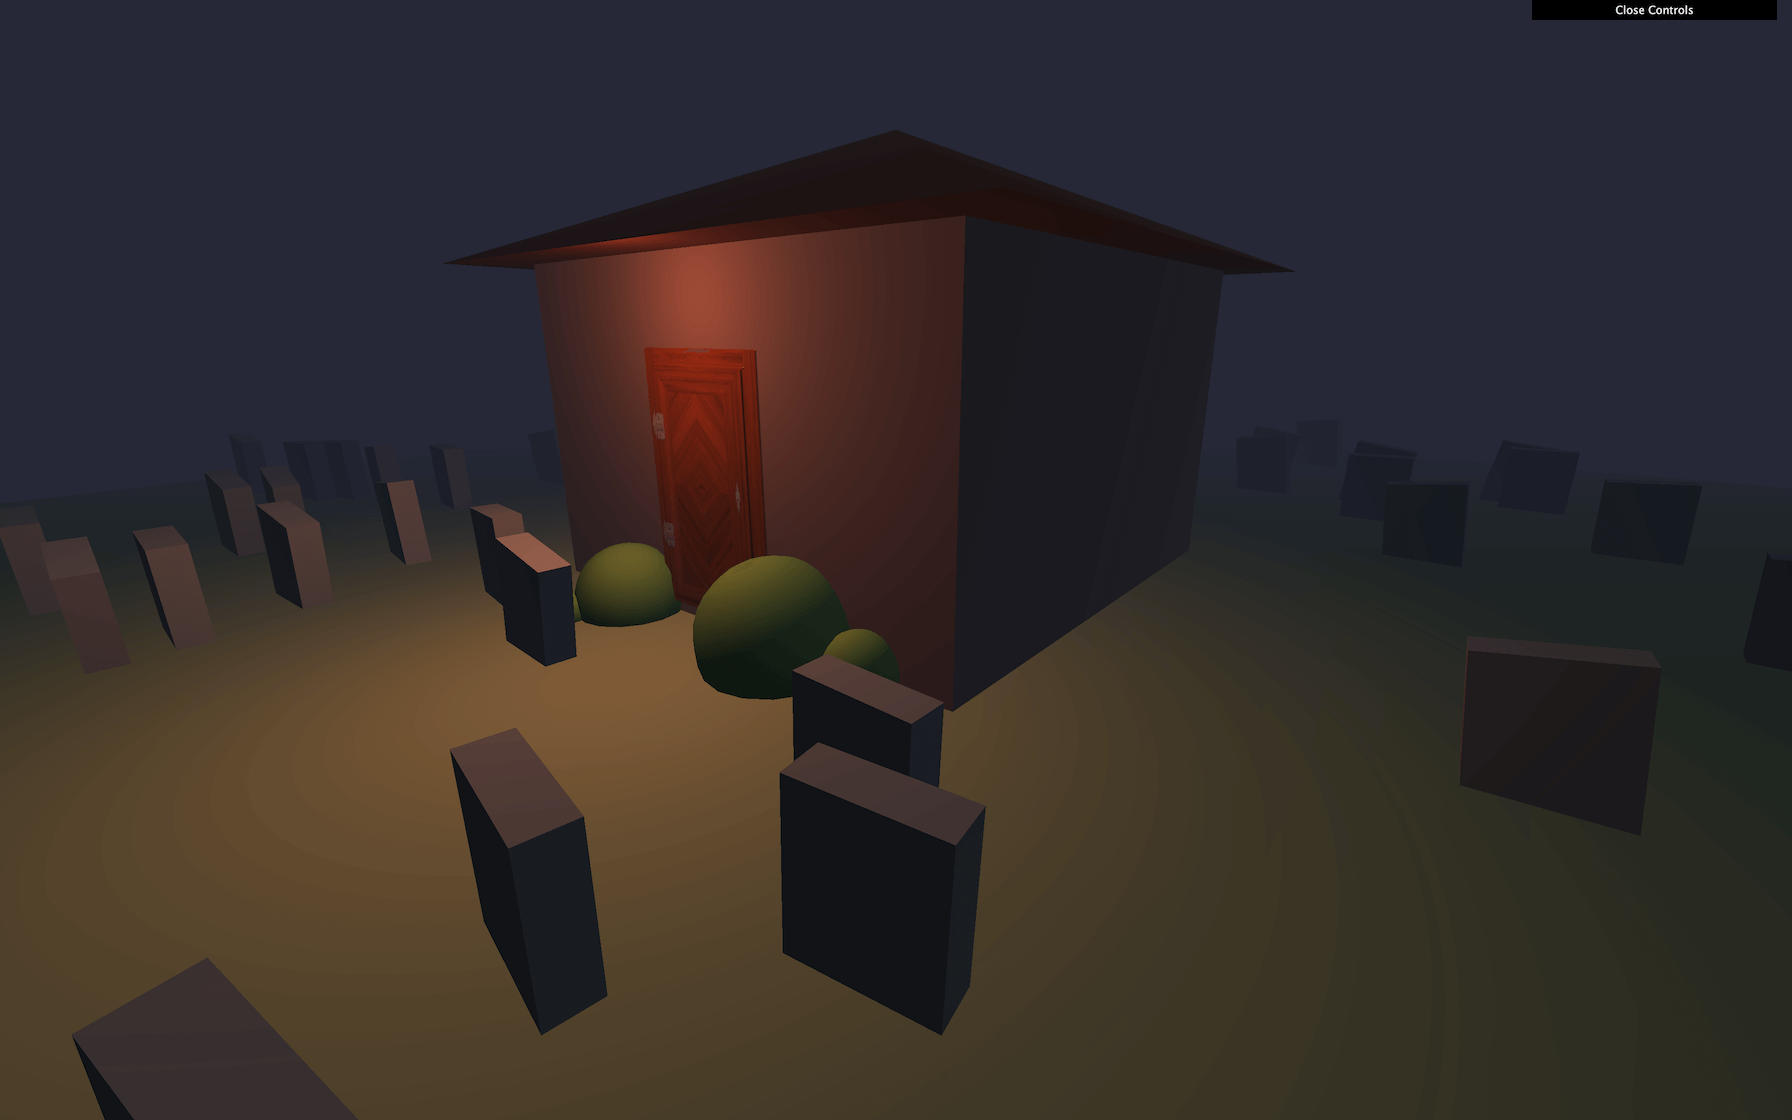
There you go! That’s a more realistic door.
Now that we have the textures, you realize that the door is a little too small. You can simply increase the PlaneBufferGeometry sizes:
// ...
    new THREE.PlaneBufferGeometry(2.2, 2.2, 100, 100),
// ...
JavaScript
Copy
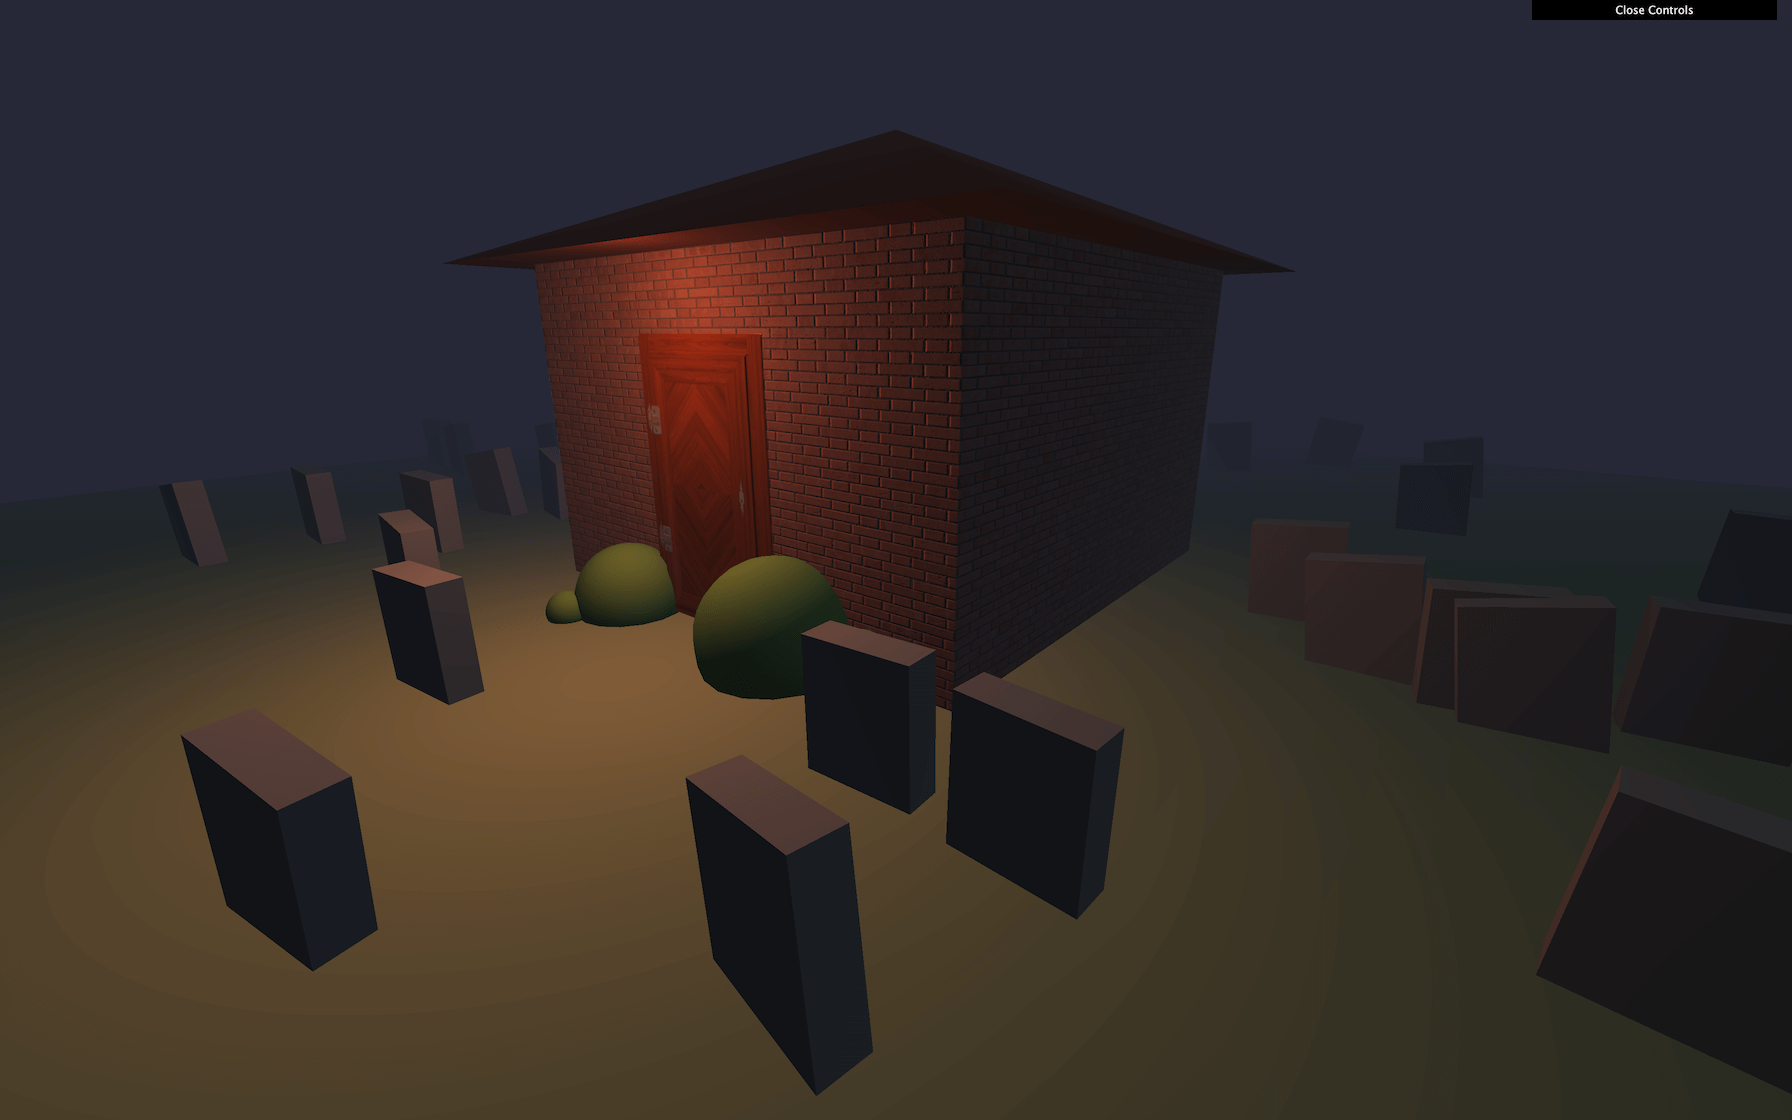
The walls
Let’s do the same for the walls using the textures on the /static/textures/bricks/ folder. We don’t have as many textures as for the door, but it’s not a problem. We don’t need an alpha texture, and the wall has no metal in it, so we don’t need a metalness texture either.
Load the textures:
const bricksColorTexture = textureLoader.load('/textures/bricks/color.jpg')
const bricksAmbientOcclusionTexture = textureLoader.load('/textures/bricks/ambientOcclusion.jpg')
const bricksNormalTexture = textureLoader.load('/textures/bricks/normal.jpg')
const bricksRoughnessTexture = textureLoader.load('/textures/bricks/roughness.jpg')
JavaScript
Copy
Then we can update our MeshStandardMaterial for the wall. Don’t forget to remove the color and add the uv2 attribute for the ambient occlusion.
const walls = new THREE.Mesh(
    new THREE.BoxBufferGeometry(4, 2.5, 4),
    new THREE.MeshStandardMaterial({
        map: bricksColorTexture,
        aoMap: bricksAmbientOcclusionTexture,
        normalMap: bricksNormalTexture,
        roughnessMap: bricksRoughnessTexture
    })
)
walls.geometry.setAttribute('uv2', new THREE.Float32BufferAttribute(walls.geometry.attributes.uv.array, 2))
JavaScript
Copy
The floor
Same deal as for the walls. The grass textures are located in the /static/textures/grass/ folder.
Load the textures:
const grassColorTexture = textureLoader.load('/textures/grass/color.jpg')
const grassAmbientOcclusionTexture = textureLoader.load('/textures/grass/ambientOcclusion.jpg')
const grassNormalTexture = textureLoader.load('/textures/grass/normal.jpg')
const grassRoughnessTexture = textureLoader.load('/textures/grass/roughness.jpg')
JavaScript
Copy
Update the MeshStandardMaterial of the floor and don’t forget to remove the color and add the uv2 attribute for the ambient occlusion:
const floor = new THREE.Mesh(
    new THREE.PlaneBufferGeometry(20, 20),
    new THREE.MeshStandardMaterial({
        map: grassColorTexture,
        aoMap: grassAmbientOcclusionTexture,
        normalMap: grassNormalTexture,
        roughnessMap: grassRoughnessTexture
    })
)
floor.geometry.setAttribute('uv2', new THREE.Float32BufferAttribute(floor.geometry.attributes.uv.array, 2))
JavaScript
Copy
The texture is too large. To fix that, we can simply repeat each grass texture with the repeat property:
grassColorTexture.repeat.set(8, 8)
grassAmbientOcclusionTexture.repeat.set(8, 8)
grassNormalTexture.repeat.set(8, 8)
grassRoughnessTexture.repeat.set(8, 8)
JavaScript
Copy
And don’t forget to change the wrapS and wrapT properties to activate the repeat:
grassColorTexture.wrapS = THREE.RepeatWrapping
grassAmbientOcclusionTexture.wrapS = THREE.RepeatWrapping
grassNormalTexture.wrapS = THREE.RepeatWrapping
grassRoughnessTexture.wrapS = THREE.RepeatWrapping

grassColorTexture.wrapT = THREE.RepeatWrapping
grassAmbientOcclusionTexture.wrapT = THREE.RepeatWrapping
grassNormalTexture.wrapT = THREE.RepeatWrapping
grassRoughnessTexture.wrapT = THREE.RepeatWrapping
JavaScript
Copy
Ghosts
For the ghosts, let’s keep things simple and do with what we know.
We are going to use simple lights floating around the house and passing through the ground and graves.
/**
 * Ghosts
 */
const ghost1 = new THREE.PointLight('#ff00ff', 2, 3)
scene.add(ghost1)

const ghost2 = new THREE.PointLight('#00ffff', 2, 3)
scene.add(ghost2)

const ghost3 = new THREE.PointLight('#ffff00', 2, 3)
scene.add(ghost3)
JavaScript
Copy
Now we can animate them using some mathematics with a lot of trigonometry:
const clock = new THREE.Clock()

const tick = () =>
{
    const elapsedTime = clock.getElapsedTime()

    // Ghosts
    const ghost1Angle = elapsedTime * 0.5
    ghost1.position.x = Math.cos(ghost1Angle) * 4
    ghost1.position.z = Math.sin(ghost1Angle) * 4
    ghost1.position.y = Math.sin(elapsedTime * 3)

    const ghost2Angle = - elapsedTime * 0.32
    ghost2.position.x = Math.cos(ghost2Angle) * 5
    ghost2.position.z = Math.sin(ghost2Angle) * 5
    ghost2.position.y = Math.sin(elapsedTime * 4) + Math.sin(elapsedTime * 2.5)

    const ghost3Angle = - elapsedTime * 0.18
    ghost3.position.x = Math.cos(ghost3Angle) * (7 + Math.sin(elapsedTime * 0.32))
    ghost3.position.z = Math.sin(ghost3Angle) * (7 + Math.sin(elapsedTime * 0.5))
    ghost3.position.y = Math.sin(elapsedTime * 4) + Math.sin(elapsedTime * 2.5)

    // ...
}
JavaScript
Copy
Shadows
Finally, to add more realism, let’s add shadows.
Activate the shadow map on the renderer:
renderer.shadowMap.enabled = true
JavaScript
Copy
Activate the shadows on the lights that you think should cast shadows:
moonLight.castShadow = true
doorLight.castShadow = true
ghost1.castShadow = true
ghost2.castShadow = true
ghost3.castShadow = true
JavaScript
Copy
Go through each object of your scene and decide if that object can cast and/or receive shadows:
walls.castShadow = true
bush1.castShadow = true
bush2.castShadow = true
bush3.castShadow = true
bush4.castShadow = true

for(let i = 0; i < 50; i++)
{
    // ...
    grave.castShadow = true
    // ...
}

floor.receiveShadow = true
JavaScript
Copy

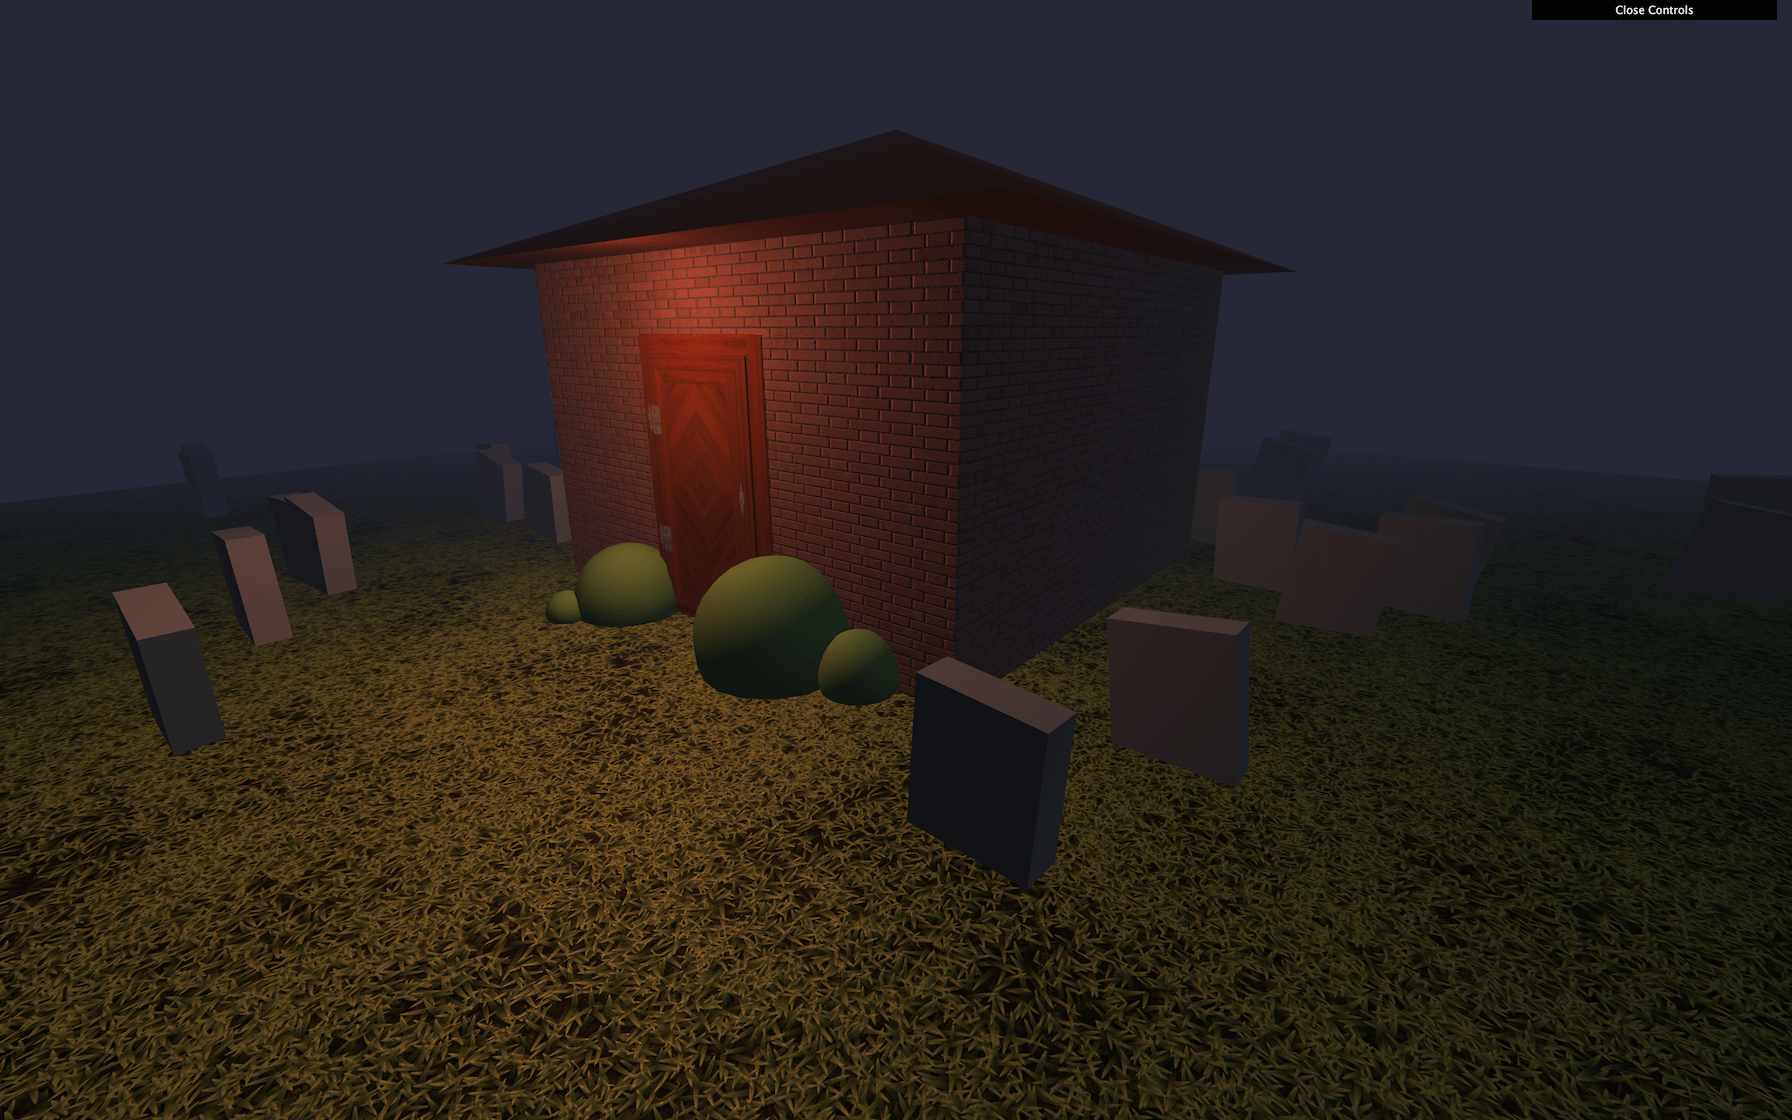
The scene looks much better with these shadows, but we should optimize them anyway.
A good thing would be to go through each light, create camera helpers on the light.shadowMap.camera , and make sure the near , the far , the amplitude or the fov fit nicely. But instead, let’s use the following values that should be just right.
We can also reduce the shadow map render sizes to improve performances:
moonLight.shadow.mapSize.width = 256
moonLight.shadow.mapSize.height = 256
moonLight.shadow.camera.far = 15

// ...

doorLight.shadow.mapSize.width = 256
doorLight.shadow.mapSize.height = 256
doorLight.shadow.camera.far = 7

// ...

ghost1.shadow.mapSize.width = 256
ghost1.shadow.mapSize.height = 256
ghost1.shadow.camera.far = 7

// ...

ghost2.shadow.mapSize.width = 256
ghost2.shadow.mapSize.height = 256
ghost2.shadow.camera.far = 7

// ...

ghost3.shadow.mapSize.width = 256
ghost3.shadow.mapSize.height = 256
ghost3.shadow.camera.far = 7

// ...

renderer.shadowMap.type = THREE.PCFSoftShadowMap
JavaScript
Copy

This process is long, but it’s essential. We are already flirting with performance limitations, and the haunted house might not even work at 60fps on mobile. We will see more optimization tips in a future lesson.
Go further
That’s it for the lesson, but you can try to improve what we did. You can add new elements in the scene, replace the ghosts with real 3D ghosts by using Three.js primitives, add names on the grave, etc.
17 Particles
Difficulty Hard
Introduction
Particles are precisely what you expect from that name. They are very popular and can be used to achieve various effects such as stars, smoke, rain, dust, fire, and many other things.
The good thing with particles is that you can have hundreds of thousands of them on screen with a reasonable frame rate. The downside is that each particle is composed of a plane (two triangles) always facing the camera.
Creating particles is as simple as making a Mesh. We need a geometry (ideally a BufferGeometry), a material that can handle particles (PointsMaterial), and instead of producing a Mesh we need to create a Points.
Setup
The starter is only composed of a cube in the middle of the scene. That cube ensures that everything is working.
First particles
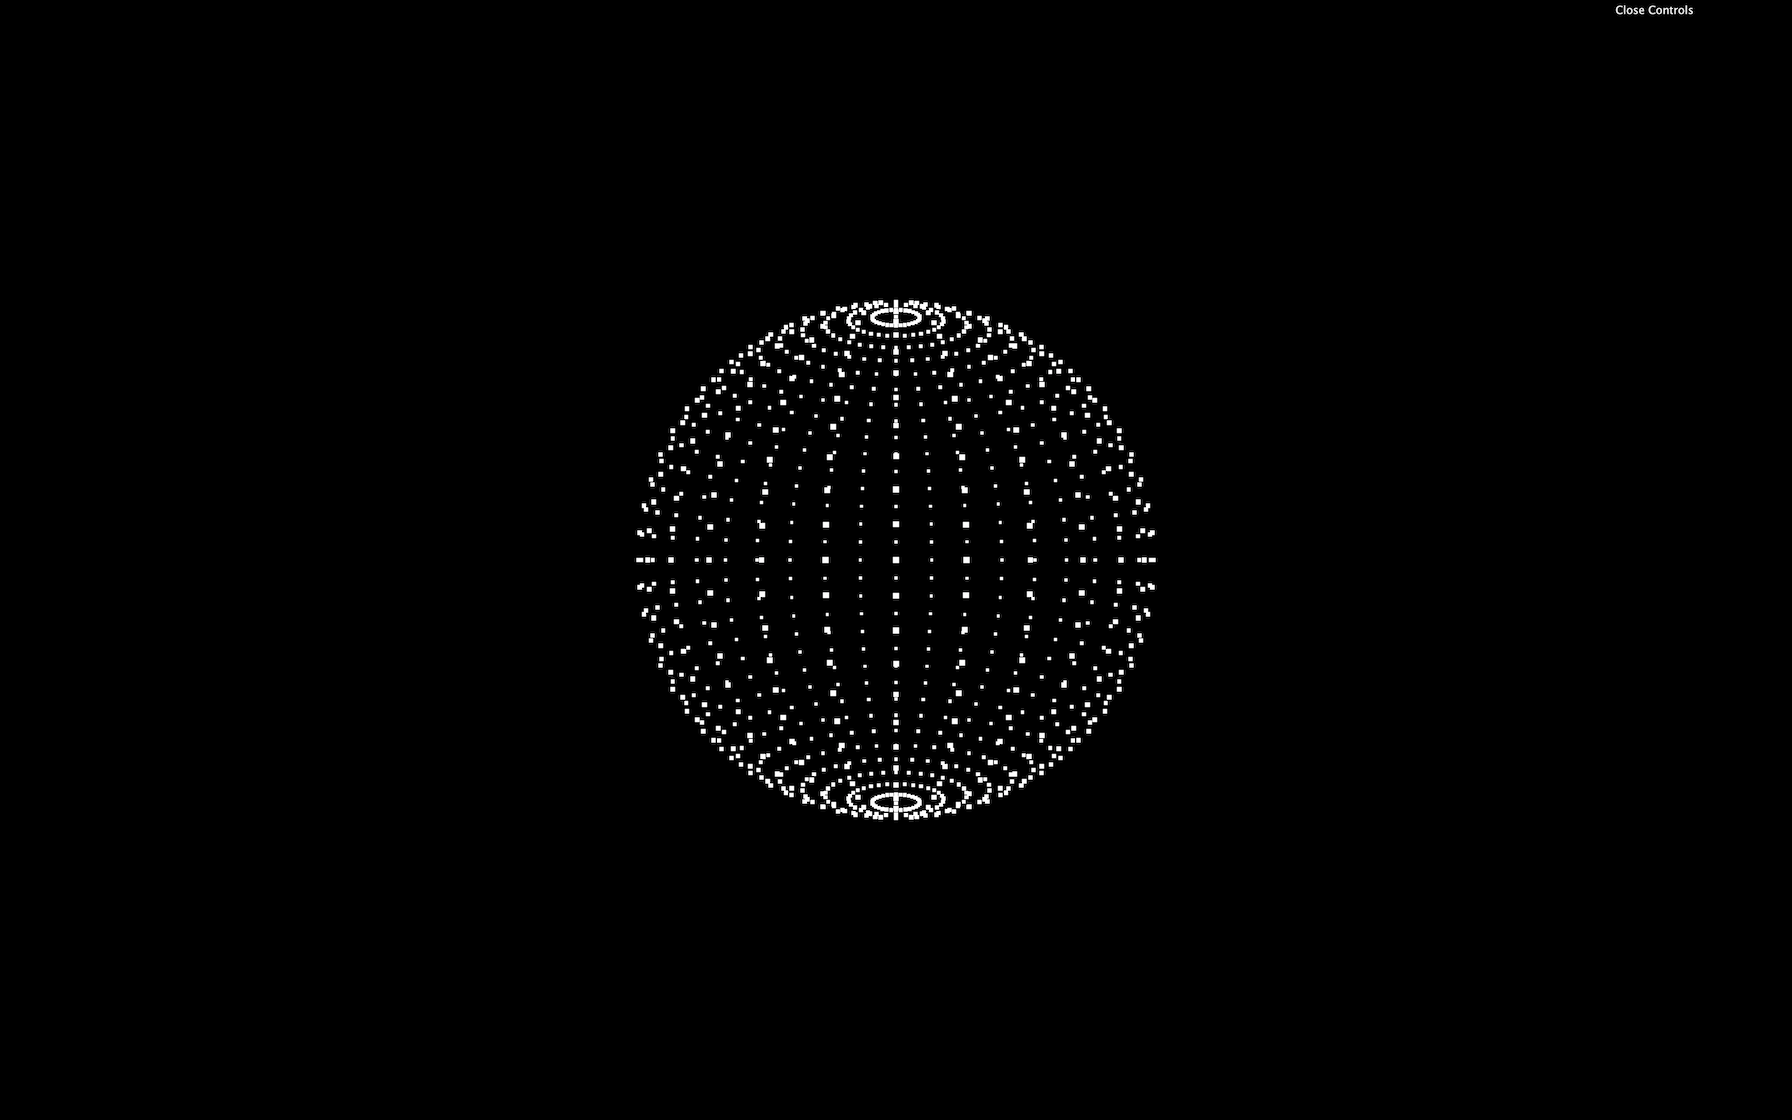
Let’s get rid of our cube and create a sphere composed of particles to start.
Geometry
You can use any of the basic Three.js geometries. For the same reasons as for the Mesh, it’s preferable to use BufferGeometries. Each vertex of the geometry will become a particle:
/**
 * Particles
 */
// Geometry
const particlesGeometry = new THREE.SphereBufferGeometry(1, 32, 32)
JavaScript
Copy
PointsMaterial
We need a special type of material called PointsMaterial. This material can already do a lot, but we will discover how to create our own particles material to go even further in a future lesson.
The PointsMaterial has multiple properties specific to particles like the size to control all particles size and the sizeAttenuation to specify if distant particles should be smaller than close particles:
// Material
const particlesMaterial = new THREE.PointsMaterial({
    size: 0.02,
    sizeAttenuation: true
})
JavaScript
Copy
As always, we can also change those properties after creating the material:
const particlesMaterial = new THREE.PointsMaterial()
particlesMaterial.size = 0.02
particlesMaterial.sizeAttenuation = true
JavaScript
Copy
Points
Finally, we can create the final particles the same way we create a Mesh, but this time by using the Points class. Don’t forget to add it to the scene:
// Points
const particles = new THREE.Points(particlesGeometry, particlesMaterial)
scene.add(particles)
JavaScript
Copy
That was easy. Let’s customize those particles.
Custom geometry
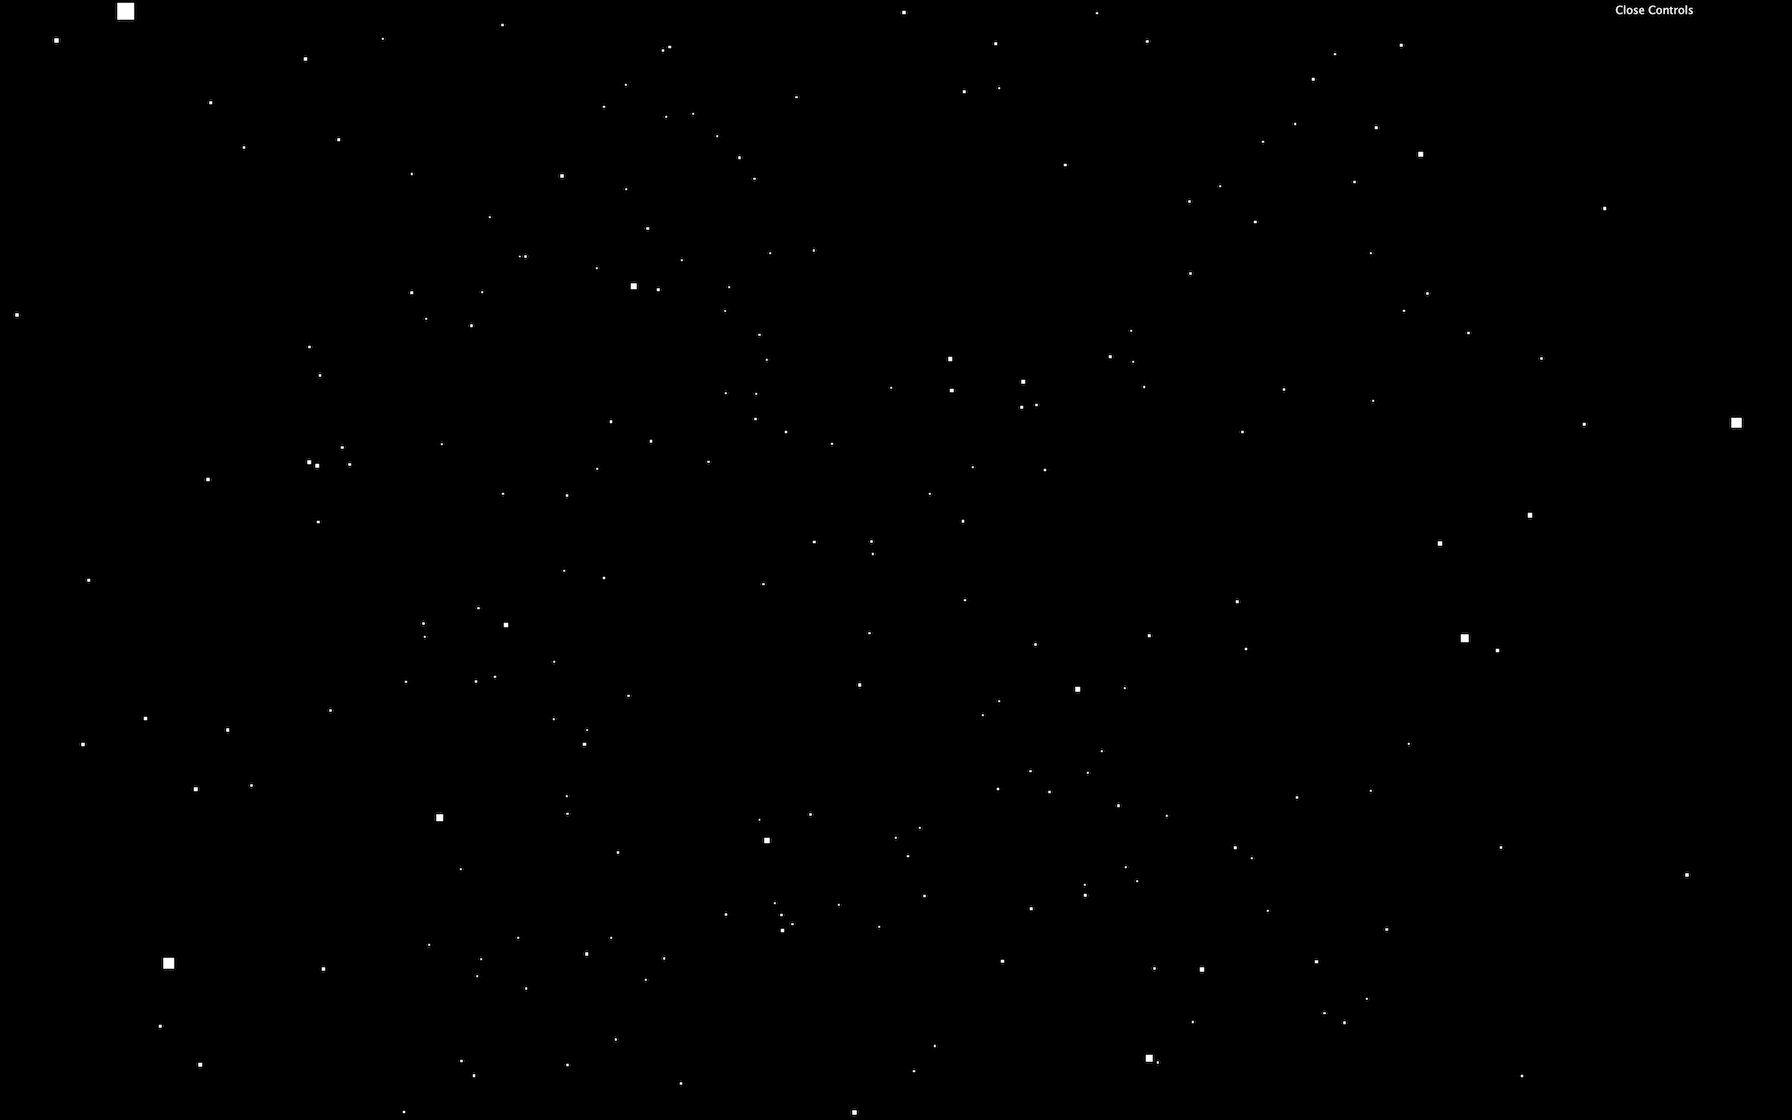
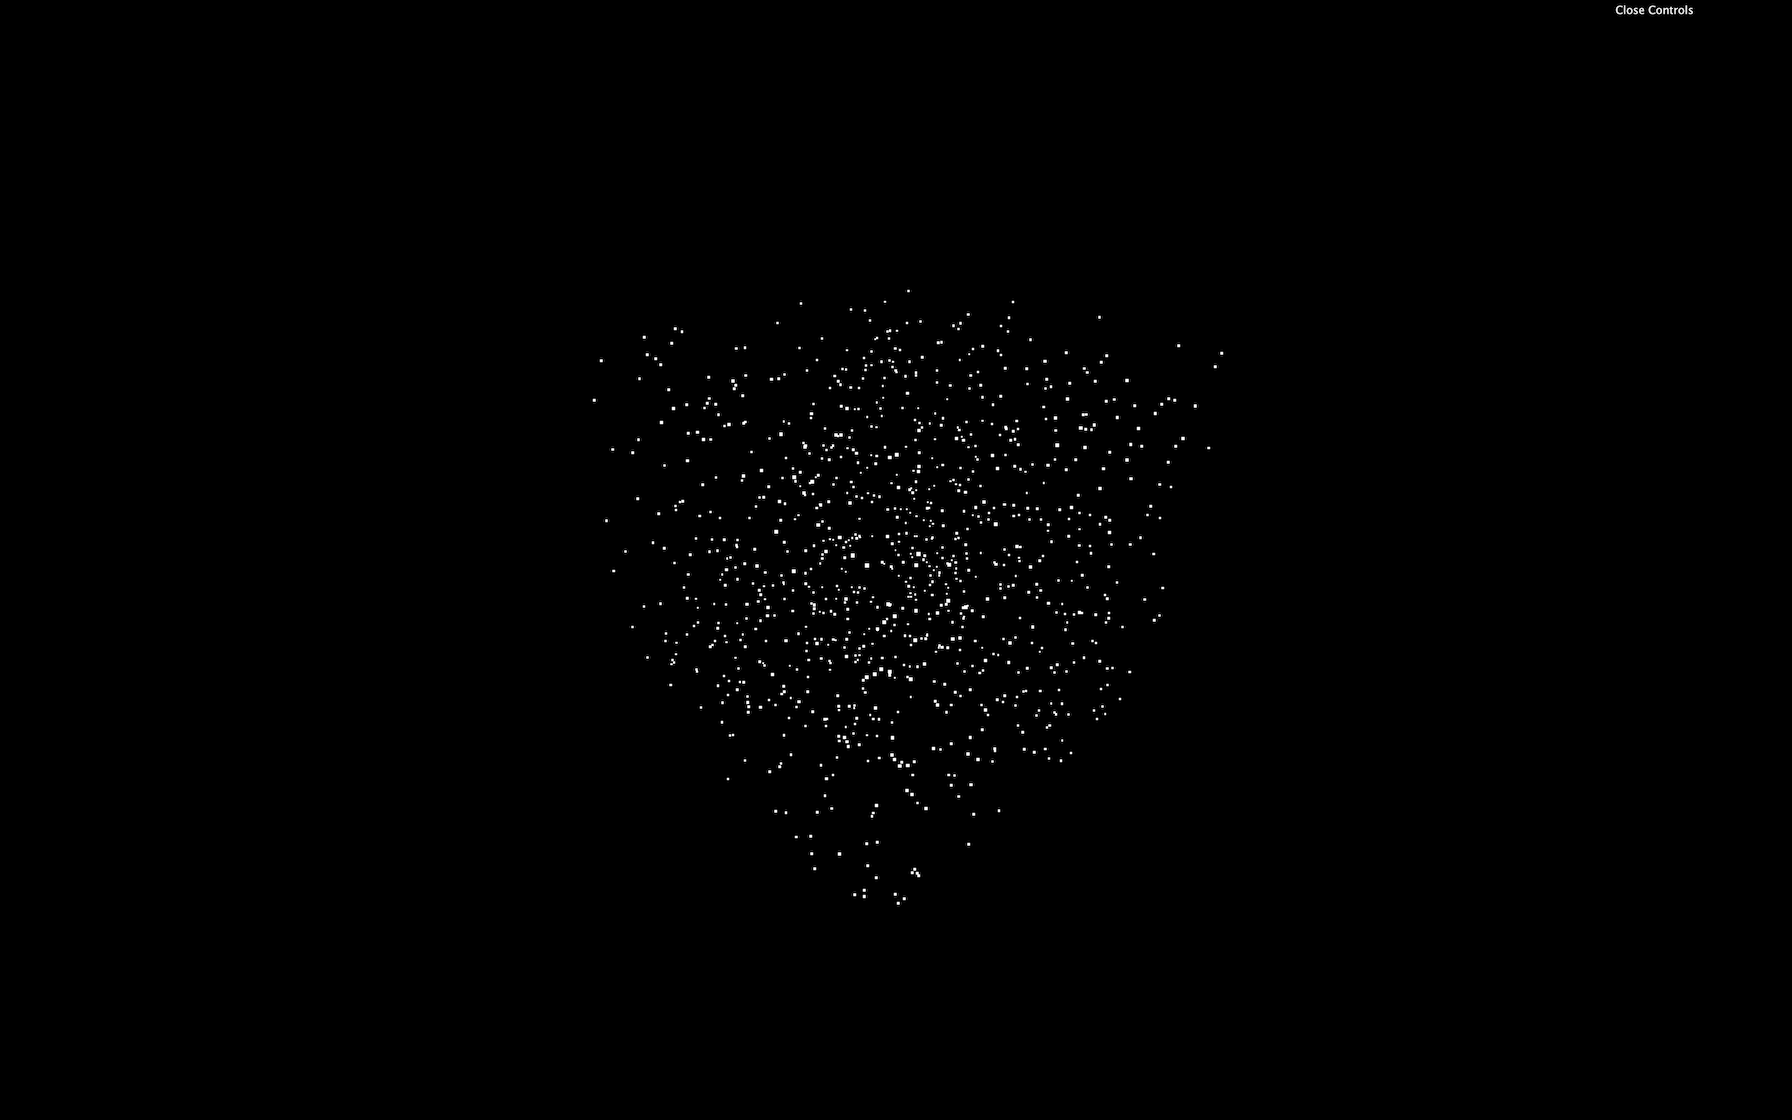
To create a custom geometry, we can start from a BufferGeometry, and add a position attribute as we did in the Geometries lesson. Replace the SphereBufferGeometry with custom geometry and add the 'position' attribute as we did before:
// Geometry
const particlesGeometry = new THREE.BufferGeometry()
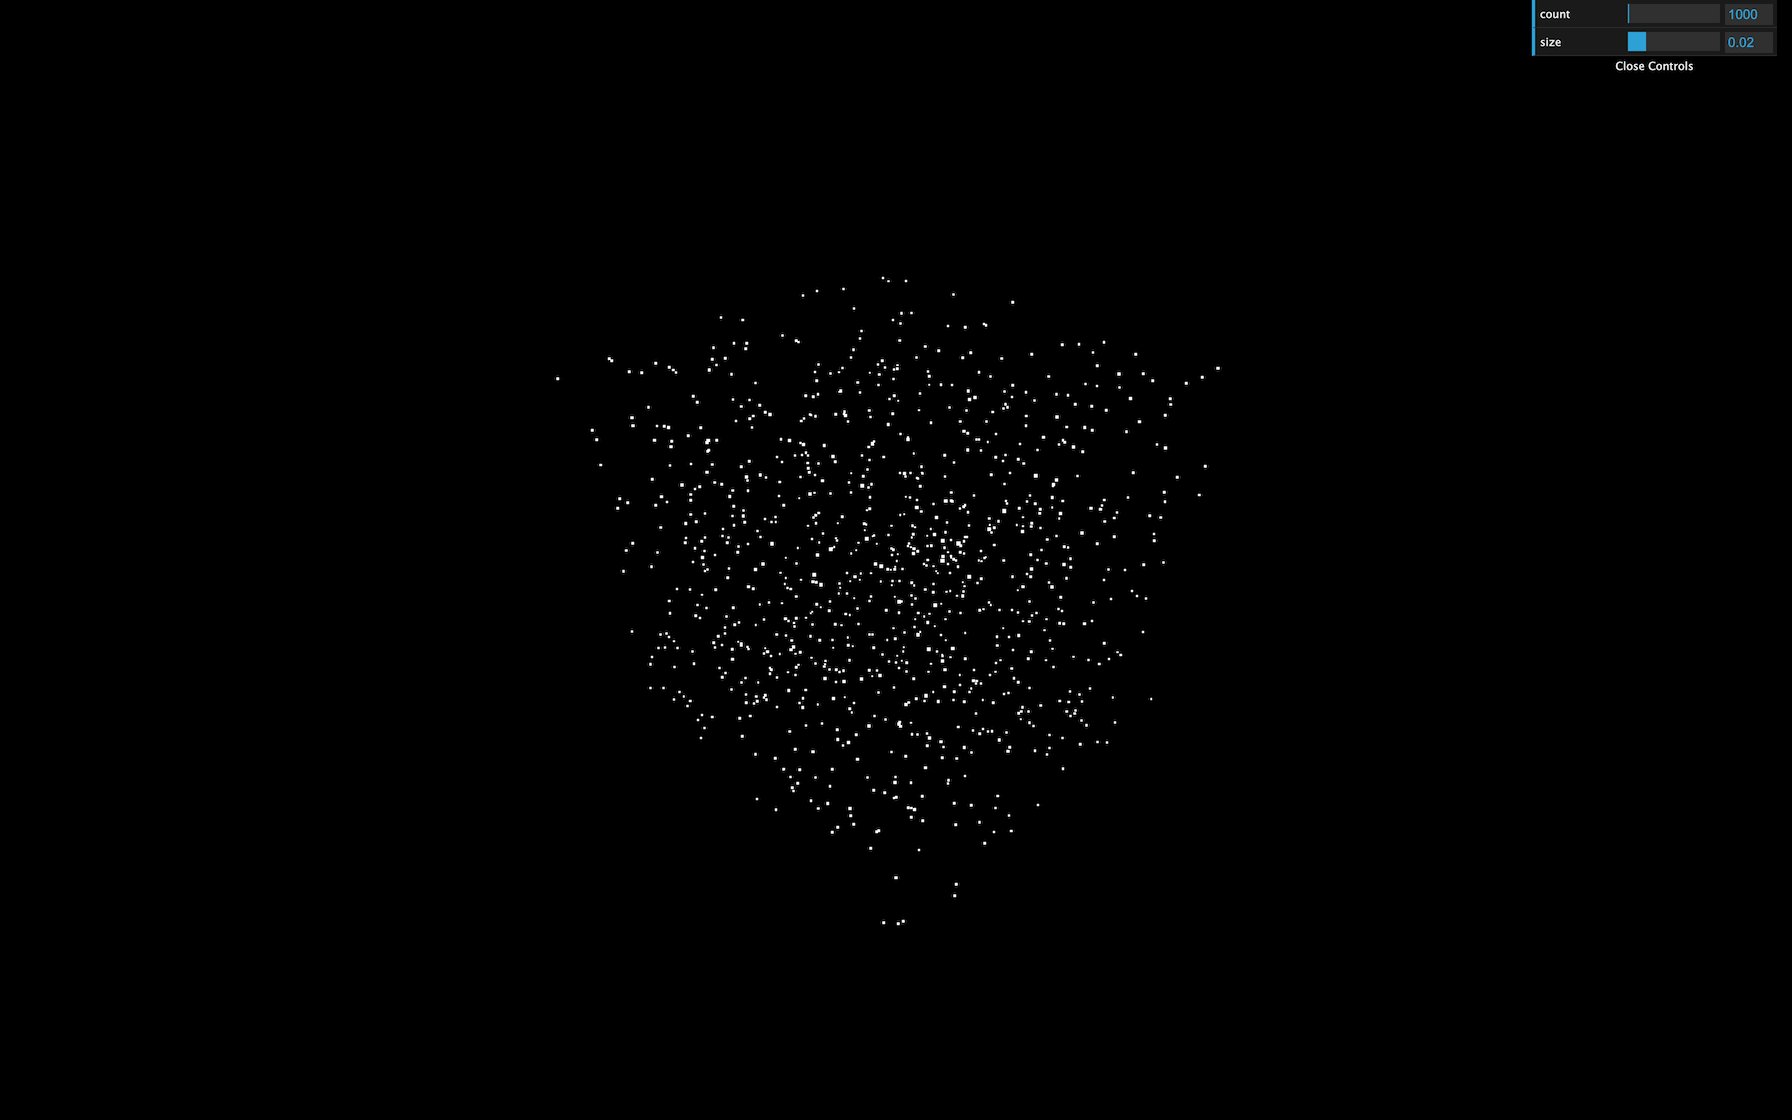
const count = 500
const positions = new Float32Array(count * 3) // Multiply by 3 because each position is composed of 3 values (x, y, z)
for(let i = 0; i < count * 3; i++) // Multiply by 3 for same reason
{
positions[i] = (Math.random() - 0.5) * 10 // Math.random() - 0.5 to have a random value between -0.5 and +0.5
}
particlesGeometry.setAttribute('position', new THREE.BufferAttribute(positions, 3)) // Create the Three.js BufferAttribute and specify that each information is composed of 3 values
JavaScript
Copy
Don’t be frustrated if you can’t pull out this code by yourself. It’s a little complex, and variables are using strange formats.
You should get a bunch of particles all around the scene. Now is an excellent time to have fun and test the limits of your computer. Try 5000 , 50000 , 500000 maybe. You can have millions of particles and still have a reasonable frame rate.
You can imagine that there are limits. On an inferior computer or a smartphone, you won’t be able to have a 60fps experience with millions of particles. We are also going to add effects that will drastically reduce the frame rate. But still, that’s quite impressive.
For now, let’s keep the count to 5000 and change the size to 0.1 :
const count = 5000

// ...

particlesMaterial.size = 0.1

// ...
JavaScript
Copy

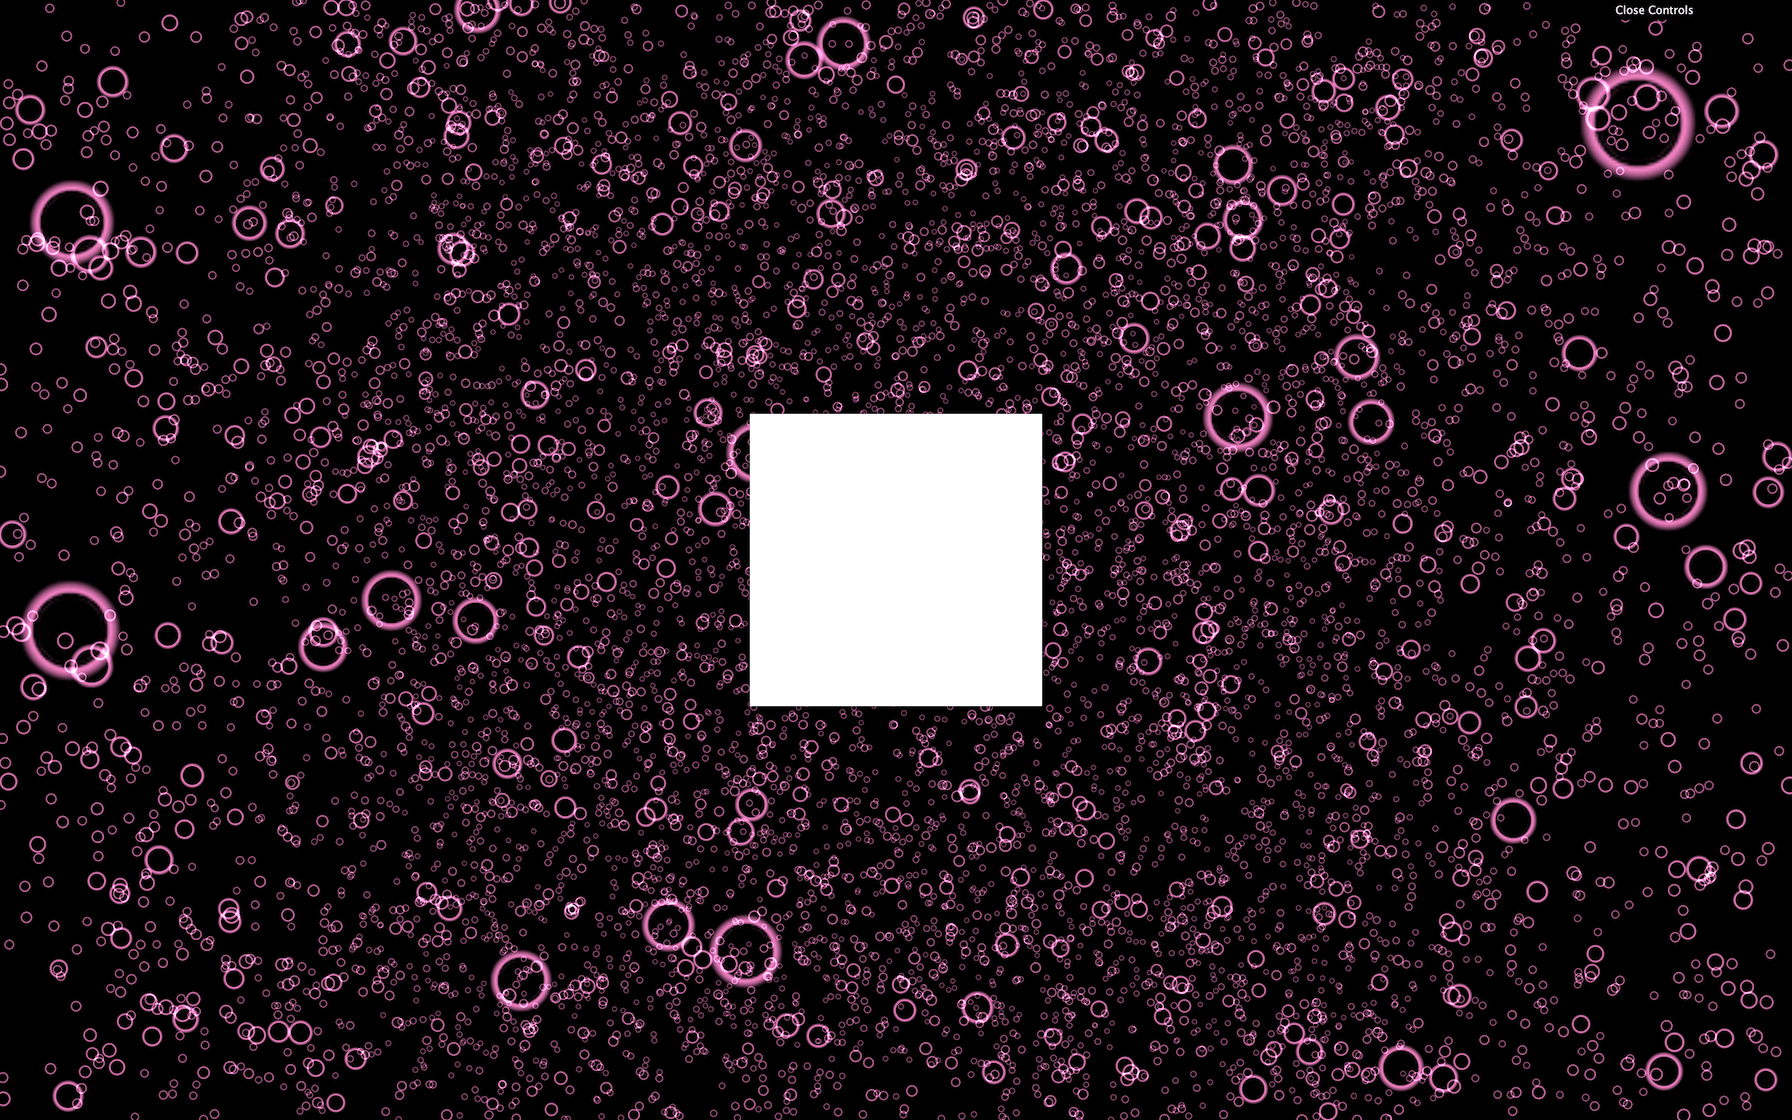
Color, map and alpha map
We can change the color of all particles with the color property on the PointsMaterial. Don’t forget that you need to use the Color class if you’re changing this property after instancing the material:
particlesMaterial.color = new THREE.Color('#ff88cc')
JavaScript
Copy
We can also use the map property to put a texture on those particles. Use the TextureLoader already in the code to load one of the textures located in /static/textures/particles/ :
/**
 * Textures
 */
const textureLoader = new THREE.TextureLoader()
const particleTexture = textureLoader.load('/textures/particles/2.png')

// ...

particlesMaterial.map = particleTexture
JavaScript
Copy
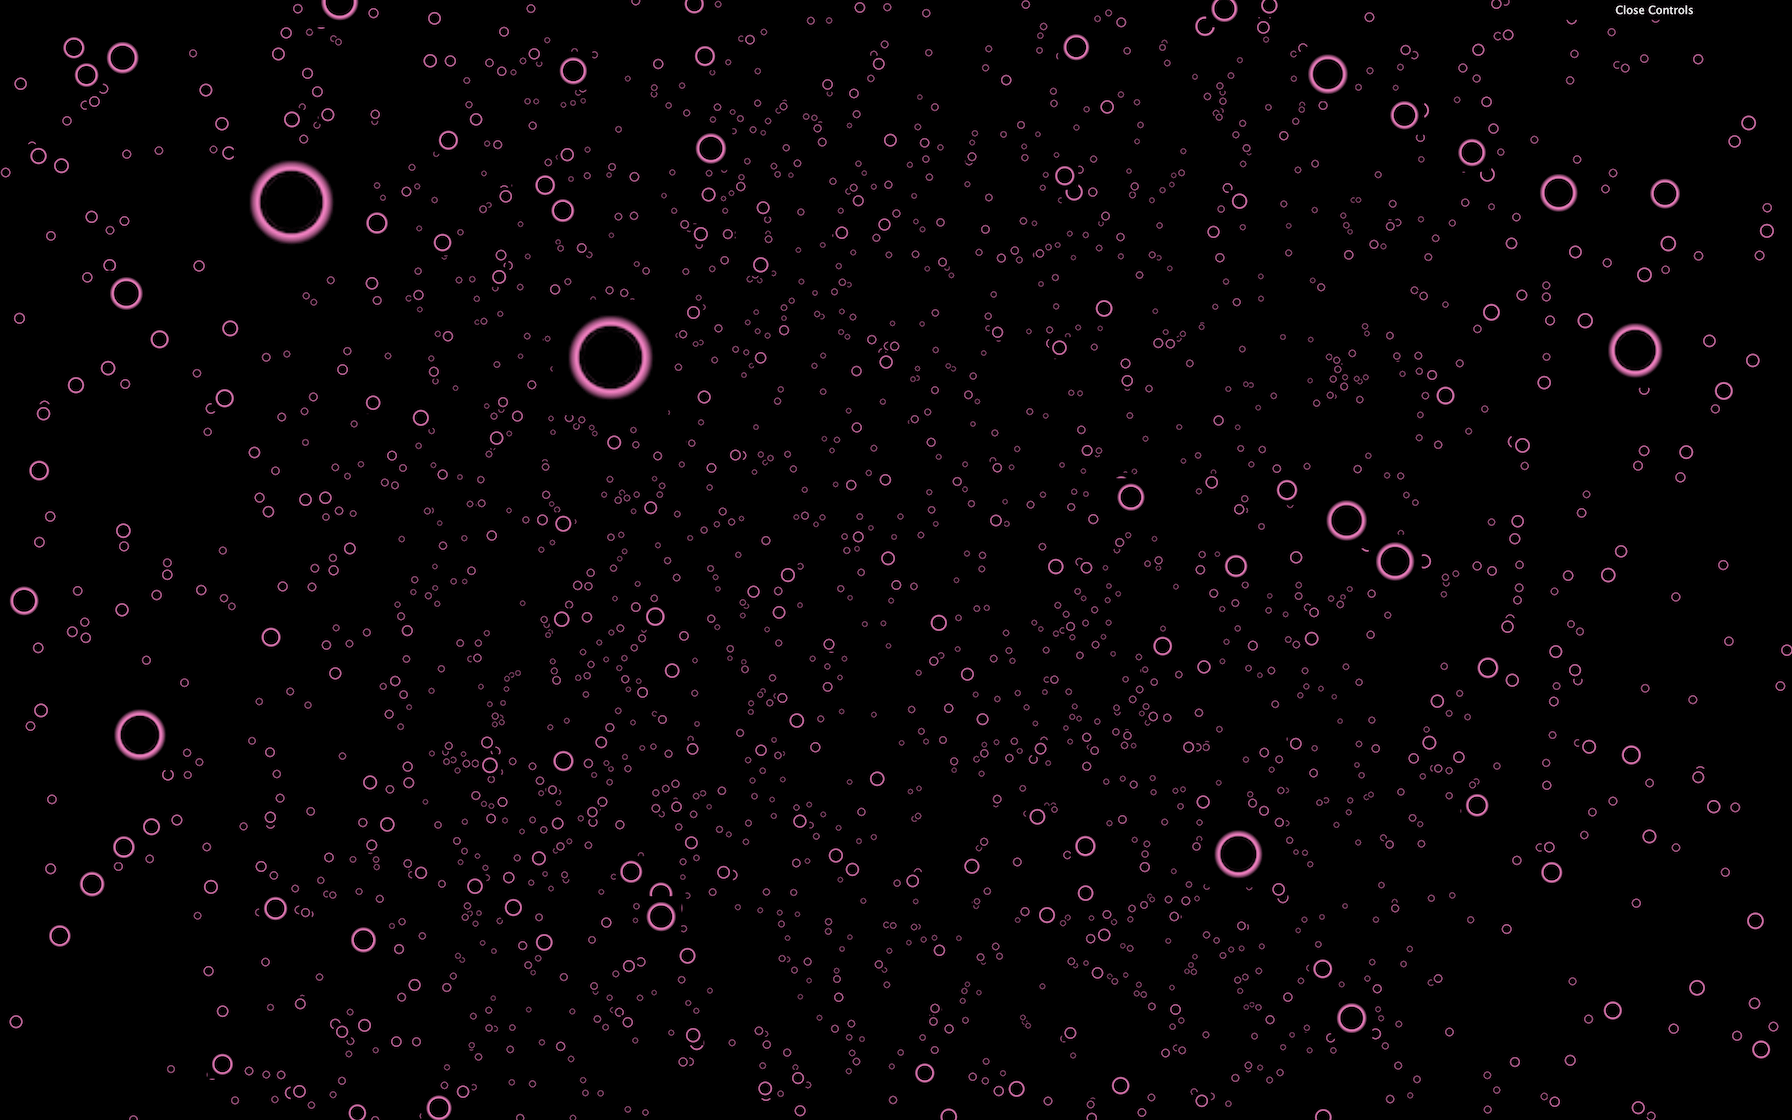
These textures are resized versions of the pack provided by Kenney and you can find the full pack here: https://www.kenney.nl/assets/particle-pack. But you can also create your own.
As you can see, the color property is changing the map, just like with the other materials.
If you look closely, you’ll see that the front particles are hiding the back particles.
We need to activate transparency with transparent and use the texture on the alphaMap property instead of the map :
// particlesMaterial.map = particleTexture
particlesMaterial.transparent = true
particlesMaterial.alphaMap = particleTexture
JavaScript
Copy
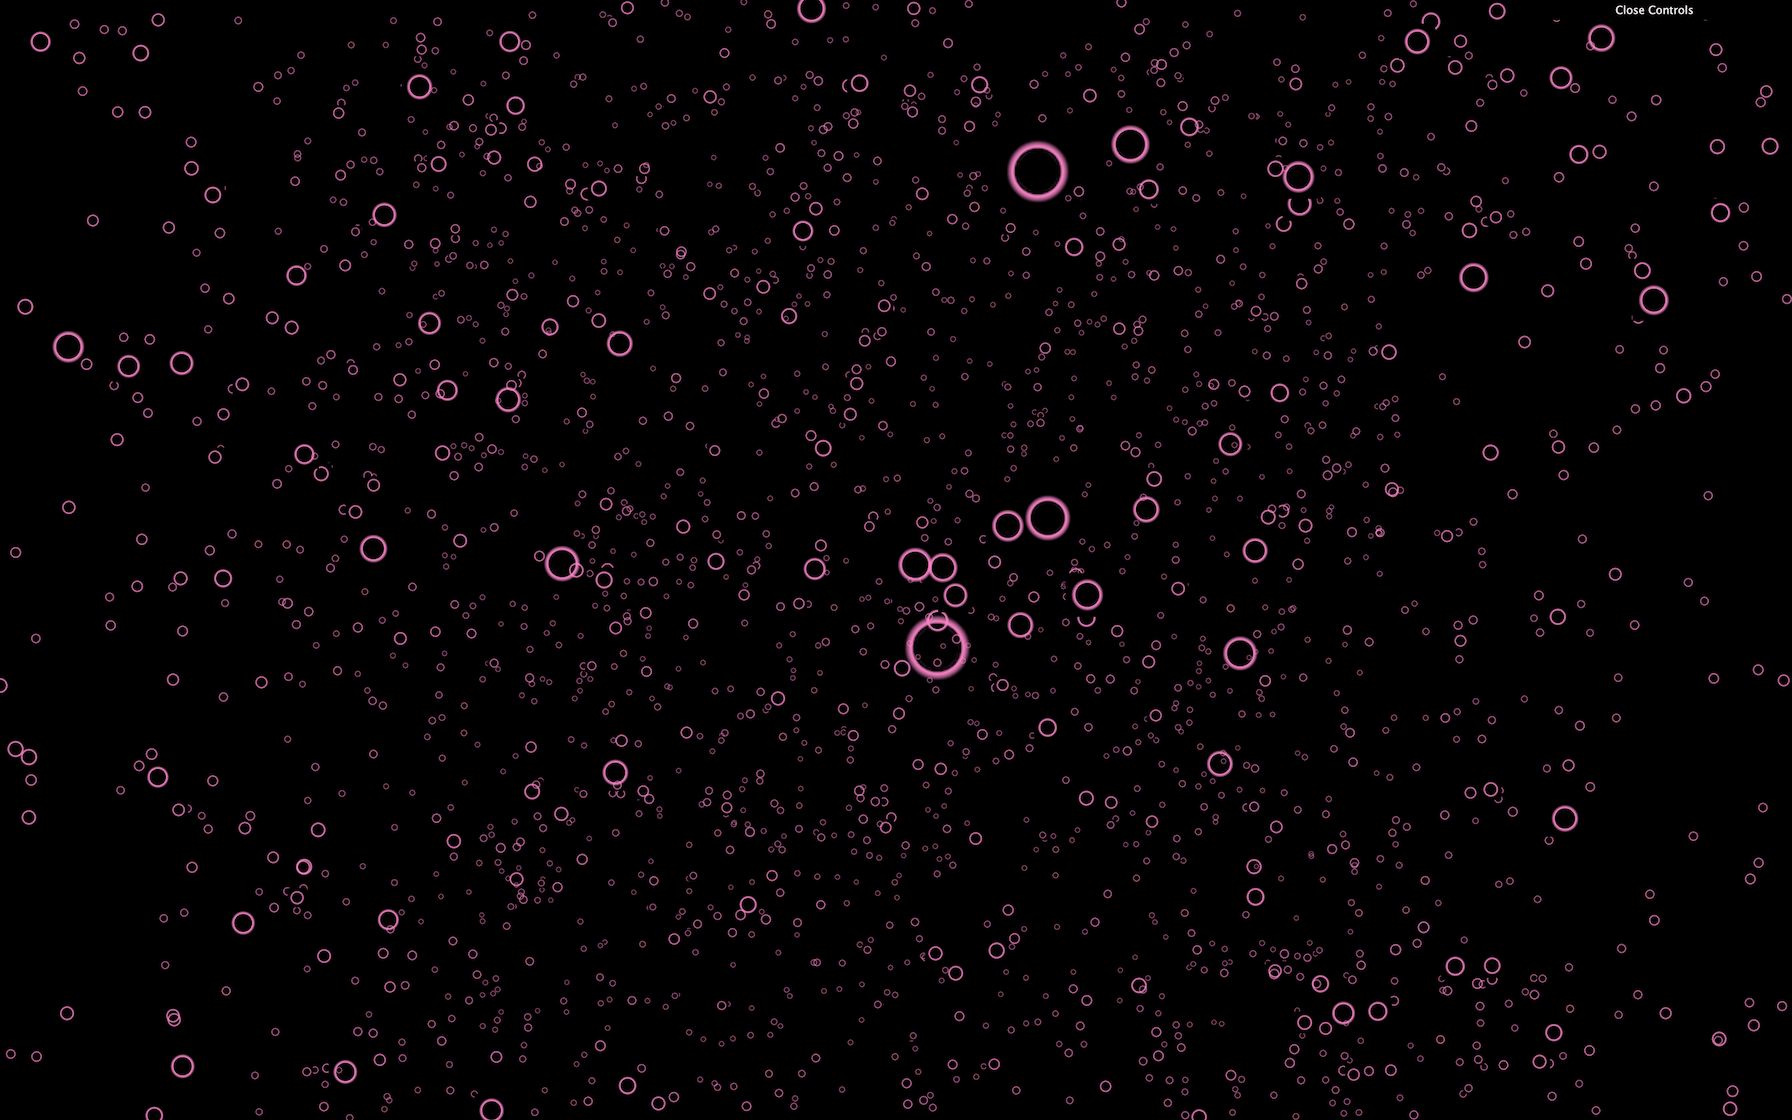
Now that’s better, but we can still randomly see some edges of the particles.
That is because the particles are drawn in the same order as they are created, and WebGL doesn’t really know which one is in front of the other.
There are multiple ways of fixing this.
Using alphaTest
The alphaTest is a value between 0 and 1 that enables the WebGL to know when not to render the pixel according to that pixel’s transparency. By default, the value is 0 meaning that the pixel will be rendered anyway. If we use a small value such as 0.001 , the pixel won’t be rendered if the alpha is 0 :
particlesMaterial.alphaTest = 0.001
JavaScript
Copy
This solution isn’t perfect and if you watch closely, you can still see glitches, but it’s already more satisfying.
Using depthTest
When drawing, the WebGL tests if what’s being drawn is closer than what’s already drawn. That is called depth testing and can be deactivated (you can comment the alphaTest ):
// particlesMaterial.alphaTest = 0.001
particlesMaterial.depthTest = false
JavaScript
Copy
While this solution seems to completely fix our problem, deactivating the depth testing might create bugs if you have other objects in your scene or particles with different colors. The particles might be drawn as if they were above the rest of the scene.
Add a cube to the scene to see that:
const cube = new THREE.Mesh(
    new THREE.BoxBufferGeometry(),
    new THREE.MeshBasicMaterial()
)
scene.add(cube)
JavaScript
Copy
Using depthWrite
As we said, the WebGL is testing if what’s being drawn is closer than what’s already drawn. The depth of what’s being drawn is stored in what we call a depth buffer. Instead of not testing if the particle is closer than what’s in this depth buffer, we can tell the WebGL not to write particles in that depth buffer (you can comment the depthTest ):
// particlesMaterial.alphaTest = 0.001
// particlesMaterial.depthTest = false
particlesMaterial.depthWrite = false
JavaScript
Copy
In our case, this solution will fix the problem with almost no drawback. Sometimes, other objects might be drawn behind or in front of the particles depending on many factors like the transparency, in which order you added the objects to your scene, etc.
We saw multiple techniques, and there is no perfect solution. You’ll have to adapt and find the best combination according to the project.
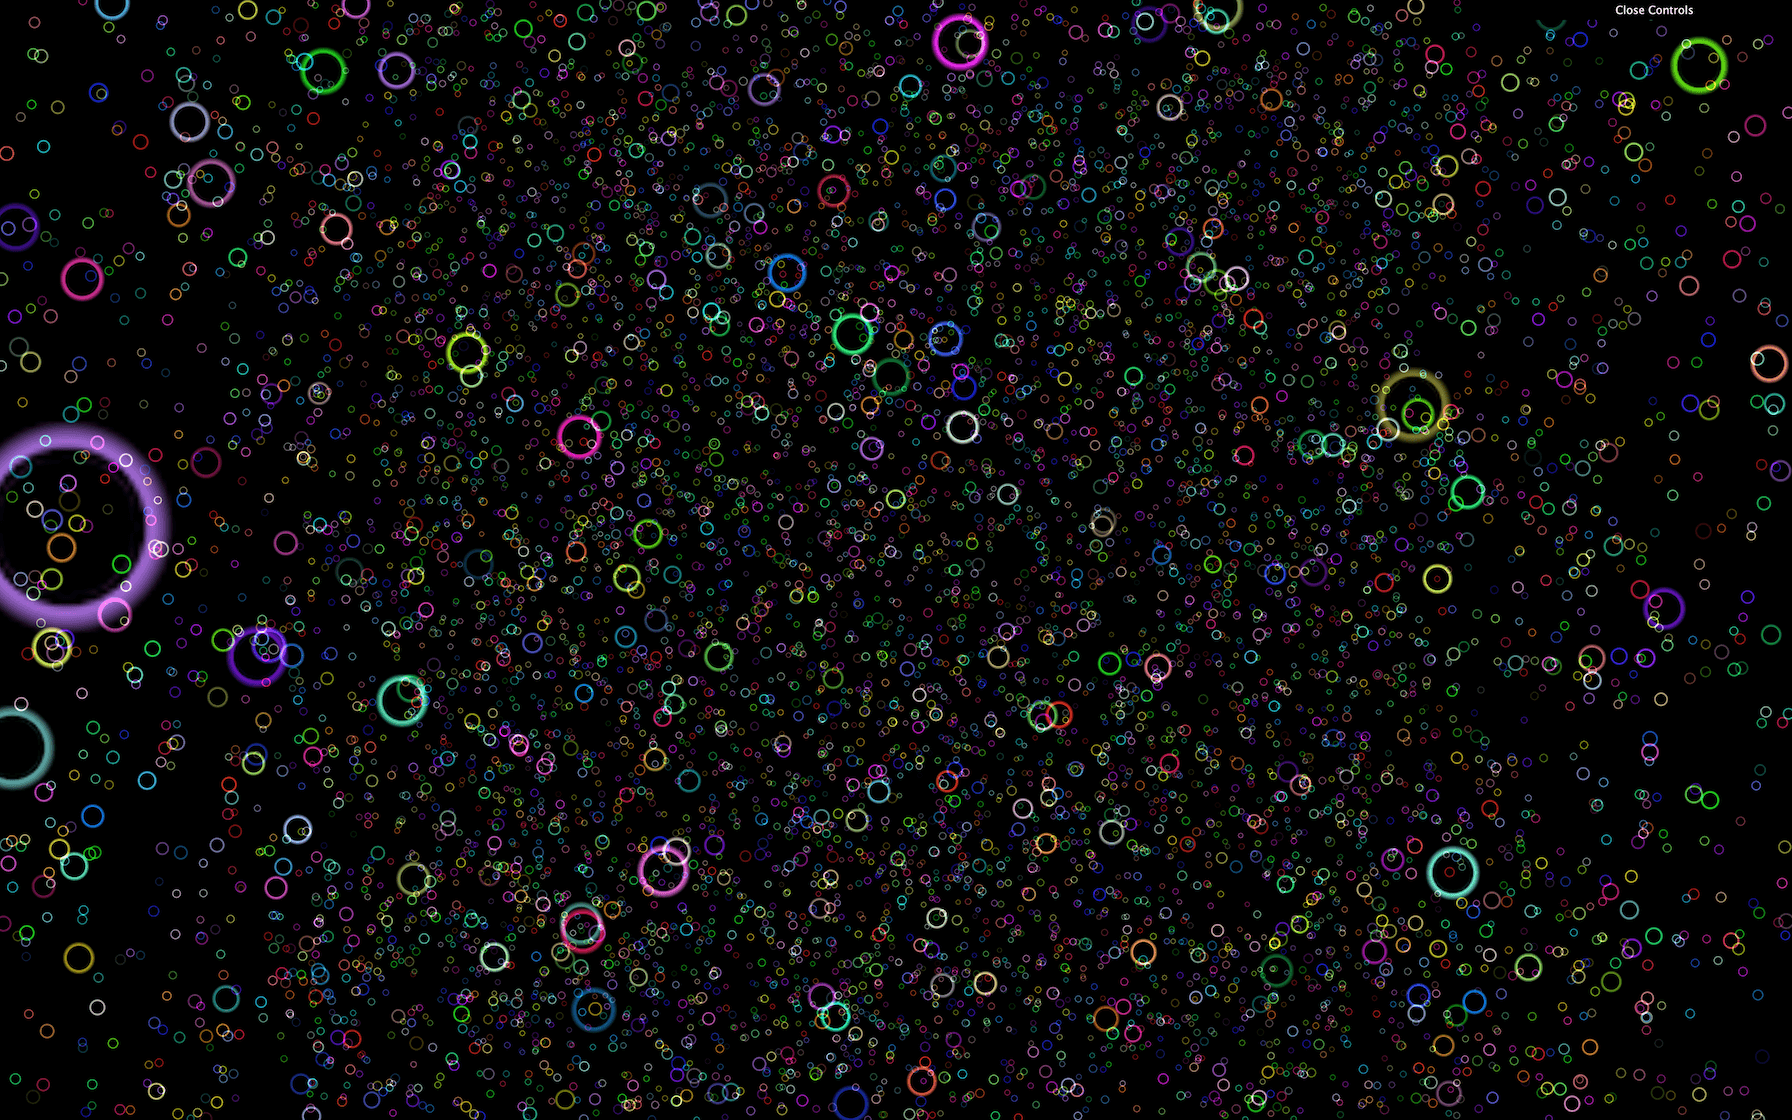
Blending
Currently, the WebGL draws the pixels one on top of the other.
By changing the blending property, we can tell the WebGL not only to draw the pixel, but also to add the color of that pixel to the color of the pixel already drawn. That will have a saturation effect that can look amazing.
To test that, simply change the blending property to THREE.AdditiveBlending (keep the depthWrite property):
// particlesMaterial.alphaTest = 0.001
// particlesMaterial.depthTest = false
particlesMaterial.depthWrite = false
particlesMaterial.blending = THREE.AdditiveBlending
JavaScript
Copy

Add more particles (let’s say 20000 ) to better enjoy this effect.
But be careful, this effect will impact the performances, and you won’t be able to have as many particles as before at 60fps.
Now, we can remove the cube .

Different colors
We can have a different color for each particle. We first need to add a new attribute named color as we did for the position. A color is composed of red, green, and blue (3 values), so the code will be very similar to the position attribute. We can actually use the same loop for these two attributes:
const positions = new Float32Array(count * 3)
const colors = new Float32Array(count * 3)

for(let i = 0; i < count * 3; i++)
{
    positions[i] = (Math.random() - 0.5) * 10
    colors[i] = Math.random()
}

particlesGeometry.setAttribute('position', new THREE.BufferAttribute(positions, 3))
particlesGeometry.setAttribute('color', new THREE.BufferAttribute(colors, 3))
JavaScript
Copy
Be careful with singulars and plurals.
To activate those vertex colors, simply change the vertexColors property to true :
particlesMaterial.vertexColors = true
JavaScript
Copy
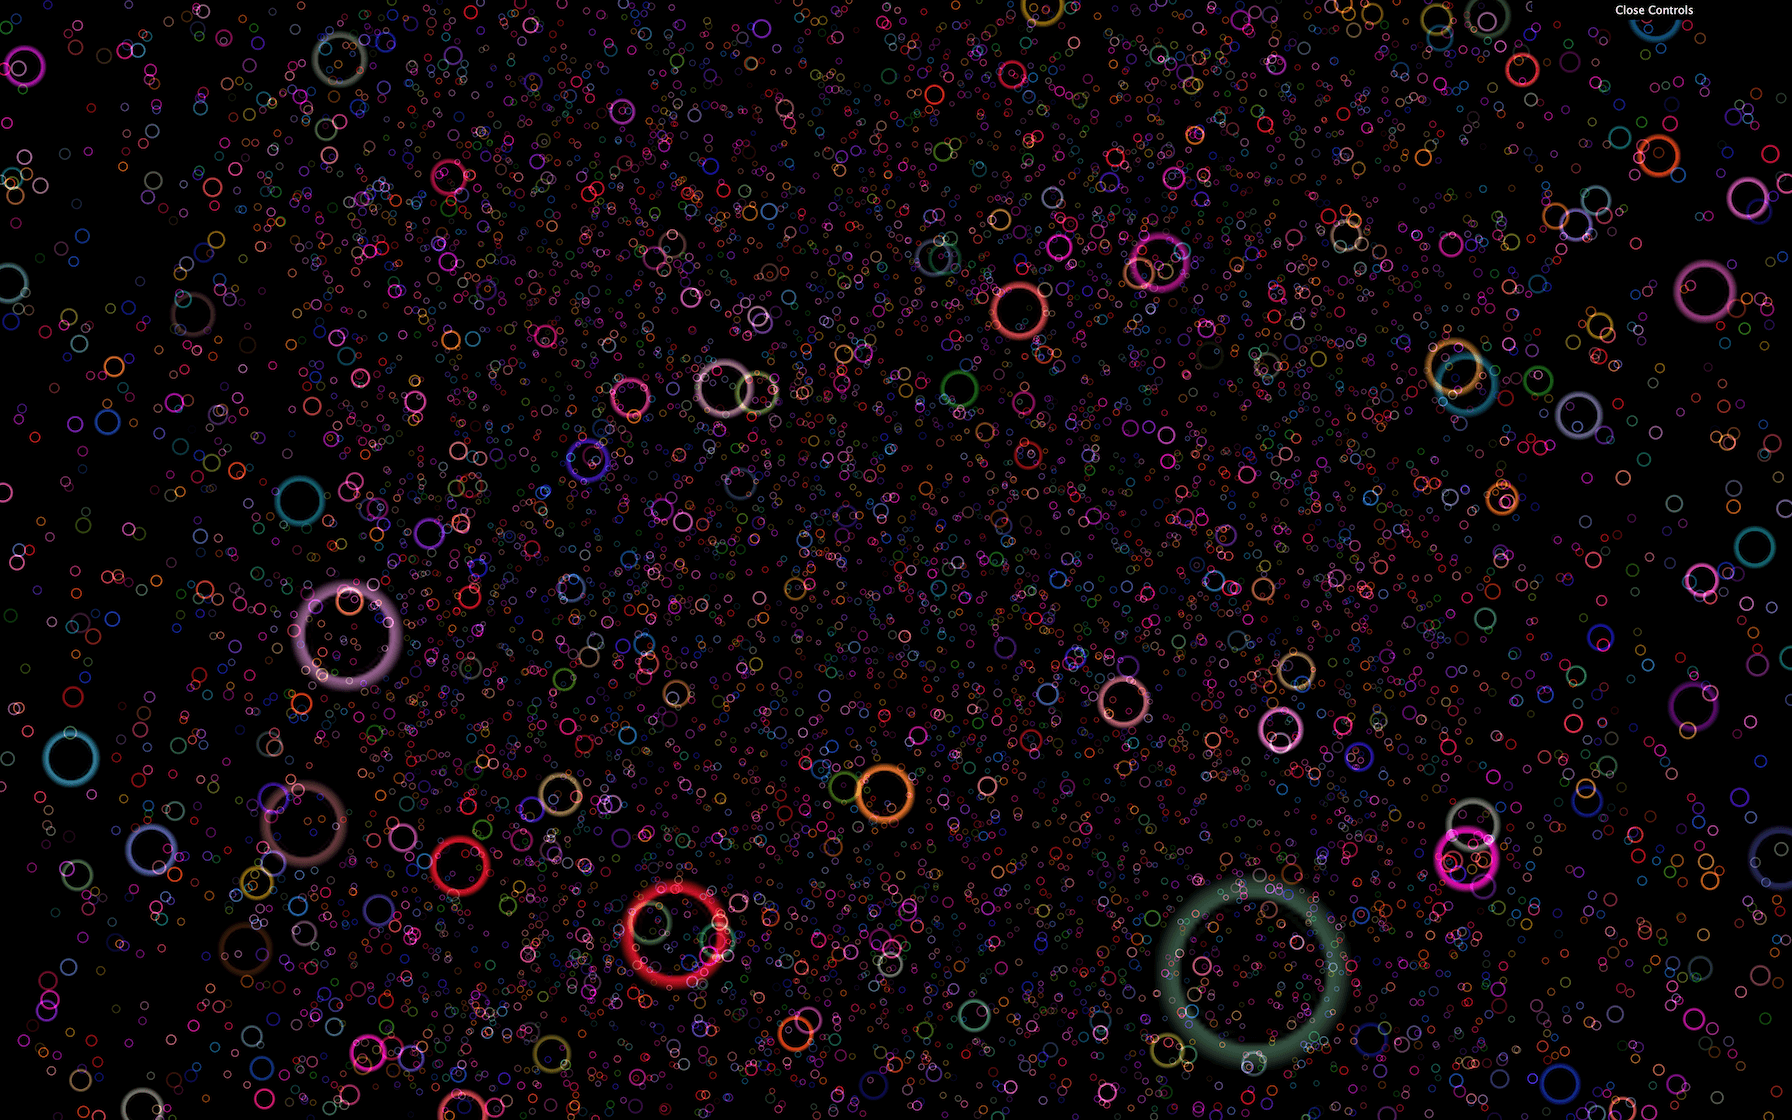
The main color of the material still affects these vertex colors. Feel free to change that color or even comment it.
// particlesMaterial.color = new THREE.Color('#ff88cc')
JavaScript
Copy
Animate
There are multiple ways of animating particles.
By using the points as an object
Because the Points class inherits from the Object3D class, you can move, rotate and scale the points as you wish.
Rotate the particles in the tick function:
const tick = () =>
{
    const elapsedTime = clock.getElapsedTime()

    // Update particles
    particles.rotation.y = elapsedTime * 0.2

    // ...
}
JavaScript
Copy
While this is already cool, we want more control over each particle.
By changing the attributes
Another solution would be to update each vertex position separately. This way, vertices can have different trajectories. We are going to animate the particles as if they were floating on waves but first, let’s see how we can update the vertices.
Start by commenting the previous rotation we did on the whole particles :
const tick = () =>
{
    // ...

    // particles.rotation.y = elapsedTime * 0.2

    // ...
}
JavaScript
Copy
To update each vertex, we have to update the right part in the position attribute because all the vertices are stored in this one dimension array where the first 3 values correspond to the x , y and z coordinates of the first vertex, then the next 3 values correspond to the x , y and z of the second vertex, etc.
We only want the vertices to move up and down, meaning that we are going to update the y axis only. Because the position attribute is a one dimension array, we have to go through it 3 by 3 and only update the second value which is the y coordinate.
Let’s start by going through each vertices:
const tick = () =>
{
        // ...

    for(let i = 0; i < count; i++)
    {
        const i3 = i * 3
    }

    // ...
}
JavaScript
Copy
Here, we chose to have a simple for loop that goes from 0 to count and we created a i3 variable inside that goes 3 by 3 simply by multiplying i by 3.
The easiest way to simulate waves movement is to use a simple sinus . First, we are going to update all vertices to go up and down on the same frequency.
The y coordinate can be access in the array at the index i3 + 1 :
const tick = () =>
{
    // ...

    for(let i = 0; i < count; i++)
    {
        const i3 = i * 3

        particlesGeometry.attributes.position.array[i3 + 1] = Math.sin(elapsedTime)
    }

    // ...
}
JavaScript
Copy
Unfortunately, nothing is moving. The problem is that Three.js has to be notified that the geometry changed. To do that, we have to set the needsUpdate to true on the position attribute once we are done updating the vertices:
const tick = () =>
{
    // ...

    for(let i = 0; i < count; i++)
    {
        const i3 = i * 3

        particlesGeometry.attributes.position.array[i3 + 1] = Math.sin(elapsedTime)
    }
    particlesGeometry.attributes.position.needsUpdate = true

    // ...
}
JavaScript
Copy
All the particles should be moving up and down like a plane.
That’s a good start and we are almost there. All we need to do now is apply an offset to the sinus between the particles so that we get that wave shape.
To do that, we can use the x coordinate. And to get this value we can use the same technique that we used for the y coordinate but instead of i3 + 1 , it’s just i3 :
const tick = () =>
{
    // ...

    for(let i = 0; i < count; i++)
    {
        let i3 = i * 3

        const x = particlesGeometry.attributes.position.array[i3]
        particlesGeometry.attributes.position.array[i3 + 1] = Math.sin(elapsedTime + x)
    }
    particlesGeometry.attributes.position.needsUpdate = true

    // ...
}
JavaScript
Copy
You should get beautiful waves of particles. Unfortunately, you should avoid this technique. If we have 20000 particles, we are going through each one, calculating a new position, and updating the whole attribute on each frame. That can work with a small number of particles, but we want millions of particles.
By using a custom shader
To update these millions of particles on each frame with a good framerate, we need to create our own material with our own shaders. But shaders are for a later lesson.
18 Galaxy Generator
Difficulty Hard
Introduction
Now that we know how to use particles, we could create something cool like a Galaxy. But instead of producing just one galaxy, let’s do a galaxy generator.
For that, we’re going to use Dat.GUI to let the user tweak the parameters and generate a new galaxy on each change.
Setup
The starter is only composed of a cube in the middle of the scene. It ensures that everything is working.
Base particles
First, remove the cube and create a generateGalaxy function. Each time we call that function, we will remove the previous galaxy (if there is one) and create a new one.
We can call that function immediately:
/**
 * Galaxy
 */
const generateGalaxy = () =>
{

}

generateGalaxy()
JavaScript
Copy
We can create an object that will contain all the parameters of our galaxy. Create this object before the generateGalaxy function. We will populate it progressively and also add each parameter to Dat.GUI :
const parameters = {}
JavaScript
Copy
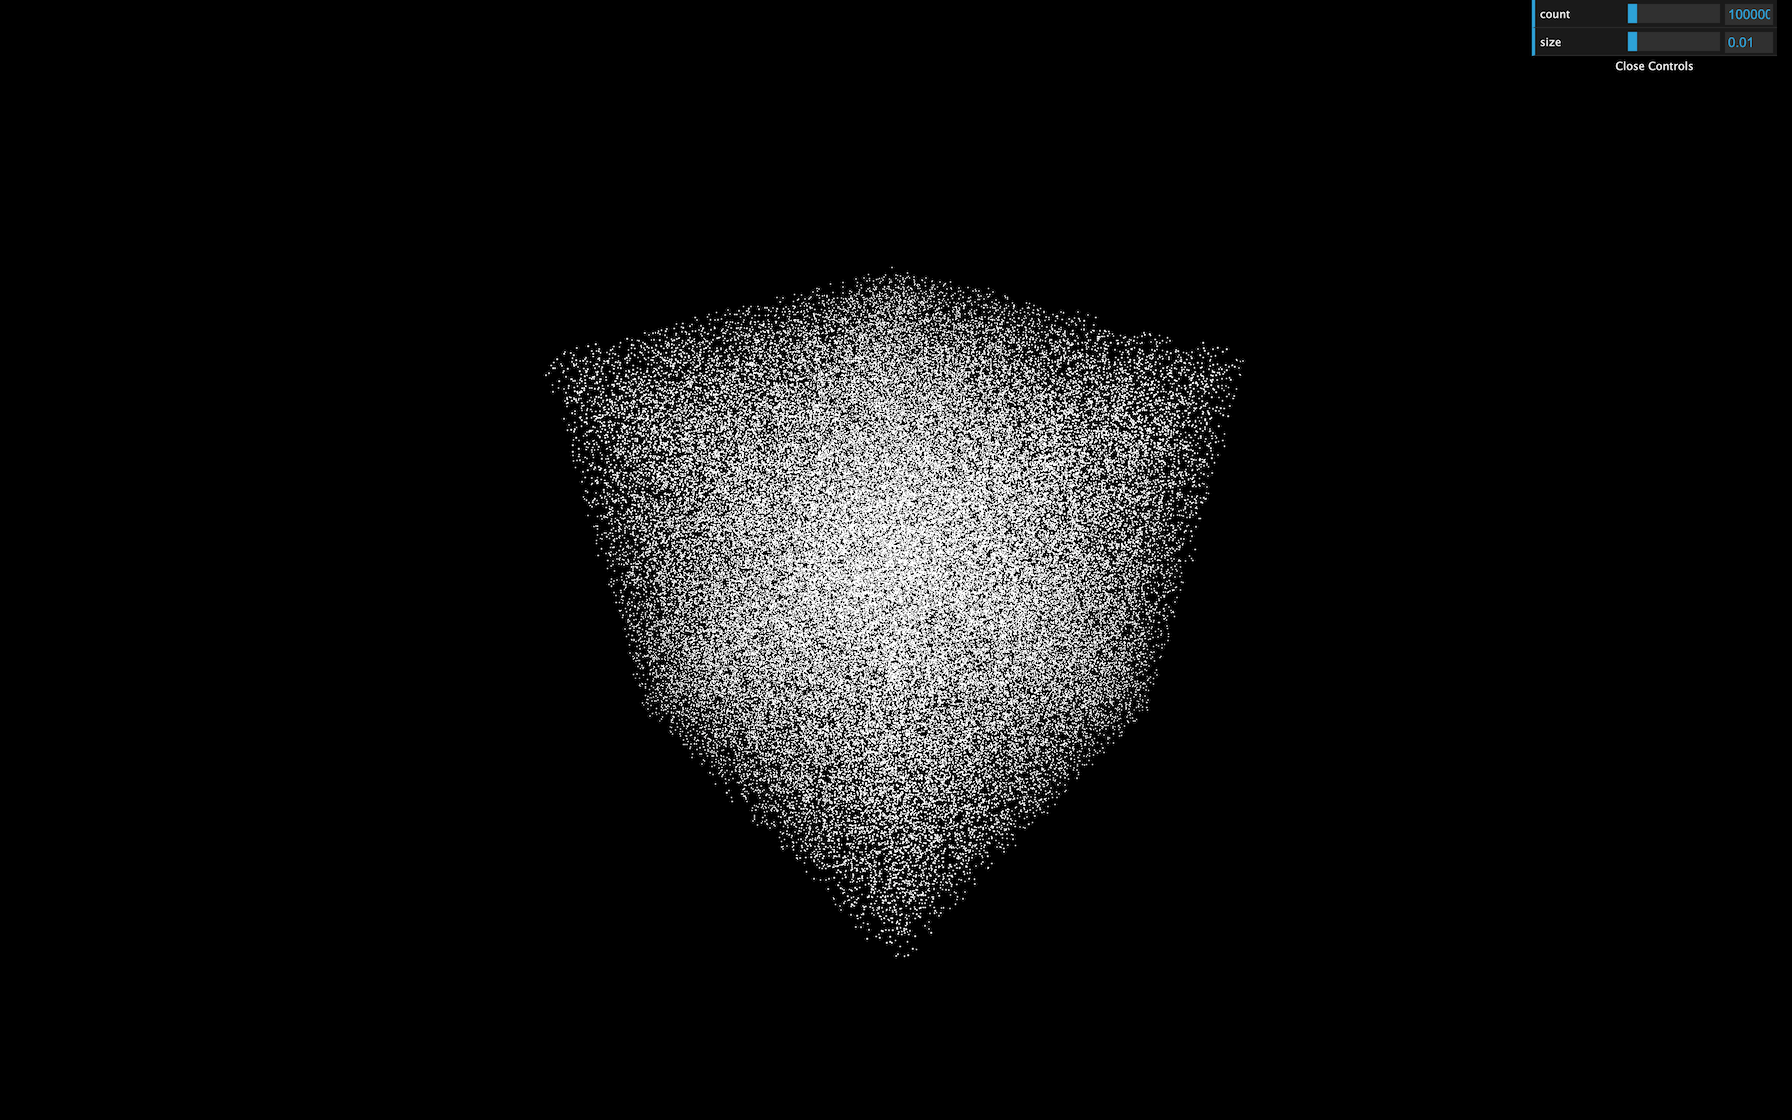
In our generateGalaxy function, we’re going to create some particles just to make sure that everything is working. We can start with the geometry and add the particles count to the parameters:
const parameters = {}
parameters.count = 1000

const generateGalaxy = () =>
{
    /**
     * Geometry
     */
    const geometry = new THREE.BufferGeometry()

    const positions = new Float32Array(parameters.count * 3)

    for(let i = 0; i < parameters.count; i++)
    {
        const i3 = i * 3

        positions[i3    ] = (Math.random() - 0.5) * 3
        positions[i3 + 1] = (Math.random() - 0.5) * 3
        positions[i3 + 2] = (Math.random() - 0.5) * 3
    }

    geometry.setAttribute('position', new THREE.BufferAttribute(positions, 3))
}
generateGalaxy()
JavaScript
Copy
That’s the same code as before, but we handled the loop a little differently.
We can now create the material by using the PointsMaterial class. This time again, we can add tweaks to the parameters object:
parameters.size = 0.02

const generateGalaxy = () =>
{
    // ...

    /**
     * Material
     */
    const material = new THREE.PointsMaterial({
        size: parameters.size,
        sizeAttenuation: true,
        depthWrite: false,
        blending: THREE.AdditiveBlending
    })
}
JavaScript
Copy
Finally, we can create the points by using the Points class and add it to the scene:
const generateGalaxy = () =>
{
    // ...

    /**
     * Points
     */
    const points = new THREE.Points(geometry, material)
    scene.add(points)
}
JavaScript
Copy
You should see few points floating around.
Tweaks
We have already two parameters, count and size . Let’s add them to the Dat.GUI instance that we already created at the start of the code. As you can imagine, we must add those tweaks after creating the parameters:
parameters.count = 1000
parameters.size = 0.02

gui.add(parameters, 'count').min(100).max(1000000).step(100)
gui.add(parameters, 'size').min(0.001).max(0.1).step(0.001)
JavaScript
Copy
You should have two new ranges in the tweaks but changing them doesn’t generate a new galaxy. To generate a new galaxy, you must listen to the change event. More precisely to the finishChange event to prevent generating galaxies while you are drag and dropping the range value:
gui.add(parameters, 'count').min(100).max(1000000).step(100).onFinishChange(generateGalaxy)
gui.add(parameters, 'size').min(0.001).max(0.1).step(0.001).onFinishChange(generateGalaxy)
JavaScript
Copy
This code won’t work because the generateGalaxy doesn’t exist yet. You must move those tweaks after the generateGalaxy function.
Be careful, we still have a problem, and if you play too much with the tweaks, your computer will start to heat. It’s because we didn’t destroy the previously created galaxy. We are creating galaxies one above the other.
To make things right, we must first move the geometry , material and points variables outside the generateGalaxy .
let geometry = null
let material = null
let points = null

const generateGalaxy = () =>
{
    // ...

    geometry = new THREE.BufferGeometry()

    // ...

    material = new THREE.PointsMaterial({
        size: parameters.size,
        sizeAttenuation: true,
        depthWrite: false,
        blending: THREE.AdditiveBlending
    })

    // ...

    points = new THREE.Points(geometry, material)

    // ...
}
JavaScript
Copy
Then, before assigning those variables, we can test if they already exist. If so, we can call the dispose() method on the geometry and the material. Then remove the points from the scene with the remove() method:
const generateGalaxy = () =>
{
    // Destroy old galaxy
    if(points !== null)
    {
        geometry.dispose()
        material.dispose()
        scene.remove(points)
    }

    // ...
}
JavaScript
Copy
Instead of using a texture that can create depth and alpha issues as we saw in the previous lesson, we will just let the default square shape. Don’t worry; there will be so many small particles that we won’t notice that they are squares.
Now that we can estimate how much particles we can have and their size, let’s update the parameters:
parameters.count = 100000
parameters.size = 0.01
JavaScript
Copy
Shape
Galaxies can have several different shapes. We will focus on the spirals one. There are many ways to position the particles to create a galaxy. Feel free to try your way before testing the lesson way.
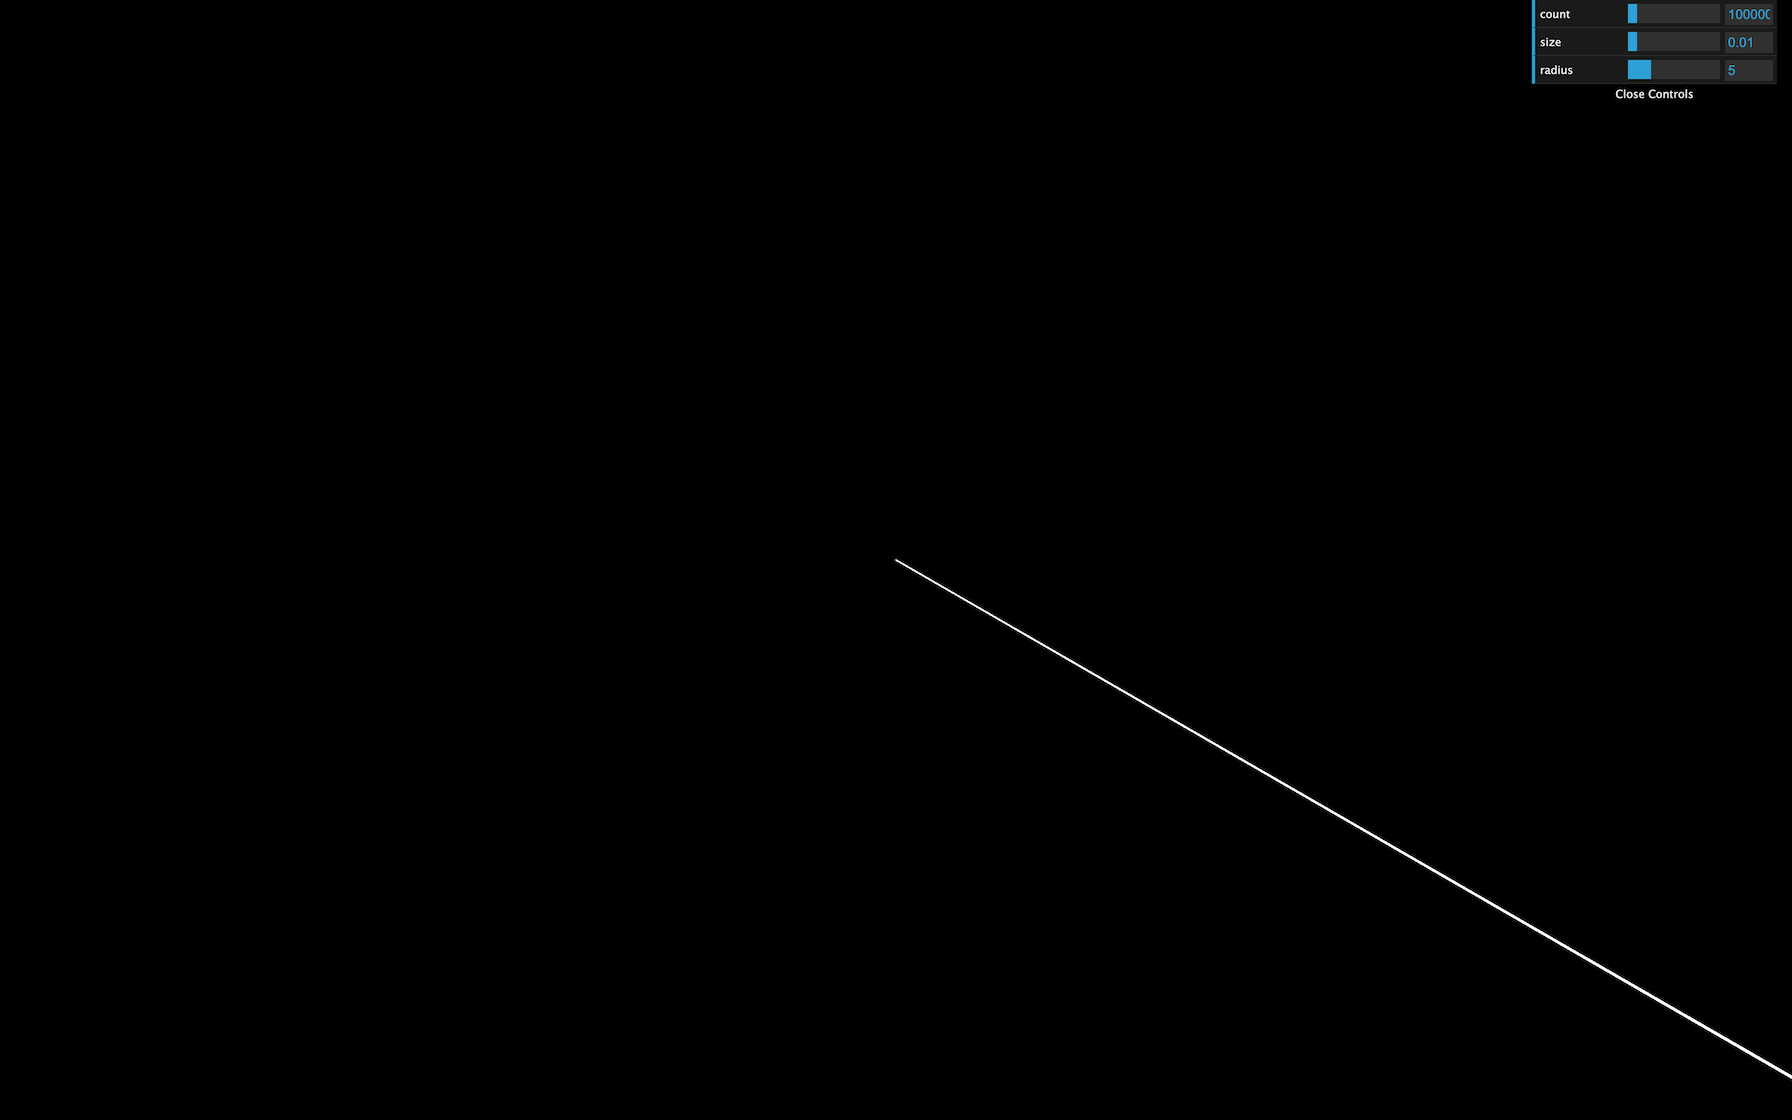
Radius
First, let’s create a radius parameter:
parameters.radius = 5

// ...

gui.add(parameters, 'radius').min(0.01).max(20).step(0.01).onFinishChange(generateGalaxy)
JavaScript
Copy
Each star will be positioned accordingly to that radius. If the radius is 5 , the stars will be positioned at a distance from 0 to 5 . For now, let’s position all the particles on a straight line:
    for(let i = 0; i < parameters.count; i++)
    {
        const i3 = i * 3

        const radius = Math.random() * parameters.radius

        positions[i3    ] = radius
        positions[i3 + 1] = 0
        positions[i3 + 2] = 0
    }
JavaScript
Copy
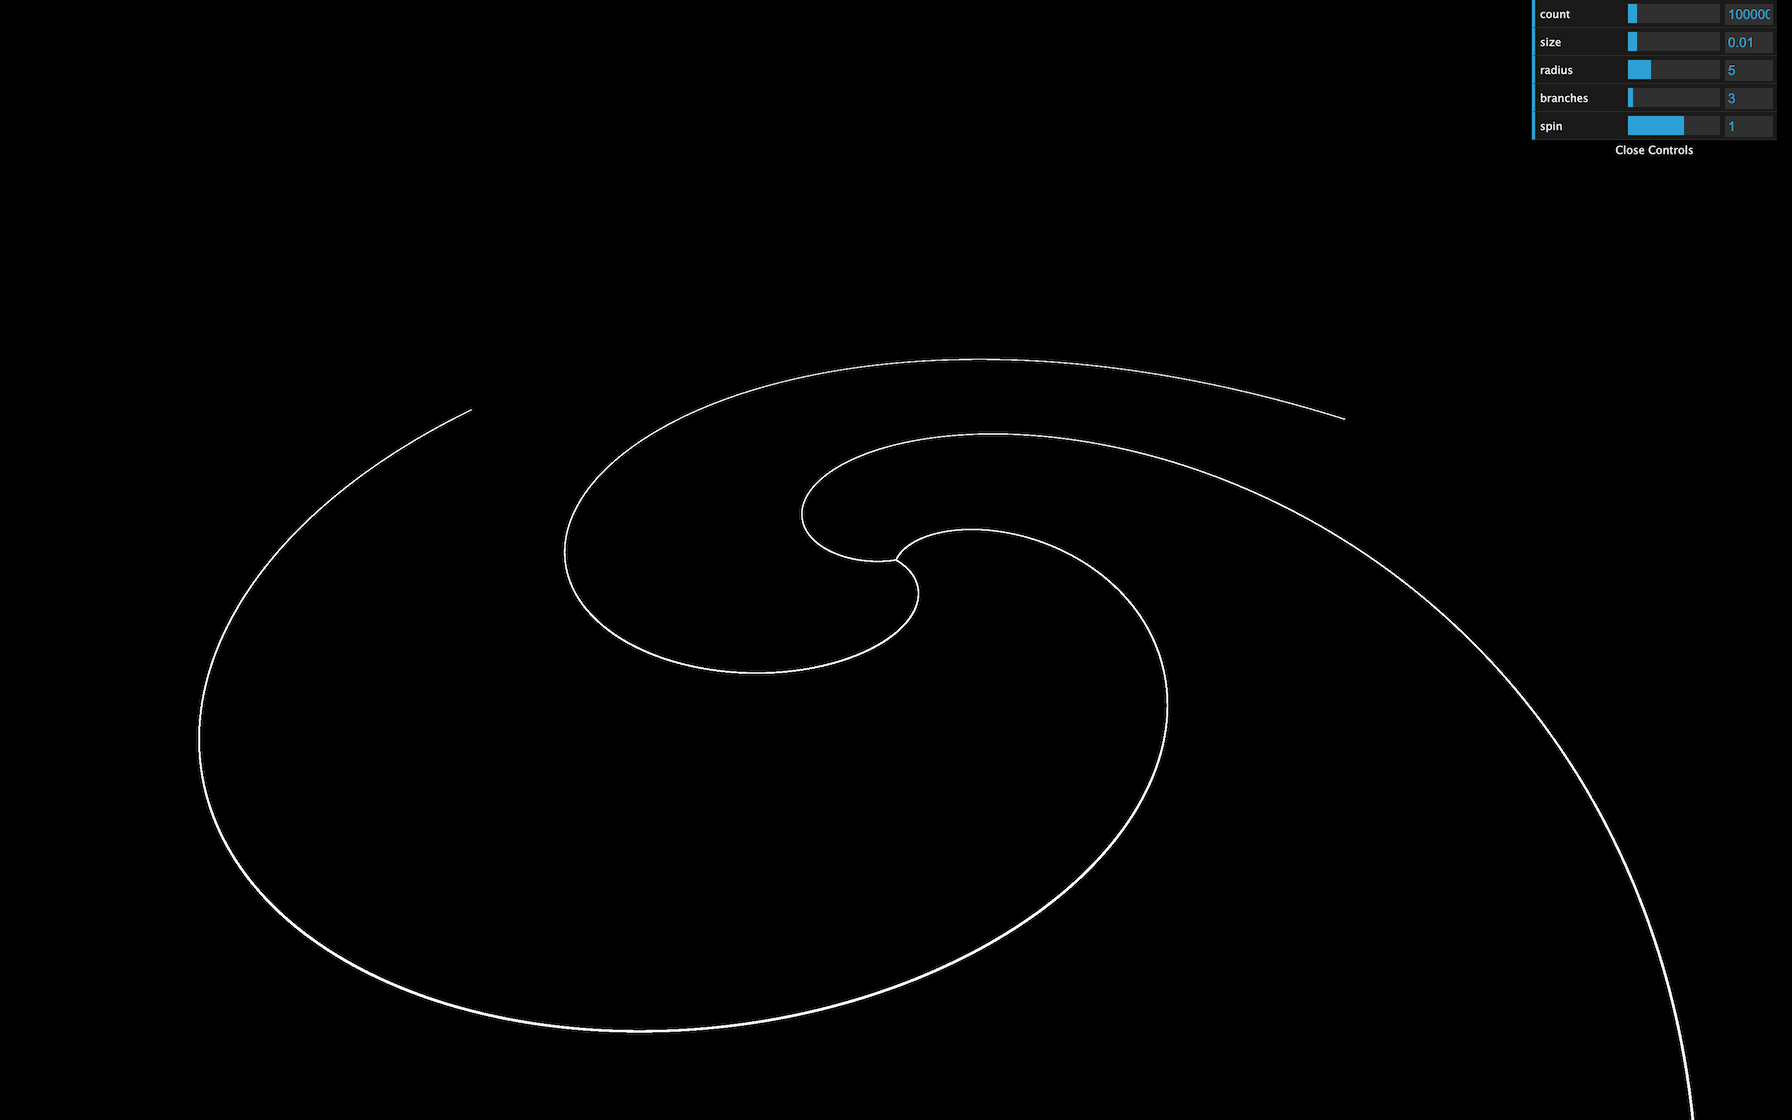
Branches
Spin galaxies always seem to have at least two branches, but it can have much more.
Create a branches parameter:
parameters.branches = 3

// ...

gui.add(parameters, 'branches').min(2).max(20).step(1).onFinishChange(generateGalaxy)
JavaScript
Copy
We can use Math.cos(...) and Math.sin(...) to position the particles on those branches. We first calculate an angle with the modulo ( % ), divide the result by the branches count parameter to get an angle between 0 and 1 , and multiply this value by Math.PI * 2 to get an angle between 0 and a full circle. We then use that angle with Math.cos(...) and Math.sin(...) for the x and the z axis and we finally multiply by the radius:
    for(let i = 0; i < parameters.count; i++)
    {
        const i3 = i * 3

        const radius = Math.random() * parameters.radius
        const branchAngle = (i % parameters.branches) / parameters.branches * Math.PI * 2

        positions[i3    ] = Math.cos(branchAngle) * radius
        positions[i3 + 1] = 0
        positions[i3 + 2] = Math.sin(branchAngle) * radius
    }
JavaScript
Copy

Spin
Let’s add the spin effect.
Create a spin parameter:
parameters.spin = 1

// ...

gui.add(parameters, 'spin').min(- 5).max(5).step(0.001).onFinishChange(generateGalaxy)
JavaScript
Copy
Then we can multiply the spinAngle by that spin parameter. To put it differently, the further the particle is from the center, the more spin it’ll endure:
    for(let i = 0; i < parameters.count; i++)
    {
        const i3 = i * 3

        const radius = Math.random() * parameters.radius
        const spinAngle = radius * parameters.spin
        const branchAngle = (i % parameters.branches) / parameters.branches * Math.PI * 2

        positions[i3    ] = Math.cos(branchAngle + spinAngle) * radius
        positions[i3 + 1] = 0
        positions[i3 + 2] = Math.sin(branchAngle + spinAngle) * radius
    }
JavaScript
Copy
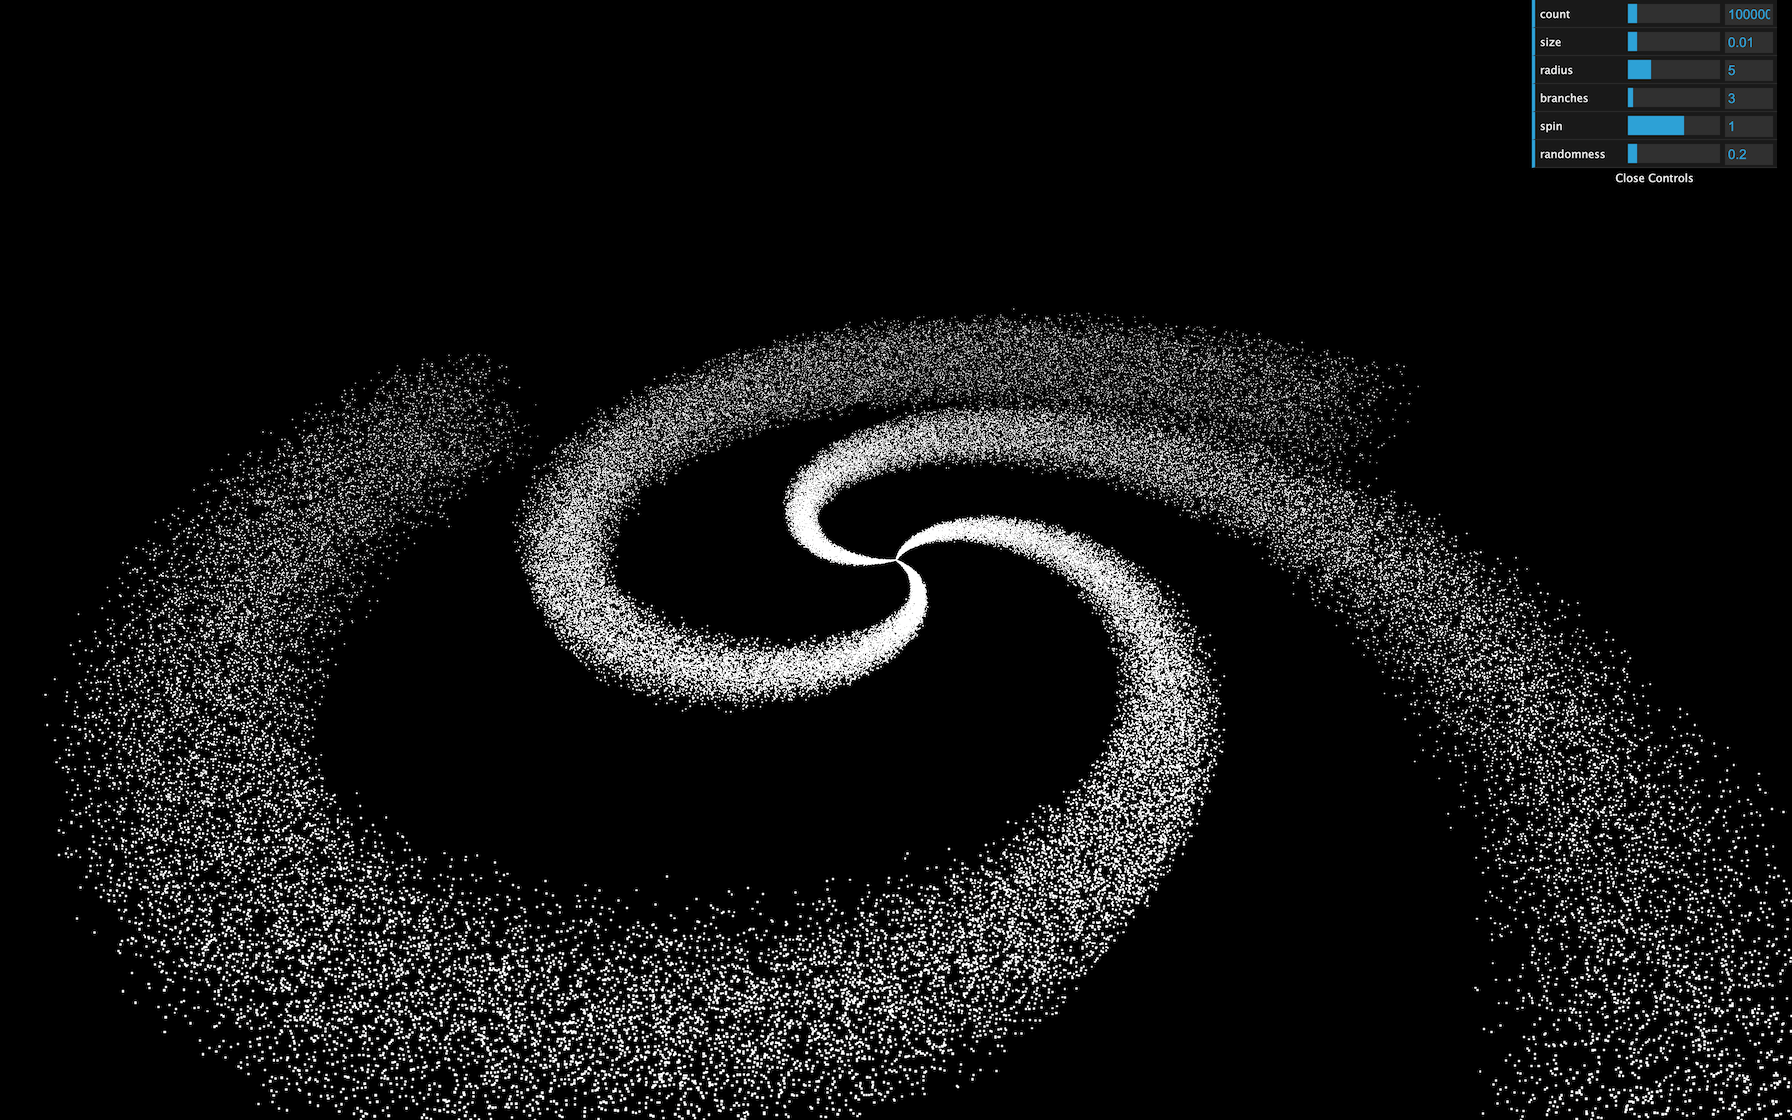
Randomness
Those particles are perfectly aligned. We need randomness. But what we truly need is spread stars on the outside and more condensed star on the inside.
Create a randomness parameter:
parameters.randomness = 0.2

// ...

gui.add(parameters, 'randomness').min(0).max(2).step(0.001).onFinishChange(generateGalaxy)
JavaScript
Copy
Now create a random value for each axis with Math.random() , multiply it by the radius and then add those values to the postions :
    for(let i = 0; i < parameters.count; i++)
    {
        const i3 = i * 3

        const radius = Math.random() * parameters.radius

        const spinAngle = radius * parameters.spin
        const branchAngle = (i % parameters.branches) / parameters.branches * Math.PI * 2

        const randomX = (Math.random() - 0.5) * parameters.randomness * radius
        const randomY = (Math.random() - 0.5) * parameters.randomness * radius
        const randomZ = (Math.random() - 0.5) * parameters.randomness * radius

        positions[i3    ] = Math.cos(branchAngle + spinAngle) * radius + randomX
        positions[i3 + 1] = randomY
        positions[i3 + 2] = Math.sin(branchAngle + spinAngle) * radius + randomZ
    }
JavaScript
Copy
It’s working but it’s not very convincing, right? And we can still see the pattern. To fix that, we can use Math.pow() to crush the value. The more power you apply, the closest to 0 it will get. The problem is that you can’t use a negative value with Math.pow() . What we will do is calculate the power then multiply it by -1 randomly.
First create the power parameter:
parameters.randomnessPower = 3

// ...

gui.add(parameters, 'randomnessPower').min(1).max(10).step(0.001).onFinishChange(generateGalaxy)
JavaScript
Copy
Then apply the power with Math.pow() and multiply it by -1 randomly:
        const randomX = Math.pow(Math.random(), parameters.randomnessPower) * (Math.random() < 0.5 ? 1 : - 1) * parameters.randomness * radius
        const randomY = Math.pow(Math.random(), parameters.randomnessPower) * (Math.random() < 0.5 ? 1 : - 1) * parameters.randomness * radius
        const randomZ = Math.pow(Math.random(), parameters.randomnessPower) * (Math.random() < 0.5 ? 1 : - 1) * parameters.randomness * radius
JavaScript
Copy

Colors
For a better effect, we need to add some colors to our creation. A cool thing would be to have different colors inside the galaxy and on its edges.
First, add the colors parameters:
parameters.insideColor = '#ff6030'
parameters.outsideColor = '#1b3984'

// ...

gui.addColor(parameters, 'insideColor').onFinishChange(generateGalaxy)
gui.addColor(parameters, 'outsideColor').onFinishChange(generateGalaxy)
JavaScript
Copy
We’re going to provide a color for each vertex. We must active the vertexColors on the material:
    material = new THREE.PointsMaterial({
        size: parameters.size,
        sizeAttenuation: true,
        depthWrite: false,
        blending: THREE.AdditiveBlending,
        vertexColors: true
    })
JavaScript
Copy
Then add a color attribute on our geometry just like we added the position attribute. For now, we’re not using the insideColor and outsideColor parameters:
    geometry = new THREE.BufferGeometry()

    const positions = new Float32Array(parameters.count * 3)
    const colors = new Float32Array(parameters.count * 3)

    for(let i = 0; i < parameters.count; i++)
    {
        // ...

        colors[i3    ] = 1
        colors[i3 + 1] = 0
        colors[i3 + 2] = 0
    }

    geometry.setAttribute('position', new THREE.BufferAttribute(positions, 3))
    geometry.setAttribute('color', new THREE.BufferAttribute(colors, 3))
JavaScript
Copy
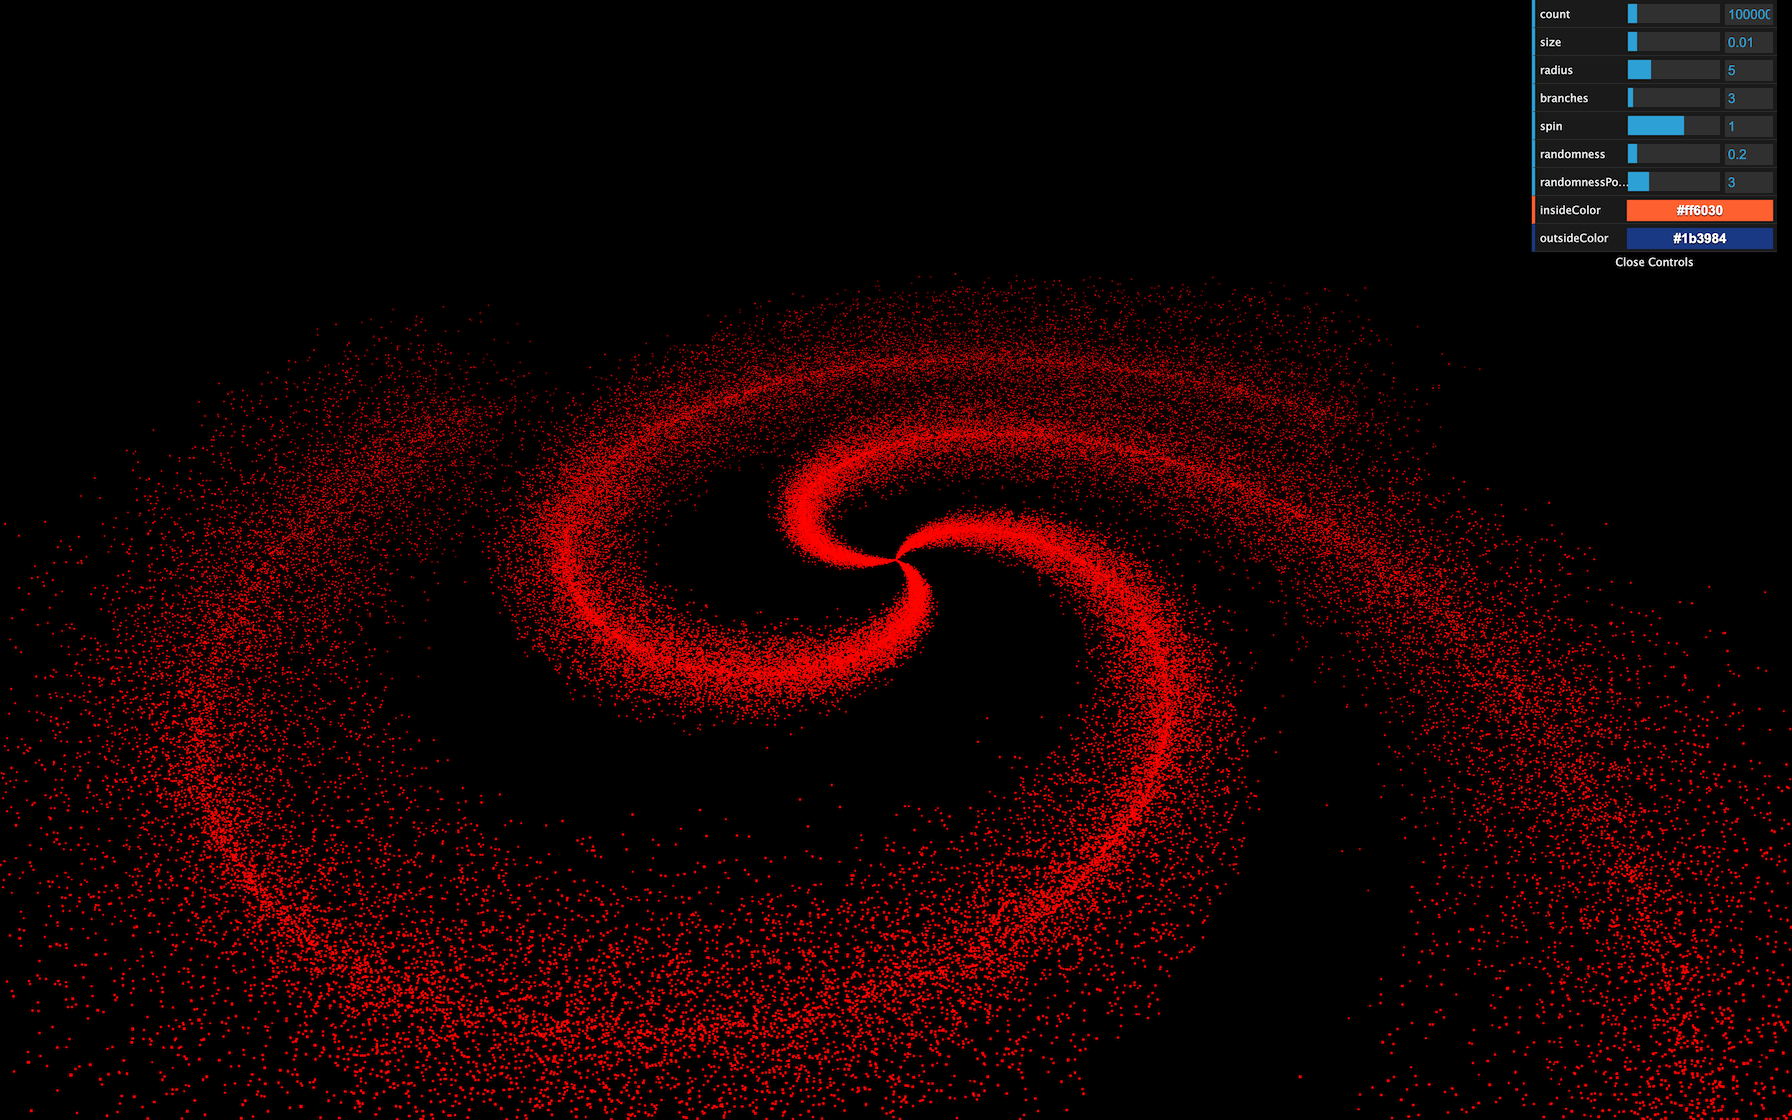
You should get a red galaxy.
To use the colors from the parameters, we first need to create a Color instance for each one. We have to do it inside the generateGalaxy function for reasons you’ll understand in a bit:
const generateGalaxy = () =>
{
    // ...

    const colorInside = new THREE.Color(parameters.insideColor)
    const colorOutside = new THREE.Color(parameters.outsideColor)

    // ...
}
JavaScript
Copy
Inside the loop function, we want to mix these colors into a third color. That mix depends on the distance from the center of the galaxy. If the particle is at the center of the galaxy, it’ll have the insideColor and the further it gets from the center, the more it will get mixed with the outsideColor .
Instead of creating a third Color, we are going to clone the colorInside and then use the lerp(...) method to interpolate the color from that base color to another one. The first parameter of lerp(...) is the other color, and the second parameter is a value between 0 and 1 . If it’s 0 , the color will keep its base value, and if it’s 1 the result color will be the one provided. We can use the radius divided by the radius parameter:
        const mixedColor = colorInside.clone()
        mixedColor.lerp(colorOutside, radius / parameters.radius)
JavaScript
Copy
We can then use the r , g and b properties in our colors array:
        colors[i3    ] = mixedColor.r
        colors[i3 + 1] = mixedColor.g
        colors[i3 + 2] = mixedColor.b
JavaScript
Copy
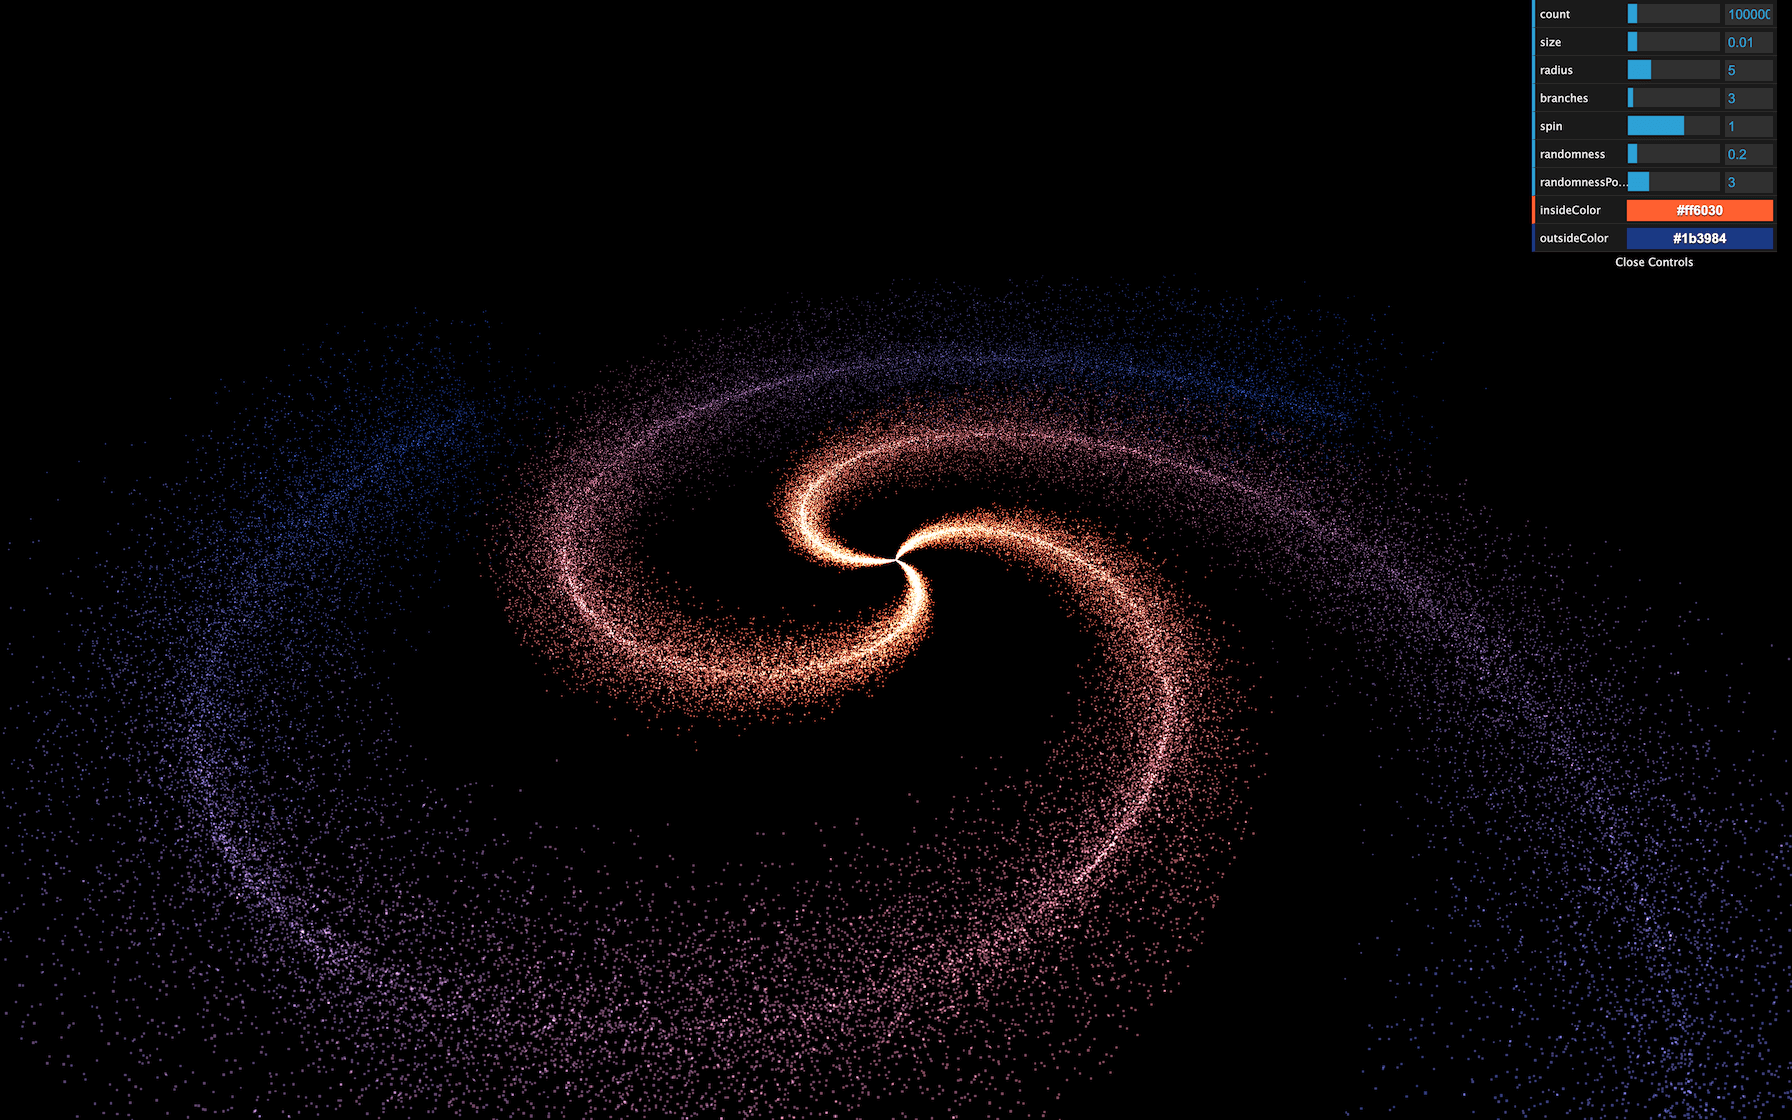
And here you have a beautiful galaxy generator. You can play with the tweaks and continue to add parameters and improve the style of your galaxies.
Try not to burn your computer.
Go further
To go further, you can try to add more tweaks or test other galaxy shapes. We will learn how to animate all the particles in a cool spin animation in a future lesson.
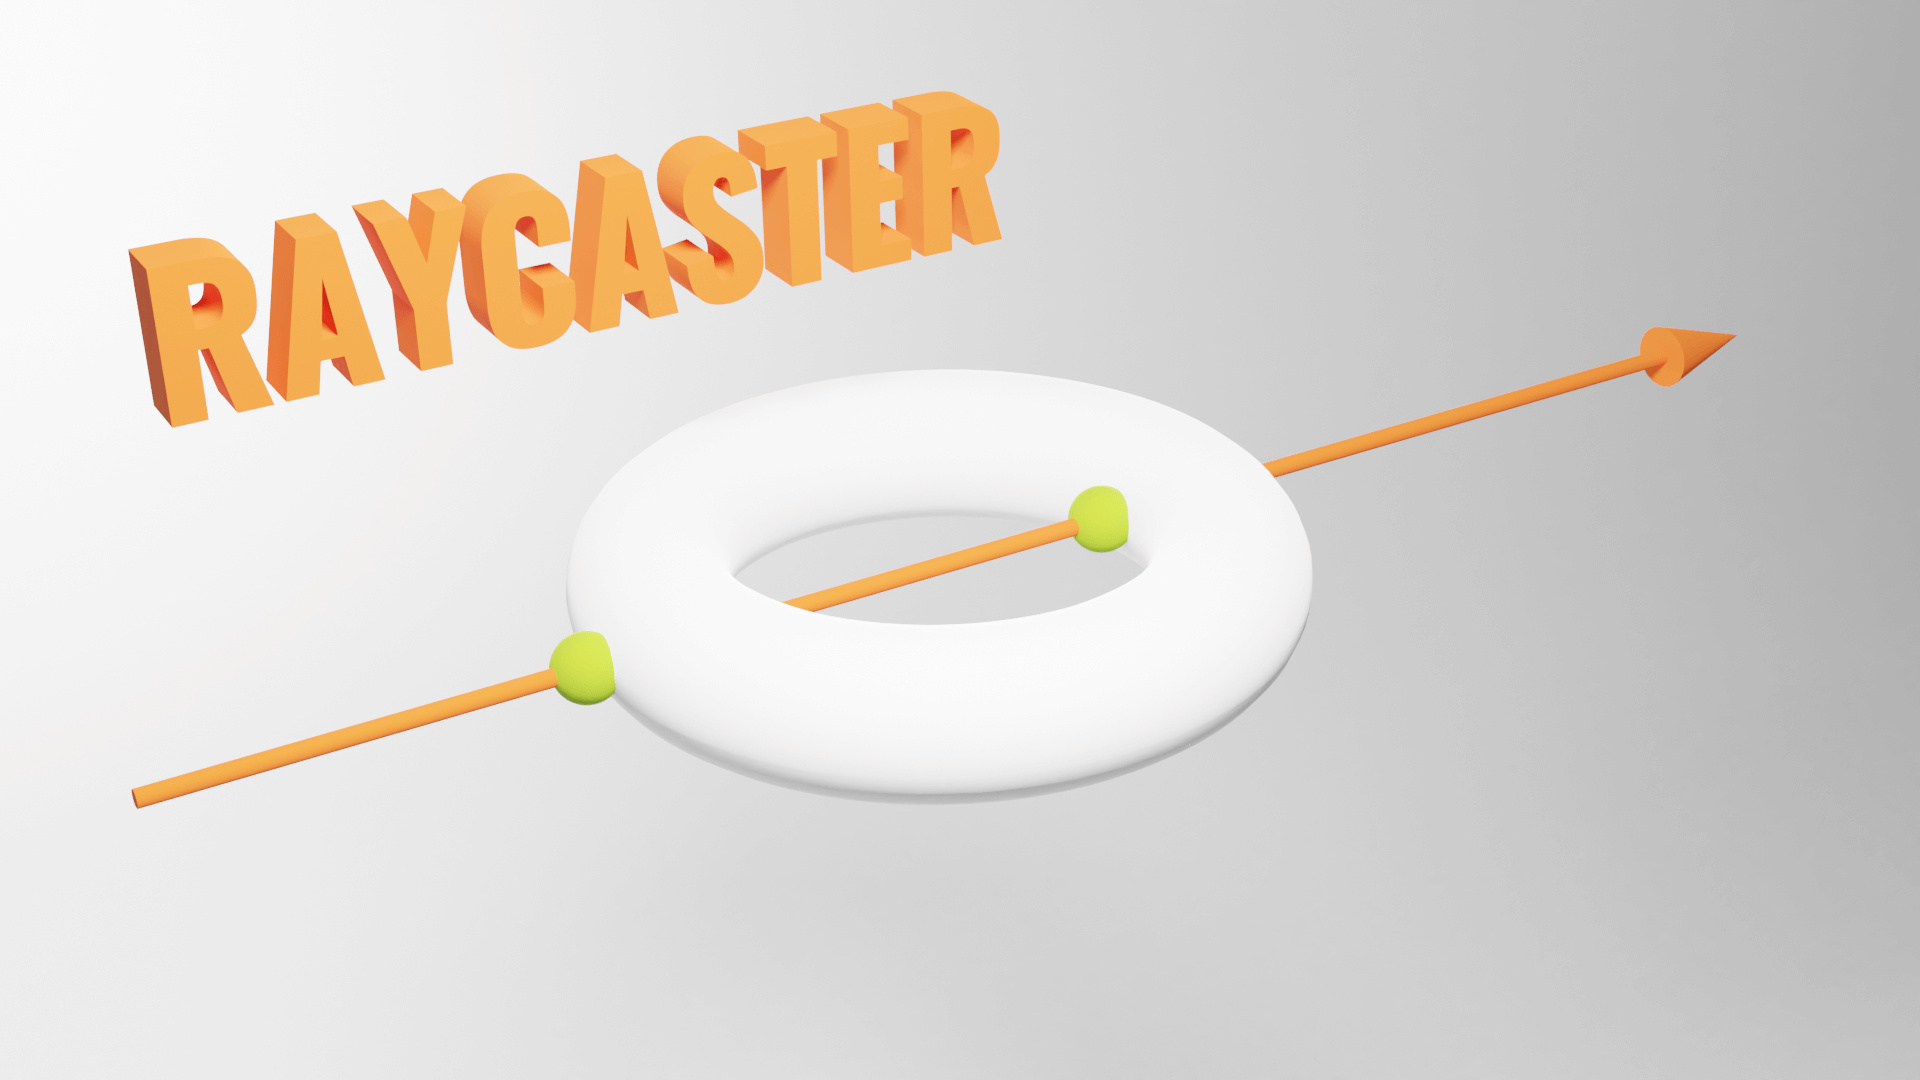
19 Raycaster
Difficulty Hard
Introduction
As the name suggests, a Raycaster can cast (or shoot) a ray in a specific direction and test what objects intersect with it.
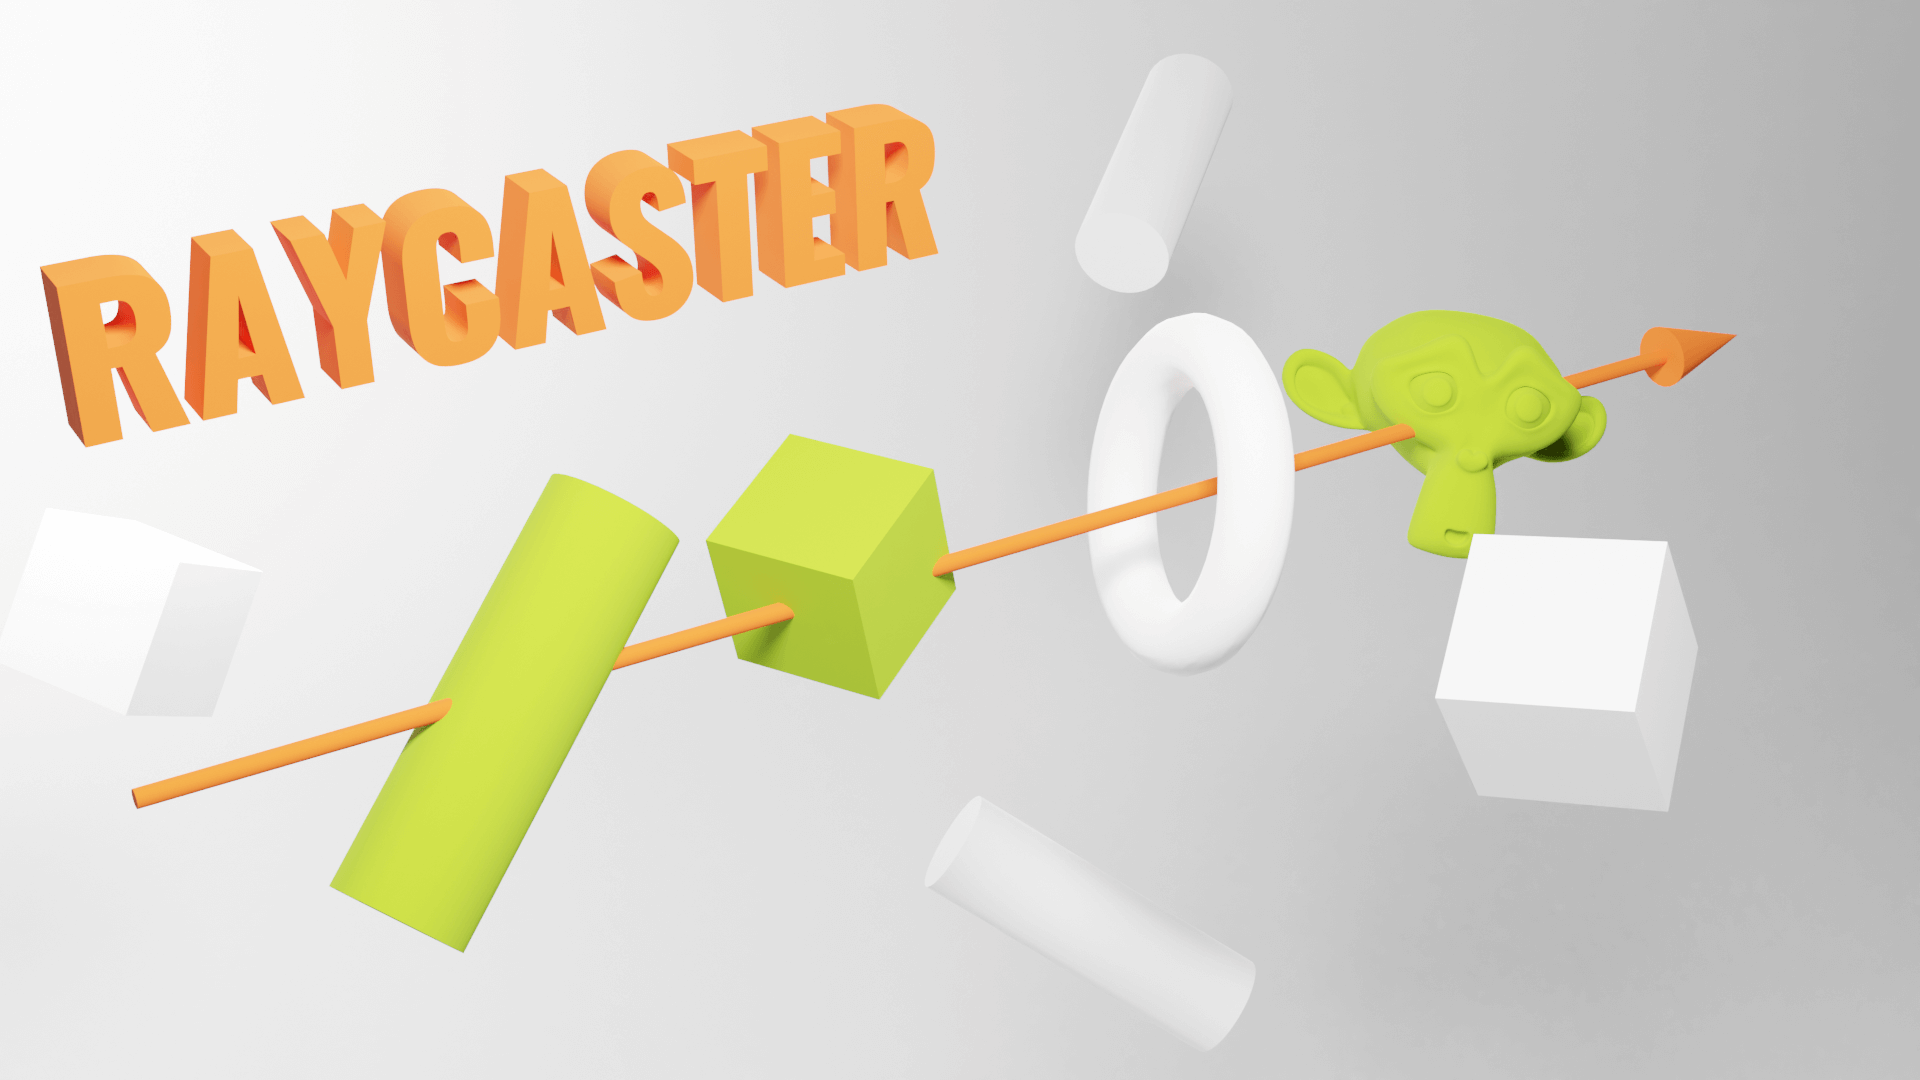
You can use that technique to detect if there is a wall in front of the player, test if the laser gun hit something, test if something is currently under the mouse to simulate mouse events, and many other things.
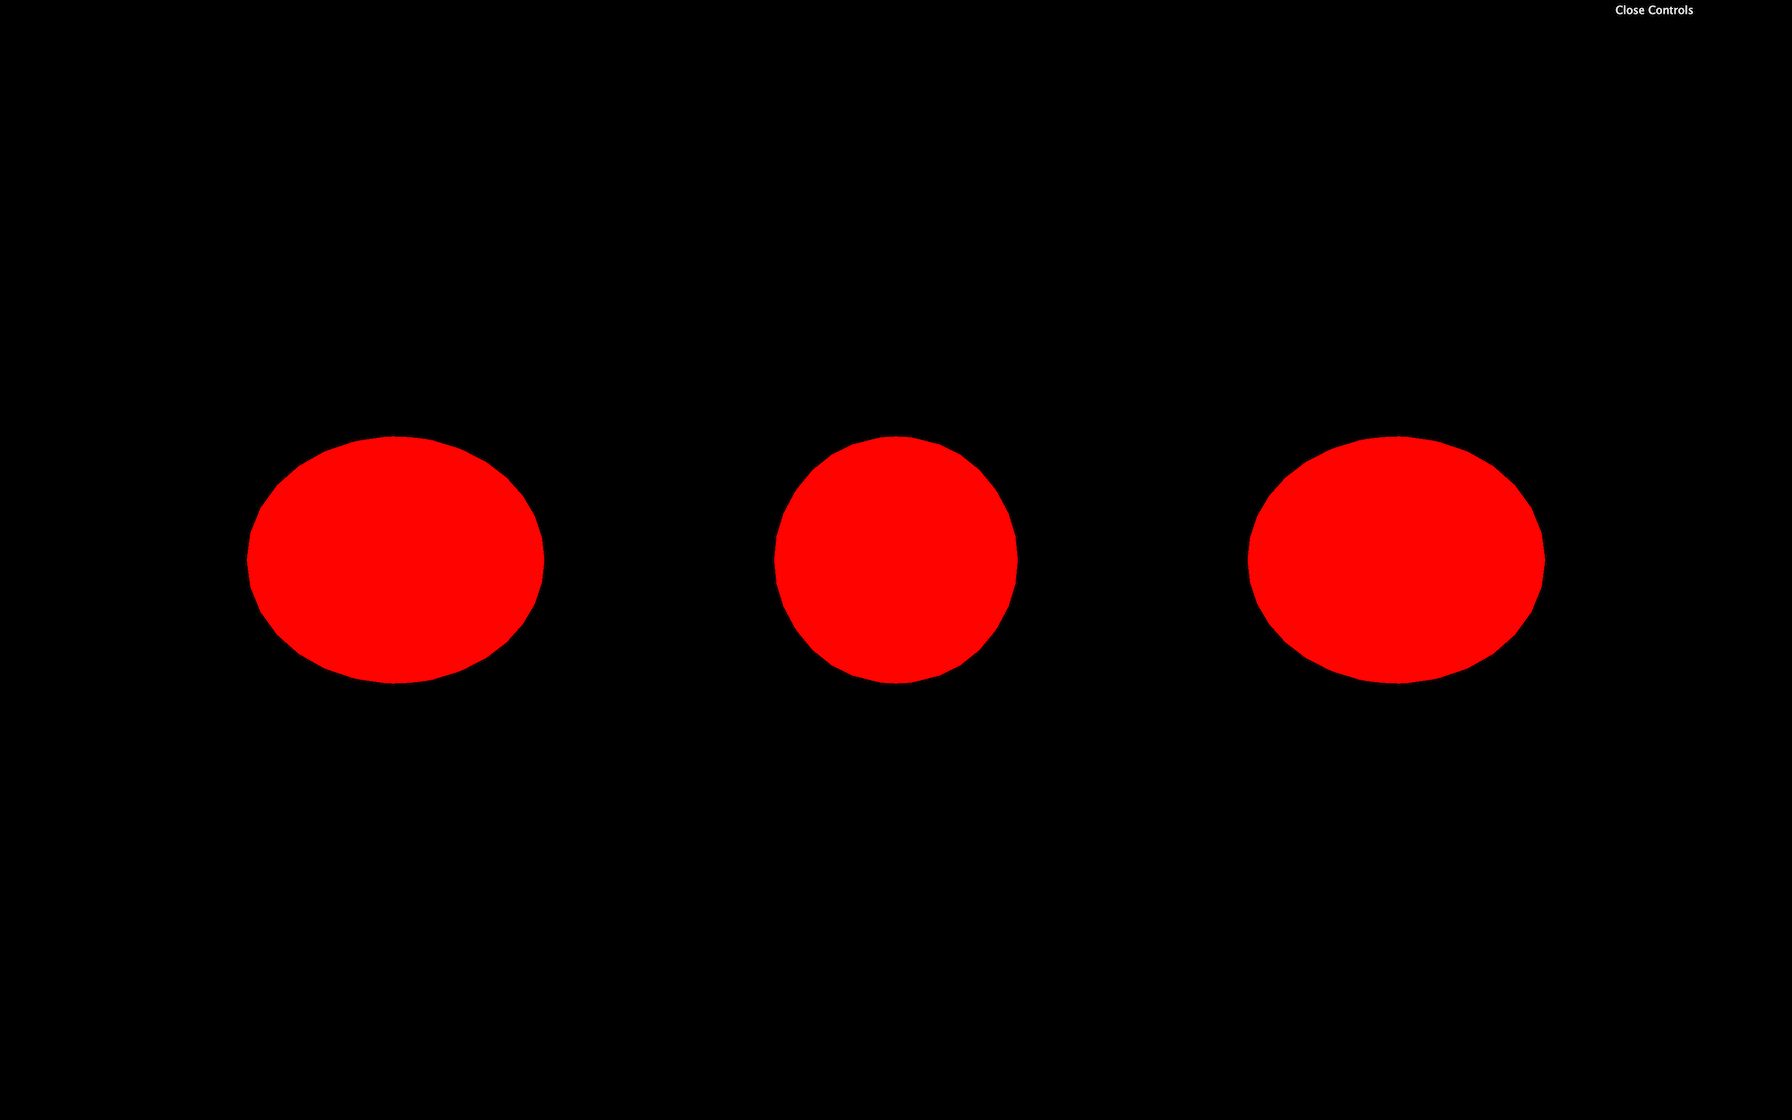
Setup
In our starter, we have 3 red spheres, and we are going to shoot a ray through and see if those spheres intersect.
Create the Raycaster
Instantiate a Raycaster:
/**
 * Raycaster
 */
const raycaster = new THREE.Raycaster()
JavaScript
Copy
To change the position and direction where ray will be cast, we can use the set(...) method. The first parameter is the position and the second parameter is the direction .
Both are Vector3, but the direction has to be normalized. A normalized vector has a length of 1 . Don’t worry, you don’t have to do the mathematics by yourself, and you can call the normalize() method on the vector:
const rayOrigin = new THREE.Vector3(- 3, 0, 0)
const rayDirection = new THREE.Vector3(10, 0, 0)
rayDirection.normalize()

raycaster.set(rayOrigin, rayDirection)
JavaScript
Copy
This example of a normalized vector isn’t very relevant because we could have set 1 instead of 10 , but if we change the values, we will still have the normalize() method making sure that the vector is 1 unit long.
Here, the ray position supposedly start a little on the left in our scene, and the direction seems to go to the right. Our ray should go through all the spheres.

Cast a ray
To cast a ray and get the objects that intersect we can use two methods, intersectObject(...) (singular) and intersectObjects(...) (plural).
intersectObject(...) will test one object and intersectObjects(...) will test an array of objects:
const intersect = raycaster.intersectObject(object2)
console.log(intersect)

const intersects = raycaster.intersectObjects([object1, object2, object3])
console.log(intersects)
JavaScript
Copy
If you look at the logs, you’ll see that intersectObject(...) returned an array of one item (probably the second sphere) and intersectObjects(...) , returned an array of three items (probably the 3 spheres).
Result of an intersection
The result of an intersection is always an array, even if you are testing only one object. That is because a ray can go through the same object multiple times. Imagine a donut. The ray will go through the first part of the ring, then the middle’s hole, then again the second part of the ring.
Each item of that returned array contains much useful information:
-
distance: the distance between the origin of the ray and the collision point. -
face: what face of the geometry was hit by the ray. -
faceIndex: the index of that face. -
object: what object is concerned by the collision. -
point: a Vector3 of the exact position in 3D space of the collision. -
uv: the UV coordinates in that geometry.
It’s up to you to use that data. If you want to test if there is a wall in front of the player, you can test the distance . If you’re going to change the object’s color, you can update the object 's material. If you want to show an explosion on the impact point, you can create this explosion at the point position.
Test on each frame
Currently, we only cast one ray at the start. If we want to test things while they are moving, we have to do the test on each frame. Let’s animate the spheres and turn them blue when the ray intersects with them.
Remove the code we did previously and only keep the raycaster instantiation:
const raycaster = new THREE.Raycaster()
JavaScript
Copy
Animate the spheres by using the elapsed time and classic Math.sin(...) in the tick function:
const clock = new THREE.Clock()

const tick = () =>
{
    const elapsedTime = clock.getElapsedTime()

    // Animate objects
    object1.position.y = Math.sin(elapsedTime * 0.3) * 1.5
    object2.position.y = Math.sin(elapsedTime * 0.8) * 1.5
    object3.position.y = Math.sin(elapsedTime * 1.4) * 1.5

    // ...
}
JavaScript
Copy
You should see the spheres waving up and down at different frequencies.
Now let’s update our raycaster like we did before but in the tick function:
const clock = new THREE.Clock()

const tick = () =>
{
    // ...

    // Cast a ray
    const rayOrigin = new THREE.Vector3(- 3, 0, 0)
    const rayDirection = new THREE.Vector3(1, 0, 0)
    rayDirection.normalize()

    raycaster.set(rayOrigin, rayDirection)

    const objectsToTest = [object1, object2, object3]
    const intersects = raycaster.intersectObjects(objectsToTest)
    console.log(intersects)

    // ...
}
JavaScript
Copy
Yet again, we don’t really need to normalize the rayDirection because its length is already 1 . But it’s good practice to keep the normalize() in case we change the direction.
We also put the array of objects to test in a variable objectsToTest . That will get handy later.
If you look at the console, you should get an array with intersections in it, and those intersections keep changing depending on the spheres’ positions.
We can now update the material of the object property for each item of the intersects array:
    for(const intersect of intersects)
    {
        intersect.object.material.color.set('#0000ff')
    }
JavaScript
Copy
Unluckily, they all go blue but never go back red. There are many ways to turn the objects that didn’t intersect back to red. What we can do is turn all the spheres red and then turn the ones that intersect blue:
    for(const object of objectsToTest)
    {
        object.material.color.set('#ff0000')
    }

    for(const intersect of intersects)
    {
        intersect.object.material.color.set('#0000ff')
    }
JavaScript
Copy
Use the raycaster with the mouse
As we said earlier, we can also use the raycaster to test if an object is behind the mouse. In other words, if you are hovering an object.
Mathematically speaking, it’s a little complex because we need to cast a ray from the camera in the mouse’s direction, but, fortunately, Three.js is doing all the heavy lifting.
For now, let’s comment the code related to the raycaster in the tick function.
Hovering
First, let’s handle hovering.
To begin with, we need the coordinates of the mouse. We cannot use the basic native JavaScript coordinates, which are in pixels. We need a value that goes from -1 to +1 in both the horizontal and the vertical axis, with the vertical coordinate being positive when moving the mouse upward.
This is how WebGL works and it’s related to things like clip space but we don’t need to understand those complex concepts.
Examples:
- The mouse is on the top left of the page:
-1 / 1 - The mouse is on the bottom left of the page:
-1 / - 1 - The mouse is on the middle vertically and at right horizontally:
1 / 0 - The mouse is in the center of the page:
0 / 0
First, let’s create a mouse variable with a Vector2, and update that variable when the mouse is moving:
/**
 * Mouse
 */
const mouse = new THREE.Vector2()

window.addEventListener('mousemove', (event) =>
{
    mouse.x = event.clientX / sizes.width * 2 - 1
    mouse.y = - (event.clientY / sizes.height) * 2 + 1

    console.log(mouse)
})
JavaScript
Copy
Look at the logs and make sure that the values match the previous examples.
We could cast the ray in the mousemove event callback, but it’s not recommend because the mousemove event might be triggered more than the frame rate for some browsers. Instead, we will cast the ray in the tick function as we did before.
To orient the ray in the right direction, we can use the setFromCamera() method on the Raycaster. The rest of the code is the same as before. We just update the objects materials to red or blue if they intersect or not:
const tick = () =>
{
    // ...

    raycaster.setFromCamera(mouse, camera)

    const objectsToTest = [object1, object2, object3]
    const intersects = raycaster.intersectObjects(objectsToTest)

    for(const intersect of intersects)
    {
        intersect.object.material.color.set('#0000ff')
    }

    for(const object of objectsToTest)
    {
        if(!intersects.find(intersect => intersect.object === object))
        {
            object.material.color.set('#ff0000')
        }
    }

    // ...
}
JavaScript
Copy
The spheres should become red if the cursor is above them.
Mouse enter and mouse leave events
Mouse events like 'mouseenter' , 'mouseleave' , etc. aren’t supported either. If you want to be inform when the mouse “enters” an object or “leaves” that object, you’ll have to do it by yourself.
What we can do to reproduce the mouseenter and mouseleave events, is to have a variable containing the currently hovered object.
If there is one object intersecting, but there wasn’t one before, it means a mouseenter has happened on that object.
If no object intersects, but there was one before, it means a mouseleave has happened.
We just need to save the currently intersecting object:
let currentIntersect = null
JavaScript
Copy
And then, test and update the currentIntersect variable:
const tick = () =>
{
    // ...
    raycaster.setFromCamera(mouse, camera)
    const objectsToTest = [object1, object2, object3]
    const intersects = raycaster.intersectObjects(objectsToTest)

    if(intersects.length)
    {
        if(!currentIntersect)
        {
            console.log('mouse enter')
        }

        currentIntersect = intersects[0]
    }
    else
    {
        if(currentIntersect)
        {
            console.log('mouse leave')
        }

        currentIntersect = null
    }

    // ...
}
JavaScript
Copy
Mouse click event
Now that we have a variable containing the currently hovered object, we can easily implement a click event.
First, we need to listen to the click event regardless of where it happens:
window.addEventListener('click', () =>
{

})
JavaScript
Copy
Then, we can test if the there is something in the currentIntersect variable:
window.addEventListener('click', () =>
{
    if(currentIntersect)
    {
        console.log('click')
    }
})
JavaScript
Copy
We can also test what object was concerned by the click:
window.addEventListener('click', () =>
{
    if(currentIntersect)
    {
        switch(currentIntersect.object)
        {
            case object1:
                console.log('click on object 1')
                break

            case object2:
                console.log('click on object 2')
                break

            case object3:
                console.log('click on object 3')
                break
        }
    }
})
JavaScript
Copy
Reproducing native events takes time, but once you understand it, it’s pretty straightforward.