29 Post-processing
Difficulty Hard
Introduction
Post-processing is about adding effects on the final image (the render). People mostly use this technique in filmmaking, but we can do it in WebGL too.
Post-processing can be subtle to improve the image slightly or to create huge effects.
Here are some examples of what you can use post-processing for:
- Depth of field
- Bloom
- God ray
- Motion blur
- Glitch effect
- Outlines
- Color variations
- Antialiasing
- Reflections and refractions
- Etc.
Setup
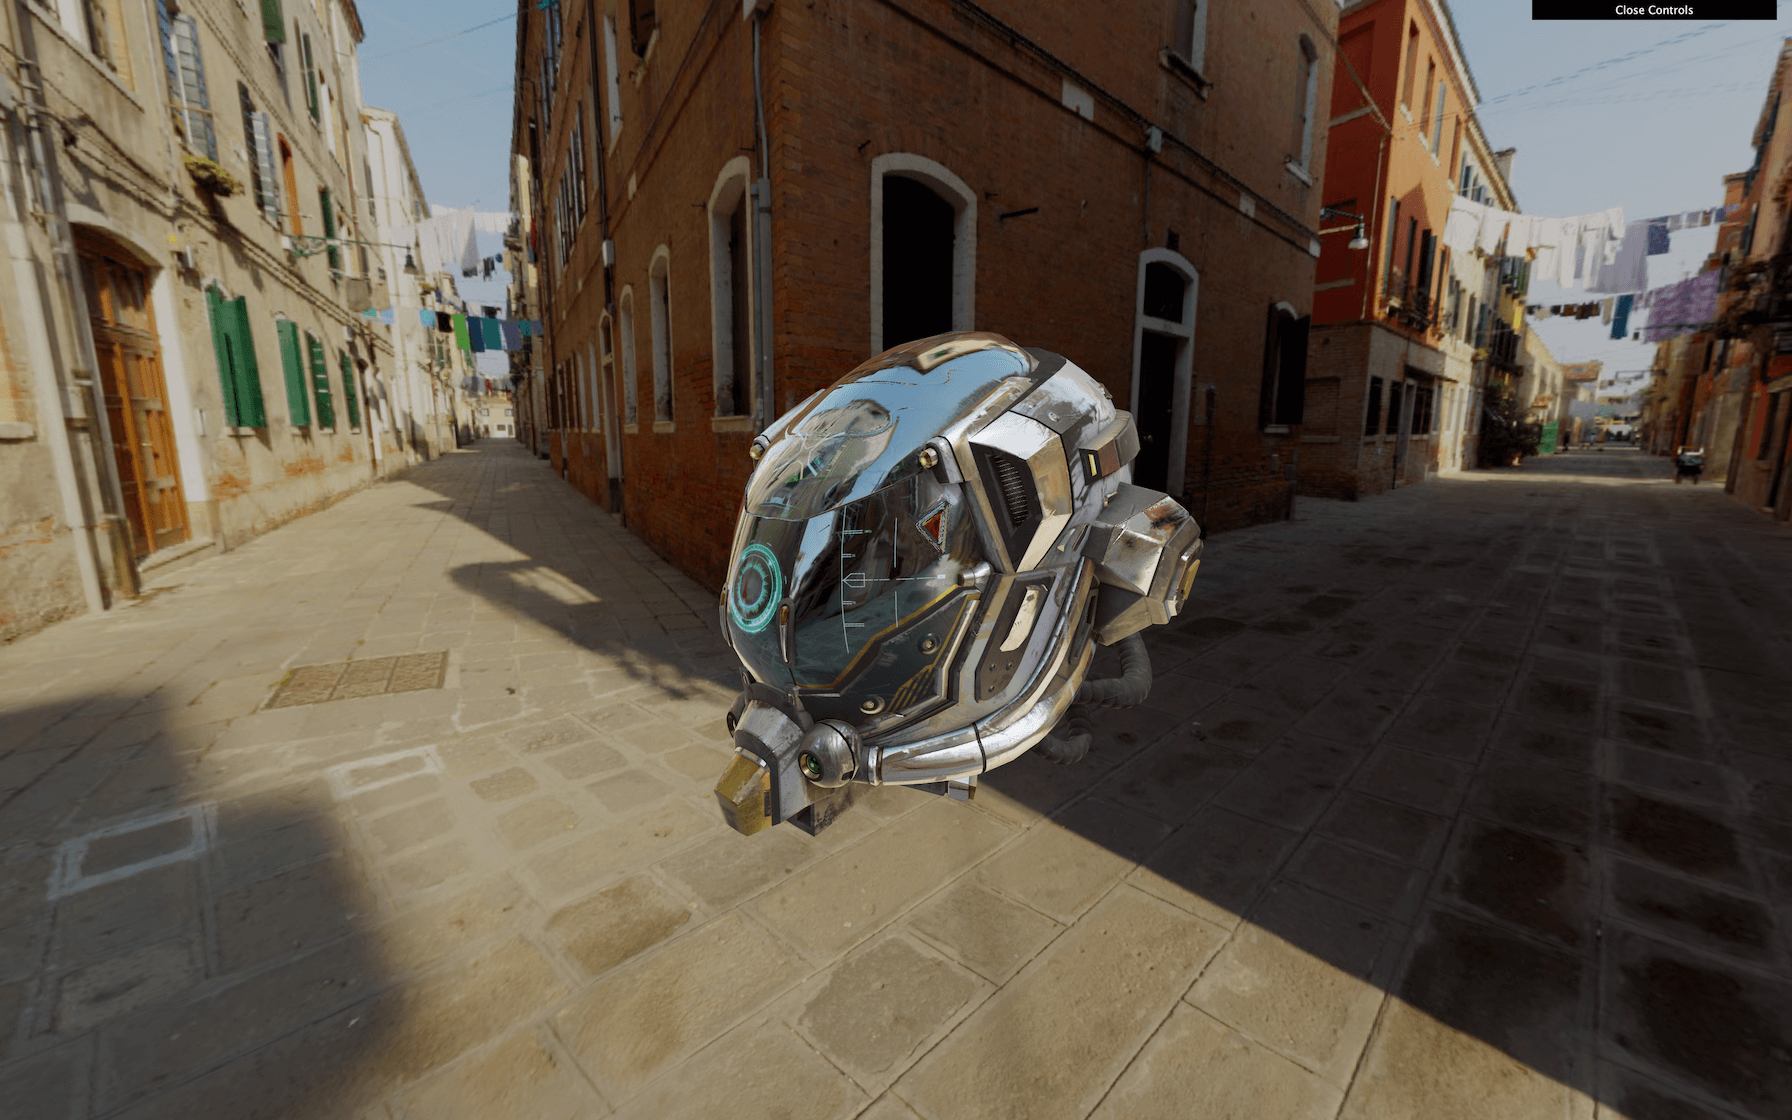
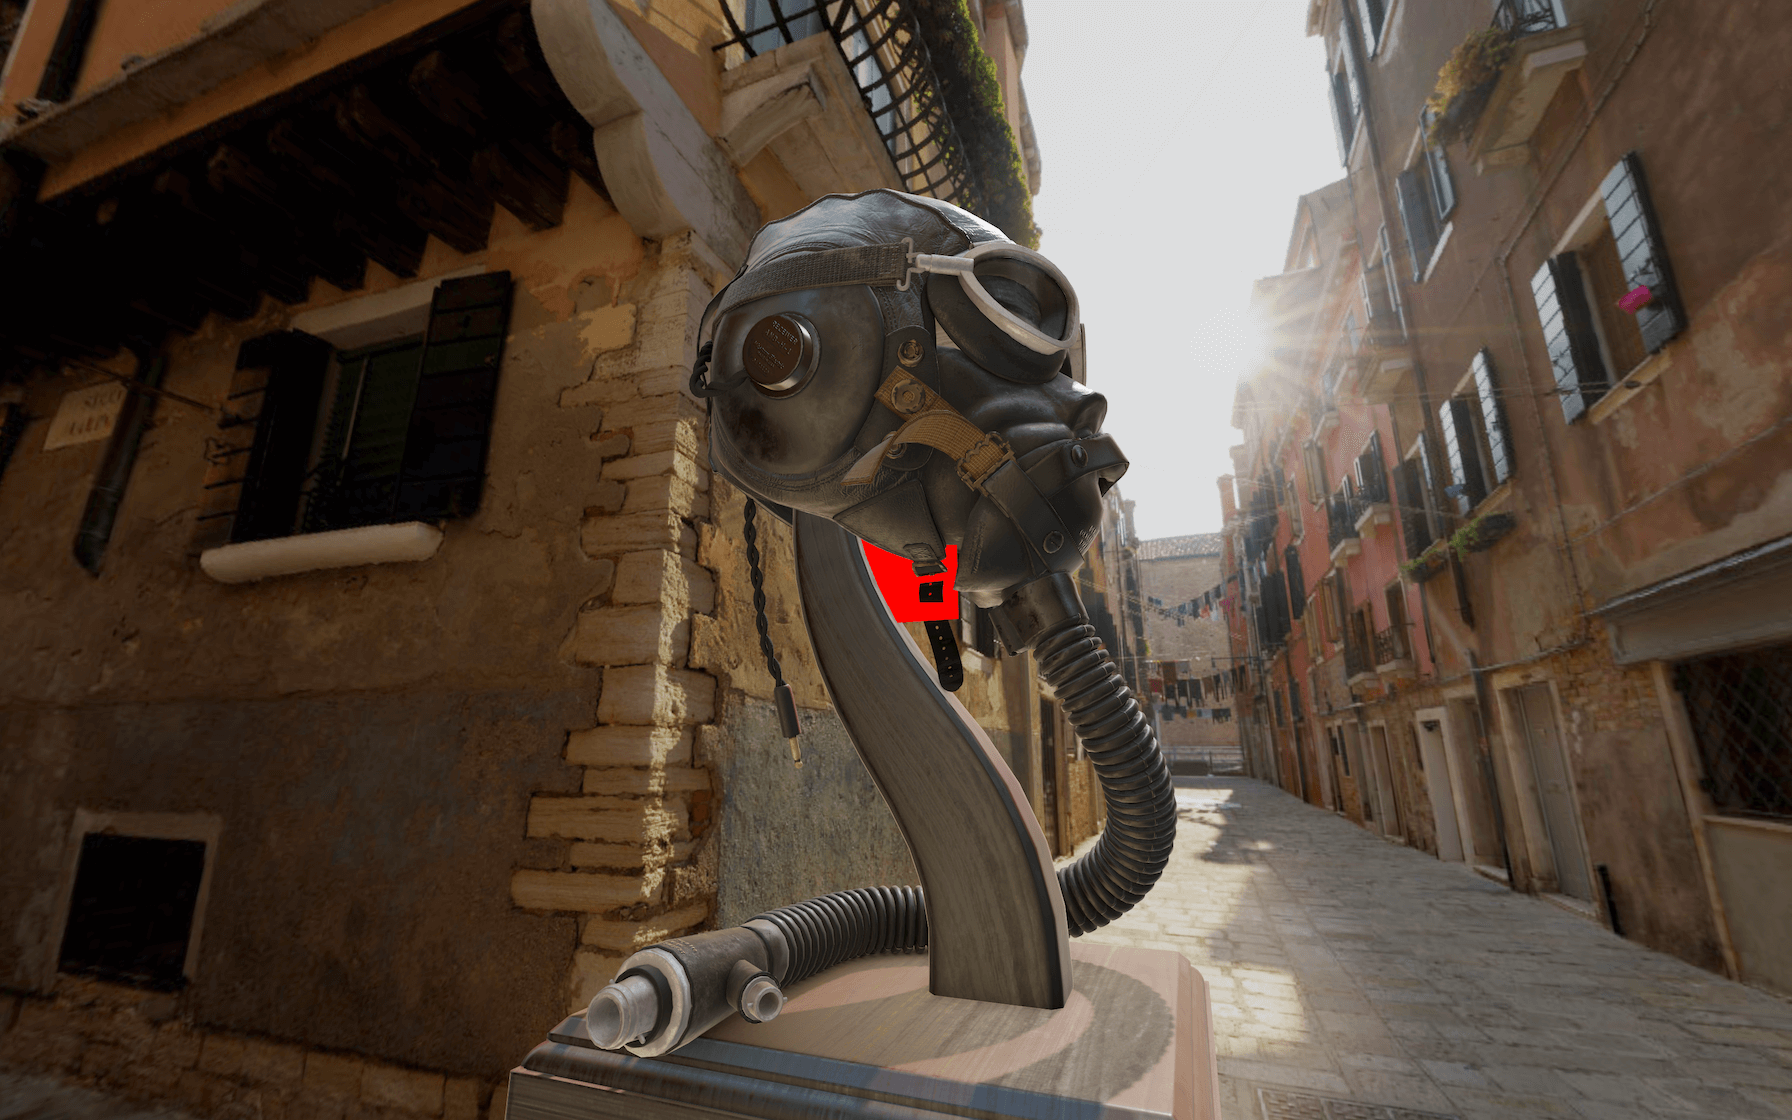
We will use the same setup as the Realistic Model Render lesson but with the Damaged Helmet model by Leonardo Carrion. It’s a popular model with many details and good textures that should go well with our post-processing.
How it works
Most of the time, post-processing works the same way.
Render target
Instead of rendering in the canvas, we do the render in what we call a render target. That render target will give us a texture very similar to the usual texture. In a simpler way, we render in a texture instead of the canvas on the screen.
The term “render target” is specific to Three.js. Other contexts mostly use the word “buffer”.
This texture is then applied to a plane facing the camera and covering the whole view. This plane uses a material with a special fragment shader that will do the post-processing effect. If the post-processing effect consists of redden the image, it would merely multiply the red value of the pixel in that fragment shader.
Most post-process effects are doing more than just tweaking the color values, but you get the idea.
In Three.js those “effects” are called “passes”. We will refer to that term from now on.
Ping-pong buffering
We can have multiple passes on our post-process: one doing the motion blur, one doing the color changes, one doing the depth of field, etc. Because we can have multiples passes, the post-processing needs two render targets. The reason is that we can’t get the texture of a render target while drawing in it at the same time. The idea is to draw in the first render target while taking the texture from the second one. At the next pass, we switch those render targets, take the texture from the second, and draw on the first. And again at the next pass, we switch them, and again, and again. That is what we call ping pong buffering .
Final pass on the canvas
The last pass won’t be in a render target because we can put it directly on the canvas so the user can see the final result.
In the end
All of these can be very complicated for beginners, but, fortunately, we don’t have to do it on our own.
Actually, we could have start without even explaining those render target, textures, ping pong buffering, etc. but it’s always good to understand what is really going on behind the scene.
All we have to do is use the EffectComposer class that will handle most of the heavy lifting for us.
EffectComposer
As we said, EffectComposer will handle all the process of creating the render targets, doing the ping-pong thing, sending the texture of the previous pass to the current pass, drawing the last one on the canvas, etc.
First, we need to import it because it’s not available in the THREE variable:
import { EffectComposer } from 'three/examples/jsm/postprocessing/EffectComposer.js'
JavaScript
Copy
We will also need a first pass called RenderPass . This pass is in charge of the first render of our scene, but instead of doing it in the canvas, it will happen in a render target created inside the EffectComposer:
import { RenderPass } from 'three/examples/jsm/postprocessing/RenderPass.js'
JavaScript
Copy
We can now instantiate our EffectComposer and use our renderer as parameter. Like the WebGLRenderer, we need to provide a pixel ratio with setPixelRatio(...) and resize it with setSize(...) . We will use the same parameters as for the renderer :
/**
 * Post processing
 */
const effectComposer = new EffectComposer(renderer)
effectComposer.setPixelRatio(Math.min(window.devicePixelRatio, 2))
effectComposer.setSize(sizes.width, sizes.height)
JavaScript
Copy
Then we can instantiate our first pass and add it to our effectComposer with the addPass(...) method. The RenderPass needs the scene and the camera as parameters:
const renderPass = new RenderPass(scene, camera)
effectComposer.addPass(renderPass)
JavaScript
Copy
In the tick function, instead of doing the renders like we used to, we will achieve the renders with effectComposer . Replace the renderer.render(...) with the following code:
const tick = () =>
{
    // ...

    // Render
    // renderer.render(scene, camera)
    effectComposer.render()

    // ...
}
JavaScript
Copy
The effectComposer will start doing the renders with the ping pong thing and its render targets. But because we only have one pass —the renderPass — it will render it directly in the canvas like before.
It’s time to add some neat post-process passes.
You can find a list of available passes in the documentation: https://threejs.org/docs/index.html#examples/en/postprocessing/EffectComposer
We will use some of them to see how we can set things up, and then we will create our own pass.
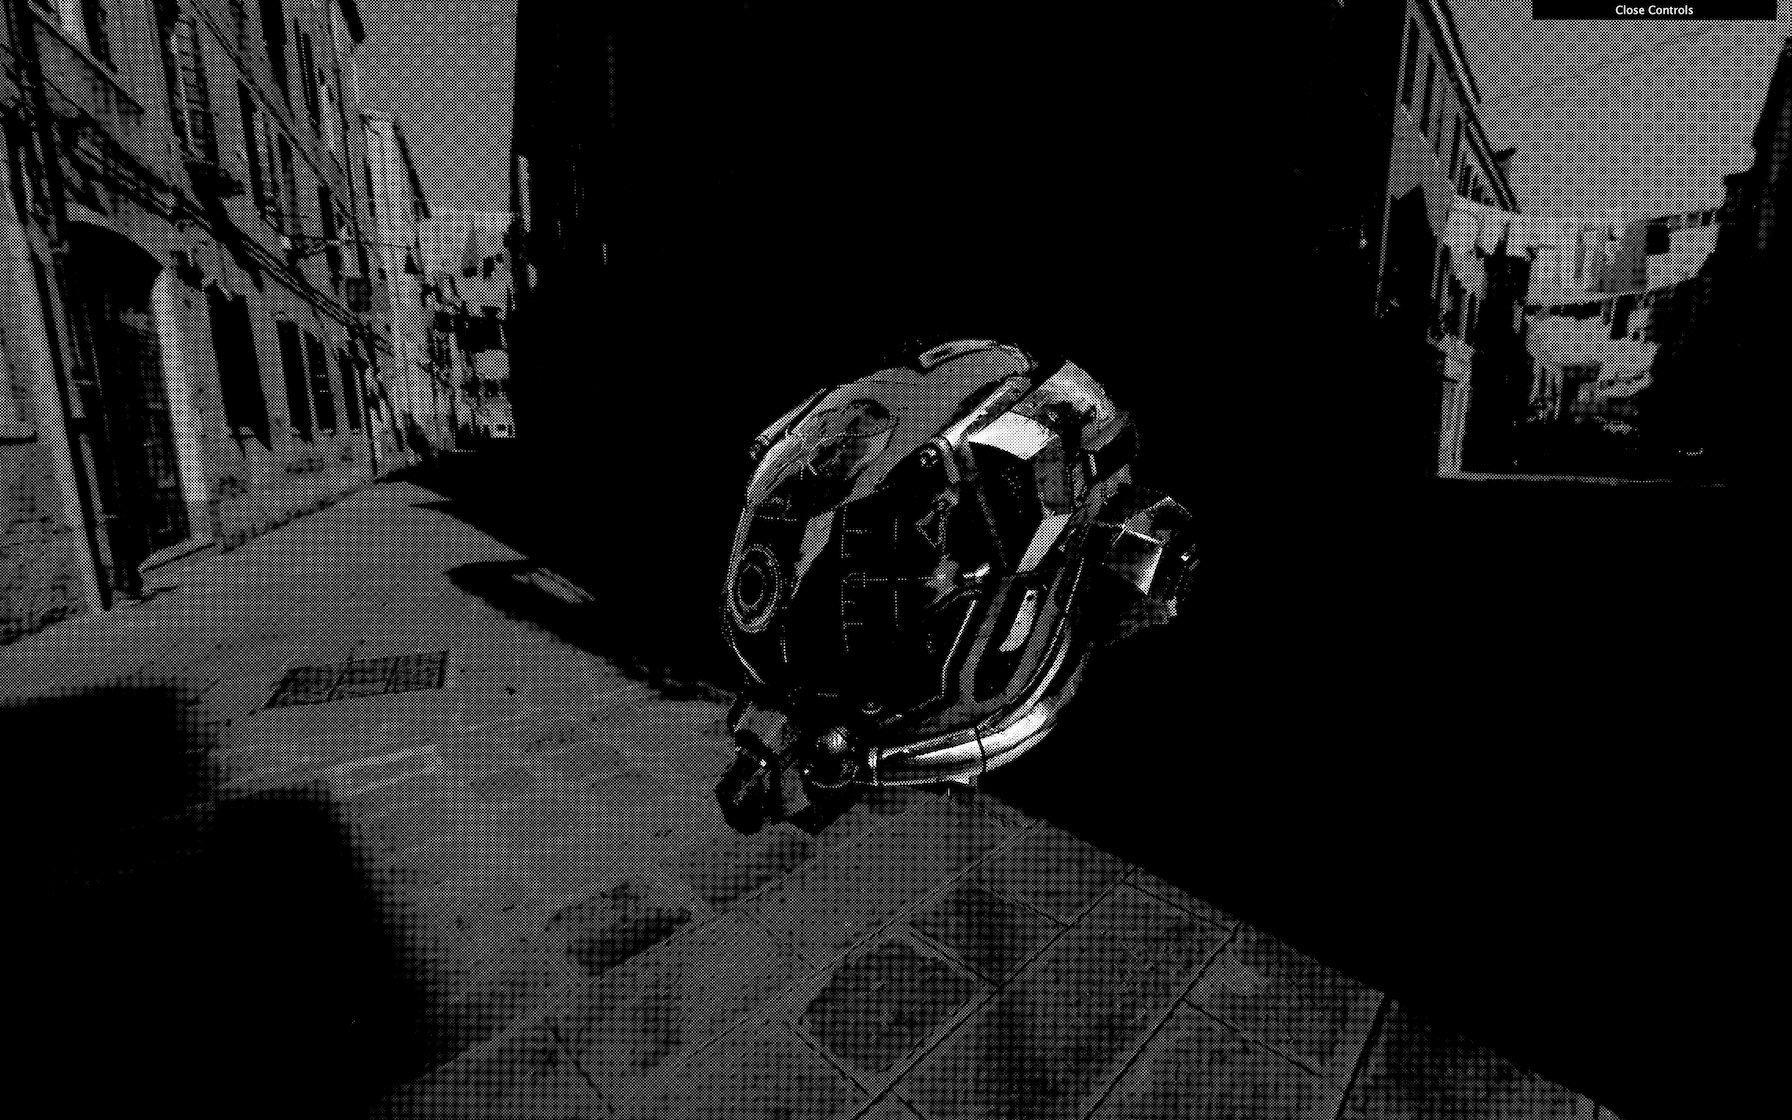
DotScreenPass
The DotScreenPass will apply some kind of black and white raster effect. We just need to import the DotScreenPass :
import { DotScreenPass } from 'three/examples/jsm/postprocessing/DotScreenPass.js'
JavaScript
Copy
Instantiate it and add it to the effectComposer . Make sure to add it after the renderPass :
const dotScreenPass = new DotScreenPass()
effectComposer.addPass(dotScreenPass)
JavaScript
Copy
To disable a pass, simply comment it or change its enabled property to false :
const dotScreenPass = new DotScreenPass()
dotScreenPass.enabled = false
effectComposer.addPass(dotScreenPass)
JavaScript
Copy
Use this to test the different passes separately.
GlitchPass
The GlitchPass will add screen glitches like when the cameras get hacked in the movies.
Import it and add it just like the DotScreenPass :
import { GlitchPass } from 'three/examples/jsm/postprocessing/GlitchPass.js'

// ...

const glitchPass = new GlitchPass()
effectComposer.addPass(glitchPass)
JavaScript
Copy
Some passes also have editable properties. The GlitchPass have a goWild property that, if true , will result in a non-stop glitch:
Be careful if you are sensible to flashes or fast movements!
glitchPass.goWild = true
JavaScript
Copy
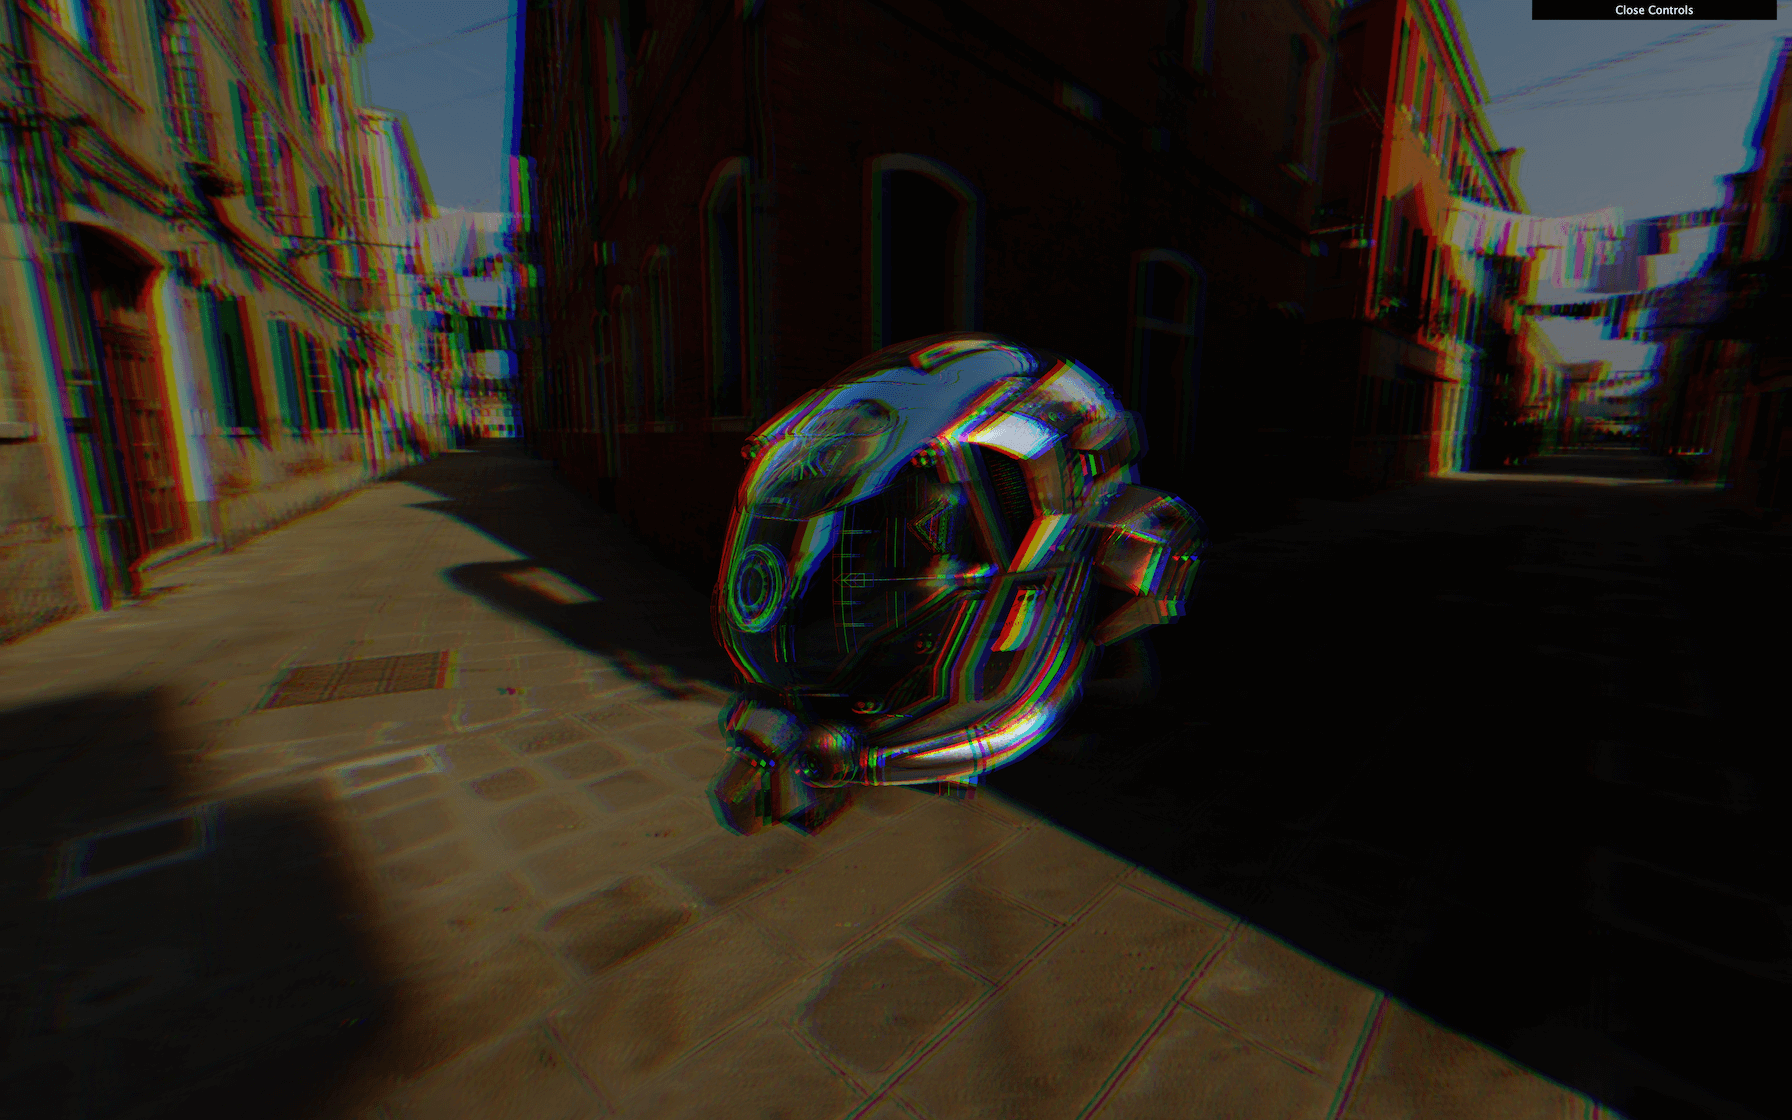
RGBShiftPass
Some passes need extra work like the RGBShift pass.
The RGBShift isn’t available as a pass but as a shader. We need to import this shader and apply it to a ShaderPass and then add this ShaderPass to the effectComposer . That is precisely what happens in the DotScreenPass and the GlitchPass but we have to do it ourselves this time.
First, import the ShaderPass and the RGBShiftShader located in three/examples/jsm/shaders/ :
import { ShaderPass } from 'three/examples/jsm/postprocessing/ShaderPass.js'
import { RGBShiftShader } from 'three/examples/jsm/shaders/RGBShiftShader.js'
JavaScript
Copy
Then instantiate the ShaderPass with the RGBShiftShader as parameter and add it to the effectComposer :
// ...

const rgbShiftPass = new ShaderPass(RGBShiftShader)
effectComposer.addPass(rgbShiftPass)
JavaScript
Copy
And that’s all.
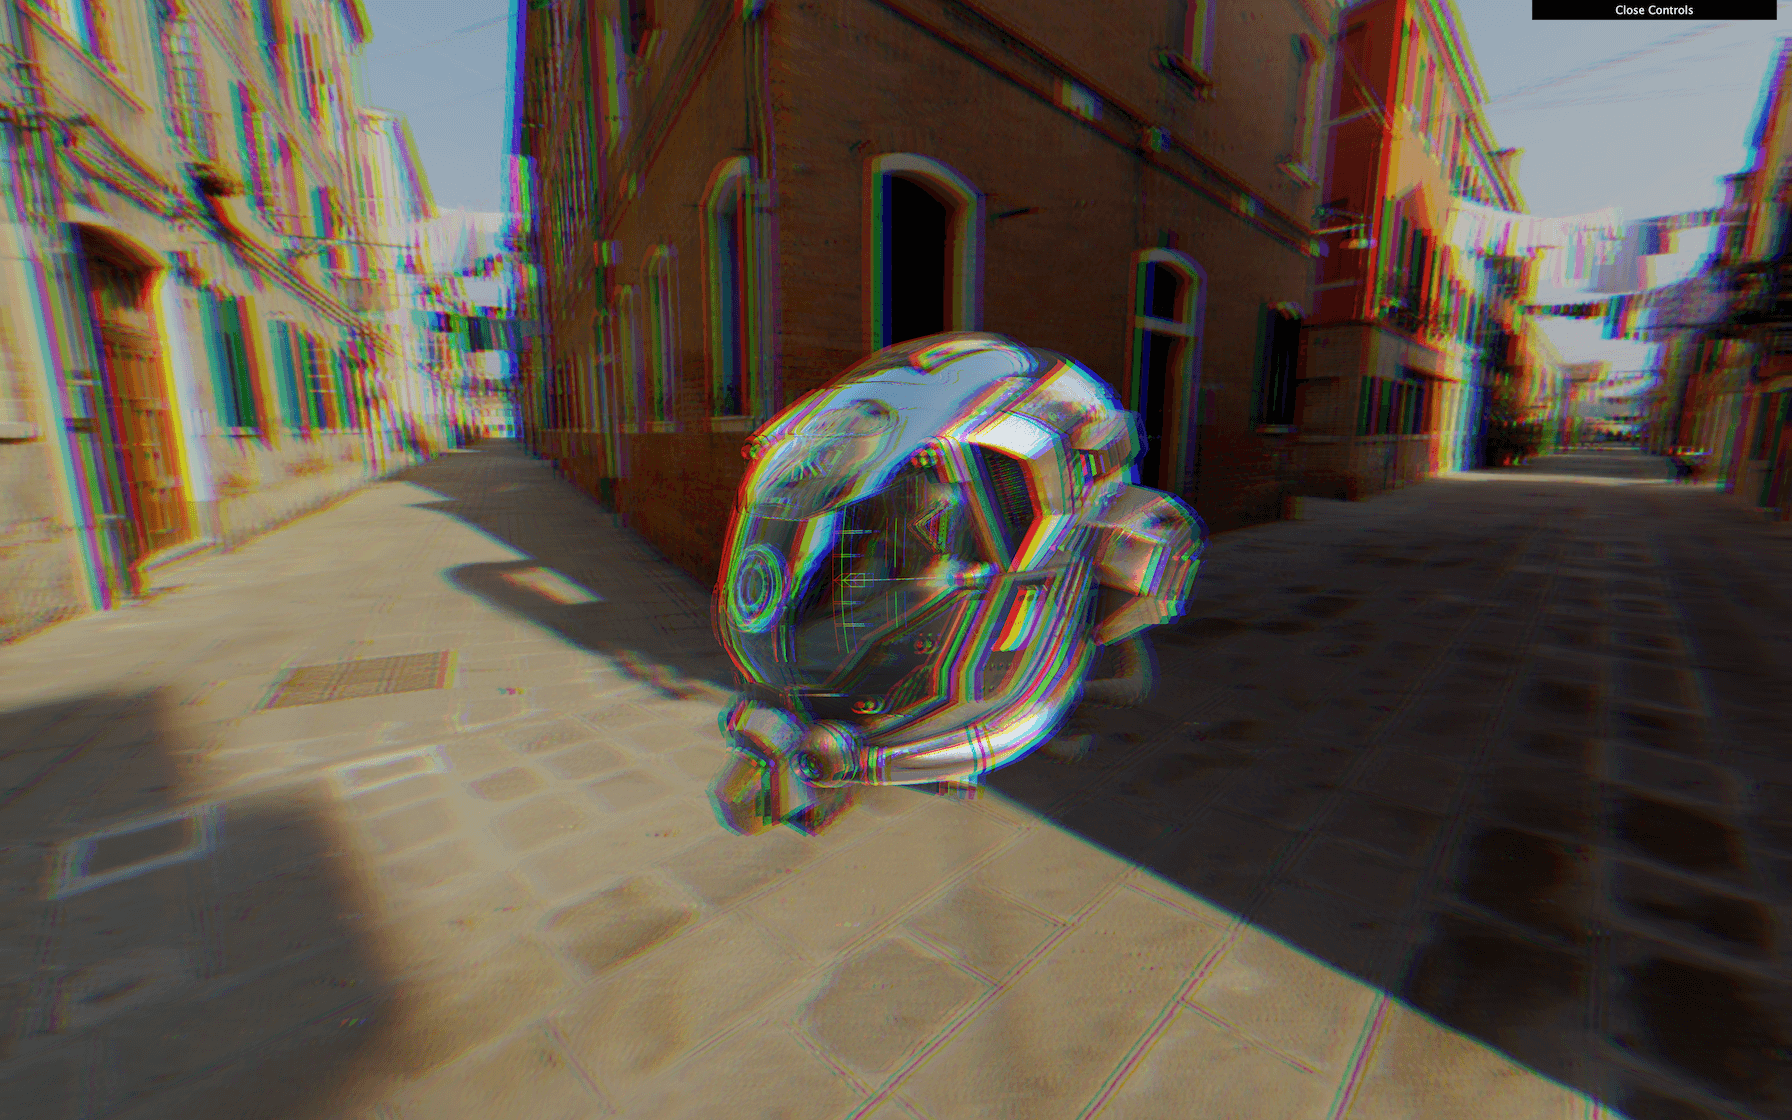
Fixing the color
You might have noticed a color change in the render, as if everything became darker, and you are right. Disable the previous shaders dotScreenPass and the rgbShiftPass to see it more clearly with the glitchPass —without the goWild .
What’s happening here is that the renderer.outputEncoding = THREE.sRGBEncoding doesn’t work anymore. You can comment it, and you’ll see no difference. Passes are rendered in render targets, and those aren’t configured the same.
Fortunately, we can provide our own render target to EffectComposer as the second parameter.
If you look at the code of the EffectComposer located in /node_modules/three/examples/jsm/postprocessing/EffectComposer.js you’ll see the renderTarget being made from a WebGLRenderTarget with specific parameters.
The first two parameters are the width and height . We can use random values because the render target will be resized when the setSize(...) function will be called on effectComposer .
The third parameter is an object and we can copy the object from the Three.js code and add the encoding: THREE.sRGBEncoding .
const renderTarget = new THREE.WebGLRenderTarget(
    800,
    600,
    {
        minFilter: THREE.LinearFilter,
        magFilter: THREE.LinearFilter,
        format: THREE.RGBAFormat,
        encoding: THREE.sRGBEncoding
    }
)
JavaScript
Copy
Then, we can send that renderTarget to effectComposer :
const effectComposer = new EffectComposer(renderer, renderTarget)
JavaScript
Copy
The color should be fixed.
Resizing
Reduce the window to a minimal resolution, refresh and increase the resolution to the maximum size. Everything should look bad, like a small image that we stretched up.
That is because the EffectComposer and its passes need to be resized.
In the window.addEventListener('resize', ...) callback function, call the setSize(...) method as we did when we instantiated EffectComposer:
window.addEventListener('resize', () =>
{
    // ...

    // Update effect composer
    effectComposer.setSize(sizes.width, sizes.height)
})
JavaScript
Copy
You can resize the window as you want; the resolution should be fine.
Fixing the antialias
There’s another feature that seems to stop working. If you look at edges on the helmet, you’ll see that the aliasing is back —if you are using a screen with a pixel ratio above 1 , you probably can’t see the problem.
Be careful; if you only have the renderPass available, you won’t see the problem because the render is done in the canvas with antialias support. Enable at least one pass to see the problem.
That is because WebGLRenderTarget does not support the default antialias. We have four available options:
- Say goodbye to the antialias.
- Use a particular type of render target that does manage antialias, but that won’t work on all the modern browsers.
- Use a pass to do the antialias but with lesser performances.
- A combination of the two previous options where we test if the browser supports this unique type of render target, and if not, we use an antialias pass.
Things suddenly got complicated.
Using WebGLMultisampleRenderTarget
The WebGLMultisampleRenderTarget is like the WebGLRenderTarget but with support of the Multi Sample Antialias (MSAA).
We can replace the WebGLRenderTarget by WebGLMultisampleRenderTarget and see an immediate result where the aliasing is gone:
const renderTarget = new THREE.WebGLMultisampleRenderTarget(
    // ...
)
JavaScript
Copy
Sadly, this won’t work for modern browsers. That is a matter of WebGL 2 support. People updated WebGL a few years ago, and browsers slowly add support to the different features. You can see how the support is going on here: https://caniuse.com/#feat=webgl2
At the moment of writing this lesson, major browsers like Safari and iOS Safari still don’t support it. If you test the website on those, you’ll get a black screen.
Using an antialias pass
Let’s get back to the WebGLRenderTarget and try to get the antialias working with a pass:
const renderTarget = new THREE.WebGLRenderTarget(
    // ...
)
JavaScript
Copy
We have different choices for the antialias pass:
- FXAA: Performant, but the result is just “ok” and can be blurry
- SMAA: Usually better than FXAA but less performant —not to be confused with MSAA
- SSAA: Best quality but the worst performance
- TAA: Performant but limited result
- And many others.
Choosing the best antialias pass is a matter of performance and visual expectations. Try them until you’re satisfied with what you see at a reasonable frame rate.
For this lesson, we will go for the SMAA.
Import the SMAAPass , instantiate it and add it to effectComposer :
import { SMAAPass } from 'three/examples/jsm/postprocessing/SMAAPass.js'

// ...

const smaaPass = new SMAAPass()
effectComposer.addPass(smaaPass)
JavaScript
Copy
The antialias should be gone.
Combining the two solutions
Now that we know the two leading solutions, we will mix them depending on different criteria:
- If the pixel ratio is above
1, we use the WebGLRenderTarget and no antialias pass. - If the pixel ratio is
1and the browser supports WebGL 2, we use a WebGLMultisampleRenderTarget. - If the pixel ratio is
1but the browser doesn’t support WebGL 2, we use the WebGLRenderTarget and enable theSMAAPass.
To get the pixel ratio, we can use the getPixelRatio() method on the renderer .
To know if the browser supports WebGL 2 we can use the capabilities property on the renderer . This property contains many details about what is supported. The property we need is isWebGL2 .
First, let’s handle the render target. If the pixel ratio is equal to 1 and the browser supports WebGL 2, we use the WebGLMultisampleRenderTarget otherwise, we use the WebGLRenderTarget :
let RenderTargetClass = null

if(renderer.getPixelRatio() === 1 && renderer.capabilities.isWebGL2)
{
    RenderTargetClass = THREE.WebGLMultisampleRenderTarget
    console.log('Using WebGLMultisampleRenderTarget')
}
else
{
    RenderTargetClass = THREE.WebGLRenderTarget
    console.log('Using WebGLRenderTarget')
}

const renderTarget = new RenderTargetClass(
    // ...
)
JavaScript
Copy
Then we handle the pass. If the pixel ratio is equal to 1 and the browser doesn’t support WebGL2, we add the SMAAPass :
if(renderer.getPixelRatio() === 1 && !renderer.capabilities.isWebGL2)
{
    const smaaPass = new SMAAPass()
    effectComposer.addPass(smaaPass)

    console.log('Using SMAA')
}
JavaScript
Copy
And we get a nice picture on every browser with a minimal drawback.
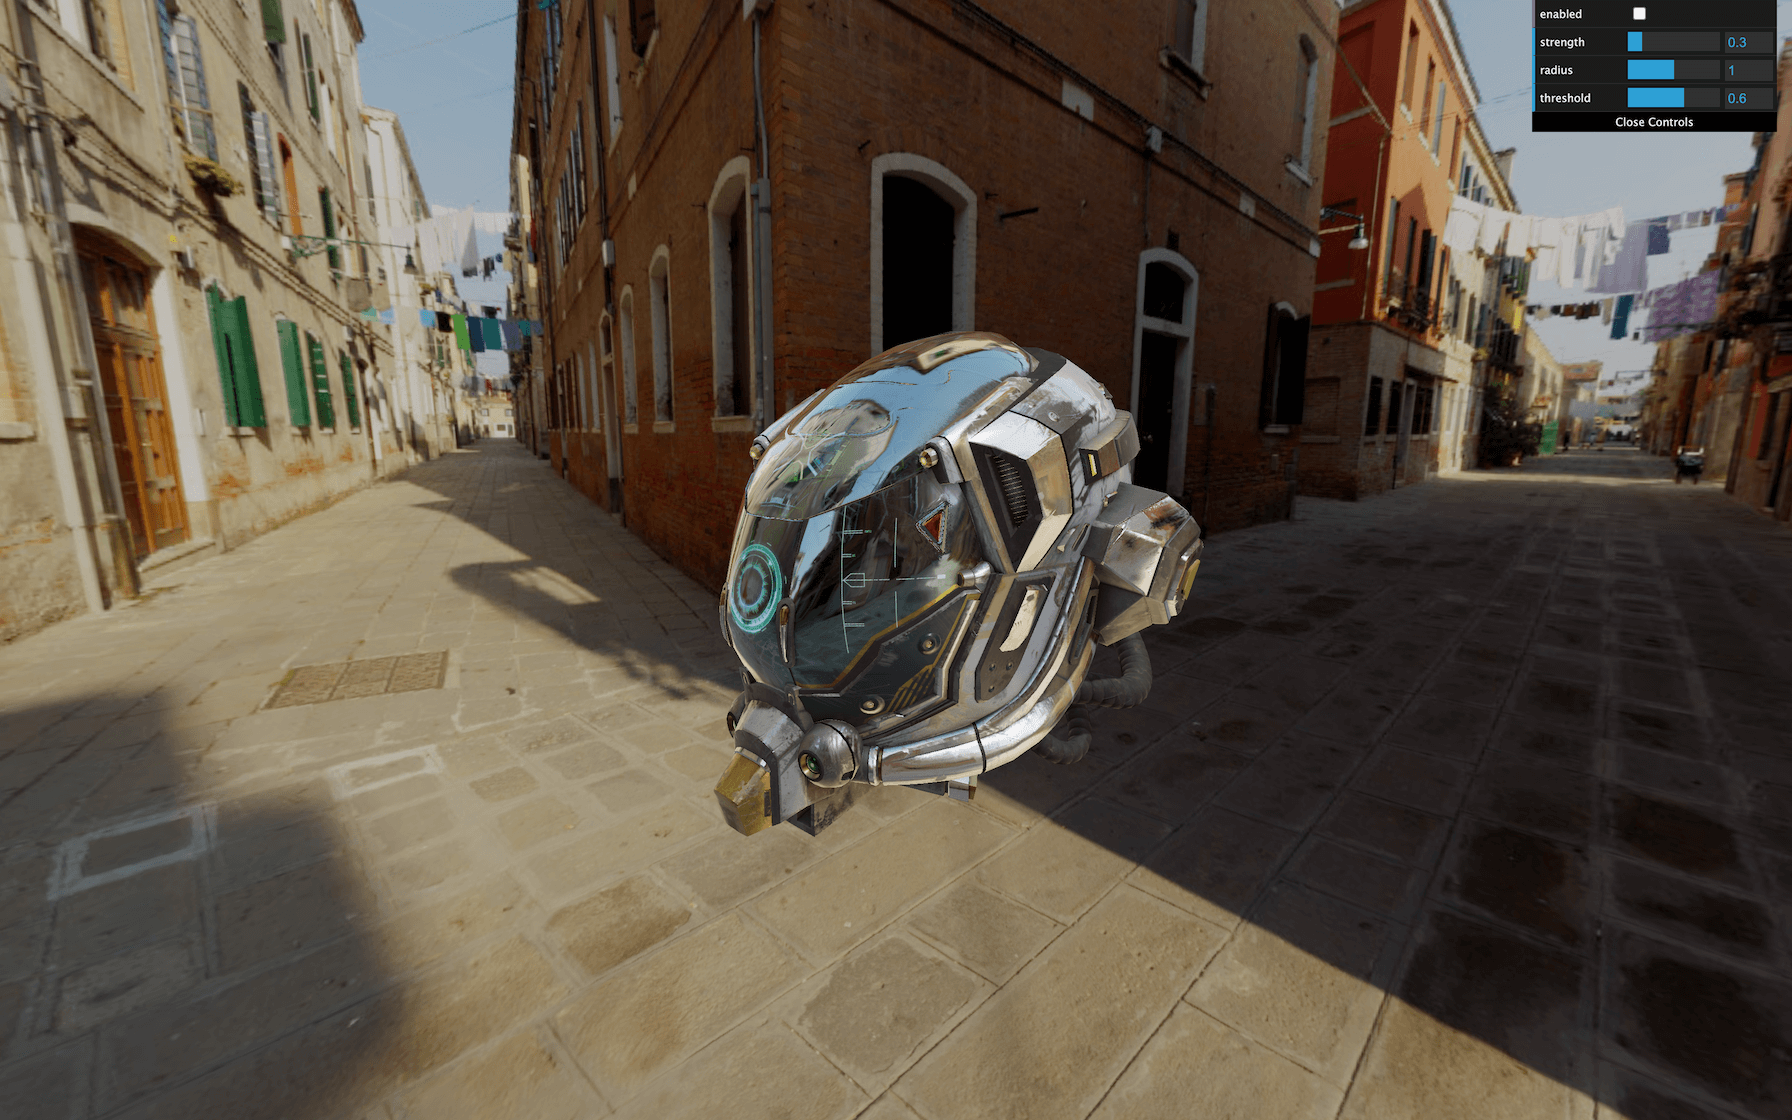
UnrealBloomPass
Let’s get back to our passes with probably the coolest one, the UnrealBloomPass.
This pass will add bloom on our render that looks amazing. It’s useful to recreate things like light glows, fire heat, lasers, lightsabers or radioactive stuff.
Import the UnrealBloomPass and add it to the effectComposer :
import { UnrealBloomPass } from 'three/examples/jsm/postprocessing/UnrealBloomPass'

// ...

const unrealBloomPass = new UnrealBloomPass()
effectComposer.addPass(unrealBloomPass)
JavaScript
Copy

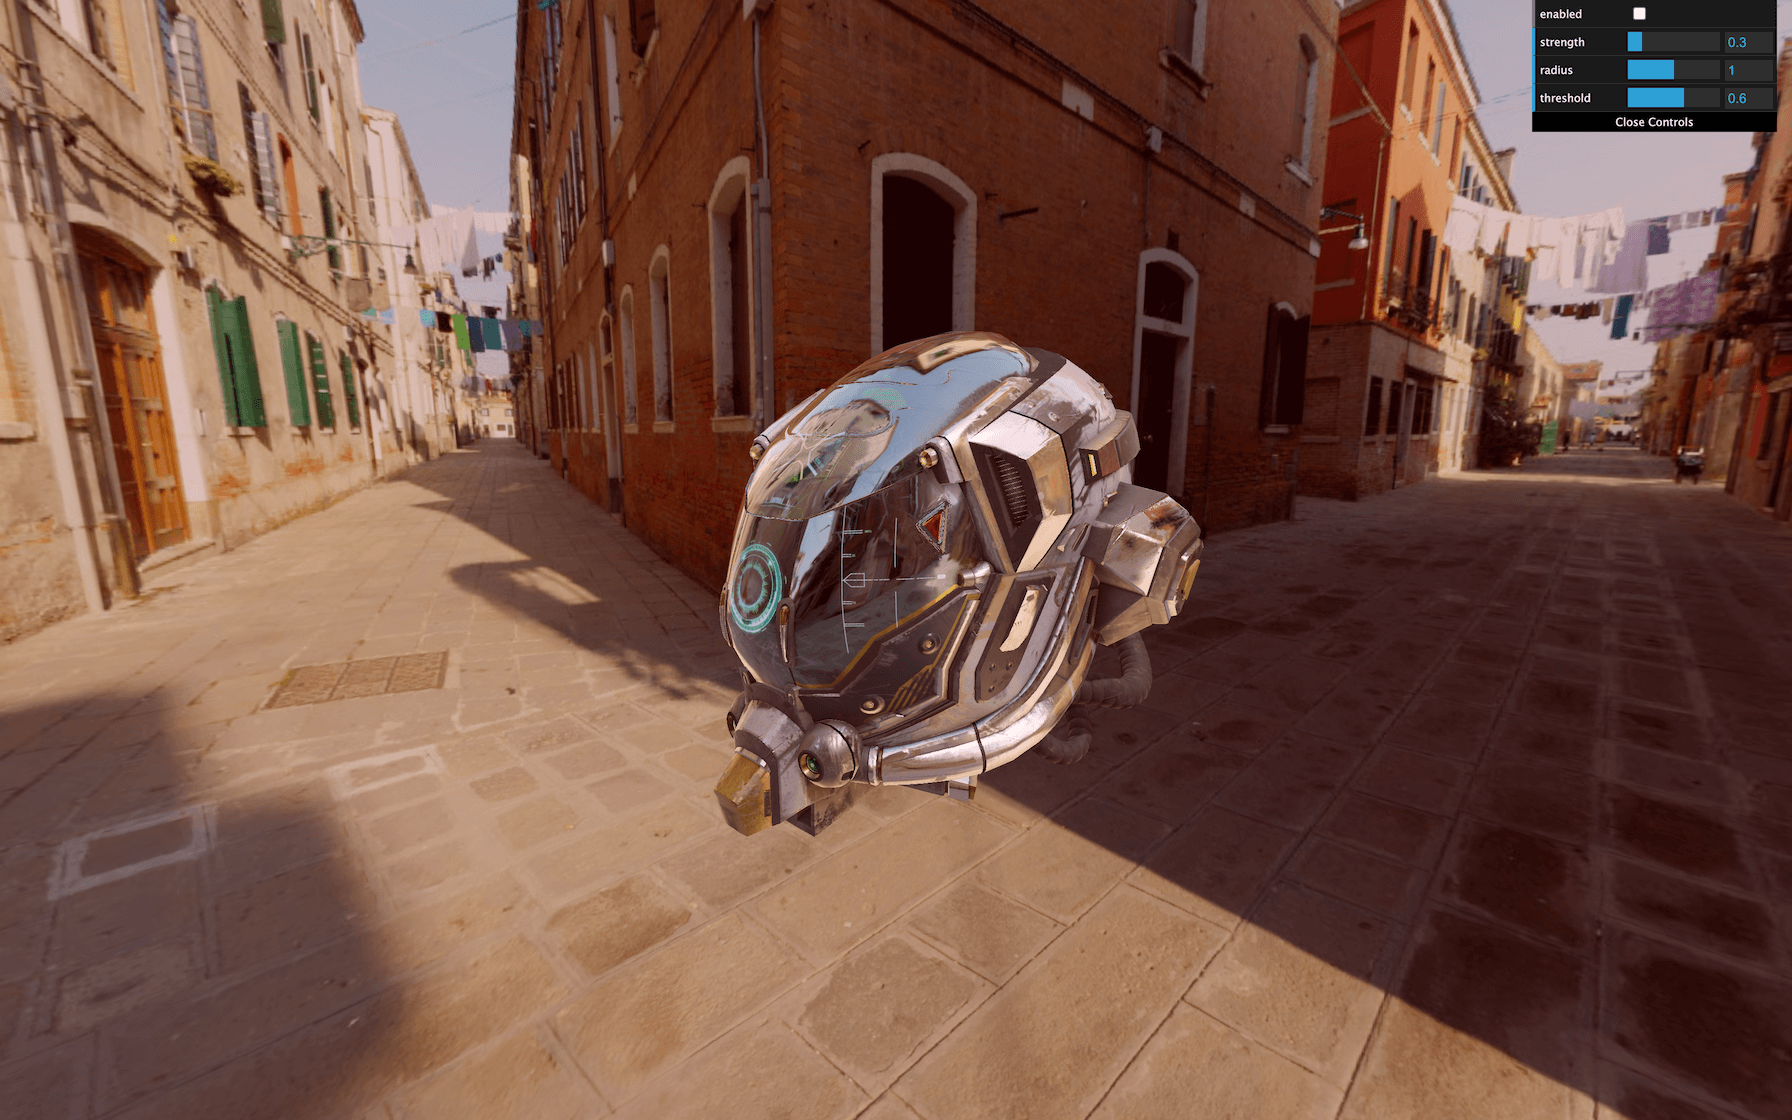
Everything appears way too bright. We need to tweak some parameters. There are 3 main parameters:
-
strength: How strong is the glow. -
radius: How far that brightness can spread. -
threshold: At what luminosity limit things start to glow.
Use the following parameters and add the tweaks to your Dat.GUI:
unrealBloomPass.strength = 0.3
unrealBloomPass.radius = 1
unrealBloomPass.threshold = 0.6

gui.add(unrealBloomPass, 'enabled')
gui.add(unrealBloomPass, 'strength').min(0).max(2).step(0.001)
gui.add(unrealBloomPass, 'radius').min(0).max(2).step(0.001)
gui.add(unrealBloomPass, 'threshold').min(0).max(1).step(0.001)
JavaScript
Copy
This is probably too much glow but you get the idea.
Creating our own pass
Creating our own pass is as easy as making a custom shader.
Tint pass
We are going to start with an effortless pass that lets us control the color tint.
First, we create a shader. The shader is a simple object with the following properties:
-
uniforms: Same format as the uniforms we are used too. -
vertexShader: This one has almost always the same code and will put the plane in front of the view. -
fragmentShader: The fragment shader that will do the post-processing effect.
Let’s create that shader with minimal code:
const TintShader = {
    uniforms:
    {
    },
    vertexShader: `
        void main()
        {
            gl_Position = projectionMatrix * modelViewMatrix * vec4(position, 1.0);
        }
    `,
    fragmentShader: `
        void main()
        {
            gl_FragColor = vec4(1.0, 0.0, 0.0, 1.0);
        }
    `
}
JavaScript
Copy
Then we create the pass with ShaderPass and add it to our effectComposer :
const tintPass = new ShaderPass(TintShader)
effectComposer.addPass(tintPass)
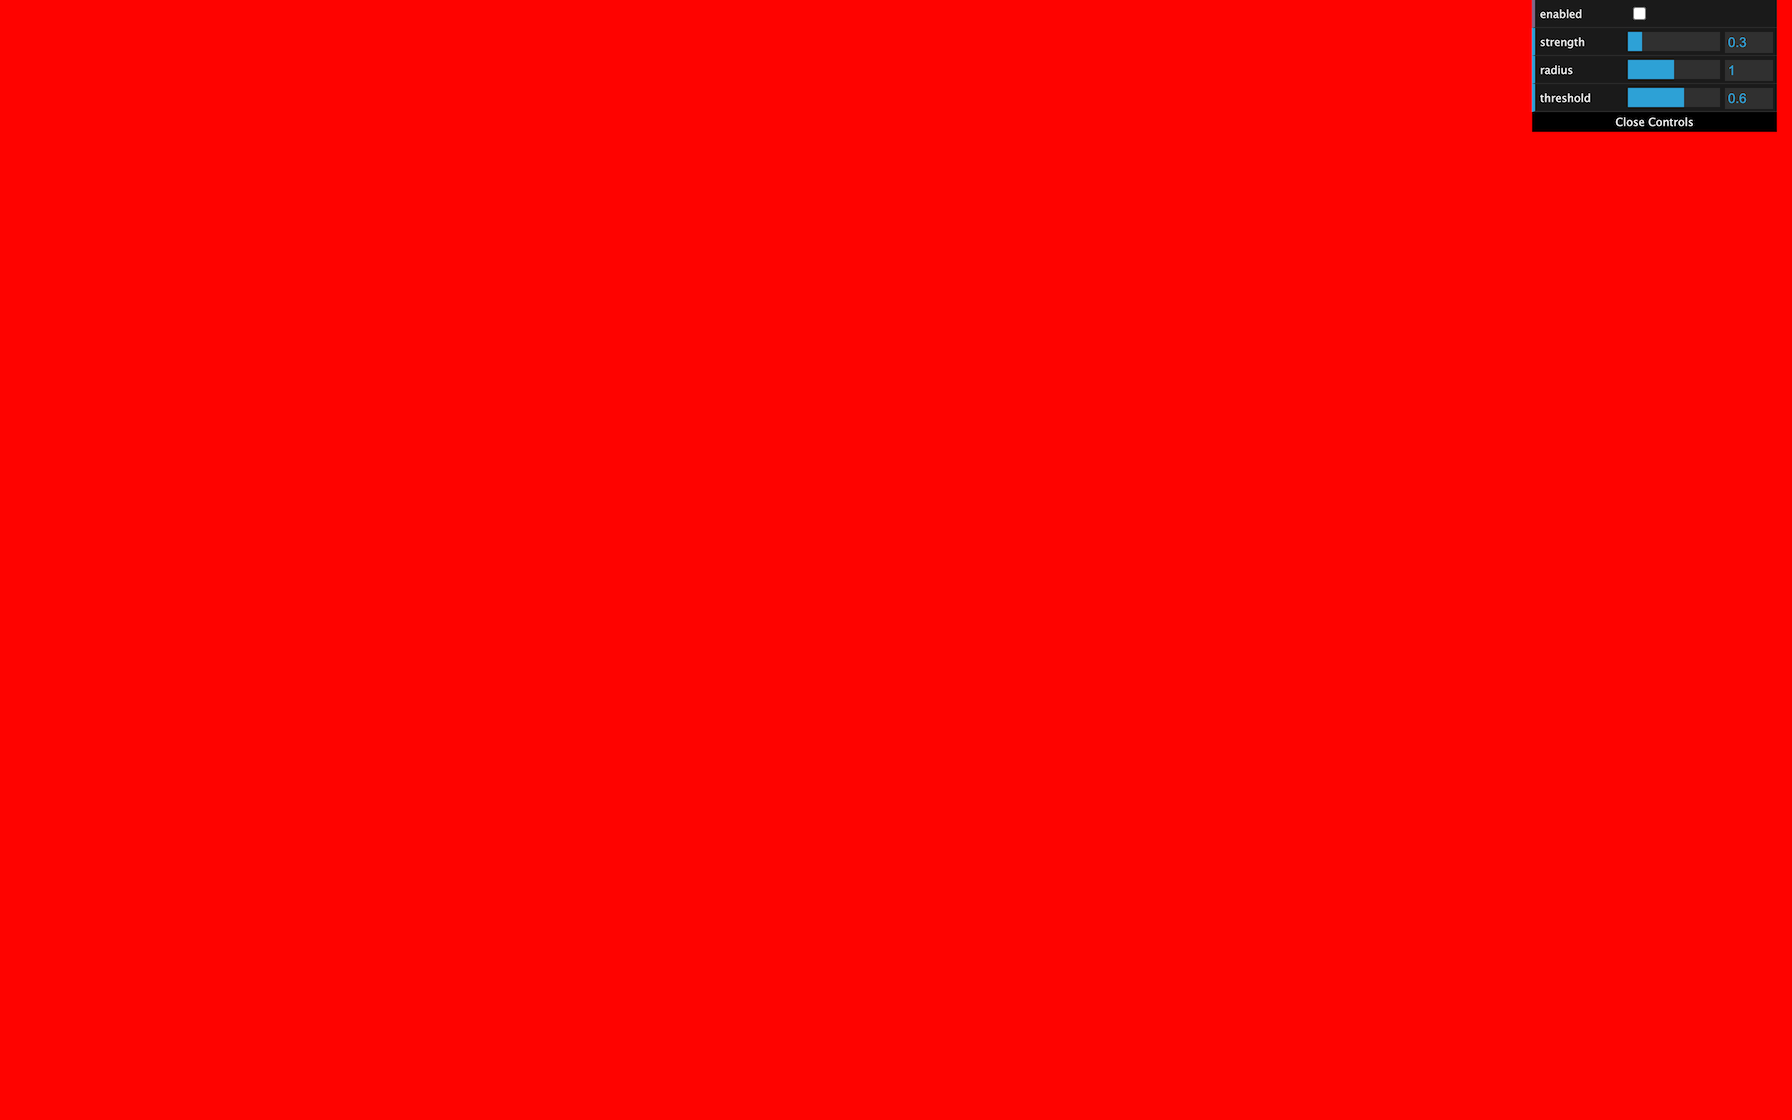
The screen should become red because our fragment shader sets the gl_FragColor to a red color.
We need to get the texture from the previous pass. This texture is automatically stored in the tDiffuse uniform. We must add the uniform with a null value —EffectComposer will update it— and retrieve the value in the fragmentShader :
const TintShader = {
    uniforms:
    {
        tDiffuse: { value: null }
    },

    // ...

    fragmentShader: `
        uniform sampler2D tDiffuse;

        void main()
        {
            gl_FragColor = vec4(1.0, 0.0, 0.0, 1.0);
        }
    `
}
JavaScript
Copy
Now that we have the texture of the previous pass, we need to retrieve the pixels as we’ve already done in a previous lesson. To get the pixels from a sampler2D (a texture), we need to use texture2D(...) . It would require a texture as the first parameter and UV coordinates as the second parameter.
The problem is that we don’t have those UV coordinates right now. We need to do as usual and create a varying named vUv containing the uv from the vertex shader:
const TintShader = {

    // ...

    vertexShader: `
        varying vec2 vUv;

        void main()
        {
            gl_Position = projectionMatrix * modelViewMatrix * vec4(position, 1.0);

            vUv = uv;
        }
    `,
    fragmentShader: `
        uniform sampler2D tDiffuse;

        varying vec2 vUv;

        void main()
        {
            vec4 color = texture2D(tDiffuse, vUv);
            gl_FragColor = color;
        }
    `
}
JavaScript
Copy
The render is back. But now, we can play with the texture in the fragmentShader .
To change the tint, play with the r , g , and b properties of color :
const TintShader = {

    // ...

    fragmentShader: `
        uniform sampler2D tDiffuse;

        varying vec2 vUv;

        void main()
        {
            vec4 color = texture2D(tDiffuse, vUv);
            color.r += 0.1;

            gl_FragColor = color;
        }
    `
}
JavaScript
Copy
To go further, let’s create a uniform to control the tint. First, add the uTint to the uniforms :
const TintShader = {
    uniforms:
    {
        tDiffuse: { value: null },
        uTint: { value: null }
    },

    // ...

    fragmentShader: `
        uniform sampler2D tDiffuse;
        uniform vec3 uTint;

        varying vec2 vUv;

        void main()
        {
            vec4 color = texture2D(tDiffuse, vUv);
            color.rgb += uTint;

            gl_FragColor = color;
        }
    `
}
JavaScript
Copy
As you can see, we let the value to null . Do not set the values directly in the shader object. You must set them on the material once you have created the pass because the shader is intended to be used multiple times —even if you don’t. It’s like a template for the pass:
const tintPass = new ShaderPass(TintShader)
tintPass.material.uniforms.uTint.value = new THREE.Vector3()
JavaScript
Copy
Then we can add the tweaks to our Dat.GUI:
gui.add(tintPass.material.uniforms.uTint.value, 'x').min(- 1).max(1).step(0.001).name('red')
gui.add(tintPass.material.uniforms.uTint.value, 'y').min(- 1).max(1).step(0.001).name('green')
gui.add(tintPass.material.uniforms.uTint.value, 'z').min(- 1).max(1).step(0.001).name('blue')
JavaScript
Copy
Displacement pass
Let’s try another custom pass. This time, we won’t fiddle with the color but with the UV to produce what we call a displacement.
Create a new shader named DisplacementShader , then a new pass named displacementPass from the ShaderPass and add it to effectComposer :
const DisplacementShader = {
    uniforms:
    {
        tDiffuse: { value: null }
    },
    vertexShader: `
        varying vec2 vUv;

        void main()
        {
            gl_Position = projectionMatrix * modelViewMatrix * vec4(position, 1.0);

            vUv = uv;
        }
    `,
    fragmentShader: `
        uniform sampler2D tDiffuse;

        varying vec2 vUv;

        void main()
        {
            vec4 color = texture2D(tDiffuse, vUv);

            gl_FragColor = color;
        }
    `
}

const displacementPass = new ShaderPass(DisplacementShader)
effectComposer.addPass(displacementPass)
JavaScript
Copy
Now, let’s create a newUv based on vUv but with some distortion:
const DisplacementShader = {

    // ...

    fragmentShader: `
        uniform sampler2D tDiffuse;

        varying vec2 vUv;

        void main()
        {
            vec2 newUv = vec2(
                vUv.x,
                vUv.y + sin(vUv.x * 10.0) * 0.1
            );
            vec4 color = texture2D(tDiffuse, newUv);

            gl_FragColor = color;
        }
    `
}
JavaScript
Copy
Here, we solely applied a sin(...) on the y axis based on the x axis. You should see the render waving.
Let’s animate it. Add a uTime uniform:
const DisplacementShader = {
    uniforms:
    {
        tDiffuse: { value: null },
        uTime: { value: null }
    },

    // ...

    fragmentShader: `
        uniform sampler2D tDiffuse;
        uniform float uTime;

        varying vec2 vUv;

        void main()
        {
            vec2 newUv = vec2(
                vUv.x,
                vUv.y + sin(vUv.x * 10.0 + uTime) * 0.1
            );
            vec4 color = texture2D(tDiffuse, newUv);

            gl_FragColor = color;
        }
    `
}
JavaScript
Copy
Set its value to 0 after creating the pass:
const displacementPass = new ShaderPass(DisplacementShader)
displacementPass.material.uniforms.uTime.value = 0
effectComposer.addPass(displacementPass)
JavaScript
Copy
And as always, update it in the tick function:
const clock = new THREE.Clock()

const tick = () =>
{
    const elapsedTime = clock.getElapsedTime()

    // Update passes
    displacementPass.material.uniforms.uTime.value = elapsedTime

    // ...
}
JavaScript
Copy
The waves are now animated.
Futuristic interface displacement
Instead of a sinus displacement, we can use a texture. You can find a very plain beehive futuristic interface with normal texture in /static/textures/interfaceNormalMap.png .
Add a uNormalMap uniform:
const DisplacementShader = {
    uniforms:
    {
        // ...
        uNormalMap: { value: null }
    },

    // ...
}
JavaScript
Copy
Update it while loading the texture —the TextureLoader is already in the code:
displacementPass.material.uniforms.uNormalMap.value = textureLoader.load('/textures/interfaceNormalMap.png')
JavaScript
Copy
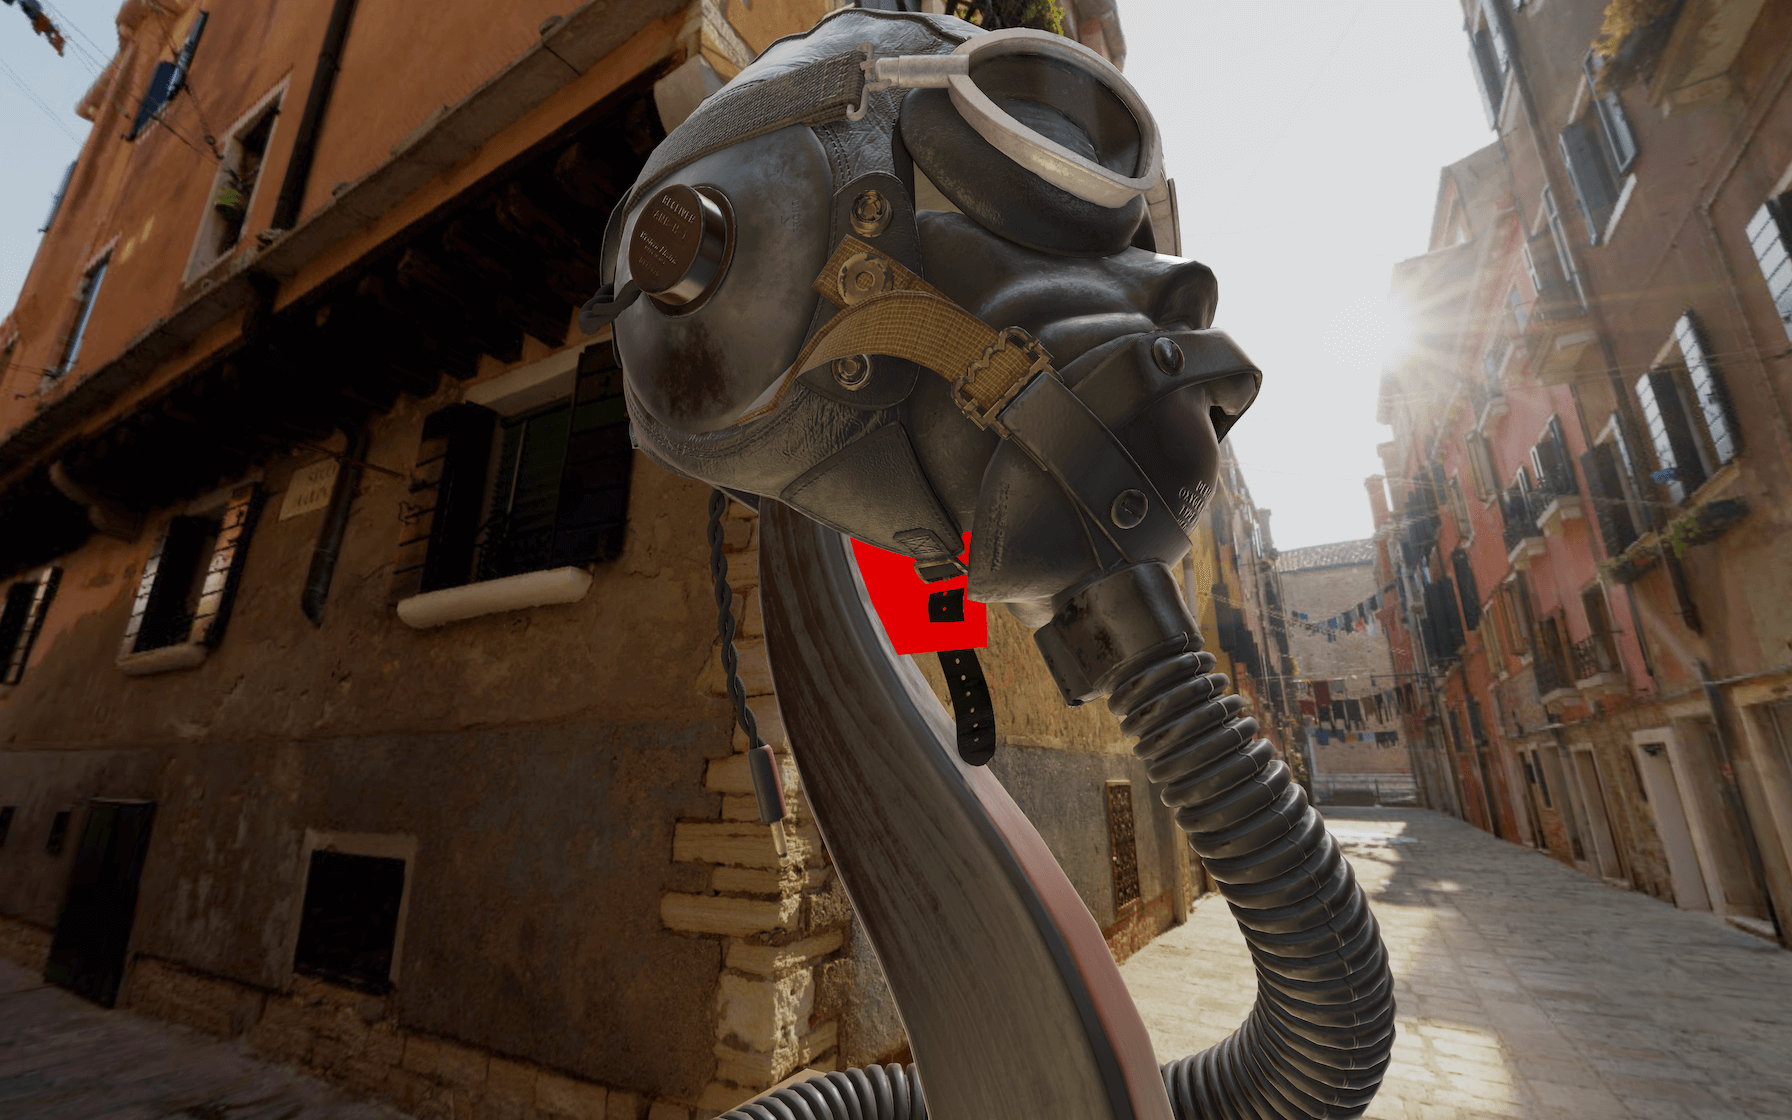
Now update the fragmentShader of the DisplacementShader :
const DisplacementShader = {
    // ...

    fragmentShader: `
        uniform sampler2D tDiffuse;
        uniform float uTime;
        uniform sampler2D uNormalMap;

        varying vec2 vUv;

        void main()
        {
            vec3 normalColor = texture2D(uNormalMap, vUv).xyz * 2.0 - 1.0;
            vec2 newUv = vUv + normalColor.xy * 0.1;
            vec4 color = texture2D(tDiffuse, newUv);

            vec3 lightDirection = normalize(vec3(- 1.0, 1.0, 0.0));
            float lightness = clamp(dot(normalColor, lightDirection), 0.0, 1.0);
            color.rgb += lightness * 2.0;

            gl_FragColor = color;
        }
    `
}
JavaScript
Copy
We won’t disclose what’s happening here because it’s not the proper way to achieve this effect, but you should see a compelling interface displacement. Regrettably, the texture fits the screen, and if your resolution isn’t proportional, it won’t look terrific. No worries, it was just for the show anyway.
Go further
What you can do now is try other passes and possibly add new custom passes if you get some ideas or if there are things you want to try.
Keep in mind that each pass you add will have to be rendered on each frame. That can have severe performances drawback.
You could also separate the custom passes into different files and even split the shaders in the .glsl files. This way, you get a cleaner and reusable code.
30 Performance tips
Difficulty Medium
Introduction
As we said in one of the first lessons, you should target a 60fps experience, at least. Some users might even have configurations where the experience should run at a higher frame rate. Those are usually gamers and are even more exigent in terms of performances and frame rate.
There can be two main limitations:
- The CPU
- The GPU
You need to keep an eye on the performances and test across multiple devices with different setups and don’t forget mobile devices if your website is supposed to be compatible with those.
It would help if you also kept an eye on the overall weight of the website. When we are developing in local, things load remarkably fast, but once online, it depends on the user connection and the server speed. We need to keep the assets as light as possible.
There are many tips to improve both performances and weight, and we’ve already seen most of them, but here’s an exhaustive list.
Setup
Some of the following tips have code examples in the starter, and each tip has a number. Uncomment the corresponding code part if you want to test it.
Monitoring
First, we need to measure the performance and not just eyeball it.
1 - Monitor FPS
Chrome used to have a nice FPS meter but they replaced but not anymore. Instead, we can use a JavaScript FPS meter like stats.js.
Add it to the dependencies with npm install --save stats.js .
Import it and instantiate it
import Stats from 'stats.js'

const stats = new Stats()
stats.showPanel(0) // 0: fps, 1: ms, 2: mb, 3+: custom
document.body.appendChild(stats.dom)
JavaScript
Copy
Call it’s begin() and end() methods in the tick function
const tick = () =>
{
    stats.begin()

    // ...

    stats.end()
}
JavaScript
Copy
You should get a nice looking FPS meter.
2 - Disable FPS limit
There is a way to unlock Chrome frame rate regardless of the screen capabilities.
That will enable frame rate monitoring even on good computers. For example, if you are developing on a good computer and you see 60fps , you might think it’s okay. But maybe your website can only run at 70~80fps on that good computer, but the frame rate will drop below 60fps on other computers, and you won’t know it.
If you unlock the frame rate limit, you’ll see that the performances aren’t good enough, and you should run at something like 150~200fps on this computer to be safe.
To unlock Chrome framerate:
- Close it completely —right the following instructions somewhere else if you are looking at this lesson on Chrome.
- Open the terminal.
- Open the following Github gist and launch the right command —Mac or Windows: https://gist.github.com/brunosimon/c15e7451a802fa8e34c0678620022f7d
Chrome should open without the frame rate limit. You can test it on with the exercise by opening the FPS meter again. If it didn’t work, close it and retry. If it still doesn’t work, you’ll have to do without it.
Be careful; doing this will draw much more power from your computer and might result on Chrome crashing.
3 - Monitoring draw calls
Draw calls are actions of drawing triangles by the GPU. There will be many draw calls when we have a complex scene with many objects, geometries, materials, etc.
Usually, we can say that the less draw calls you have, the better. We will see some tips to reduce these, but first, we would like to monitor them.
There is a great Chrome extension named Spector.js that can help you with that.
- Install the extension: https://chrome.google.com/webstore/detail/spectorjs/denbgaamihkadbghdceggmchnflmhpmk
- On the WebGL page, click on the extension icon to activate it.
- Click again to open the extension panel.
- Click on the red circle to record the frame.
Wait a little, and a new page will open with many intricate details about the recorded frame.
In the Commands tab, you’ll see how the frame has been drawn step by step. We won’t explain everything here, but the blue steps are draw calls, and the other steps are usually data sent to the GPU such as the matrices, attributes, uniforms, etc.
The less you have, the better.
4 - Renderer informations
The renderer can provide some information about what’s in the scene and what’s being drawn.
Just log the renderer.info to get this information:
console.log(renderer.info)
JavaScript
Copy
General
5 - Good JavaScript code
This one goes without saying, but we must keep a performant native JavaScript code. That is even more important in the tick function because this one will be called on each frame.
6 - Dispose of things
Once you are absolutely sure you don’t need a resource like a geometry or a material, dispose of it. If you create a game with levels, once the user goes to the next level, dispose of things from the previous level.
To do that, there is a dedicated page on the Three.js documentation: https://threejs.org/docs/#manual/en/introduction/How-to-dispose-of-objects
Here’s an example with the cube:
scene.remove(cube)
cube.geometry.dispose()
cube.material.dispose()
JavaScript
Copy
Lights
7 - Avoid them
If possible, try to avoid using Three.js lights. These are useful and simple to use, but they can steadily suck the computer’s performance.
If you don’t have a choice, try to use as few lights as possible and use the cheapest ones like the AmbientLight or the DirectionalLight
8 - Avoid adding or removing lights
When you add or remove light from the scene, all the materials supporting lights will have to be recompiled. That is how Three.js works, and this can freeze the screen for a moment if you have a complex scene.
Shadows
9 - Avoid them
Like the lights, shadows are handy, but they are bad for performances. Avoid them and try to find alternatives like baked shadows — for instance when the shadow is directly in the texture.
10 - Optimize shadow maps
If you don’t have any other choice, try to optimize the shadow maps so they look good but fit perfectly with the scene.
Use the CameraHelper to see the area that will be renderer by the shadow map camera and reduce it to the smallest area possible:
directionalLight.shadow.camera.top = 3
directionalLight.shadow.camera.right = 6
directionalLight.shadow.camera.left = - 6
directionalLight.shadow.camera.bottom = - 3
directionalLight.shadow.camera.far = 10

const cameraHelper = new THREE.CameraHelper(directionalLight.shadow.camera)
scene.add(cameraHelper)
JavaScript
Copy
Also try to use the smallest possible resolution with a descent result for the mapSize :
directionalLight.shadow.mapSize.set(1024, 1024)
JavaScript
Copy
11 - Use castShadow and receiveShadow wisely
Some objects can cast shadows, some objects can receive shadows, and some might do both. Try to activate castShadow and receiveShadow on as few objects as possible:
cube.castShadow = true
cube.receiveShadow = false

torusKnot.castShadow = true
torusKnot.receiveShadow = false

sphere.castShadow = true
sphere.receiveShadow = false

floor.castShadow = false
floor.receiveShadow = true
JavaScript
Copy
12 - Deactivate shadow auto update
Currently, shadow maps get updated before each render. You can deactivate this auto-update and alert Three.js that the shadow maps needs update only when necessary:
renderer.shadowMap.autoUpdate = false
renderer.shadowMap.needsUpdate = true
JavaScript
Copy
As you can see, we don’t see the torusKnot shadow rotating anymore.
Textures
13 - Resize textures
Textures take a lot of space in the GPU memory. It’s even worst with the mipmaps (the automatically generated smaller versions for minification filtering and magnification filtering).
The texture file weight has nothing to do with that, and only the resolution matters.
Try to reduce the resolution to the minimum while keeping a decent result.
14 - Keep a power of 2 resolutions
When resizing, remember to keep a power of 2 resolution. That is important for mipmaps.
The resolution doesn’t have to be a square; you can have a width different from the height.
If you don’t do this and the render needs the mipmap, Three.js will try to fix it by resizing the image to the closest power of 2 resolution, but this process will take resources and might result in bad quality textures.
15 - Use the right format
We said that the format doesn’t change the memory usage on the GPU, but using the right format may reduce the loading time.
You can use .jpg or .png according to the image and the compression but also the alpha channel.
You can use online tools like TinyPNG to reduce the weight even more. And you can also try special formats like basis.
Basis is a format just like .jpg and .png but the compression is powerful, and the format can be read by the GPU more easily. We won’t cover it because it’s pretty hard to generate, but give it a try if you want. You can find information and tools to create .basis files here: https://github.com/BinomialLLC/basis_universal
Geometries
16 - Use BufferGeometries
Always use buffer geometries instead of classic geometries. They are harder to use when we want to change the vertices, but they are more performant.
17 - Do not update vertices
Updating the vertices of a geometry is terrible for the performances. You can do it once when you create the geometry, but avoid doing it in the tick function.
If you need to animate the vertices, do it with a vertex shaders.
18 - Mutualize geometries
If you have multiple Meshes using the same geometry shape, create only one geometry, and use it on all the meshes:
// Tip 17
const geometry = new THREE.BoxBufferGeometry(0.5, 0.5, 0.5)

for(let i = 0; i < 50; i++)
{
    const material = new THREE.MeshNormalMaterial()

    const mesh = new THREE.Mesh(geometry, material)
    mesh.position.x = (Math.random() - 0.5) * 10
    mesh.position.y = (Math.random() - 0.5) * 10
    mesh.position.z = (Math.random() - 0.5) * 10
    mesh.rotation.y = (Math.random() - 0.5) * Math.PI * 2
    mesh.rotation.z = (Math.random() - 0.5) * Math.PI * 2

    scene.add(mesh)
}
JavaScript
Copy
You can still change the Mesh position, rotation and scale.
19 - Merge geometries
If the geometries aren’t supposed to move, you can also merge them by using the BufferGeometryUtils. This class isn’t available by default, and we need to import it:
import { BufferGeometryUtils } from 'three/examples/jsm/utils/BufferGeometryUtils.js'
JavaScript
Copy
We don’t need to instantiate it, and we can use its methods directly.
Use the mergeBufferGeometries(...) method with an array of geometries as parameter to get one merged geometry in return. We can then use that geometry with a single Mesh:
const geometries = []
for(let i = 0; i < 50; i++)
{
    const geometry = new THREE.BoxBufferGeometry(0.5, 0.5, 0.5)

    geometry.rotateX((Math.random() - 0.5) * Math.PI * 2)
    geometry.rotateY((Math.random() - 0.5) * Math.PI * 2)

    geometry.translate(
        (Math.random() - 0.5) * 10,
        (Math.random() - 0.5) * 10,
        (Math.random() - 0.5) * 10
    )

    geometries.push(geometry)
}

const mergedGeometry = BufferGeometryUtils.mergeBufferGeometries(geometries)
console.log(mergedGeometry)

const material = new THREE.MeshNormalMaterial()

const mesh = new THREE.Mesh(mergedGeometry, material)
scene.add(mesh)
JavaScript
Copy
That is harder because we have to twist the way we create things and move all the meshes transformations into the geometries, but this worth it because, in the end, we only have one draw call.
Materials
20 - Mutualize materials
Like for the geometries, if you are using the same type of material for multiple meshes, try to create only one and use it multiple times:
const geometry = new THREE.BoxBufferGeometry(0.5, 0.5, 0.5)

const material = new THREE.MeshNormalMaterial()

for(let i = 0; i < 50; i++)
{
    const mesh = new THREE.Mesh(geometry, material)
    mesh.position.x = (Math.random() - 0.5) * 10
    mesh.position.y = (Math.random() - 0.5) * 10
    mesh.position.z = (Math.random() - 0.5) * 10
    mesh.rotation.x = (Math.random() - 0.5) * Math.PI * 2
    mesh.rotation.y = (Math.random() - 0.5) * Math.PI * 2

    scene.add(mesh)
}
JavaScript
Copy
21 - Use cheap materials
Some materials like MeshStandardMaterial or MeshPhysicalMaterial need more resources than materials such as MeshBasicMaterial, MeshLambertMaterial or MeshPhongMaterial.
Try to use the cheapest materials when you can.
Meshes
22 - Use InstancedMesh
If you cannot merge the geometries because you need to have control over the meshes independently, but they are using the same geometry and same material, you can use an InstancedMesh.
It’s like a mesh, but you create only one InstancedMesh, and then you provide a transformation matrix for each “instance” of that mesh.
The matrix has to be a Matrix4, and you can apply any transformation by using the various available methods:
const geometry = new THREE.BoxBufferGeometry(0.5, 0.5, 0.5)

const material = new THREE.MeshNormalMaterial()

const mesh = new THREE.InstancedMesh(geometry, material, 50)
scene.add(mesh)

for(let i = 0; i < 50; i++)
{
    const position = new THREE.Vector3(
        (Math.random() - 0.5) * 10,
        (Math.random() - 0.5) * 10,
        (Math.random() - 0.5) * 10
    )

    const quaternion = new THREE.Quaternion()
    quaternion.setFromEuler(new THREE.Euler((Math.random() - 0.5) * Math.PI * 2, (Math.random() - 0.5) * Math.PI * 2, 0))

    const matrix = new THREE.Matrix4()
    matrix.makeRotationFromQuaternion(quaternion)
    matrix.setPosition(position)

    mesh.setMatrixAt(i, matrix)
}
JavaScript
Copy
We get a result almost as good as merge geometries, but we can still move the meshes by changing the matrices.
If you intend to change these matrices in the tick function, add this to the InstancedMesh:
mesh.instanceMatrix.setUsage(THREE.DynamicDrawUsage)
JavaScript
Copy
Models
23 - Low poly
Use low poly models. The fewer polygons, the better the frame rate. If you need details, try to use normal maps. They are cheap in terms of performances and can get you great details at the texture cost.
24 - Draco compression
If the model has a lot of details with very complex geometries, use the Draco compression. It can reduce weight drastically. The drawbacks are a potential freeze when uncompressing the geometry, and you also have to load the Draco libraries.
25 - Gzip
Gzip is a compression happening on the server side. Most of the servers don’t gzip files such as .glb , .gltf , .obj , etc.
See if you can figure out how to fix that, depending on the server you are using.
Cameras
26 - Field of view
When objects are not in the field of view, they won’t be rendered. That is called frustum culling.
That can seem like a tawdry solution, but you can just reduce the camera’s field of view. The fewer objects on the screen, the fewer triangles to render.
27 - Near and far
Just like the field of view, you can reduce the near and far properties of the camera. If you have a vast world with mountains, trees, structures, etc., the user probably can’t see those small houses out of sight far behind the mountains. Reduce the far to a decent value and those houses won’t even try to be rendered.
Renderer
29 - Pixel ratio
Some devices have a very high pixel ratio. It’s just a marketing argument, but the more pixels to render, to worst the frame rate.
Try to limit the pixel ratio of the renderer to something like 2 :
renderer.setPixelRatio(Math.min(window.devicePixelRatio, 2))
JavaScript
Copy
30 - Power preferences
Some devices may be able to switch between different GPU or different GPU usage. We can give a hint on what power is required when instantiating the WebGLRenderer by specifying a powerPreference property:
const renderer = new THREE.WebGLRenderer({
    canvas: canvas,
    powerPreference: 'high-performance'
})
JavaScript
Copy
If you don’t have performance issues, set this property to 'default' .
31 - Antialias
The default antialias is performant, but still, it’s less performant than no antialias. Only add it if you have visible aliasing and no performance issue.
Postprocessing
32 - Limit passes
Each post-processing pass will take as many pixels as the render’s resolution (including the pixel ratio) to render. If you have a 1920x1080 resolution with 4 passes and a pixel ratio of 2 , that makes 1920 * 2 * 1080 * 2 * 4 = 33 177 600 pixels to render. Be reasonable, and try to regroup your custom passes into one.
Shaders
31 - Specify the precision
You can force the precision of the shaders in the materials by changing their precision property:
const shaderMaterial = new THREE.ShaderMaterial({
    precision: 'lowp',
    // ...
})
JavaScript
Copy
Check the result for any quality downgrade or glitches.
That won’t work with the RawShaderMaterial, and you’ll have to add the precision by yourself on the shaders like we did on the first shaders lesson.
32 - Keep code simple
It’s laborious to monitor the difference, but try to keep your shader codes as simple as possible. Avoid if statements. Make good use of swizzles and built-in functions.
As in the vertex shader, instead of the if statement:
modelPosition.y += clamp(elevation, 0.5, 1.0) * uDisplacementStrength;
GLSL
Copy
Or as in the fragment shader, instead of these complex formulas for r , g and b :
vec3 depthColor = vec3(1.0, 0.1, 0.1);
vec3 surfaceColor = vec3(0.1, 0.0, 0.5);
vec3 finalColor = mix(depthColor, surfaceColor, elevation);
GLSL
Copy
33 - Use textures
Employing perlin noise functions is cool, but it can affect your performance considerably. Sometimes, you better use a texture representing the noise. Using texture2D() is way cheaper than a perlin noise function, and you can produce these textures quite efficiently with tools like photoshop.
34 - Use defines
Uniforms are beneficial because we can tweak them and animate the values in the JavaScript. But uniforms have a performance cost. If the value isn’t supposed to change, you can use defines. There are two ways of creating a define .
Directly in the shader code:
#define uDisplacementStrength 1.5
GLSL
Copy
Or in the defines property of the ShaderMaterial:
const shaderMaterial = new THREE.ShaderMaterial({

    // ...

    defines:
    {
        uDisplacementStrength: 1.5
    },

    // ...
}
GLSL
Copy
Those defines will automatically be added to the GLSL code if you are using a ShaderMaterial.
35 - Do the calculations in the vertex shader
If possible, do the calculations in the vertex shader and send the result to the fragment shader.
Go further
Keep an eye on the performances from the start. Test on other devices, use the tools we saw initially and fix any strange behavior before going further.
Each project will have different constraints, and applying those tips won’t always suffice. Try to find solutions. Twist the way you are doing things. Be smart.
You’ll find a better way of doing things throughout your projects, and you’ll adapt more quickly. At a point, you’ll even know multiple ways of getting the same result, and you’ll have the luxury to pick the best one.
Here is another big list of tips to improve how you use Three.js by Lewy Blue: https://discoverthreejs.com/tips-and-tricks/
31 Intro and loading progress
Difficulty Medium
Introduction
Until now, all we had was a WebGL canvas on our page with things showing up once they are ready.
In this lesson, we will learn how to add a very simple loader composed of a bar that fills while the assets are loading. The whole scene will be black and only show once everything is loaded with a nice fade.
For the loader, we will use HTML and CSS. That is an excellent opportunity to see how to combine HTML with WebGL.
Setup
Our starter contains what we did in the Realistic Render lesson with the Flight Helmet.

Overlay
First, we need a way to fade the scene. There are many ways of doing so. We could animate the <canvas> 's CSS opacity . We could also put a black <div> above the <canvas> and animate its CSS opacity . But instead, we are going to keep things inside the WebGL and draw a black rectangle that covers the whole render and fade it out when we need it.
The problem is: how do we draw a rectangle in front of the camera. With the knowledge we have now, we could create a plane and put it right inside of the camera instead of the scene , it should work fine because camera inherit from Object3D , but it looks a bit patched up.
Instead, we will draw a plane that doesn’t follow the rules of position, perspective, and projection so that it just get drawn in front of the view. Don’t worry; it’s easier than what you might think.
Base plane
First, we are going to start from a classic plane.
Create a PlaneBufferGeometry, a MeshBasicMaterial and a Mesh. Then add it all to the scene:
/**
 * Overlay
 */
const overlayGeometry = new THREE.PlaneBufferGeometry(1, 1, 1, 1)
const overlayMaterial = new THREE.MeshBasicMaterial({ color: 0xff0000 })
const overlay = new THREE.Mesh(overlayGeometry, overlayMaterial)
scene.add(overlay)
JavaScript
Copy
The plane should be visible from the other side of the helmet.
Fill the render
We now want this plane to be always in front of the camera. We want it to fill the render regardless of the camera position. To do that, we are going to use a ShaderMaterial.
Replace the MeshBasicMaterial by a ShaderMaterial and write the default shaders that we have learned previously with the vertexShader property and the fragmentShader property. You can try to do this from memory but don’t be frustrated if you can’t. It takes time:
const overlayMaterial = new THREE.ShaderMaterial({
    vertexShader: `
        void main()
        {
            gl_Position = projectionMatrix * modelViewMatrix * vec4(position, 1.0);
        }
    `,
    fragmentShader: `
        void main()
        {
            gl_FragColor = vec4(1.0, 0.0, 0.0, 1.0);
        }
    `
})
JavaScript
Copy
You should get the same result, but this time, we have control over the shaders.
To make the plane fill the render, we need to not apply the matrices:
const overlayMaterial = new THREE.ShaderMaterial({
    vertexShader: `
        void main()
        {
            gl_Position = vec4(position, 1.0);
        }
    `,
    fragmentShader: `
        void main()
        {
            gl_FragColor = vec4(1.0, 0.0, 0.0, 1.0);
        }
    `
})
JavaScript
Copy
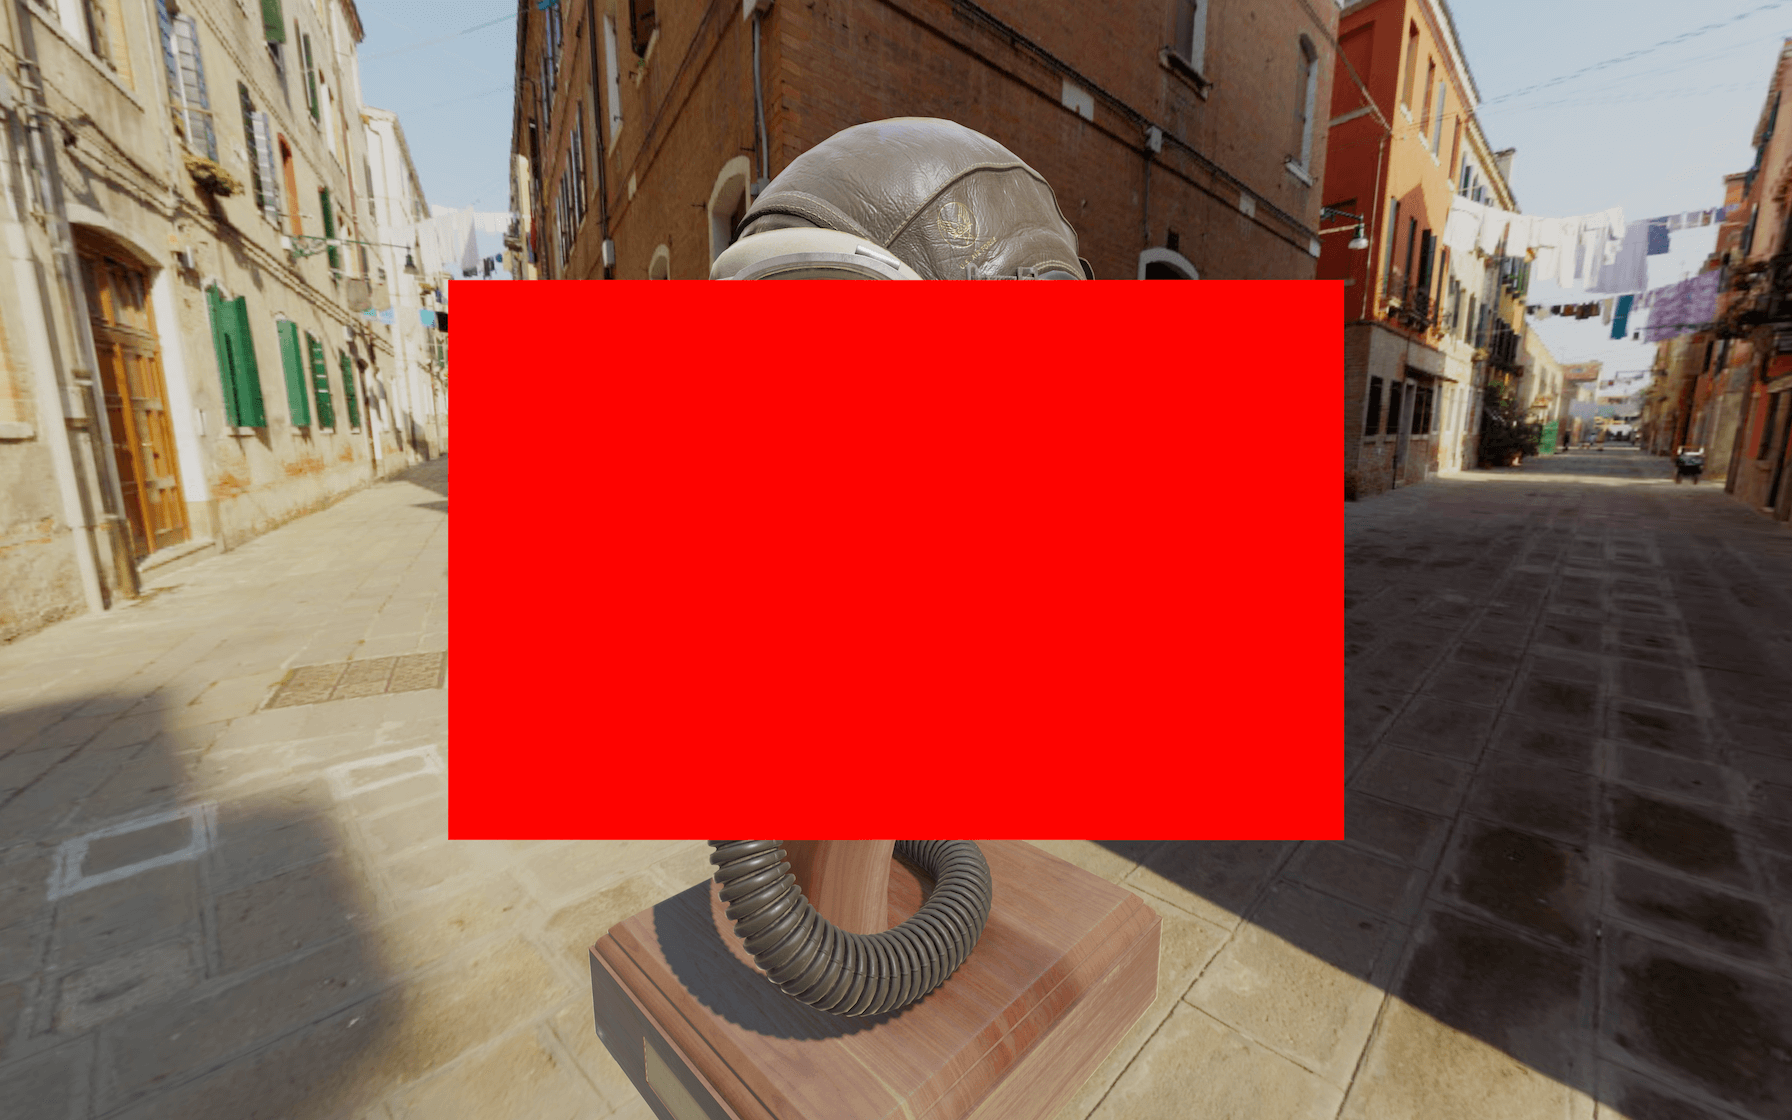
Now you get a big rectangle in the middle. Neither its position, the camera position, the field of view or anything else transform it because none of the matrices are used.
The coordinates of the plane’s vertices go from -0.5 to +0.5 because our plane has a size of 1 .
The vertex shader, stripped like that, draws the triangles on the screen in the specified coordinates without considering anything else. We can see these triangles by setting the wireframe property to true :
const overlayMaterial = new THREE.ShaderMaterial({
    wireframe: true,
    // ...
})
JavaScript
Copy
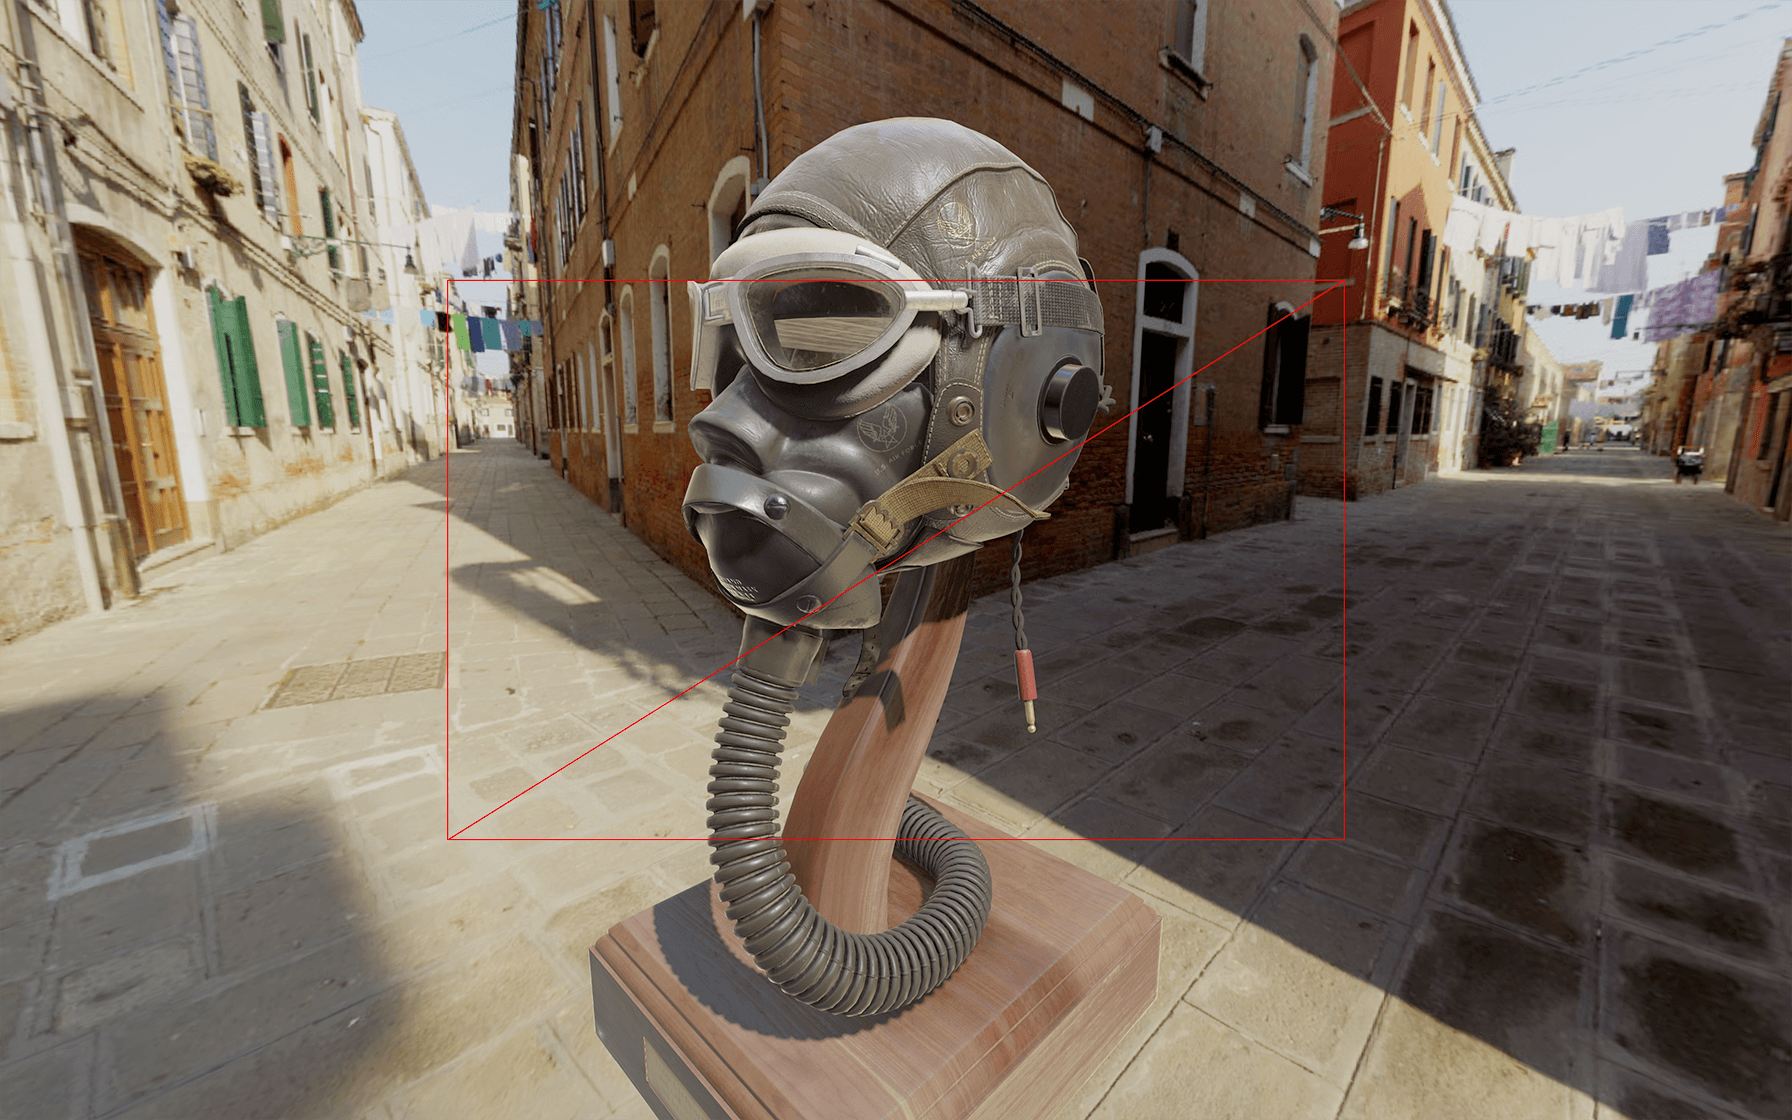
Comment or remove the wireframe .
To get a bigger rectangle, we need the coordinates to go from -1 to +1 . To do that, double the size of the PlaneBufferGeometry:
const overlayGeometry = new THREE.PlaneBufferGeometry(2, 2, 1, 1)
JavaScript
Copy

The rectangle is now filling the whole render.
Color and alpha
Let’s say instead of this red color, we want black.
Change the gl_FragColor :
const overlayMaterial = new THREE.ShaderMaterial({
    // ...
    fragmentShader: `
        void main()
        {
            gl_FragColor = vec4(0.0, 0.0, 0.0, 1.0);
        }
    `
})
JavaScript
Copy

Everything appears to be black.
Now, we want to be able to control the alpha. As you know, the fourth value of the gl_FragColor .
Set this fourth parameter to 0.5 to see if it’s working:
const overlayMaterial = new THREE.ShaderMaterial({
    // ...
    fragmentShader: `
        void main()
        {
            gl_FragColor = vec4(0.0, 0.0, 0.0, 0.5);
        }
    `
})
JavaScript
Copy
Unfortunately, everything is still fully black, and it’s because we forgot an easy to forget a thing. We need to set the transparent property to true on our ShaderMaterial:
const overlayMaterial = new THREE.ShaderMaterial({
    transparent: true,
    // ...
})
JavaScript
Copy
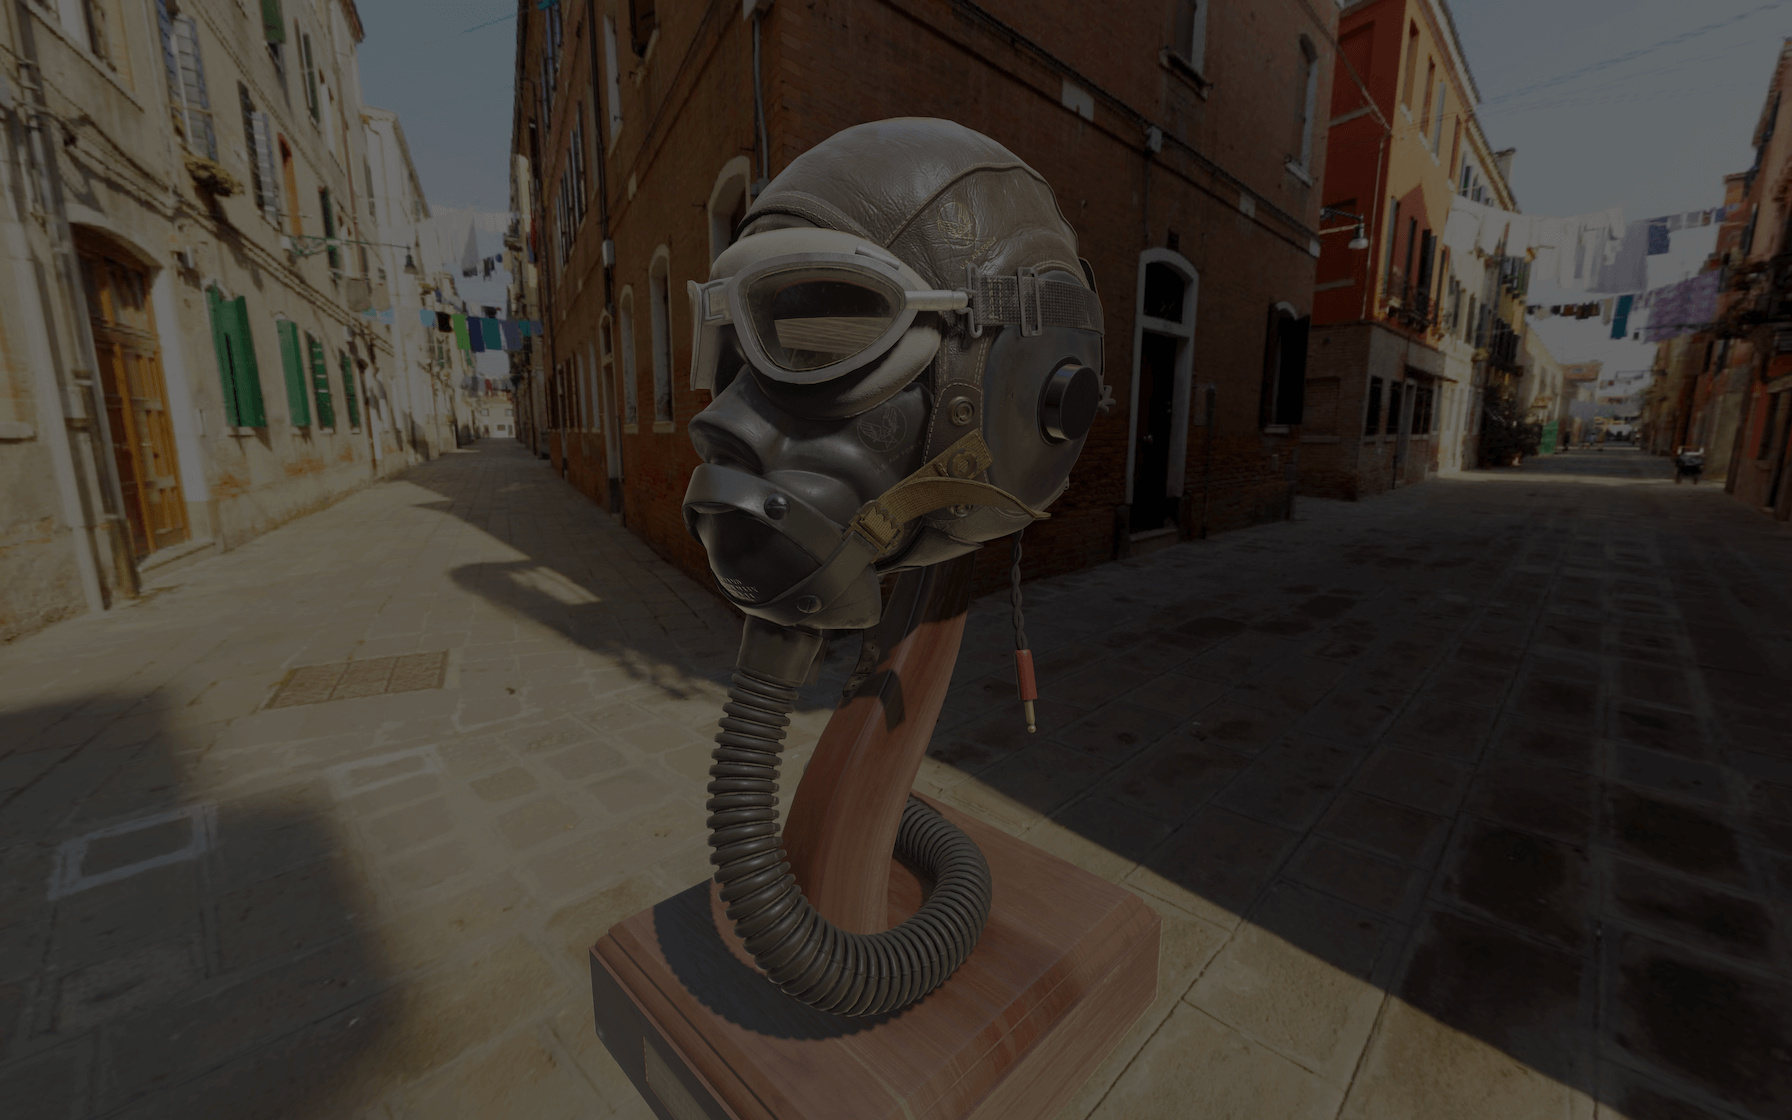
The whole scene should look darker.
Uniform
Now that we have our overlay set, we need a way to control the alpha value. We are going to use a uniform.
Add a uAlpha uniform as we did before:
const overlayMaterial = new THREE.ShaderMaterial({
    // ...
    uniforms:
    {
        uAlpha: { value: 1 }
    },
    // ...
})
JavaScript
Copy
Then use it in the fragmentShader instead of the raw 0.5 :
const overlayMaterial = new THREE.ShaderMaterial({
    // ...
    fragmentShader: `
        uniform float uAlpha;

        void main()
        {
            gl_FragColor = vec4(0.0, 0.0, 0.0, uAlpha);
        }
    `
})
JavaScript
Copy
You should get the same result, but we can control the alpha directly from the JavaScript with the uAlpha uniform this time.
Let’s change the value of that uniform to 1 to start with an entirely black screen.
const overlayMaterial = new THREE.ShaderMaterial({
    // ...
    uniforms:
    {
        uAlpha: { value: 1 }
    },
    // ...
})
JavaScript
Copy
Loading
Now that we have our overlay ready to be animated, we want to know when everything is loaded.
While there is only one model in the scene, we are genuinely loading many assets. We are loading the 6 images that compose the environment map, the model’s geometries, and all the textures used in the model.
To load these assets, we used a GLTFLoader and a CubeTextureLoader. Both can receive a LoadingManager as parameter. That LoadingManager—as we saw at the beginning of the course— can be used to stay informed of the global loading progress.
Instantiate a LoadingManager and use it in the GLTFLoader and CubeTextureLoader:
/**
 * Loaders
 */
const loadingManager = new THREE.LoadingManager()
const gltfLoader = new GLTFLoader(loadingManager)
const cubeTextureLoader = new THREE.CubeTextureLoader(loadingManager)
JavaScript
Copy
Nothing should have changed, but we can now send two functions to the LoadingManager.
The first one will be triggered when everything is loaded, and the second one will be trigger when the loading progress.
Add these two functions with the following parameters:
const loadingManager = new THREE.LoadingManager(
    // Loaded
    () =>
    {
        console.log('loaded')
    },

    // Progress
    () =>
    {
        console.log('progress')
    }
)
JavaScript
Copy
You should get multiple "progress" in the logs and one "loaded" at the end.
The progress function will be helpful later. For now, all we need is the loaded function.
Animate
To fade out the overlay, we need a way to animate the uAlpha uniform value. While this is a little far-fetched, just for that, we will use the GSAP library as we did at the beginning of the course.
First, in the terminal, install the gsap library with npm install --save gsap@3.5.1 —relaunch the server if you stopped it.
Now that we have gsap in the dependencies, we can import it:
import { gsap } from 'gsap'
JavaScript
Copy
Finally, we can use it to animate the uAlpha uniform value in the loaded function:
const loadingManager = new THREE.LoadingManager(
    // Loaded
    () =>
    {
        gsap.to(overlayMaterial.uniforms.uAlpha, { duration: 3, value: 0 })
    },

    // ...
)
JavaScript
Copy
The overlay should fade out nicely once everything is loaded.
Loading bar
The assets are quite heavy, and the whole project weighs around 50MB. The model could use some optimizations, but this is not the subject of the lesson. It’s the perfect opportunity to see the assets loading with a nice loading bar.
Simulating a normal bandwidth
The problem is that we are testing in local, and everything loads remarkably fast. If you are using Chrome, you can simulate a slower bandwidth.
The following instructions concern Chrome, but all those features are available in Firefox too.
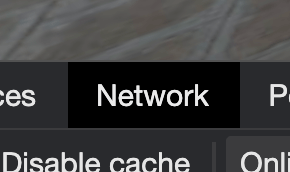
In the Developer Tools panel, go to the Network tab.
First, check the Disable cache .
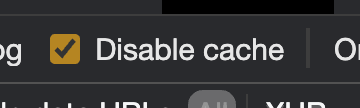
This will force the assets to load without cache like if it was the first time you visite the website.
Then, we need a way to throttle the bandwidth. To do that, click on the dropdown menu with the Online value.
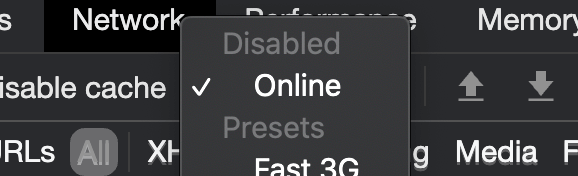
Here, we can choose various throttle values. Unfortunately, the available options don’t fit the project.
To add a custom value, click on Add :
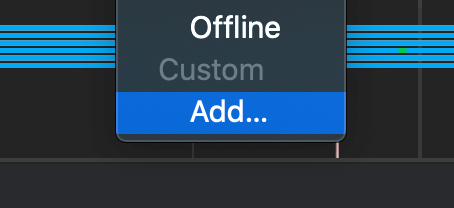
In the panel that should open, click on Add custom profile… , choose a name like “Pretty fast” and set the Download value to 100000 .
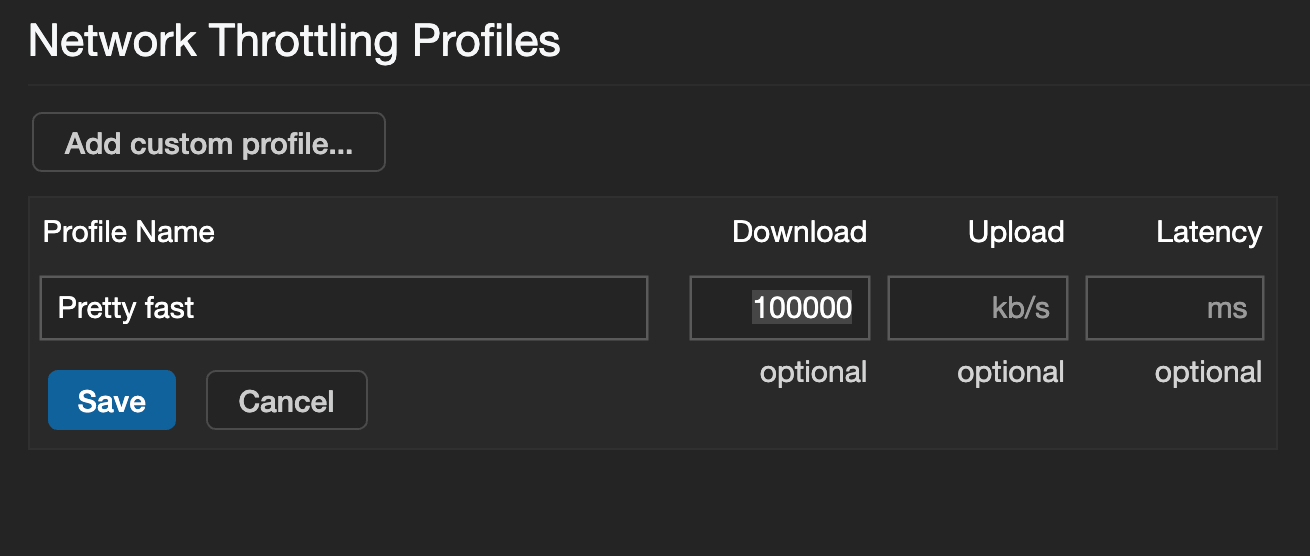
The meaning of this value isn’t that important as long as we have time to see the assets loading. For a typical project, you should create a lower value that simulates an ADSL connexion.
Save it, close the panel, and choose this value in the dropdown menu.
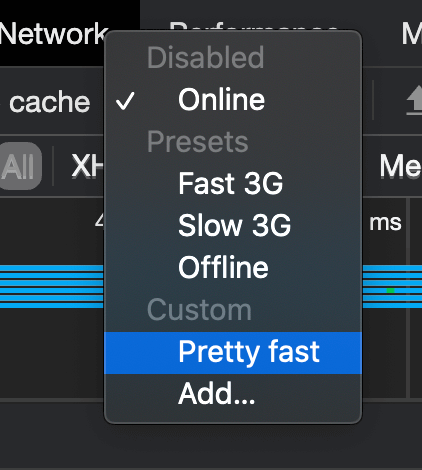
The network now simulates a pretty fast bandwidth.
If you reload, you’ll see that you now have to wait for something like 3 seconds before the overlay fade out.
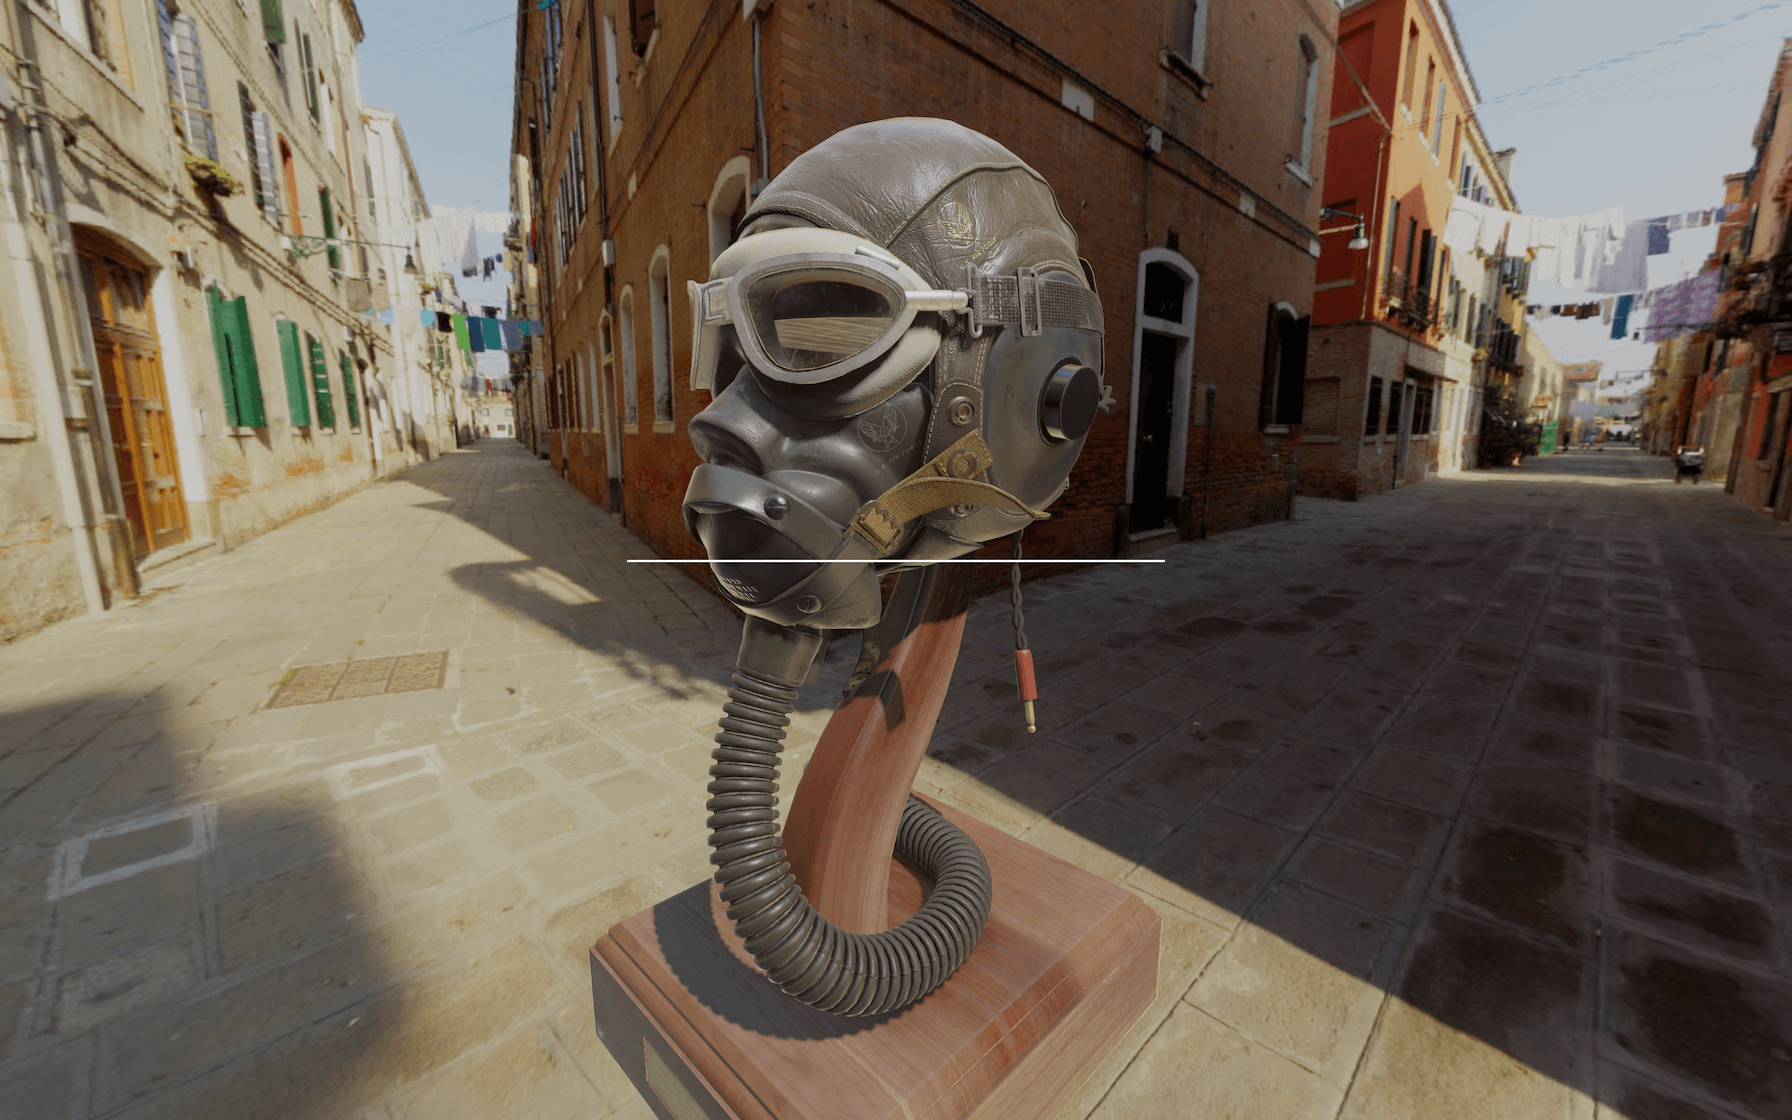
Create the HTML loading bar
Now that we can test the loading progress, it’s time to add the loading bar. This time, for the sake of the lesson, we will add this bar in HTML but we could have create a new plane with a shader animating it like we did for the overlay.
Open the /src/index.html file and add a <div> with a loading-bar class right after the <canvas> :
<!-- ... -->
<body>
    <canvas class="webgl"></canvas>
    <div class="loading-bar"></div>
</body>
</html>
HTML
Copy
Then, in the /src/style.css file, position the bar, so it fits the whole width in the middle of the screen:
.loading-bar
{
    position: absolute;
    top: 50%;
    width: 100%;
    height: 2px;
    background: #ffffff;
}
CSS
Copy

That is classic CSS and we won’t explain it.
We want the bar to fill from the left. To do that, we are going to scale it using the transform CSS property.
Set a transform property with a scaleX , and a value of 0.3 :
.loading-bar
{
    /* ... */
    transform: scaleX(0.3);
}
JavaScript
Copy
The scale worked; sadly, the bar seems to scale in its middle. To change that, use the transform-origin property:
.loading-bar
{
    /* ... */
    transform: scaleX(0.3);
    transform-origin: top left;
}
JavaScript
Copy

The bar should stay on the left.
Finally, set the scaleX value to 0 :
.loading-bar
{
    /* ... */
    transform: scaleX(0);
    transform-origin: top left;
}
JavaScript
Copy
Update the bar
Now that we have the bar let’s get back to the /src/script.js and animate it when the loading progress.
To know when the loading progress, we can use the second function we sent to the LoadingManager:
const loadingManager = new THREE.LoadingManager(
    // ...

    // Progress
    () =>
    {
        console.log('progress')
    }
)
JavaScript
Copy
This function will be triggered each time an asset has been loaded and can have 3 arguments:
- The URL of the assets
- How much assets were loaded
- The total number of assets to load
You can test these values:
const loadingManager = new THREE.LoadingManager(
    // ...

    // Progress
    (itemUrl, itemsLoaded, itemsTotal) =>
    {
        console.log(itemUrl, itemsLoaded, itemsTotal)
    }
)
JavaScript
Copy
You should see each asset load in the logs.
Now, we need to update the scaleX value. To do that, we just need to update the loading-bar element style.
First, let’s retrieve that element. To do so, we will use document.querySelector :
const loadingBarElement = document.querySelector('.loading-bar')
JavaScript
Copy
That is classic JavaScript technique to get an element with a selector—like in CSS.
In the progress function, we first need to calculate the progress ratio. This value should go from 0 when no asset is loaded to 1 when all assets are loaded.
To calculate this ratio, we can simply divide itemsLoaded by itemsTotal :
const loadingManager = new THREE.LoadingManager(
    // ...

    // Progress
    (itemUrl, itemsLoaded, itemsTotal) =>
    {
        const progressRatio = itemsLoaded / itemsTotal
        console.log(progressRatio)
    }
)
JavaScript
Copy
You should see the progressRatio going from 0 to 1 in the logs.
We can now update the transform of the loadingBarElement :
const loadingManager = new THREE.LoadingManager(
    // ...

    // Progress
    (itemUrl, itemsLoaded, itemsTotal) =>
    {
        const progressRatio = itemsLoaded / itemsTotal
        loadingBarElement.style.transform = `scaleX(${progressRatio})`
    }
)
JavaScript
Copy
The bar should fill according to the loading progress.
Don’t forget to keep the Developer tools open with the Disable cache checked and the throttling set to the Pretty fast .
Smooth the animation
Let’s make the animation a little more flowing by smoothing the transition. There are many ways of doing so, but the most simplistic solution is to add a transition to the CSS.
In the /src/style.css file, add a 0.5s transition on the transform property:
.loading-bar
{
    /* ... */
    transition: transform 0.5s;
}
CSS
Copy
You should have the same result but with a smoother animation on the bar.
Hide the bar
There are many ways to hide the bar once everything is loaded, but to make it cool and keep the flow, we will make the bar disappear on the right.
First, in the /src/style.css file, add a new selector with the following properties:
.loading-bar.ended
{
    transform: scaleX(0);
    transform-origin: 100% 0;
    transition: transform 1.5s ease-in-out;
}
CSS
Copy
Be sure not to add a space between .loading-bar and .ended so that the properties only apply when both classes are present on the element.
The properties simply scale the bar to 0 with a transformation aligned to the right and a more extended transition using an ease-in-out timing function.
All we need to do now is add the ended class to the element when everything is loaded.
We can do that in the loaded function with the classList.add(...) method:
const loadingManager = new THREE.LoadingManager(
    // Loaded
    () =>
    {
        gsap.to(overlayMaterial.uniforms.uAlpha, { duration: 3, value: 0, delay: 1 })

        loadingBarElement.classList.add('ended')
    },

    // ...
)
JavaScript
Copy
Unfortunately, this won’t work because there is still a scaleX applied to the element from the progress function.
We simply need to set the transform to an empty string to solve that:
const loadingManager = new THREE.LoadingManager(
    // Loaded
    () =>
    {
        gsap.to(overlayMaterial.uniforms.uAlpha, { duration: 3, value: 0, delay: 1 })

        loadingBarElement.classList.add('ended')
        loadingBarElement.style.transform = ''
    },

    // ...
)
JavaScript
Copy
The bar should disappear on the right as planned. The animation looks a little jumpy, which isn’t ideal.
There are two reasons for that. First, it takes time to render the elements on the scene for the first time, and the computer freeze for a moment. Secondly, we added a 0.5s transition to the bar. That means that when the loaded function is triggered, the bar didn’t finish its transition to the end.
To solve these problems, we can ask the JavaScript to wait for 0.5s before starting the intro animation with a setTimeout(...) :
const loadingManager = new THREE.LoadingManager(
    // Loaded
    () =>
    {
        window.setTimeout(() =>
        {
            gsap.to(overlayMaterial.uniforms.uAlpha, { duration: 3, value: 0, delay: 1 })

            loadingBarElement.classList.add('ended')
            loadingBarElement.style.transform = ''
        }, 500)
    },

    // ...
)
JavaScript
Copy
The bar now disappears more smoothly.
And that’s it. You now have a less brutal intro with an HTML loading bar.