WALKTHROUGH OF DEPLOYED APP
With our application now deployed, we’ll spend a little time going through our app in the production setting to verify everything works as intended. At the end of this lesson, we’ll also quickly summarize what we’ve done to have our app be deployed.
In the / (i.e. index) route, we can see the homepage we’ve prepared which consists of the section that displays the premium listings in our TinyHouse application.

If we were to search for a particular location in the input of the app header, (e.g. "LA" ), we’ll be taken to the /listings/la route where we get all the listings that pertain to the Los Angeles area.

Note: All the data we see at this very moment is the same data that we were interacting with during development. We haven’t done any changes to the database in the collections within the database. If interested, we’re able to remove the mock data we’ve inserted in our database so users can begin to create and view real listings.
Within the /listings/:location page, we’re able to see the listing cards that give us some information about each of the different listings. We can filter the list of listings shown to us from low to high pricing and vice-versa. We’re also able to switch pages for every list of eight listings shown for a single page.
If we click a certain listing card, we’ll be taken to the /listing/:id page where we can see more information about a particular listing. We’ll be given information about listing such as its image, title, host, description, etc.

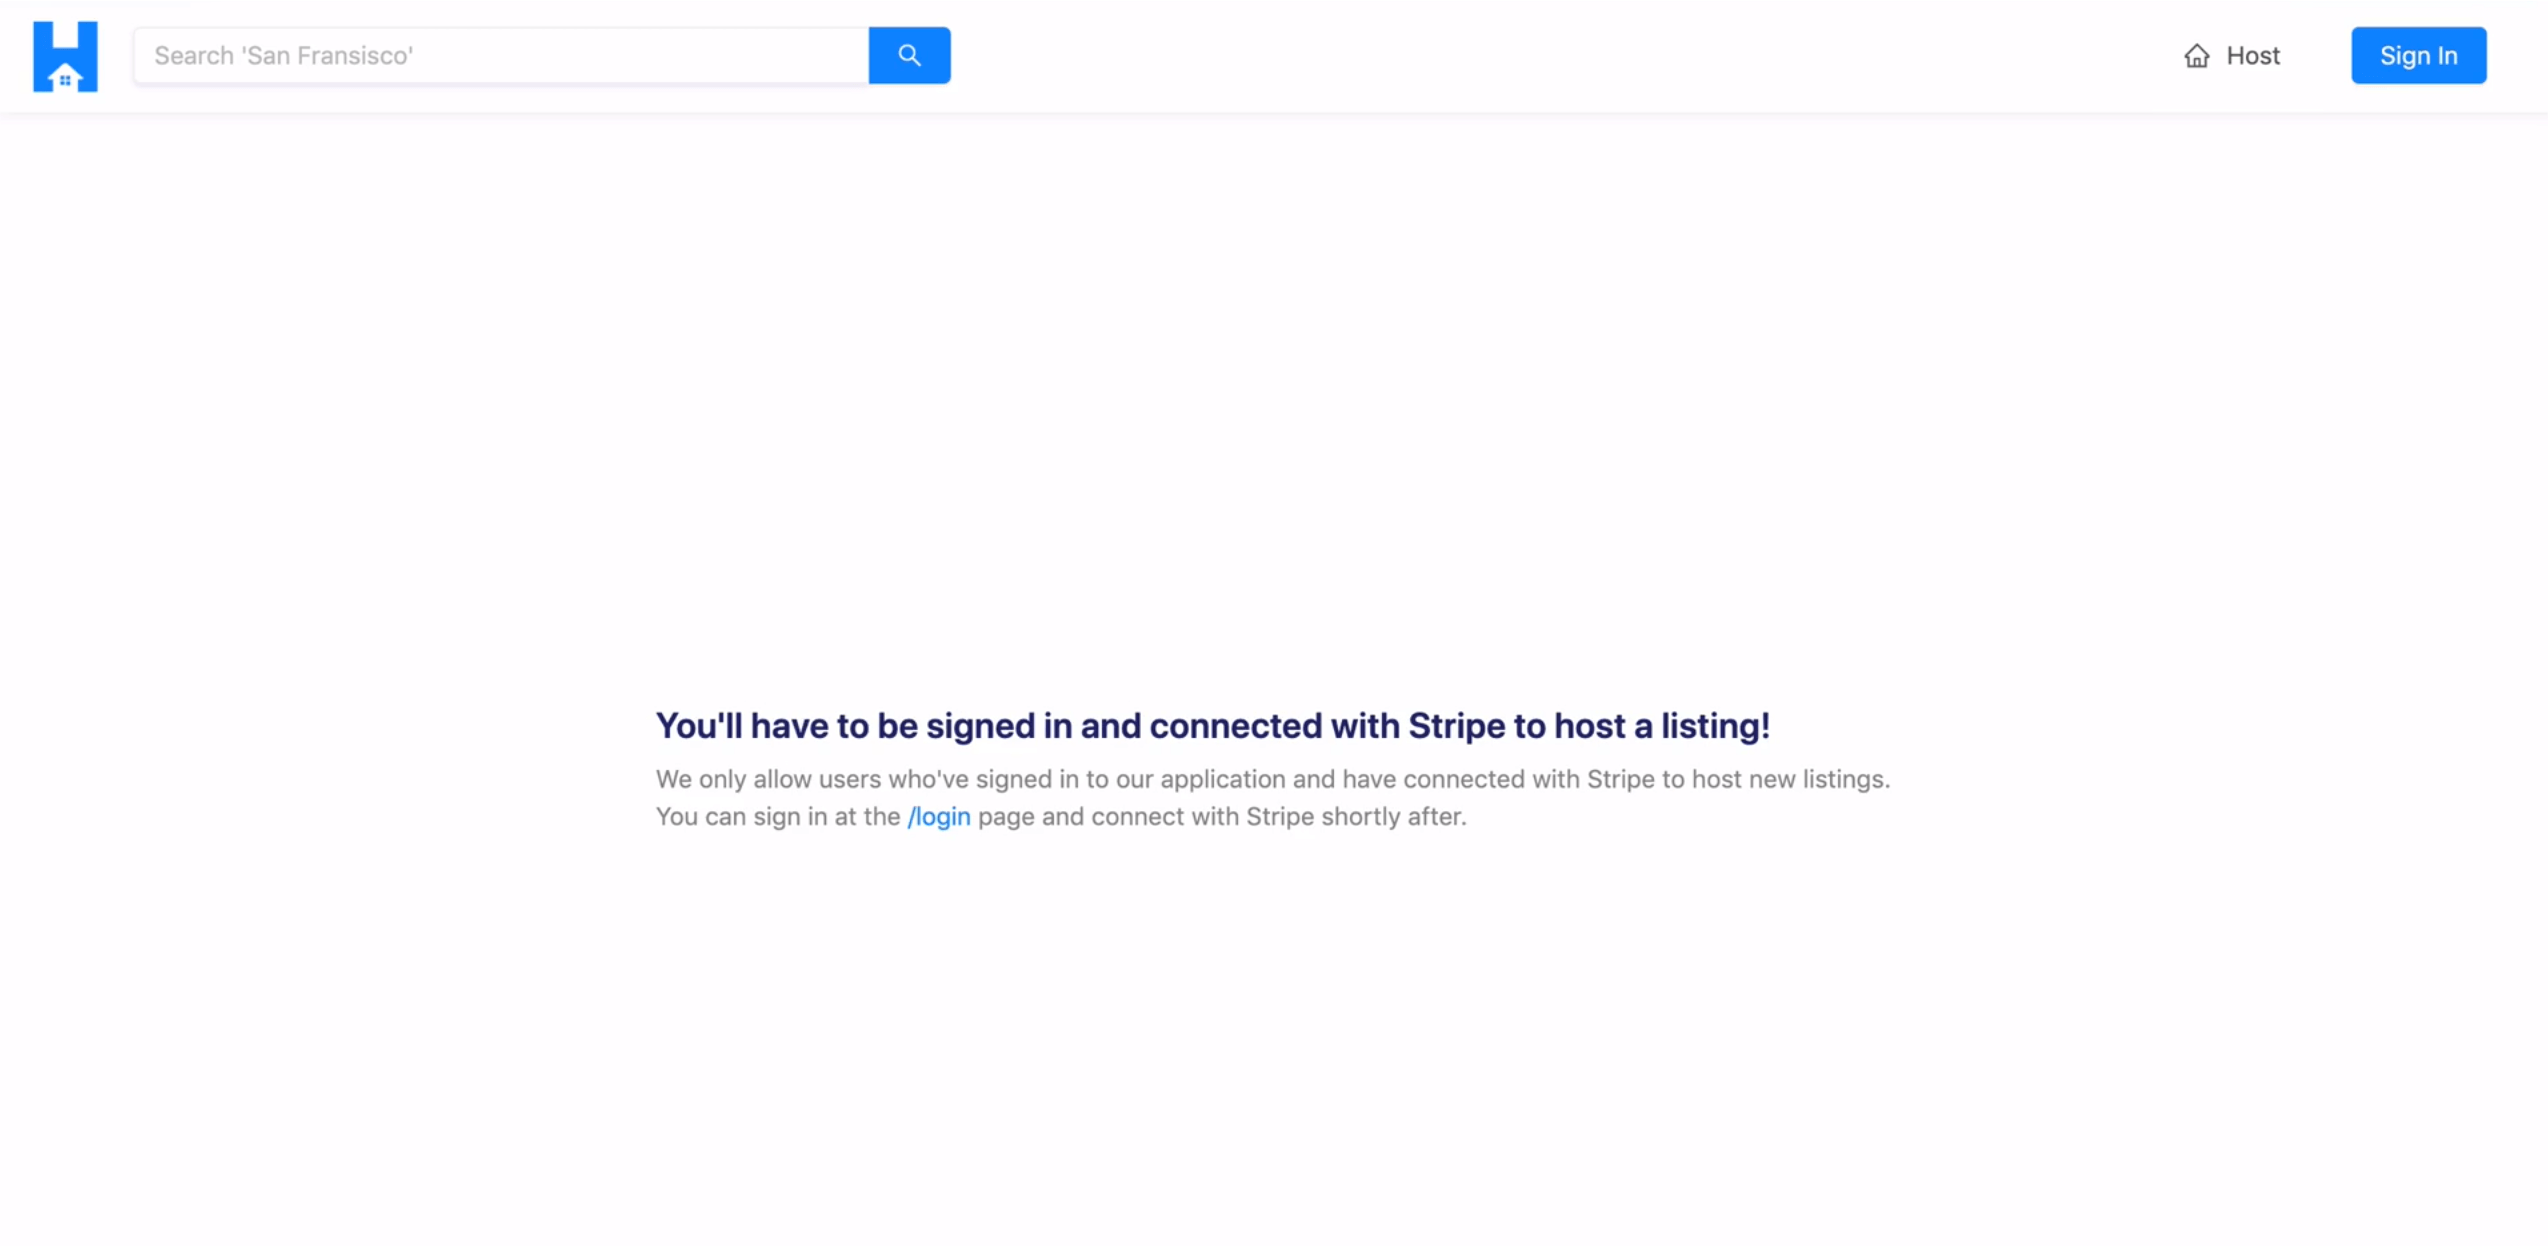
If we try to host a listing, we may be notified that we have to be signed-in as well as connected with Stripe to host a listing.
With that said, we’ll go to the /login page and log-in with our Google account.
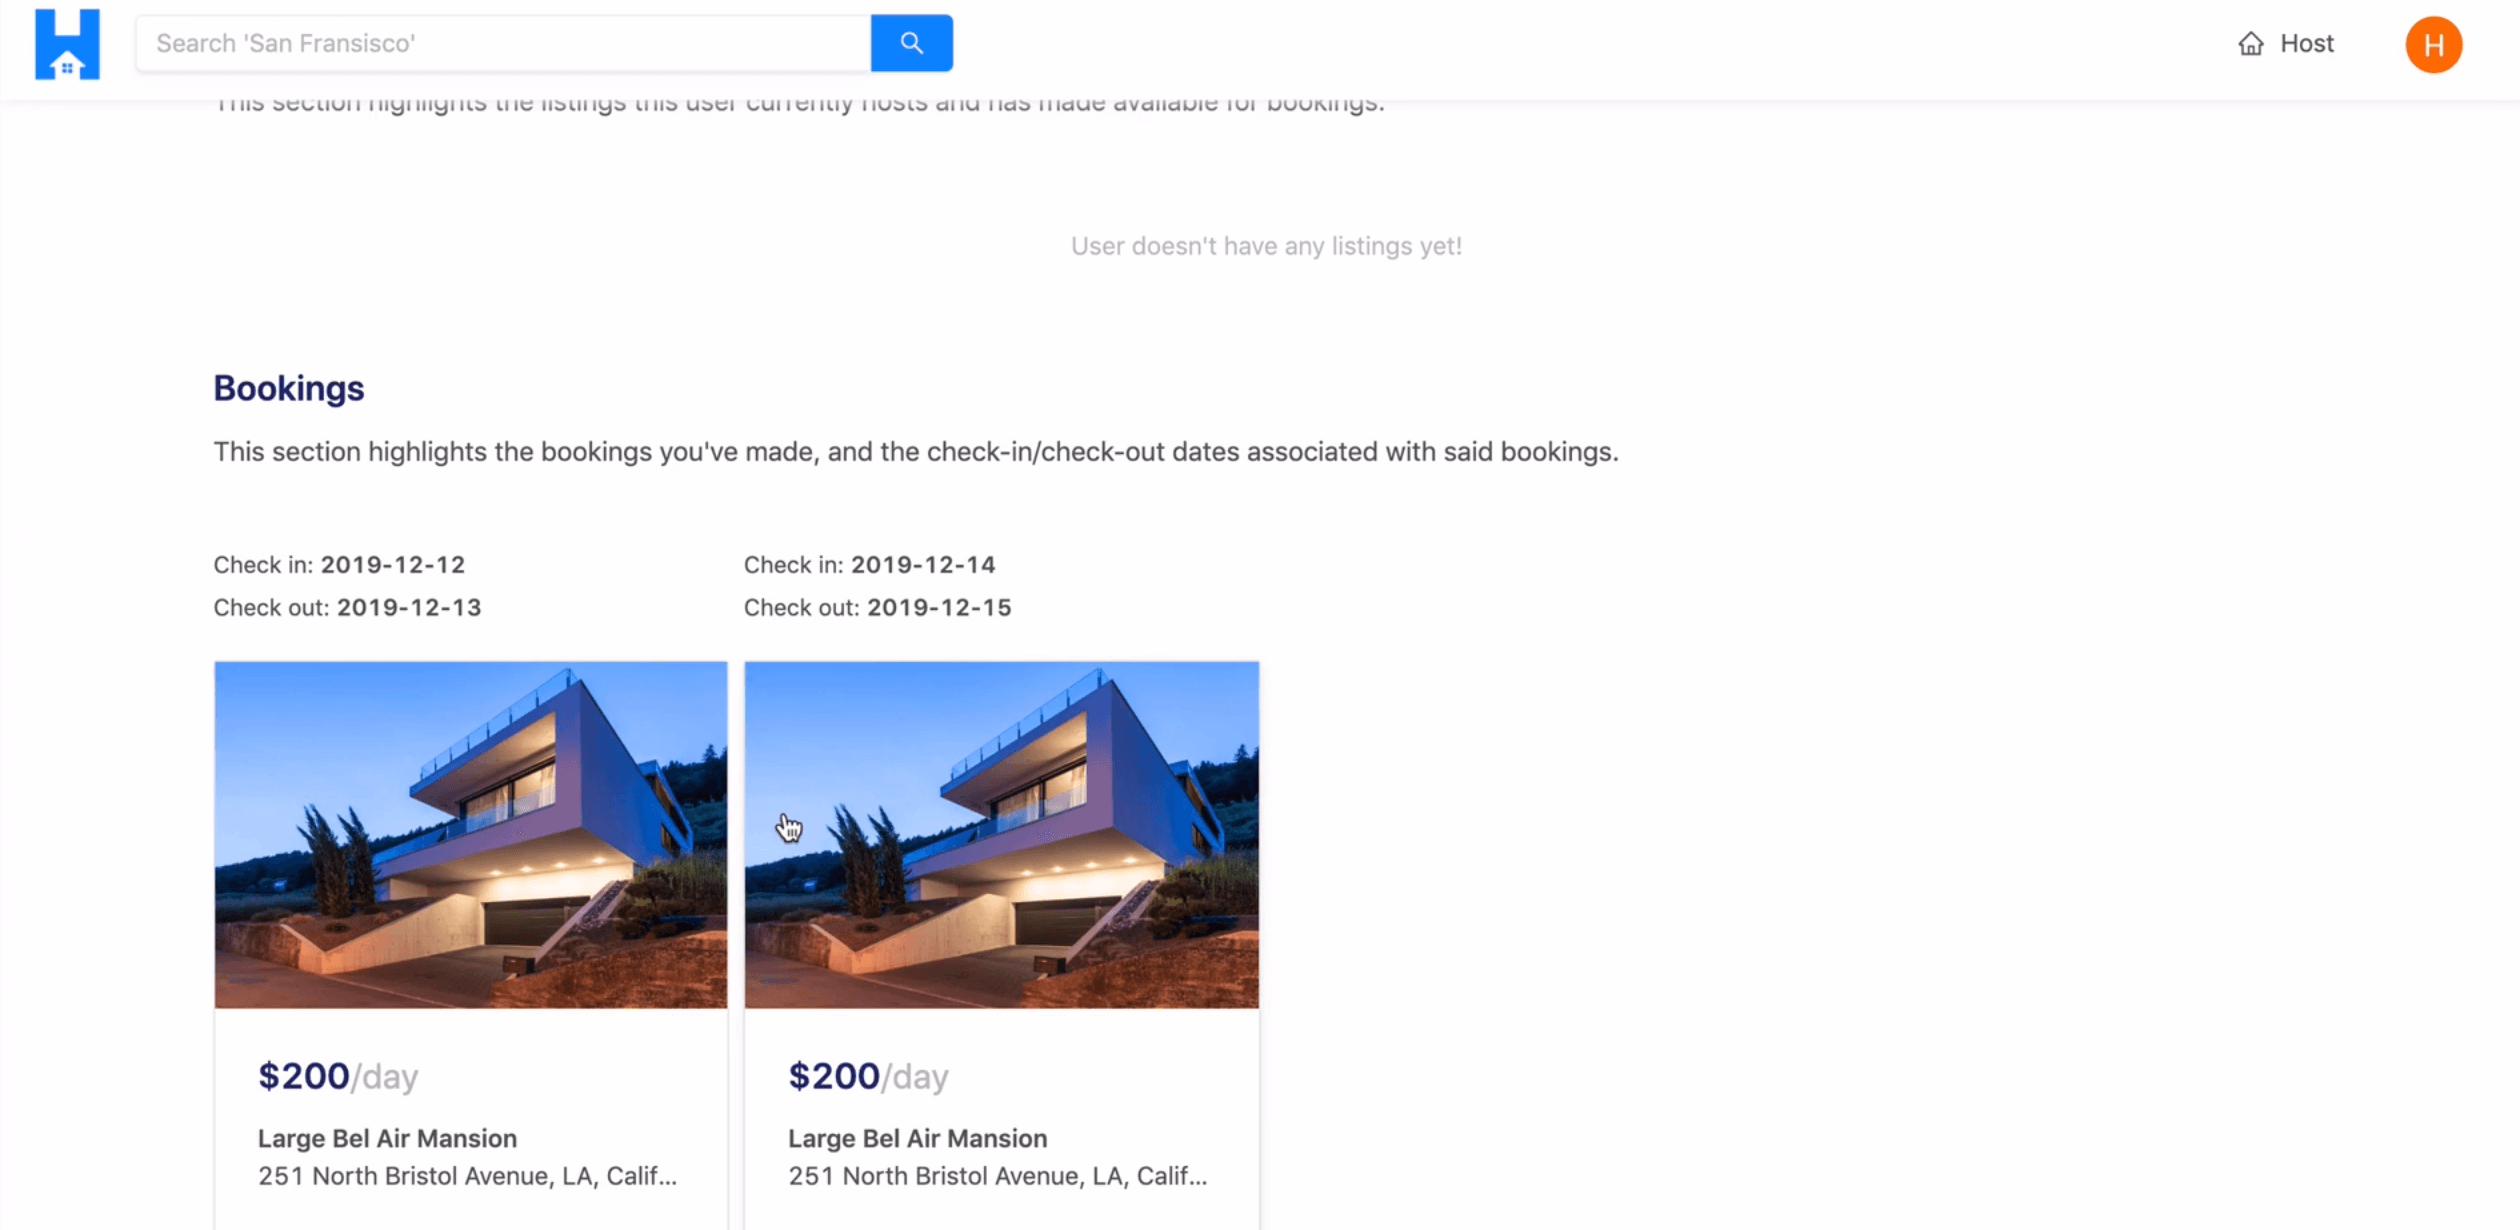
When successfully logged in, we are taken back to the /login page very briefly before being redirected to the /user/:id page of our logged-in user. Here is where we can see our logged-in user information. If we were to scroll to the bottom of the User page, we’ll see the bookings we’ve made before.
If we go to a certain /listing/:id page and if we attempt to check-in with a certain date and check-out with another day, a confirmation modal will be shown that has information about the booking we’re about to make. This is where we can provide valid payment information. We’re using test credentials from our Stripe platform account so we’ll use the same test card information we’ve used before. By clicking the “Book” button after the payment information is provided, the createBooking mutation is made.

Once complete, we’re taken back to the /listing/:id page and we’re told that we’ve successfully booked the listing.
If we tried to host a listing of our own, we’ll see the message we’ve seen before that tells us we still have to be connected with Stripe to host a listing. With that said, we’ll go back to our user profile page and connect with Stripe.
We’ll then attempt to host a brand new listing. When we go to the /host page, we’ll be presented with the host form. We’ll go ahead and create a listing for a city we haven’t created before, like Chicago and we’ll fill out the rest of the form.

When we attempt to submit the form, and our listing is successfully created, we’re taken to the listing/:id page for the newly created listing we’ve just created.
All the main features of our app work just the way we expect it to!
DEPLOYMENT WITH HEROKU
Let’s spend a short period of time summarizing the different steps we’ve taken to deploy the TinyHouse application. In summary, we’ve
- Built and compiled our
client/andserver/projects. - Prepared a single Node/Express app to be deployed. The Node/Express app is to serve the compiled React client code and GraphQL API.
- Compressed all responses in our Node/Express app.
- Pushed the Node/Express app code to a Github Repo .
- Deployed our app by syncing repo code with the Heroku app instance and triggering a manual deploy.
- Declared values for environment configuration variables for our Heroku app.
- Specify redirect URLs for Google and Stripe OAuth to point to the deployed app.
That’s it! We’ve covered practically all the topics we wanted to! We’re going to have one more module in this course that will contain individual lessons where we cover certain specific topics that are somewhat important and/or good to know. We’ll talk more about this in the next module.
For now, pat yourself on the back because it must have taken a really big effort to get to this point in the course!
MODULE 15 INTRODUCTION
At this point, we’ve finished everything we set out to do to build and deploy the TinyHouse application! In this module, we’ve prepared a few separate lessons on topics we consider good to know and/or important that don’t really fall into the grand scheme of the actual TinyHouse application. For this module, you won’t have to proceed through every lesson in order and you’re welcome to move around from one lesson to another.
We’ll be updating this module as time goes by but at this moment we’ll discuss:
- Building the UI of the Not Found page of our client.
- ApolloClient & FetchPolicy .
- The useLayoutEffect Hook & Window Scroll.
- React Router Hooks .
- Stripe Disconnect & Revoking Access .
- Additional Listing DatePicker Changes.
THE NOTFOUND PAGE
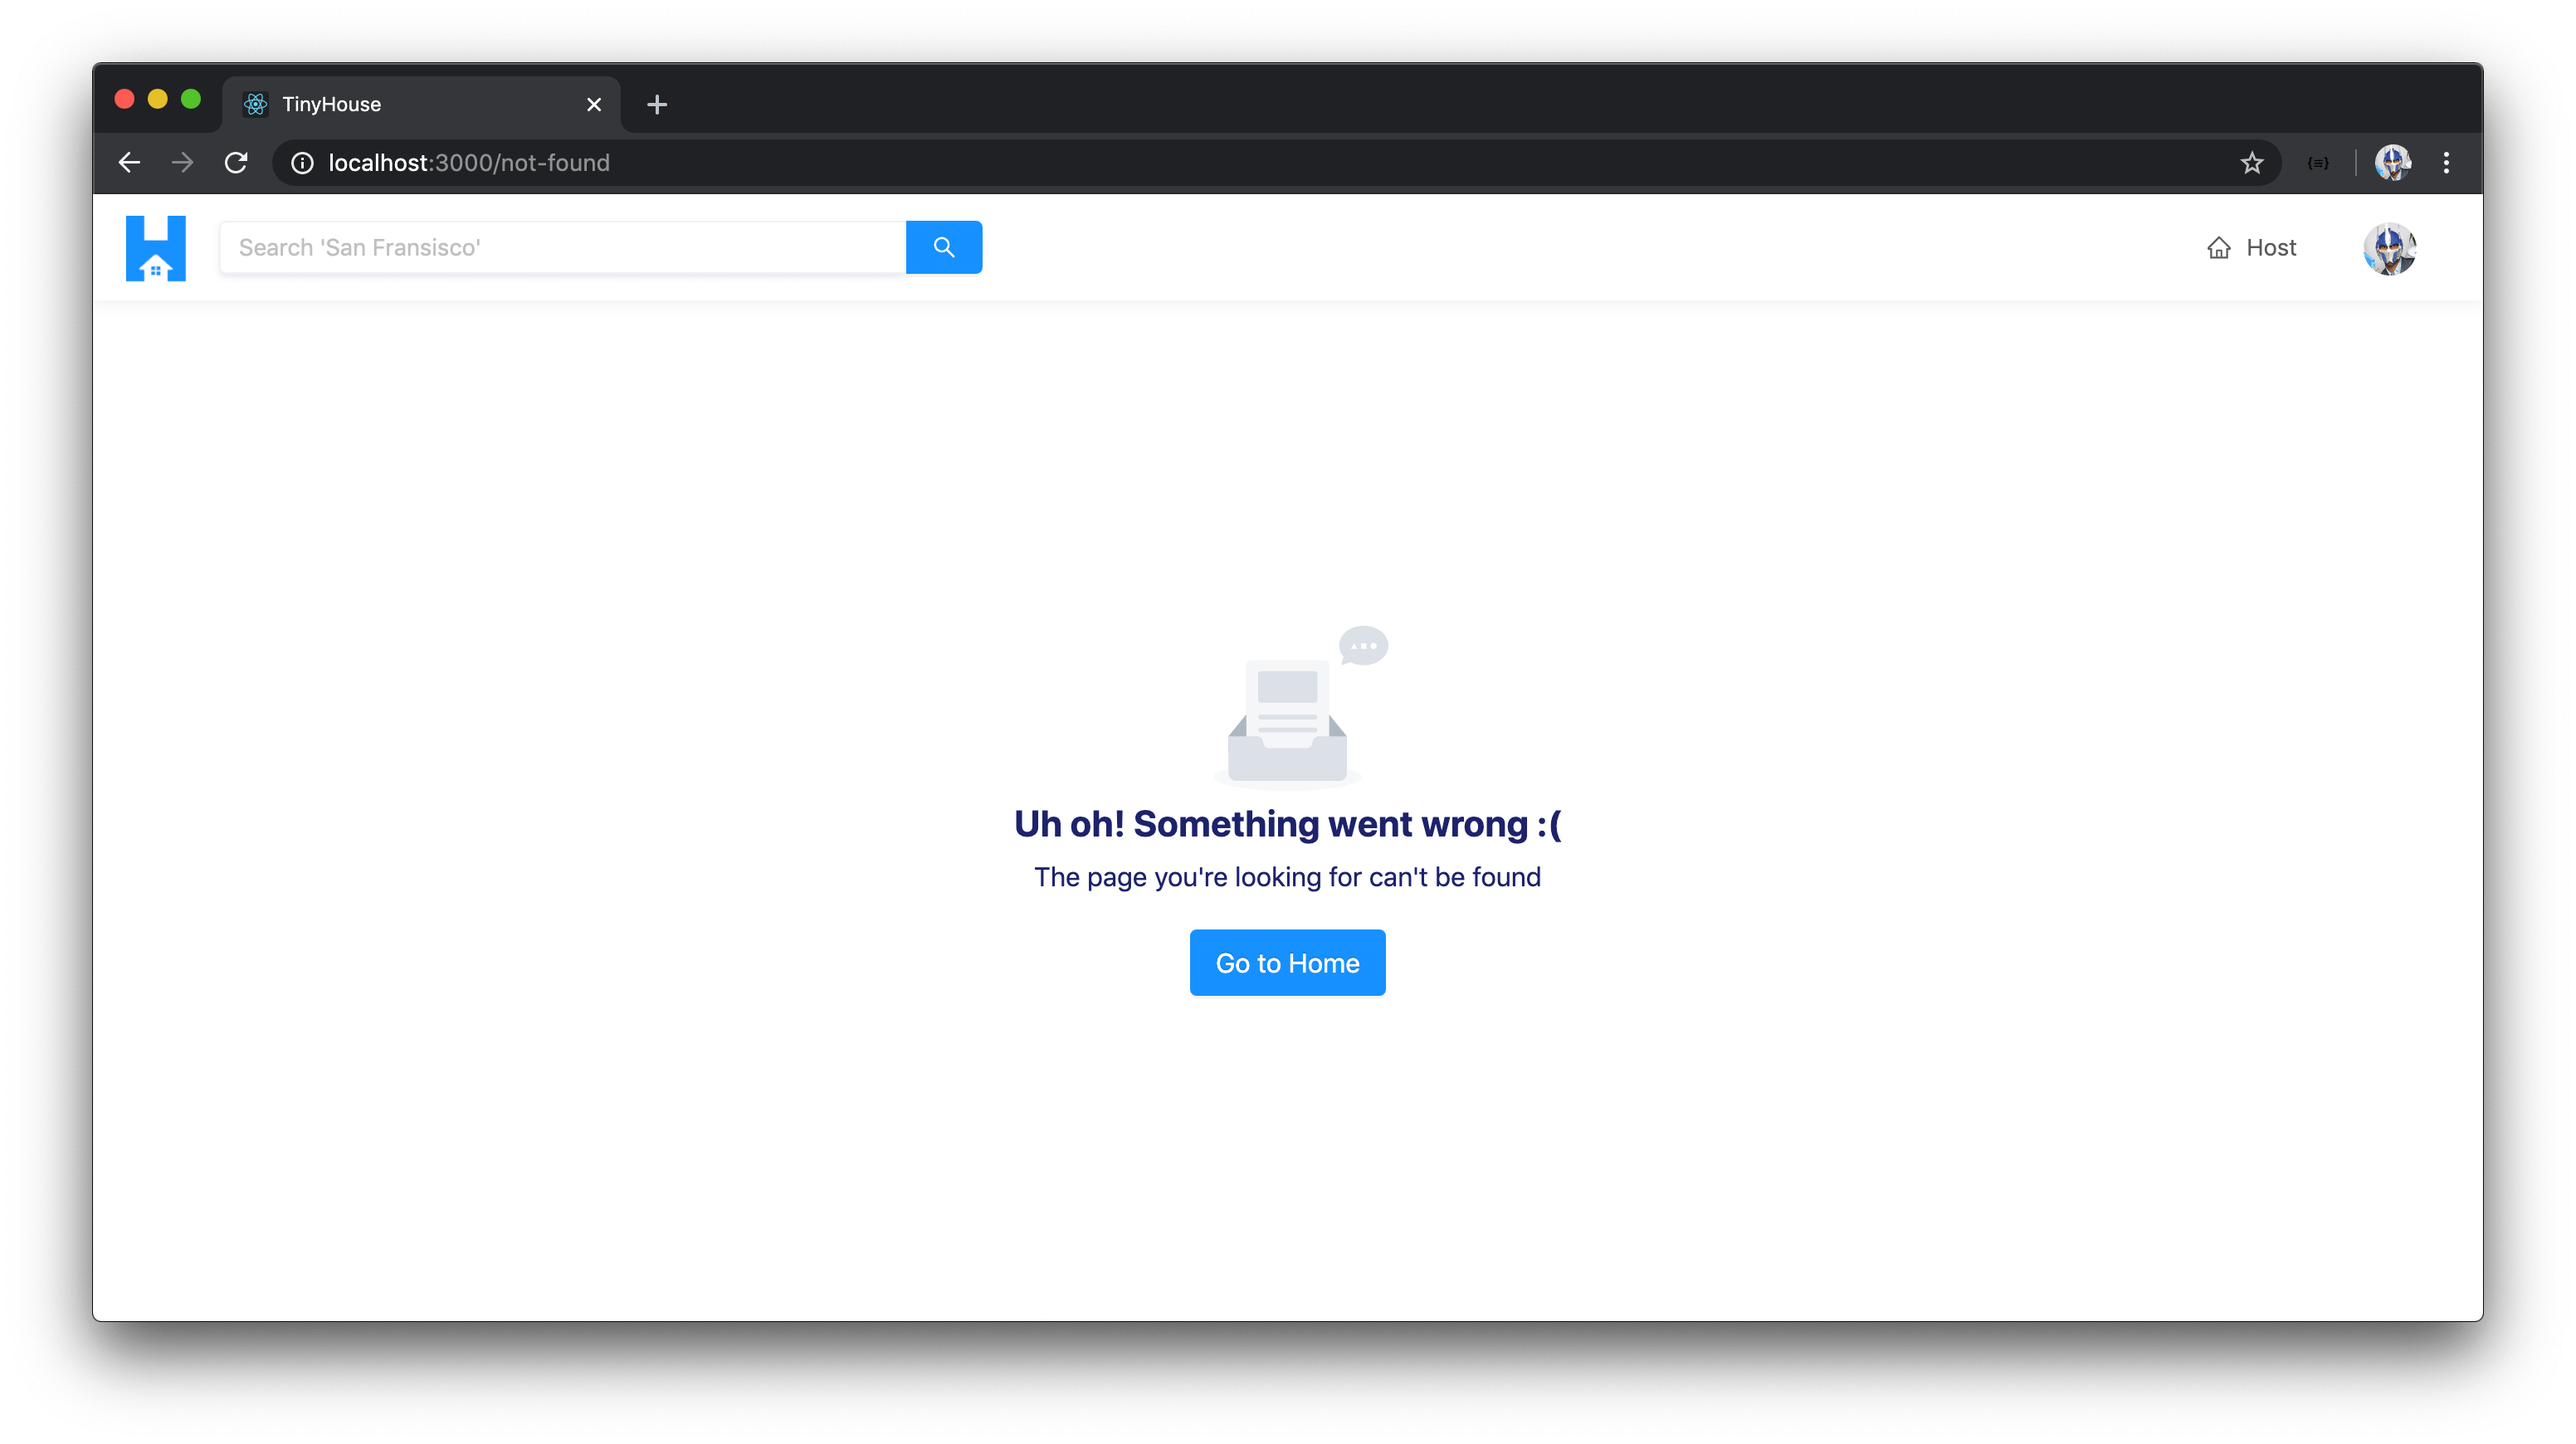
When a user visits a route in our app that isn’t one of the defined routes we’ve established in the root <App /> component, they’ll be presented with a <NotFound /> component we’ve created in the src/sections/NotFound/index.tsx file.
We’ll update the <NotFound /> component to display the <Empty /> component from Ant Design to help convey to the user that they’re unable to find what they’re looking for.
client/src/sections/NotFound/index.tsx
import React, { Fragment } from "react";
import { Link } from "react-router-dom";
import { Empty, Layout, Typography } from "antd";

const { Content } = Layout;
const { Text } = Typography;

export const NotFound = () => {
  return (
    <Content className="not-found">
      <Empty
        description={
          <Fragment>
            <Text className="not-found__description-title">
              Uh oh! Something went wrong :(
            </Text>
            <Text className="not-found__description-subtitle">
              The page you're looking for can't be found
            </Text>
          </Fragment>
        }
      />
      <Link to="/" className="not-found__cta ant-btn ant-btn-primary ant-btn-lg">
        Go to Home
      </Link>
    </Content>
  );
};
If a user was to visit a non-defined route in our app, they’ll be presented with the not-found state we’ve just esablished.
- Lesson
- Discussion
-
 Ask a question
APOLLO CLIENT & FETCHPOLICY
The Apollo Client documentation on the different
fetchPolicyoptions can be found - here.
The Apollo Client documentation on interacting with cached data directly can be found - here.
Apollo Client doesn’t only give us useful methods to conduct data fetching but sets up an in-memory intelligent cache without any configuration on our part .
When we make requests to retrieve data with Apollo Client, Apollo Client under the hood caches the data . The next time we return to the page that we’ve just visited, Apollo Client is smart enough to say - “Hey, we already have this data in the cache. Let’s just provide the data from the cache directly without needing to make another request to the server”. This saves time and helps avoid the unnecessary re-request of data from the server that we’ve already requested before .
Are there ways we can tell Apollo Client to force the request from the network and not from the cache, and would we ever want to do this? We can investigate two cases in our application where this might be helpful.
Case #1
The homepage of our app displays the highest priced listings available everywhere in our app. If we were to create a new listing to have the highest price and navigate straight to the homepage, we may not see the newly created listing until we refresh the page to make a network request .
To avoid this, we can add the fetchPolicy option in our query being made in the <Home /> component with a value of "cache-and-network" . The "cache-and-network" option will have Apollo first try and read data from the cache and helps make a query automatically execute with the network to get the latest information. As the Apollo Documentation states - “[the "cache-and-network" option] optimizes for users getting a quick response while also trying to keep cached data consistent with your server data at the cost of extra network requests.”.
By adding the fetchPolicy: "cache-and-network" option to the query made in the <Home /> component, at any time we visit the homepage from another location - a network request will be made to get the latest information on the highest priced listings.
client/src/sections/Home/index.tsx
  const { loading, data } = useQuery<ListingsData, ListingsVariables>(LISTINGS, {
    variables: {
      filter: ListingsFilter.PRICE_HIGH_TO_LOW,
      limit: PAGE_LIMIT,
      page: PAGE_NUMBER
    },
    fetchPolicy: "cache-and-network"
  });
Case #2
The user page, shown in the /user/:id route, displays the listings a user is to own. If we were to create a new listing in the /host route and directly navigate to our user page, we may need to make a page refresh to have a network request be made to show the newly created listing in the listings section.
To avoid this, we can similarly add the fetchPolicy: "cache-and-network" option to the query made in the <User /> component.
client/src/sections/User/index.tsx
  const { data, loading, error, refetch } = useQuery<UserData, UserVariables>(USER, {
    variables: {
      id: match.params.id,
      bookingsPage,
      listingsPage,
      limit: PAGE_LIMIT
    },
    fetchPolicy: "cache-and-network"
  });
Among other things, Apollo Client also provides the capability to directly update the cache or use a refetchQueries option to update the data from certain queries right after a mutation has been made. All of these options lead to ensuring users see the most up-to-date information on the client and they differ from one other based on simplicity, efficiency, and the general user experience.
Note: We’ve built a single-page application where the server returns the entire web bundle on initial load. Apollo Client provides extra techniques to have a server-side rendered application load quickly and present data as fast as possible. You can read more about this here.
USELAYOUTEFFECT & WINDOW SCROLL
If we were to navigate from page to page in our app, we’ll notice that in certain cases the window scroll position of the page doesn’t scroll to the top when we would expect it to.
Since our application is a client-side app, the server returns a single web-page at the beginning. When we navigate from route to route (i.e. page to page), the parent <App /> component simply determines which child component should be shown (e.g. <Host /> component is shown in the /host route). When different child components get rendered as we move from page to page, the scroll position of the window can remain the same which can cause the issue of having the new page that is shown be in a scroll position close to the bottom of the page.
To avoid this, we can have an effect run whenever a section-level child component is rendered to scroll the window to the top of the page. To run an effect with DOM specific changes, we should use the useLayoutEffect Hook from React. This is because the useLayoutEffect Hook fires synchronously after all DOM mutations and thus should be used to read and/or change layout in the DOM.
We’ll consolidate the effect we want to run within a custom effect we’ll call useScrollToTop . We’ll create this custom effect in a /hooks folder within the src/lib/ directory of our client application.
client
  src/
    lib/
      // ...
      hooks/
        useScrollToTop/
          index.ts
      index.ts
  // ...
// ...
In the src/lib/hooks/index.ts file, we’ll re-export the soon to be created useScrollToTop() function.
client/src/lib/hooks/index.ts
export * from "./useScrollToTop";
In the src/lib/hooks/useScrollToTop/index.ts file, we’ll export and use the useLayoutEffect Hook from React. In the effect callback, we’ll use the window.scrollTo() to scroll the user to the beginning of the webpage (i.e. to the 0 pixel position for the horizontal and vertical axes of the webpage).
client/src/lib/hooks/useScrollToTop/index.ts
import { useLayoutEffect } from "react";

export const useScrollToTop = () => {
  useLayoutEffect(() => {
    window.scrollTo(0, 0);
  }, []);
};
In the separate section-level components, we can place the useScrollToTop() function in the component to have the window scrolled to the top whenever these components are rendered.
<Home />
// ...
import { useScrollToTop } from "../../lib/hooks";

export const Home = ({ history }: RouteComponentProps) => {
  // ...

  useScrollToTop();

  // ...
};
<Host />
// ...
import { useScrollToTop } from "../../lib/hooks";

export const Host = ({ viewer, form }: Props & FormComponentProps) => {
  // ...

  useScrollToTop();

  // ...
};
<Listing />
// ...
import { useScrollToTop } from "../../lib/hooks";

export const Listing = ({ viewer, match }: Props & RouteComponentProps<MatchParams>) => {
  // ...

  useScrollToTop();

  // ...
};
<Listings />
// ...
import { useScrollToTop } from "../../lib/hooks";

export const Listings = ({ match }: RouteComponentProps<MatchParams>) => {
  // ...

  useScrollToTop();

  // ...
};
<Login />
// ...
import { useScrollToTop } from "../../lib/hooks";

export const Login = ({ setViewer }: Props) => {
  // ...

  useScrollToTop();

  // ...
};
<Stripe />
// ...
import { useScrollToTop } from "../../lib/hooks";

export const Stripe = ({ viewer, setViewer, history }: Props & RouteComponentProps) => {
  // ...

  useScrollToTop();

  // ...
};
<User />
// ...
import { useScrollToTop } from "../../lib/hooks";

export const User = ({
  viewer,
  setViewer,
  match
}: Props & RouteComponentProps<MatchParams>) => {
  // ...

  useScrollToTop();

  // ...
};
With these changes, if we were to navigate from route to route in our app, we’ll notice the window scroll position being placed at the top as we navigate!
Note: If we were to have an app that needed this behavior for a significant number of components, we would probably look to have a single effect in the parent that places the window scroll position at the top whenever there is a change in route.
REACT ROUTER HOOKS
The Future of React Router and @reach/router blog post can be found - here.
The code sample shared for this lesson contains the use of the
useParams,useHistory, anduseLocationHooks in the client project.
React Router has started to move towards a more hook-based API as documented here. In version 5.x (and up), React Router provides certain Hooks to access route-specific information in our components. The newest version of React Router is 100% backward-compatible so the capability to use the render props pattern or higher-order components from React Router is still supported . In this lesson, we’ll discuss some changes that can be made to our app to use the new hook-based API.
Since we’re able to use Hooks to access route-specific information within components, we’ll no longer need to use the render() function prop in the <Route /> component to pass along route-specific prop objects. Though we’re able to use the component prop to dictate which component should be shown for which <Route /> path, we’re also able to convey this by simply placing the component as a child of the <Route /> .
import React from "react";
import {
  BrowserRouter as Router,
  Switch,
  Route,
} from "react-router-dom";
import { Home } from "./components";

export default function Component() {
  return (
    <Router>
      <Switch>
          {/* render <Home /> component in the `/` route */}
          <Route exact path="/">
            <Home />
          </Route>
      </Switch>
    </Router>
  );
There are essentially three use cases we have in our app where certain Hooks from React Router can be used.
USEPARAMS() - ACCESS THE URL PARAMETERS OF A ROUTE
A few of the section level components in our app (e.g. <User /> , <Listings /> , etc.) are rendered with a route that has a dynamic URL parameter (e.g. /user/:id ). The dynamic URL parameter is primarily used to fetch information for the specific resource the page is attempting to render.
To access the URL parameters of a route, we can use the useParams() Hook from React Router.
Here’s an example of how the useParams() Hook can be used.
// import the useParams() Hook
import { useParams } from "react-router-dom";

// declare the shape of the paramter in the URL
interface MatchParams {
  id: string;
}

export const Component = () => {
  // destruct the URL parameter from useParams()
  // pass the interface as a type variable to describe the shape of parameter
  const { id } = useParams<MatchParams>();

  // use the parameter
  console.log(id);
};
USEHISTORY() - ACCESS THE HISTORY OBJECT
The history object, within the context of React Router, is a reference to the browser’s session history. We can use this history object to push a new entry to the history stack or in other words direct the user to a new location .
Here’s an example of how the useHistory() Hook can be used to retrieve the history object.
// import the useHistory() Hook
import { useHistory } from "react-router-dom";

export const Component = () => {
  // get the history object from useHistory()
  const history = useHistory();

  // access the history object
  console.log(history);
};
USELOCATION() - ACCESS THE LOCATION OBJECT
The location object, within the context of React Router, provides information about the current URL.
Here’s an example of how the useLocation() Hook can be used to retrieve the location object.
// import the useLocation() Hook
import { useLocation } from "react-router-dom";

export const Component = () => {
  // get the location object from useLocation()
  const location = useLocation();

  // access the location object
  console.log(location);
};
DISCONNECTING FROM STRIPE & REVOKING ACCESS
Stripe Documentation on revoking access of connected accounts can be found - here.
We built the disconnectStripe mutation to allow a user the ability to disconnect their Stripe “wallet” from our platform (or in other words, to remove their Stripe credentials kept in the database). However, when they’ve ever disconnected, we haven’t built functionality focused on removing the connected account within the TinyHouse Stripe Connect account .
To facilitate this, we can use the oauth.deauthorize() function available from a stripe client instance as documented in the Revoked and revoking access section of the Stripe documentation on Using Connect with Standard accounts. The oauth.deauthorize() function accepts an options object that accepts a client_id of the application that we’d like the connected account to disconnect from and a stripe_user_id of the connected account we want to disconnect. With that said, we can create a disconnectStripe() function in the Stripe object instance we have in the src/lib/api/Stripe.ts to facilitate this.
server/src/lib/api/Stripe.ts
export const Stripe = {  disconnect: async (stripeUserId: string) => {
    // @ts-ignore
    const response = await client.oauth.deauthorize({
      /* eslint-disable @typescript-eslint/camelcase */
      client_id: `${process.env.S_CLIENT_ID}`,
      stripe_user_id: stripeUserId
      /* eslint-enable @typescript-eslint/camelcase */
    });

    return response;
  },};
Note: We’ve ignored the TypeScript type-checking capabilities around the
oauth.deauthorize()function since the type definitions of the function don’t currently match the signature specified in the Node.js example shown in the documentation.
Our disconnectStripe() resolver function can now trigger the disconnect() function within the Stripe object instance to disconnect the connected account from the TinyHouse connect platform. This can occur just before we remove the value of the viewer’s walletId in the database.
server/src/graphql/resolvers/Viewer/index.ts
export const viewerResolvers: IResolvers = {    disconnectStripe: async (
      _root: undefined,
      _args: {},
      { db, req }: { db: Database; req: Request }
    ): Promise<Viewer> => {
      try {
        let viewer = await authorize(db, req);
        if (!viewer || !viewer.walletId) {
          throw new Error("viewer cannot be found or has not connected with Stripe");
        }

        const wallet = await Stripe.disconnect(viewer.walletId);
        if (!wallet) {
          throw new Error("stripe disconnect error");
        }

        const updateRes = await db.users.findOneAndUpdate(
          { _id: viewer._id },
          { $set: { walletId: null } },
          { returnOriginal: false }
        );

        if (!updateRes.value) {
          throw new Error("viewer could not be updated");
        }

        viewer = updateRes.value;

        return {
          _id: viewer._id,
          token: viewer.token,
          avatar: viewer.avatar,
          walletId: viewer.walletId,
          didRequest: true
        };
      } catch (error) {
        throw new Error(`Failed to disconnect with Stripe: ${error}`);
      }
    }};
If a user was to now disconnect from Stripe in their user profile section within /user/:id route, we disconnect their Stripe account from our connect account platform and remove the value of their walletId (i.e. stripe_user_id ) in the database.
ADDITIONAL LISTING DATEPICKER CHANGES
The createBooking mutation is the mutation that is triggered when a user provides payment information and confirms the booking of a listing between certain dates. We have a check be made to confirm the check-out date a user selects is not before the check-in date the user has selected.
We can add an additional check to confirm the user is to never select booking dates that exceed some point in the future. As an example, we can say a user isn’t allowed to select dates that are 90 or more days in the future . We can make the server-side validation for this in the createBooking() resolver function by comparing the difference between today’s date and the check-in/check-out dates in milliseconds.
server/src/graphql/resolvers/Booking/index.ts
        const today = new Date();
        const checkInDate = new Date(checkIn);
        const checkOutDate = new Date(checkOut);

        if (checkInDate.getTime() > today.getTime() + 90 * millisecondsPerDay) {
          throw new Error("check in date can't be more than 90 days from today");
        }

        if (checkOutDate.getTime() > today.getTime() + 90 * millisecondsPerDay) {
          throw new Error("check out date can't be more than 90 days from today");
        }
millisecondsPerDay is a constant we can have in the file that represents the number of milliseconds in a day.
server/src/graphql/resolvers/Booking/index.ts
const millisecondsPerDay = 86400000;
On the client, we can update the UI of the datepicker elements to have the dates more than 90 days from today be disabled. We can do this in the disabledDate() function within the <ListingCreateBooking /> component that is used in the disabledDate prop of the Ant Design <DatePicker /> elements.
client/src/sections/Listing/components/ListingCreateBooking/index.tsx
  const disabledDate = (currentDate?: Moment) => {
    if (currentDate) {
      const dateIsBeforeEndOfDay = currentDate.isBefore(moment().endOf("day"));
      const dateIsMoreThanThreeMonthsAhead = moment(currentDate).isAfter(
        moment()
          .endOf("day")
          .add(90, "days")
      );

      return (
        dateIsBeforeEndOfDay ||
        dateIsMoreThanThreeMonthsAhead ||
        dateIsBooked(currentDate)
      );
    } else {
      return false;
    }
  };
For the dates that are more than 90 days ahead of today, they’ll appear as disabled dates in both the check-in and check-out datepickers.

There are some other minor UI changes we can make to the datepickers. If we were to use the renderExtraFooter prop of the Ant Design <DatePicker /> element, we can display some footer information in each individual datepicker.
client/src/sections/Listing/components/ListingCreateBooking/index.tsx
          <div className="listing-booking__card-date-picker">
            <Paragraph strong>Check In</Paragraph>
            <DatePicker
              value={checkInDate ? checkInDate : undefined}
              format={"YYYY/MM/DD"}
              showToday={false}
              disabled={checkInInputDisabled}
              disabledDate={disabledDate}
              onChange={dateValue => setCheckInDate(dateValue)}
              onOpenChange={() => setCheckOutDate(null)}
              renderExtraFooter={() => {
                return (
                  <div>
                    <Text type="secondary" className="ant-calendar-footer-text">
                      You can only book a listing within 90 days from today.
                    </Text>
                  </div>
                );
              }}
            />
          </div>
With this change, we’ll be presented with a footer message in the datepickers.

We can use the dateRender prop for the check-out datepicker to help display the check-in date in the grid with some additional UI. The dateRender prop runs a callback function for every date element in a presentable grid. When an iterated date item is the check-in date that was selected, we can display a tooltip and an additional class to help distinguish it from the other dates in the grid. We can display a tooltip with the Ant Design <Tooltip /> component.
client/src/sections/Listing/components/ListingCreateBooking/index.tsx
import { Button, Card, DatePicker, Divider, Tooltip, Typography } from "antd";
client/src/sections/Listing/components/ListingCreateBooking/index.tsx
          <div className="listing-booking__card-date-picker">
            <Paragraph strong>Check Out</Paragraph>
            <DatePicker
              value={checkOutDate ? checkOutDate : undefined}
              format={"YYYY/MM/DD"}
              showToday={false}
              disabled={checkOutInputDisabled}
              disabledDate={disabledDate}
              onChange={dateValue => verifyAndSetCheckOutDate(dateValue)}
              dateRender={current => {
                if (
                  moment(current).isSame(checkInDate ? checkInDate : undefined, "day")
                ) {
                  return (
                    <Tooltip title="Check in date">
                      <div className="ant-calendar-date ant-calendar-date__check-in">
                        {current.date()}
                      </div>
                    </Tooltip>
                  );
                } else {
                  return <div className="ant-calendar-date">{current.date()}</div>;
                }
              }}
              renderExtraFooter={() => {
                return (
                  <div>
                    <Text type="secondary" className="ant-calendar-footer-text">
                      Check-out cannot be before check-in.
                    </Text>
                  </div>
                );
              }}
            />
          </div>
With this change, we’ll be presented with a tooltip and additional styling around the selected check-in date in the check-out datepicker.

For any features we may be interested in adding for the datepicker elements in our /listing/:id page, it’s important to have the server-side validations to ensure invalid dates aren’t selected by the user. Adding the client-side representation for these restrictions/requirements is important to convey to the user what they’re able to do.
PART TWO CONCLUSION
Congratulations!! 
You’ve finished Part II of the course and have built a home-sharing application named TinyHouse. We’ve covered a variety of different technologies throughout this course - React, GraphQL, Apollo, Node.js, MongoDB, Express, TypeScript, and more.

My colleague and I have had an immense joy producing this course and its taken us more than a year to get to this point. Thank you so much for being a part of this. We’re always around so if you have any questions, you can easily find us on Discord.
–
Hassan and Jing